

How I updated our stairwell
“You NEVER tell me anything!!!”
THAT was my hubby’s exclamation as he walked up our lower set of stairs from a long day at work to find me using a manual drywall saw. I was in the process of removing drywall from the half wall of our stairwell. I froze, drywall saw in hand, mid saw, like a child with her hand caught in the cookie jar. As I looked up at him, I wasn’t sure how to respond……

As is my standard project practice, I had kept the plans to myself; so it was not surprising that he was unprepared to walk in on this new project. Hubby takes most things in stride, especially my inspiration to update or upgrade or totally alter stuff around the house. Normally, his reaction to these projects is a calm, ‘Oh, you’ve started a new project I see’ … but not THIS time. While his reaction was out of the norm, I totally understood! You see, at this point, I had NO idea how this whole thing was going to turn out. As far as I knew, I’d be making a frantic phone call to my Contractor… ‘Hello, James?’ ….
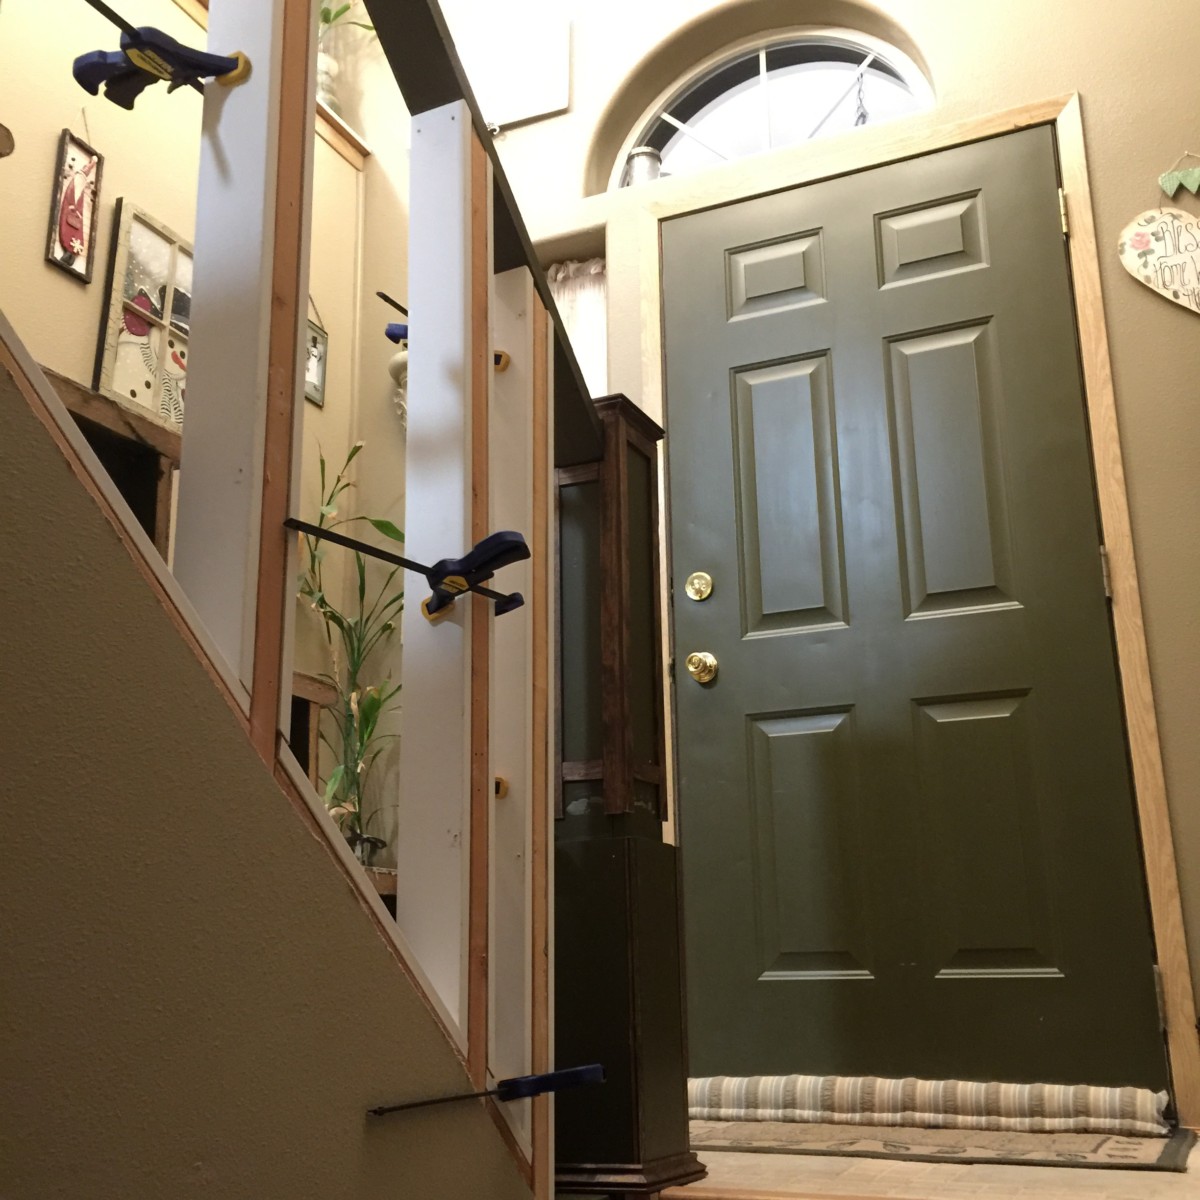
Our home is a split level and I have been working on getting more natural light into the downstairs living area. A few years ago, I had a window installed in the laundry room and that helped bring in light not only to that room but into the hallway as well but it is still fairly dark down there.
And so it begins
One day, I thought that if I could just remove the drywall from the 1/2 wall in the upper part of the stairwell, it would allow more light in the downstairs hallway. So, after watching a few (quite a few) YouTube videos, I bought a manual drywall saw (knife really) and got to work…..
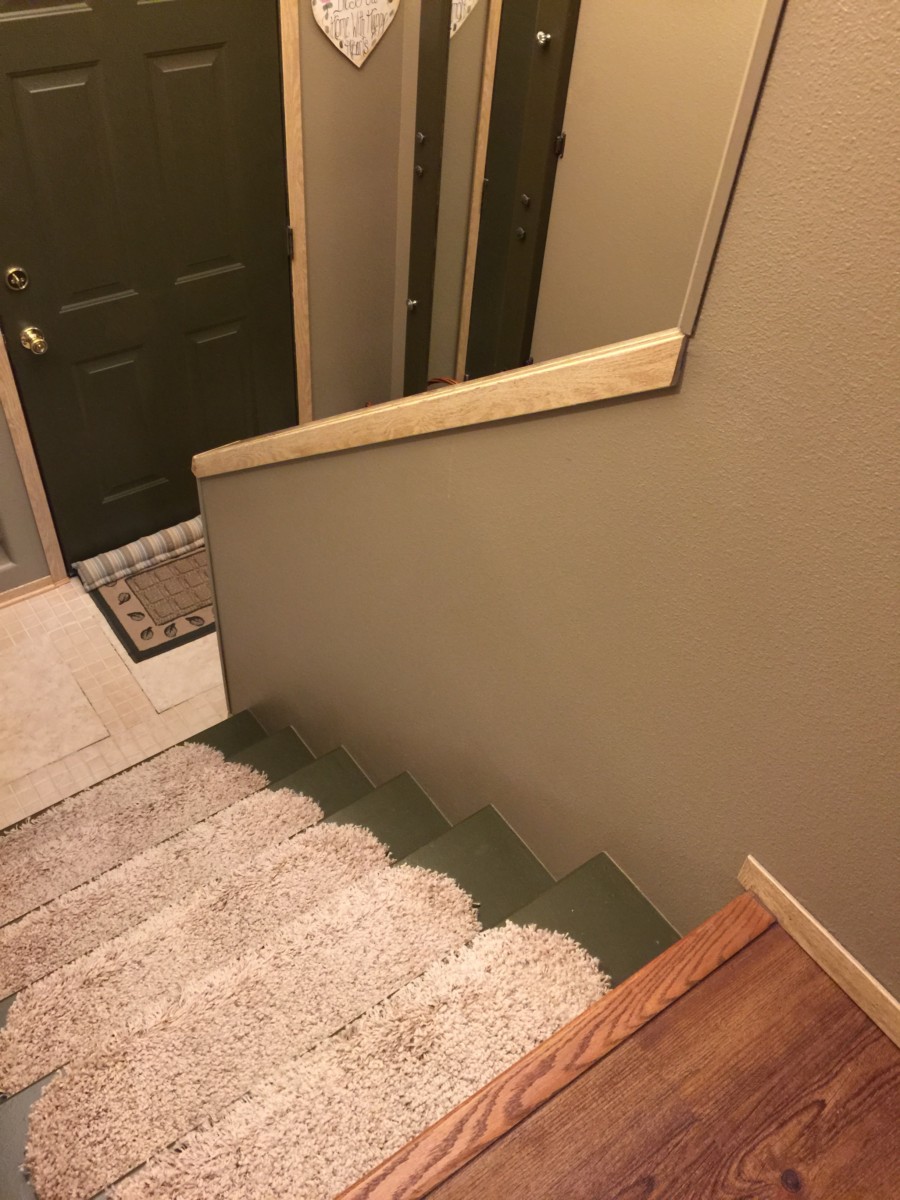
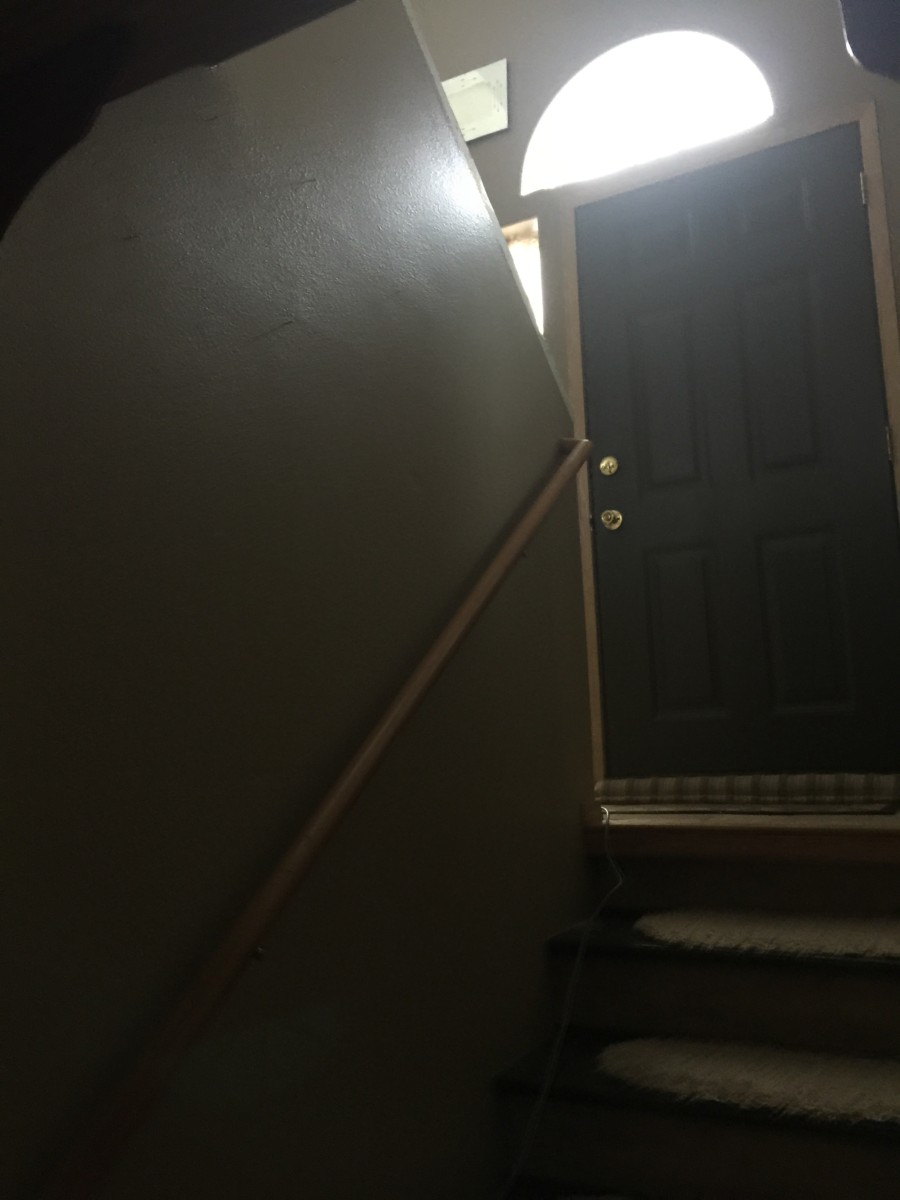
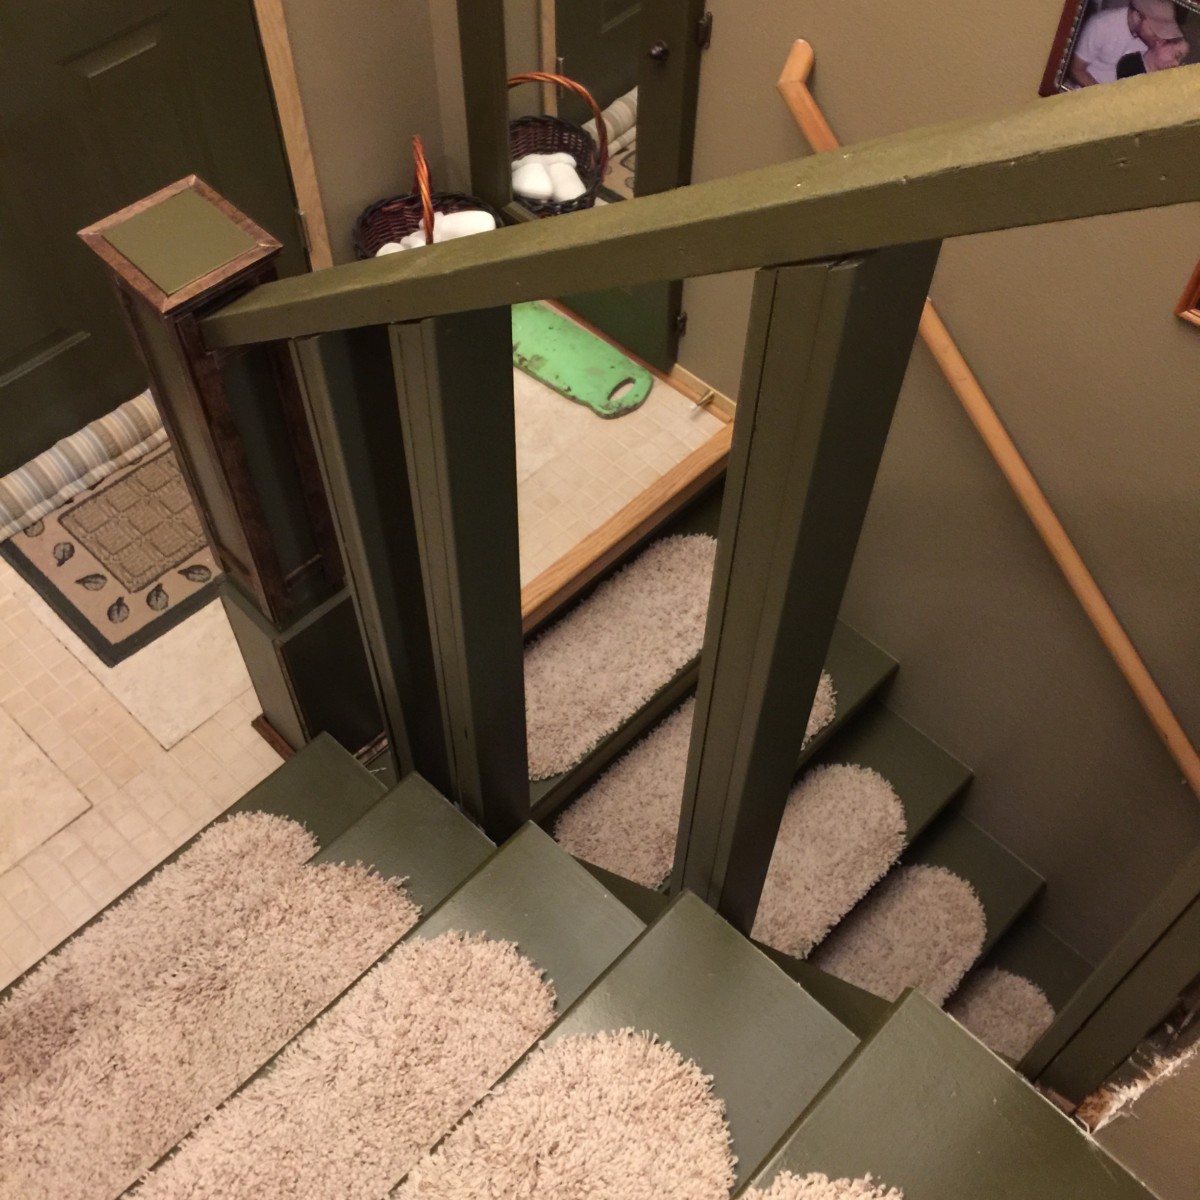
Below are pictures of the progress. The first two show the stairwell wall as it was when we moved into the house. The 2nd picture is taken from the hall downstairs. You can see how dark it is.
YouTube video
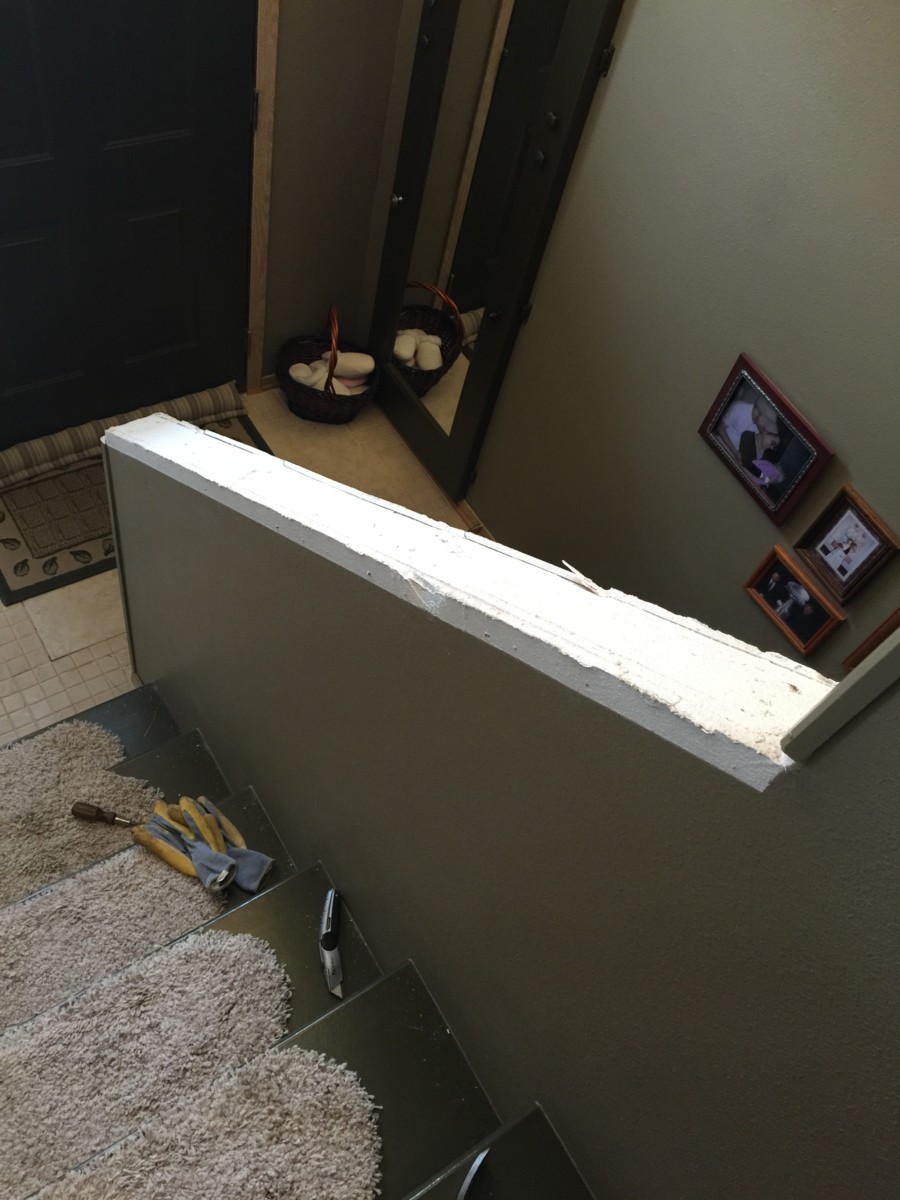
Removing drywall
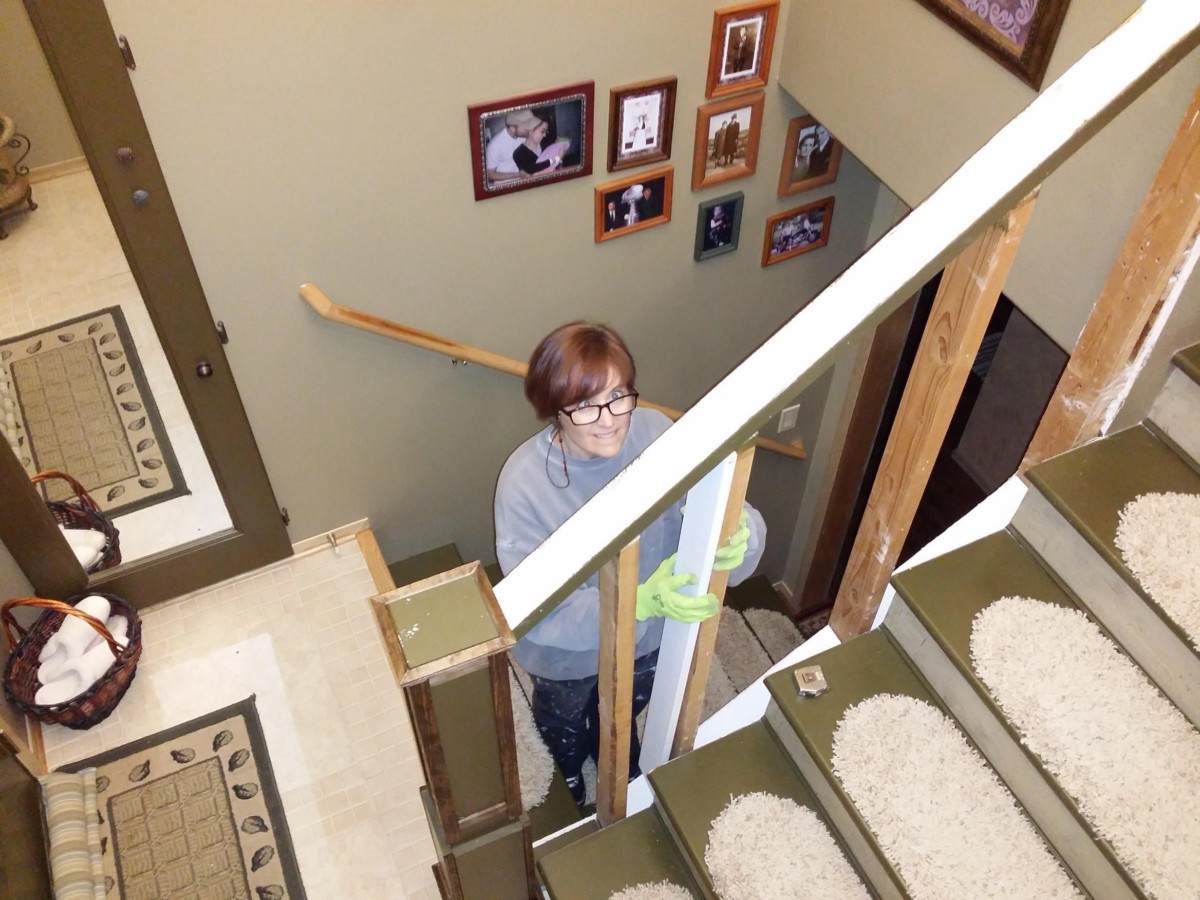
My first step was to remove the banister board along the top of the wall. I was hoping I could see between the drywall at that point but, as you can see, I couldn’t….so….I decided to just start sawing away at the drywall. Since there are no outlets in the wall, I was certain I wouldn’t be at risk of getting electrocuted.

Stairwell wall from upstairs Stairwell wall from downstairs After removing top board First cut into the drywall All drywall removed Removing the drywall from the stair treads View from downstairs after drywall removal
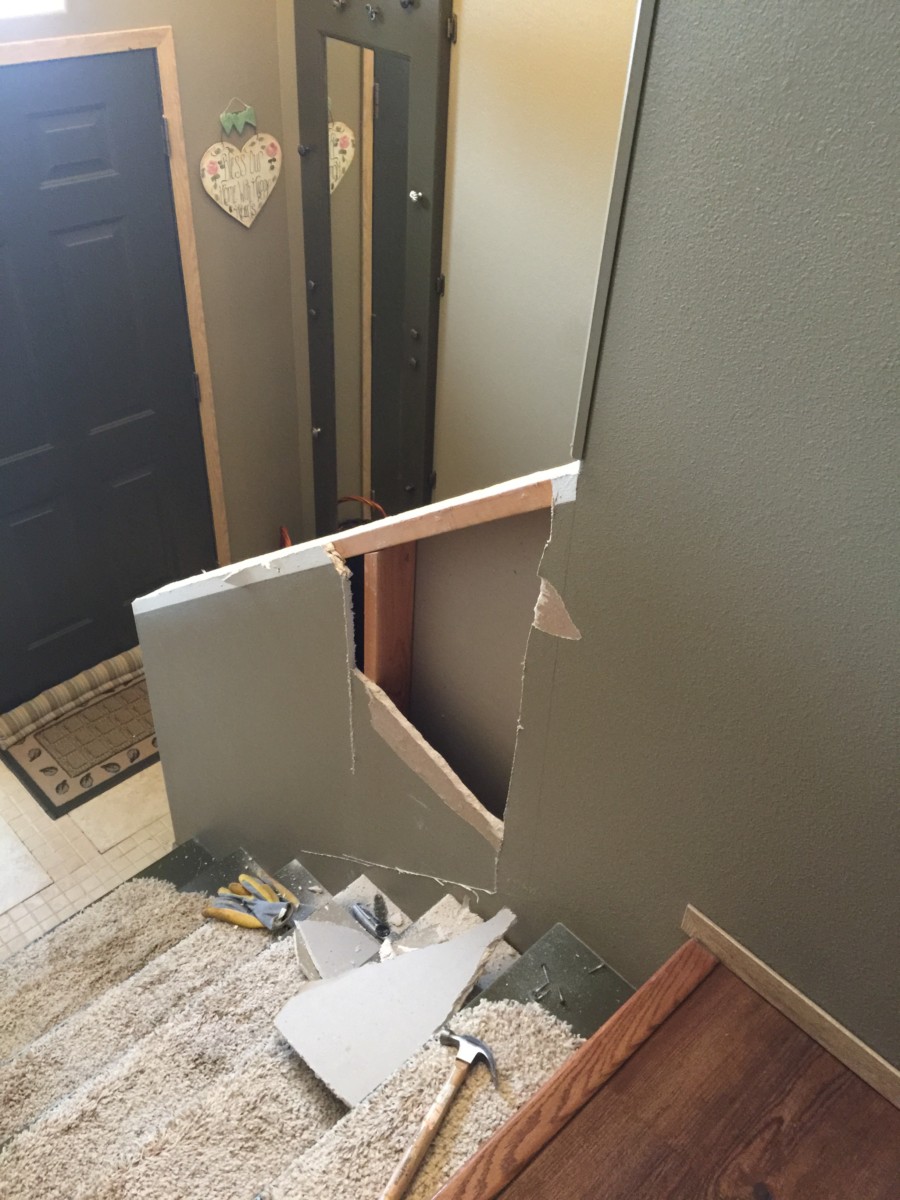

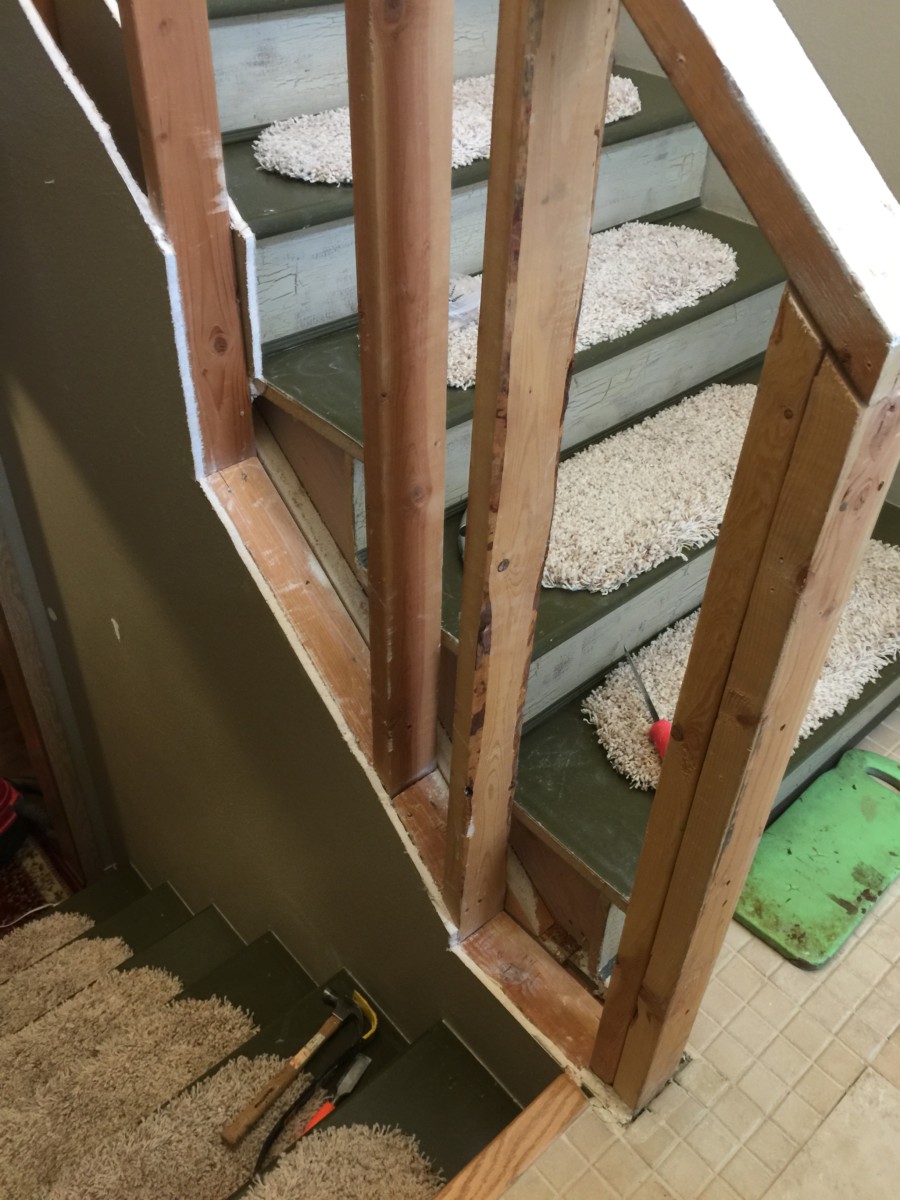

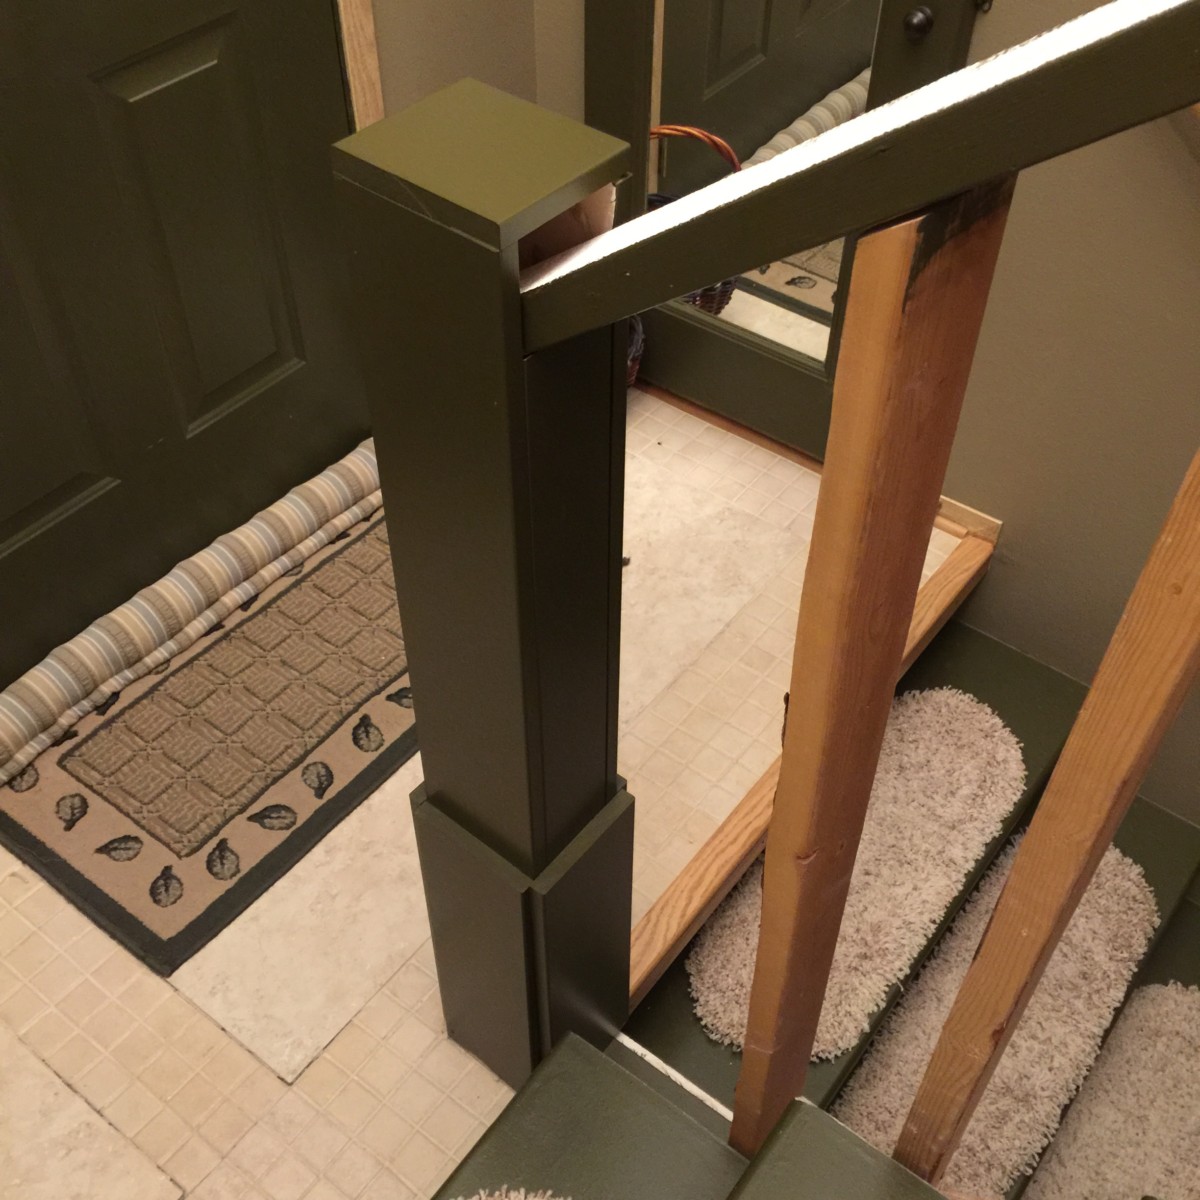
Once the drywall was removed, I had a good look at the structure. I’m always surprised at what lies beneath the beauty of finished construction. The 2x4s were unevenly spaced and the ones at the end that would be the newel post were installed crookedly.
Since I’m not a contractor, I did not want to remove the structure and start from scratch. I had watched enough YouTube videos to know that you have to be very careful with the angle of the banister. Instead, I decided to use the existing 2x4s by wrapping them with wood & trim and then add additional spindles to prevent anyone from falling through.
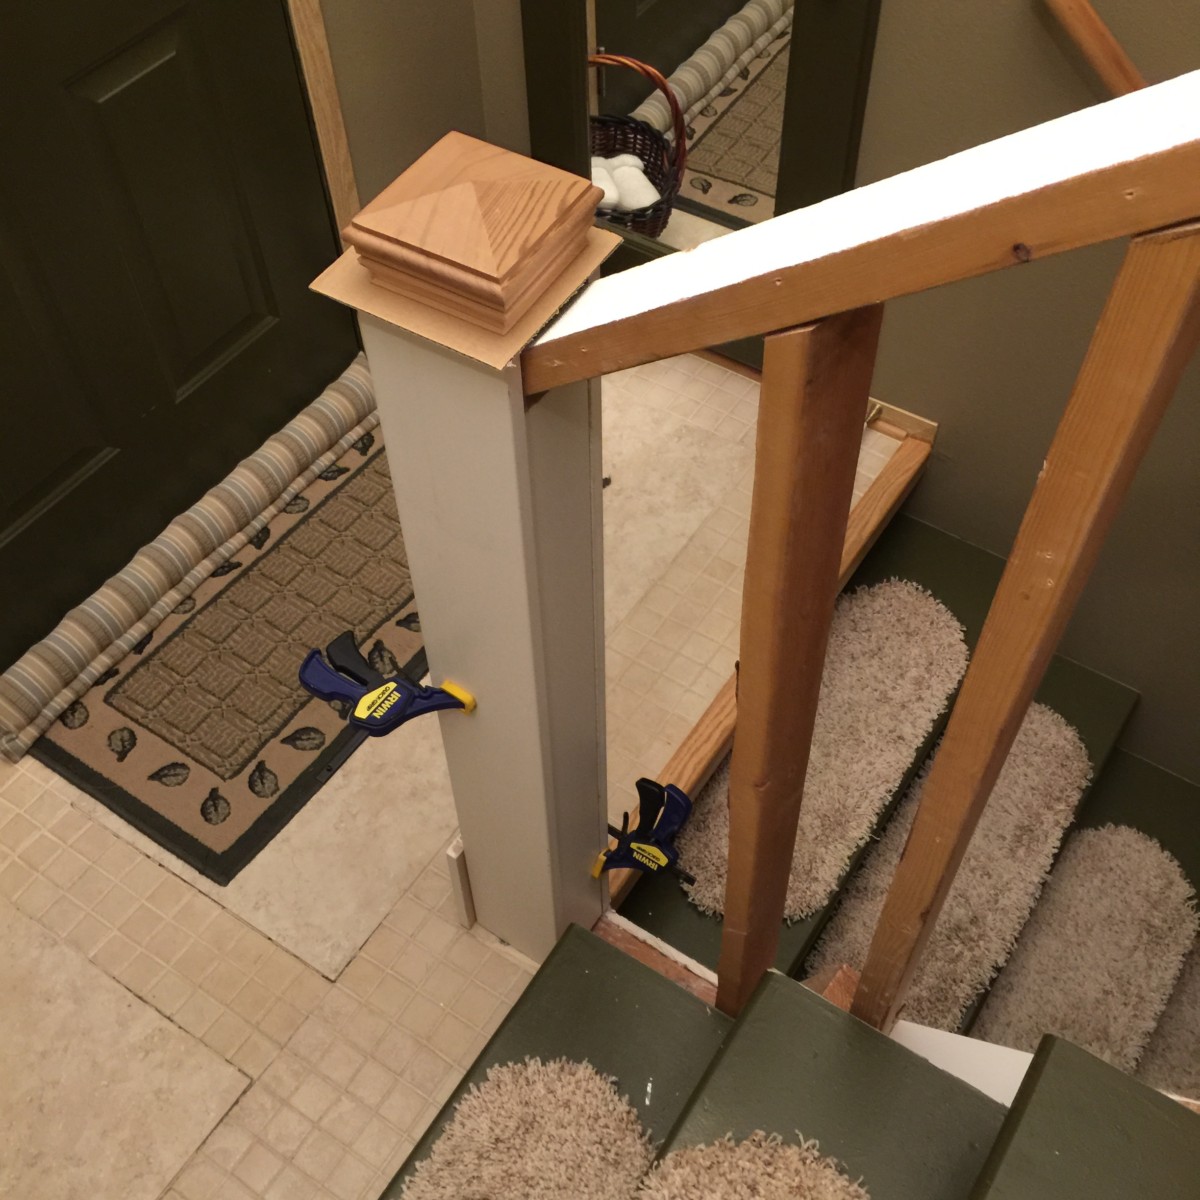
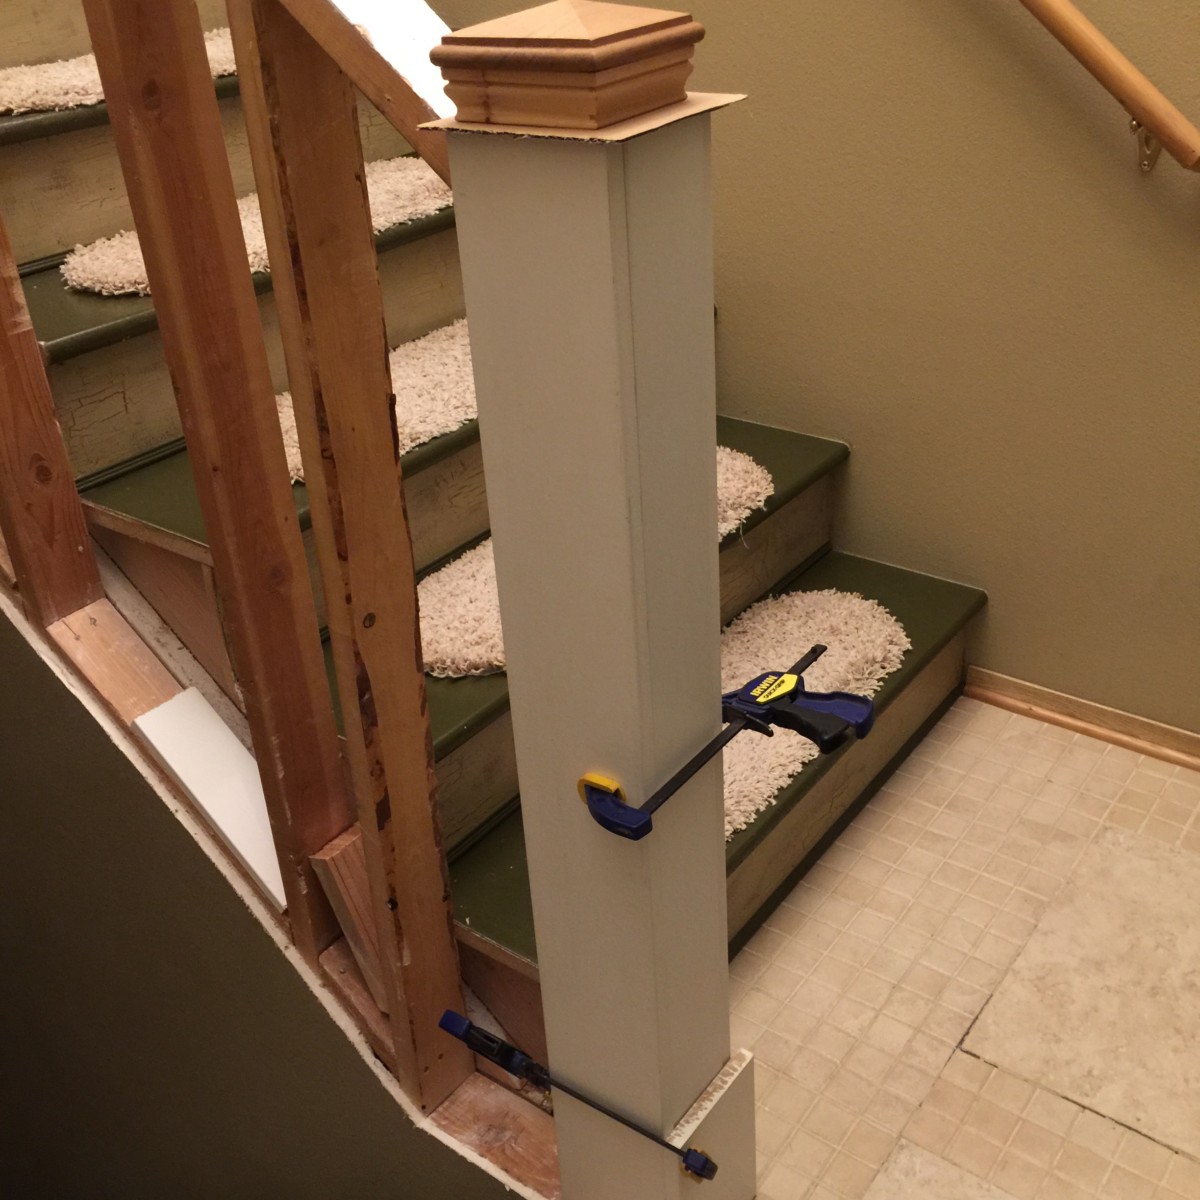
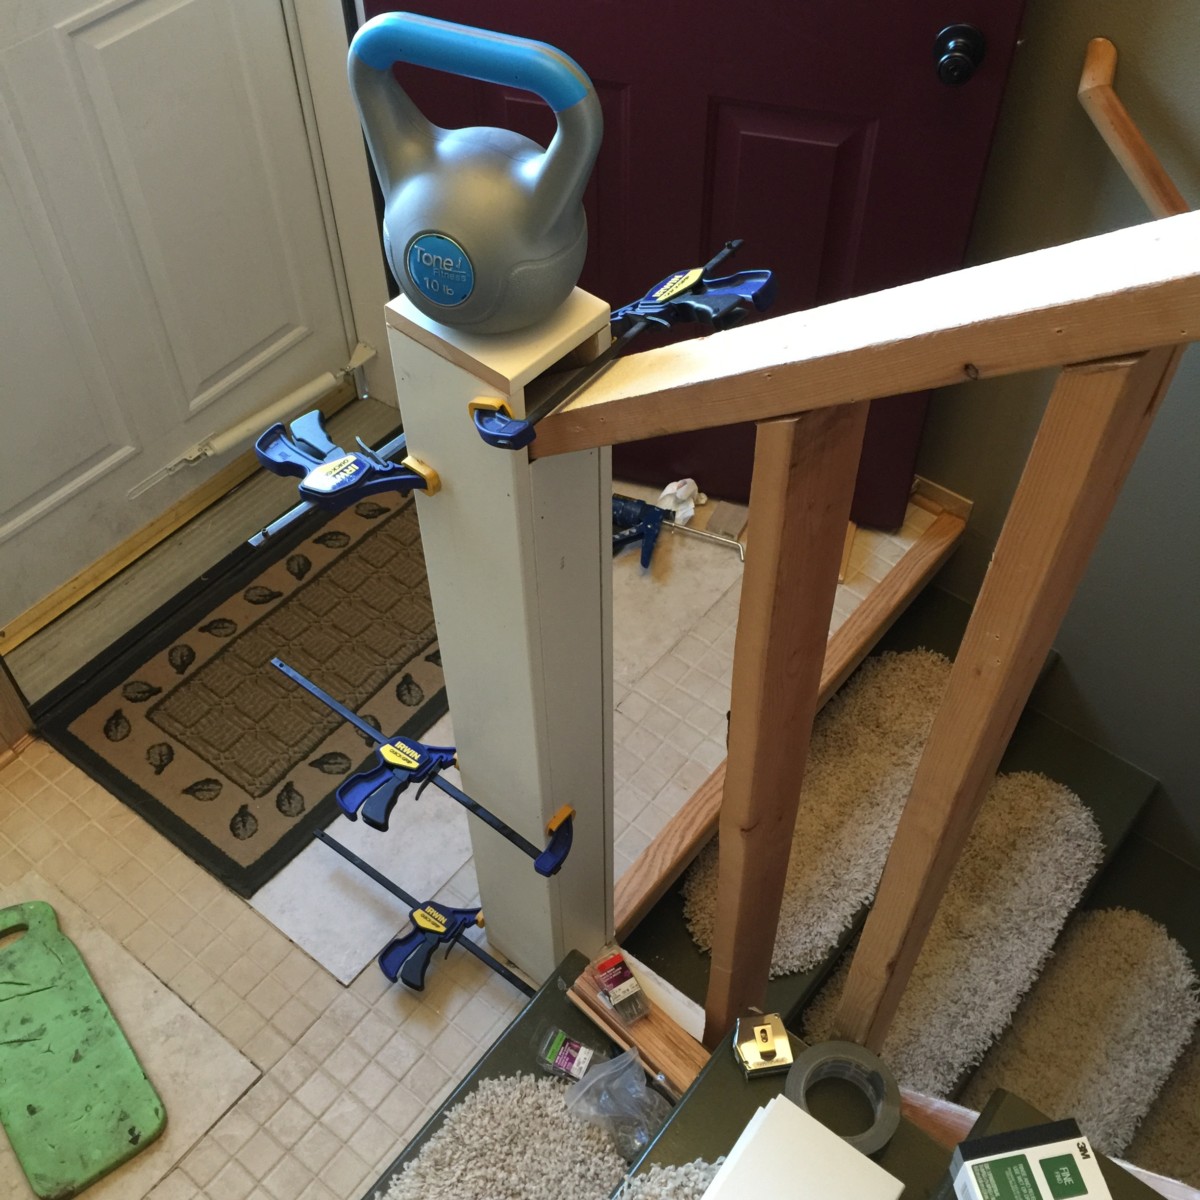
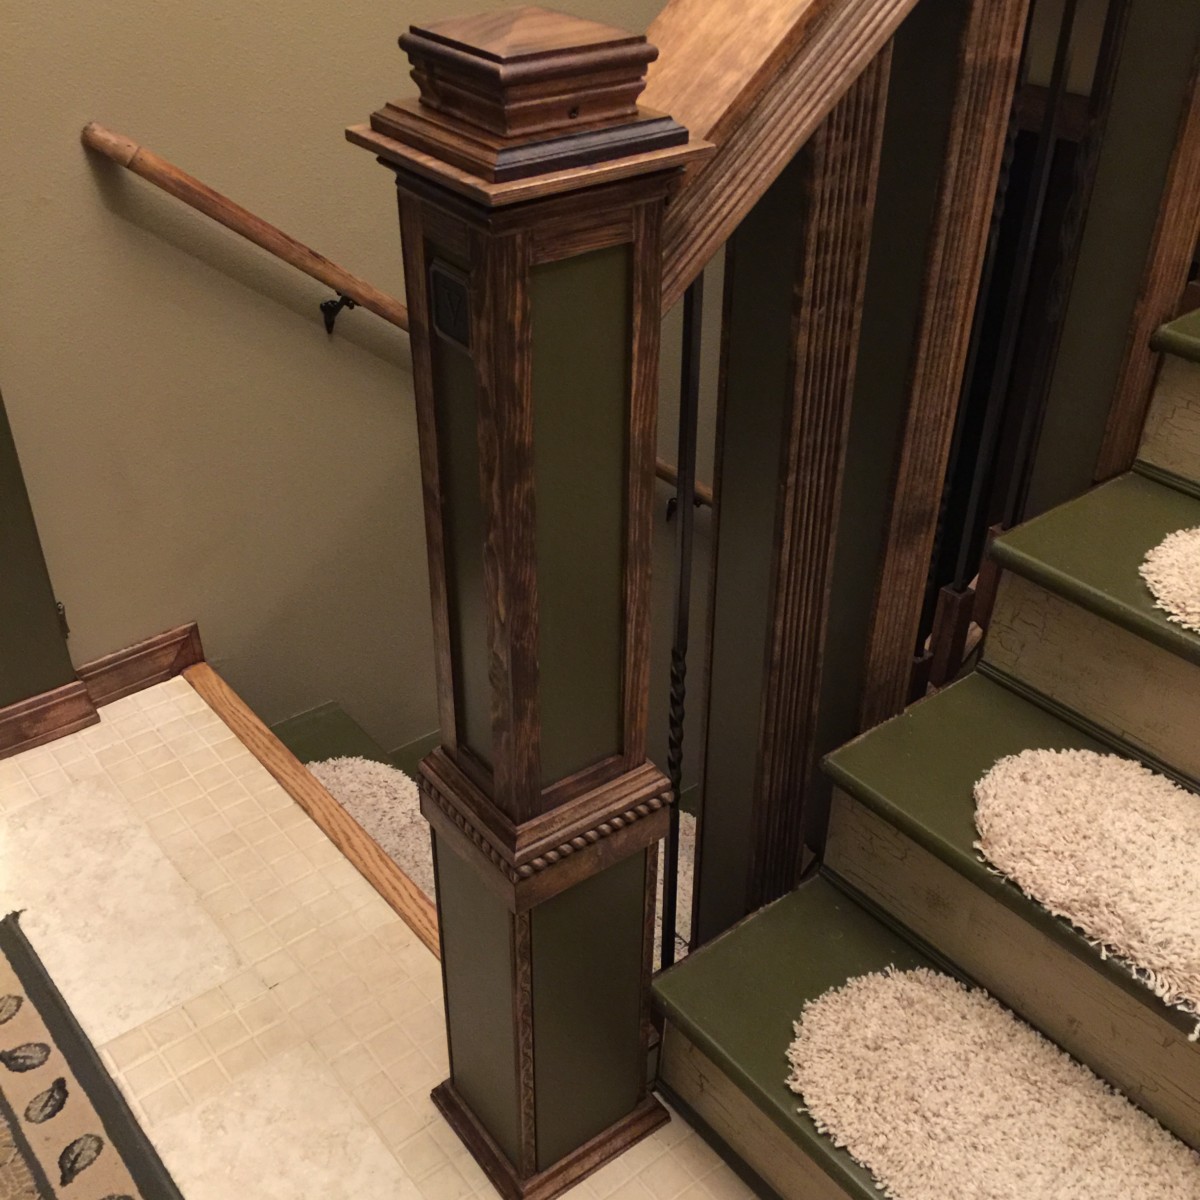
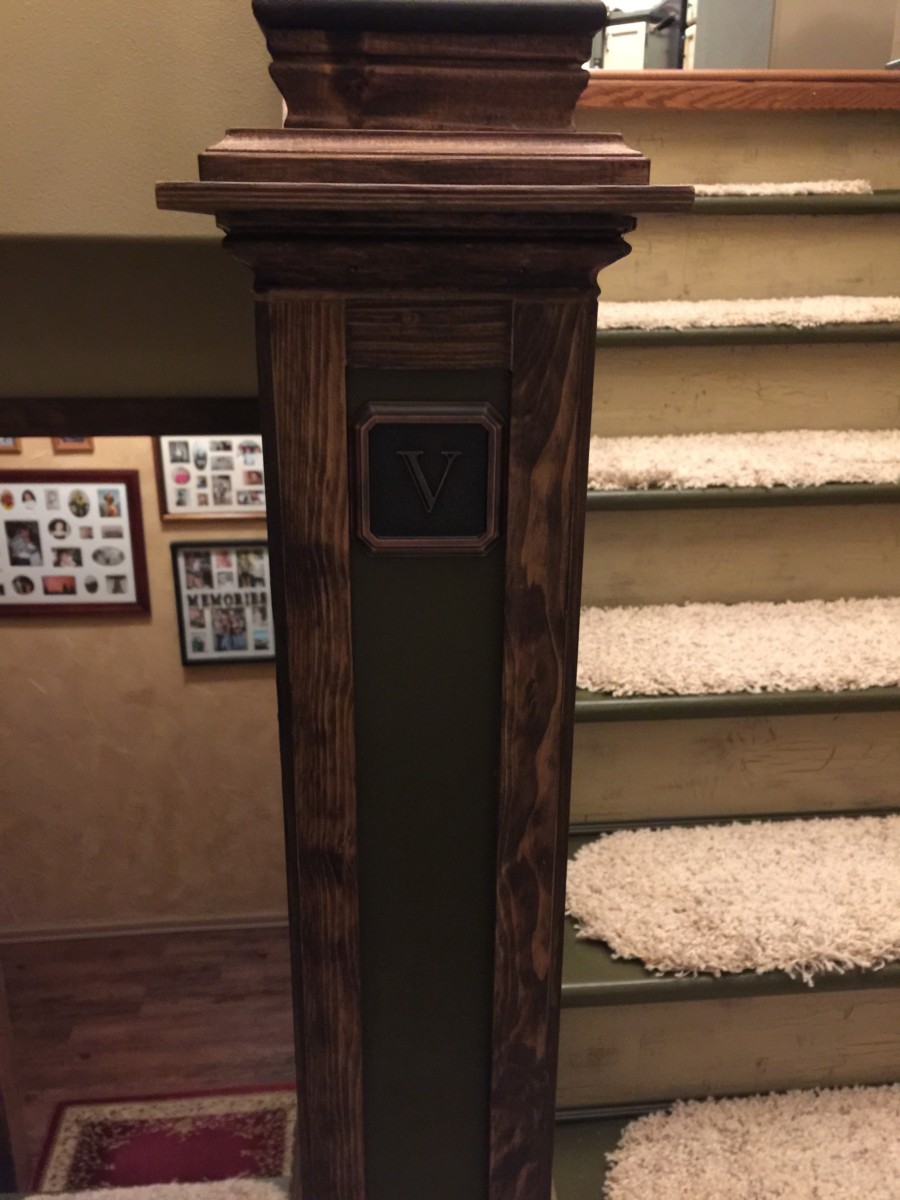
Creating a newel post
I don’t remember why I chose to tackle the newel post first, but I did. Since the posts would eventually be painted and accented or covered with real wood trim, I started building them out with 1″ x 4″ pre-primed wood boards. Below is the process for the newel post. I used construction glue to adhere the wood to the 2x4s and then clamped the boards on while the glue dried. Even found a use for my 15lb kettlebell….since all my free time is spent on a project, I tend to forgo working out.

Wood glued onto 2×4 Added shorter pieces to the bottom to build it out Always use what works I was particularly pleased with how the cut on this piece fit All boards glued on Painted to match the stair treads Since I added 2 layers of boars, this trim overhung the top step. This wood is to hold it in place while the glue dries


Wrapping 2 x 4 spindles
Now that the newel post had the basics, it was time to move onto the spindles. For these, I just added the 1″ x 4″ pre-primed boards to two sides of the 2x4s and give them a couple of coats of paint. I just used the Behr paint that I had used on the front door and trim work.
Is it possible to have too many clamps? Cut, glued and clamped to dry View from downstairs 
Working on the spindles Dried and ready for paint Painted and ready for trim
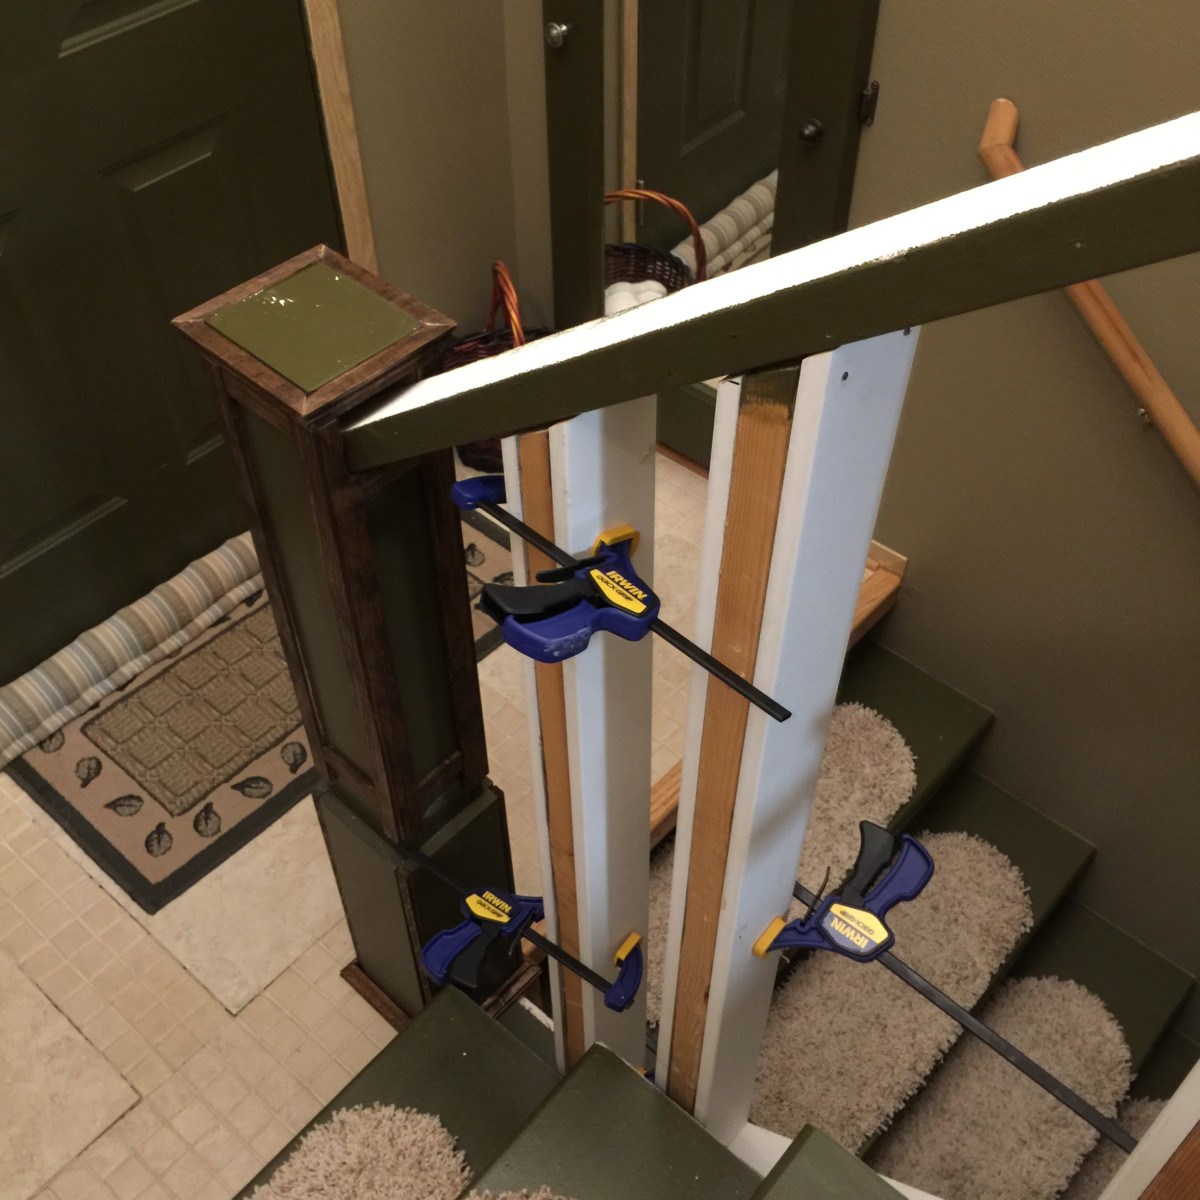

Adding trim
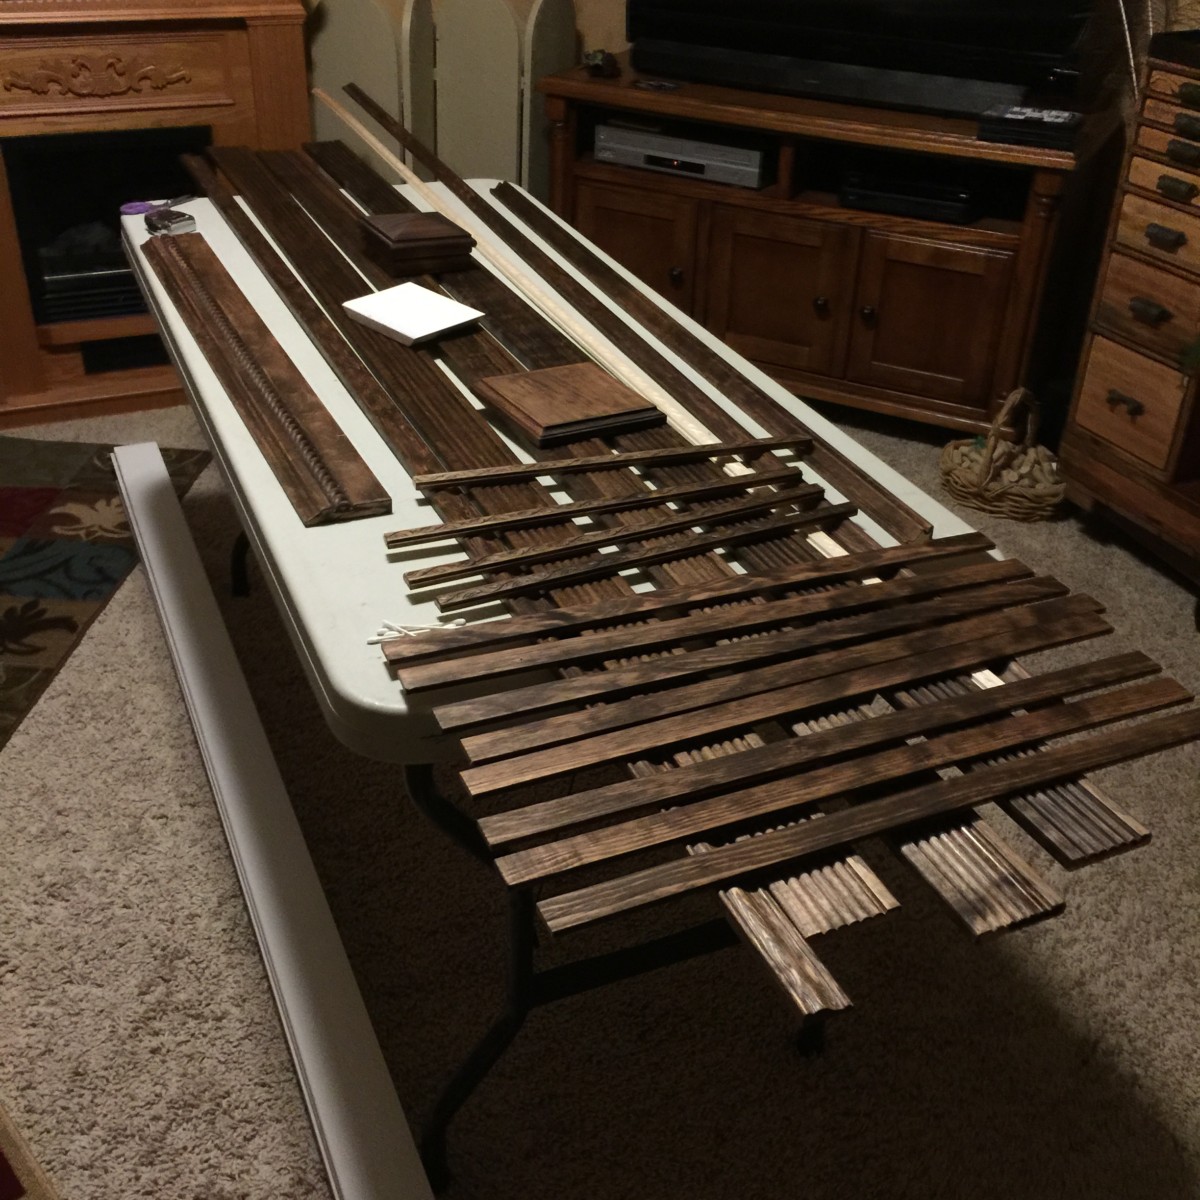
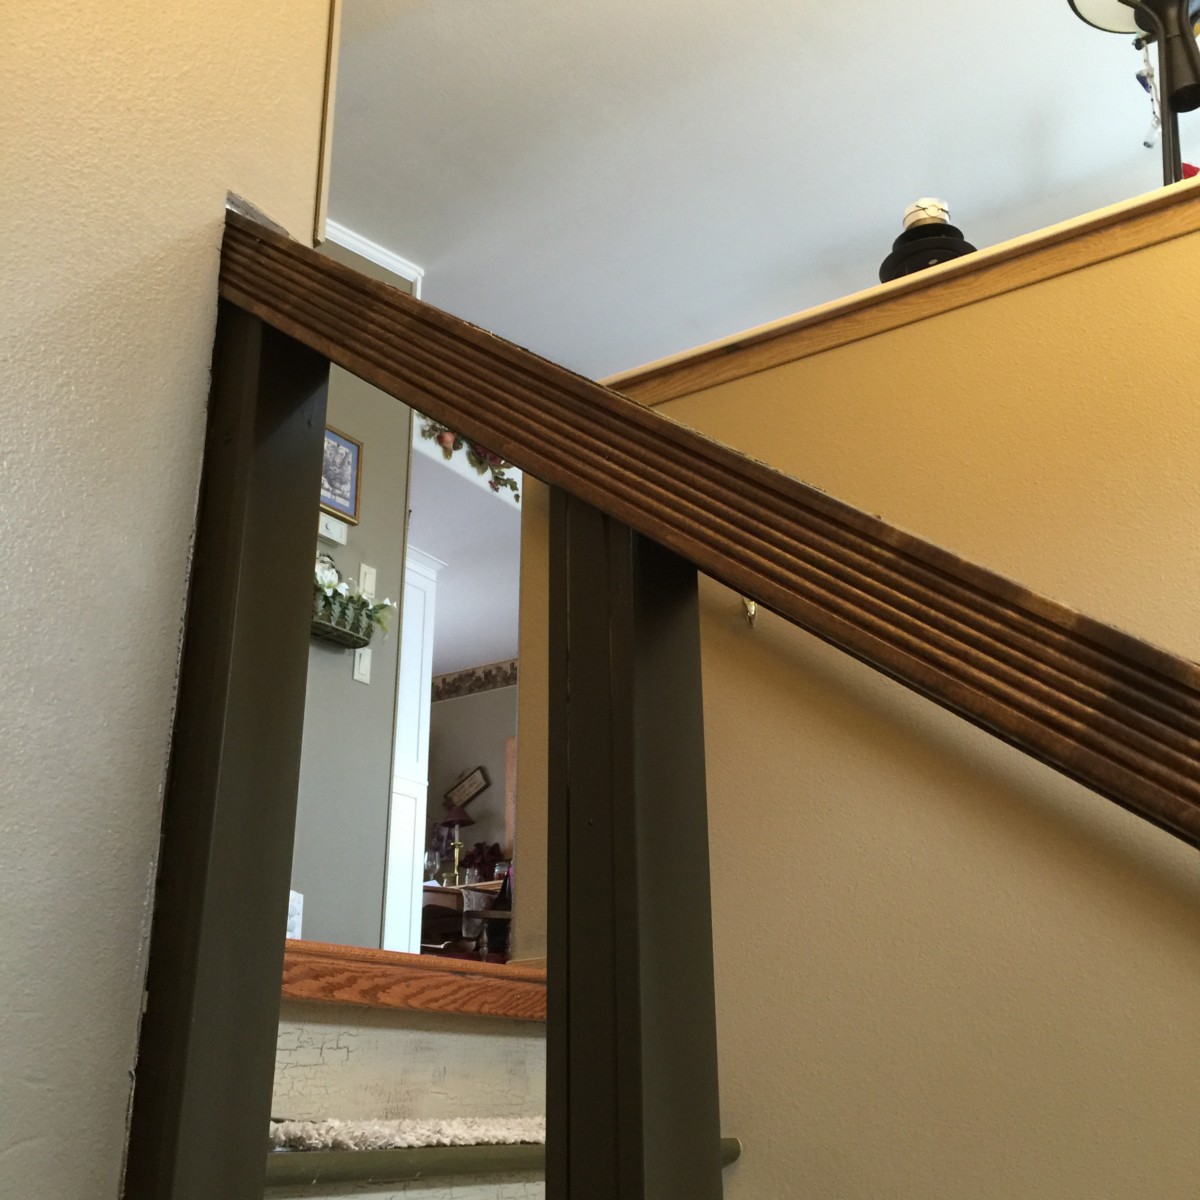
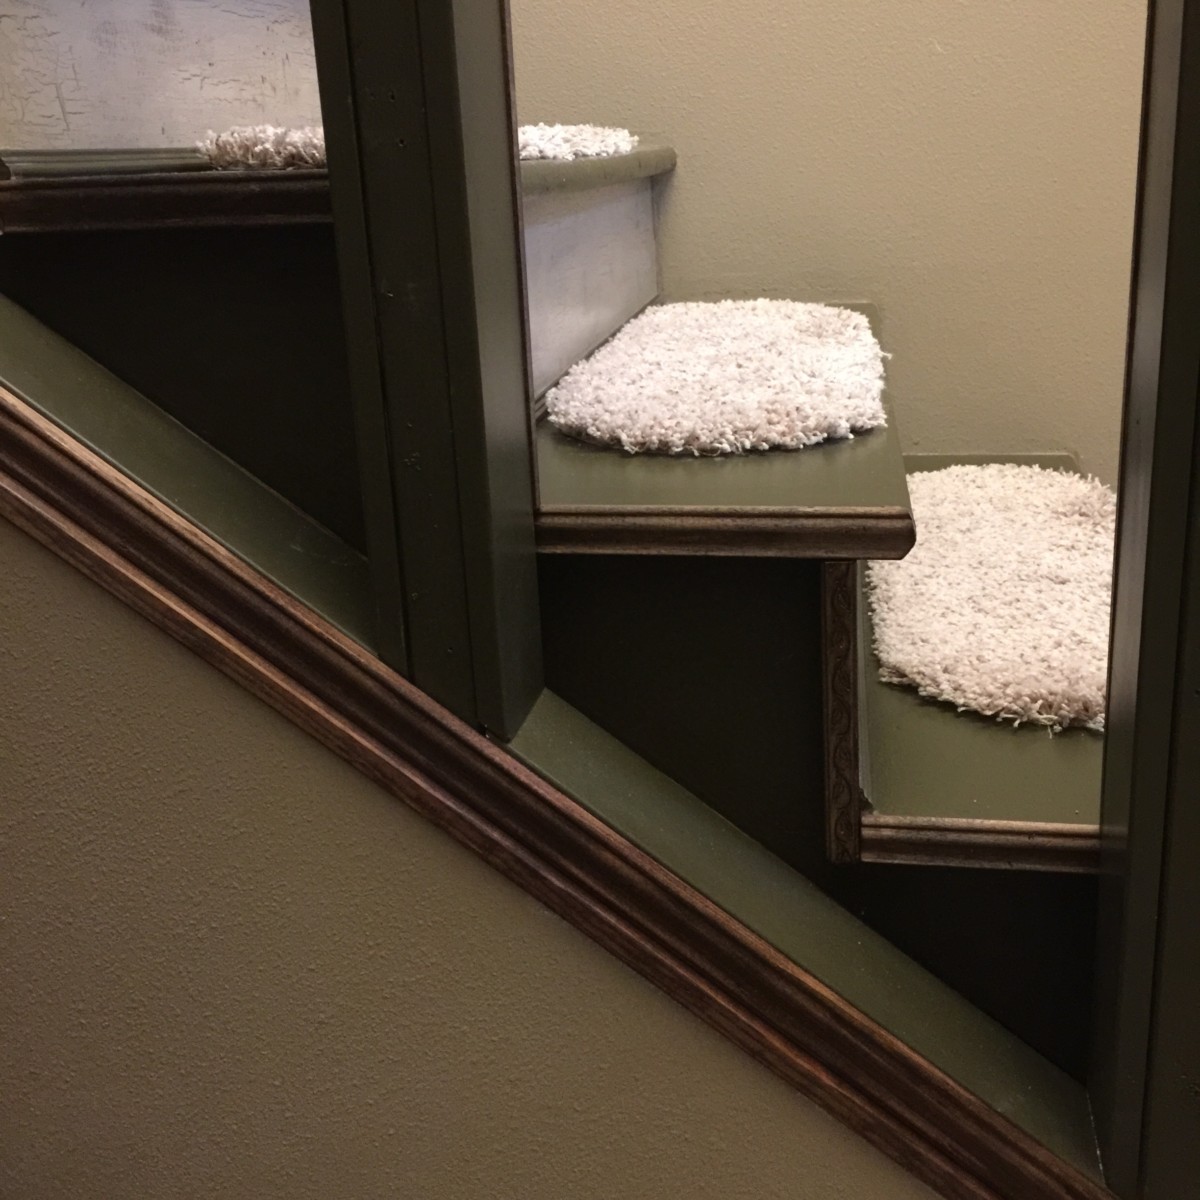
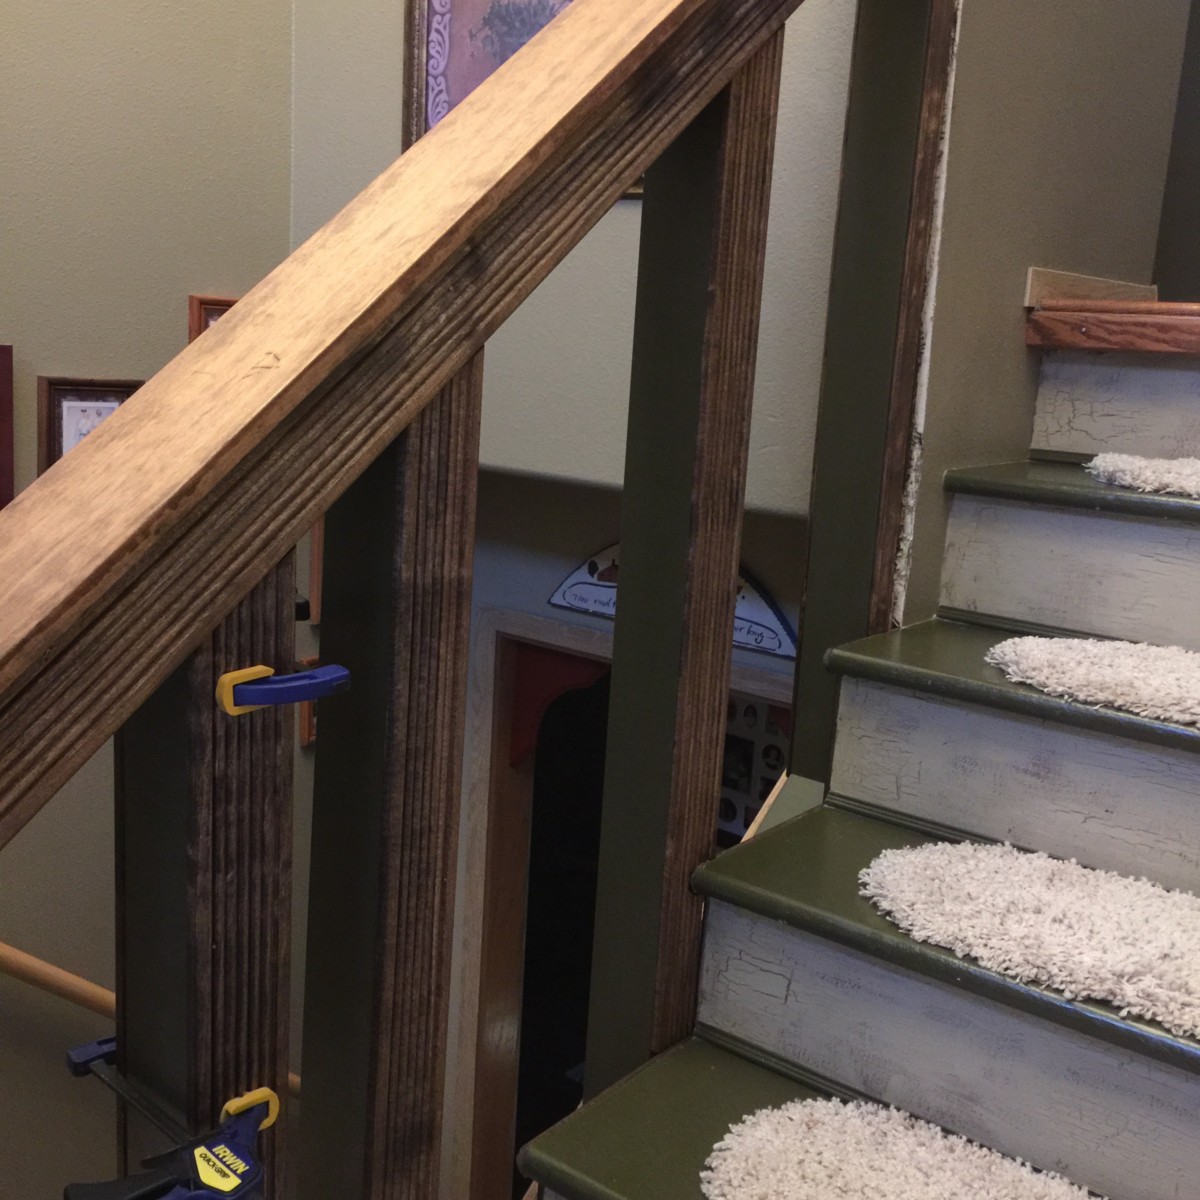
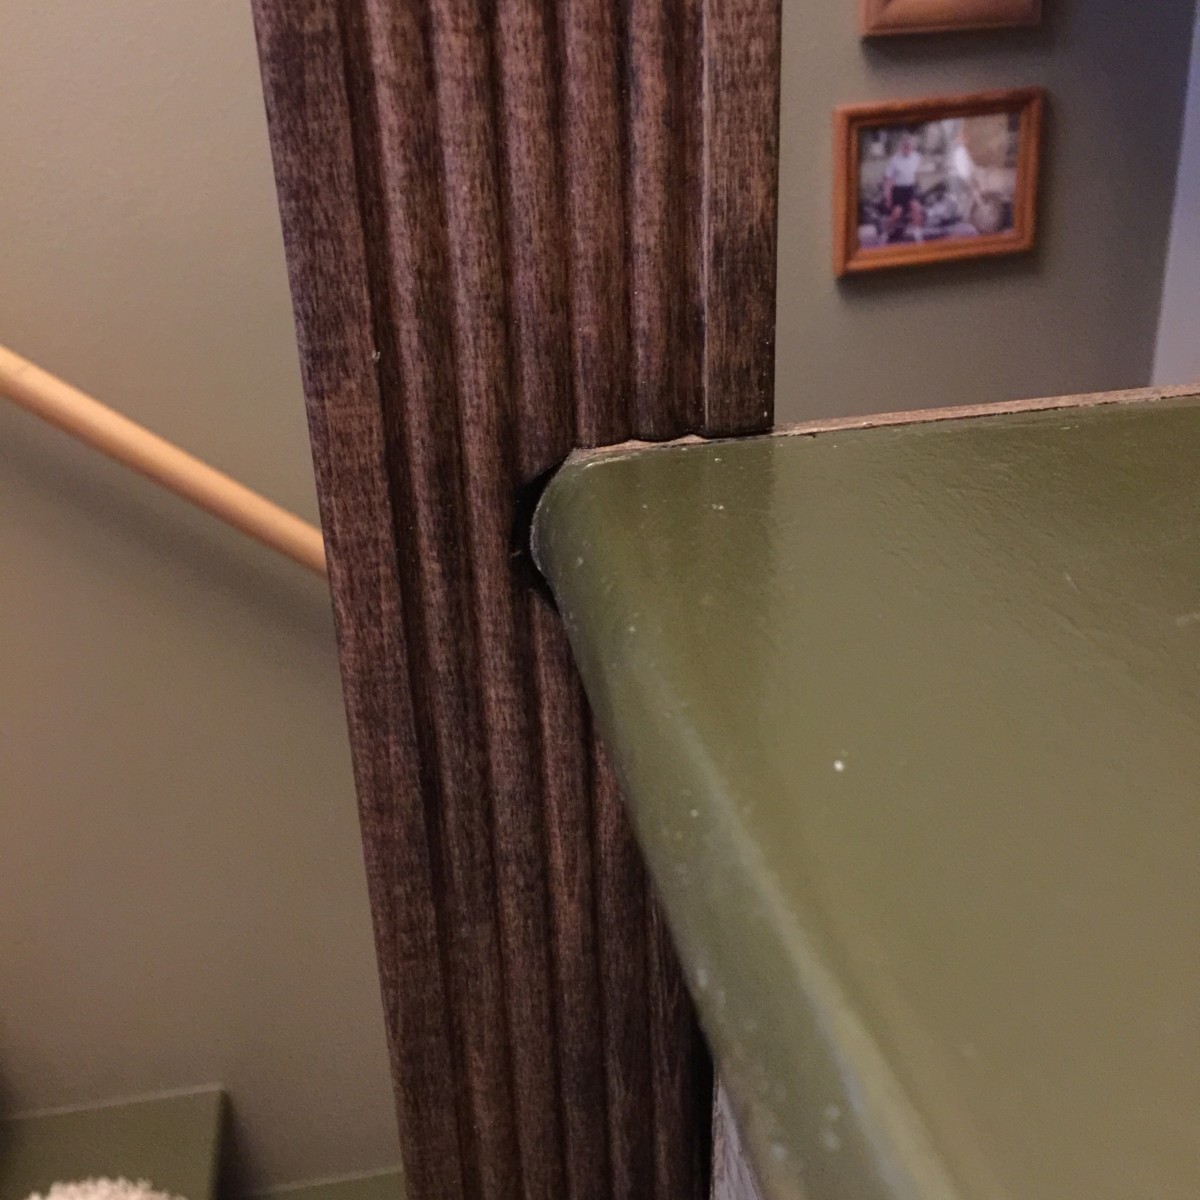
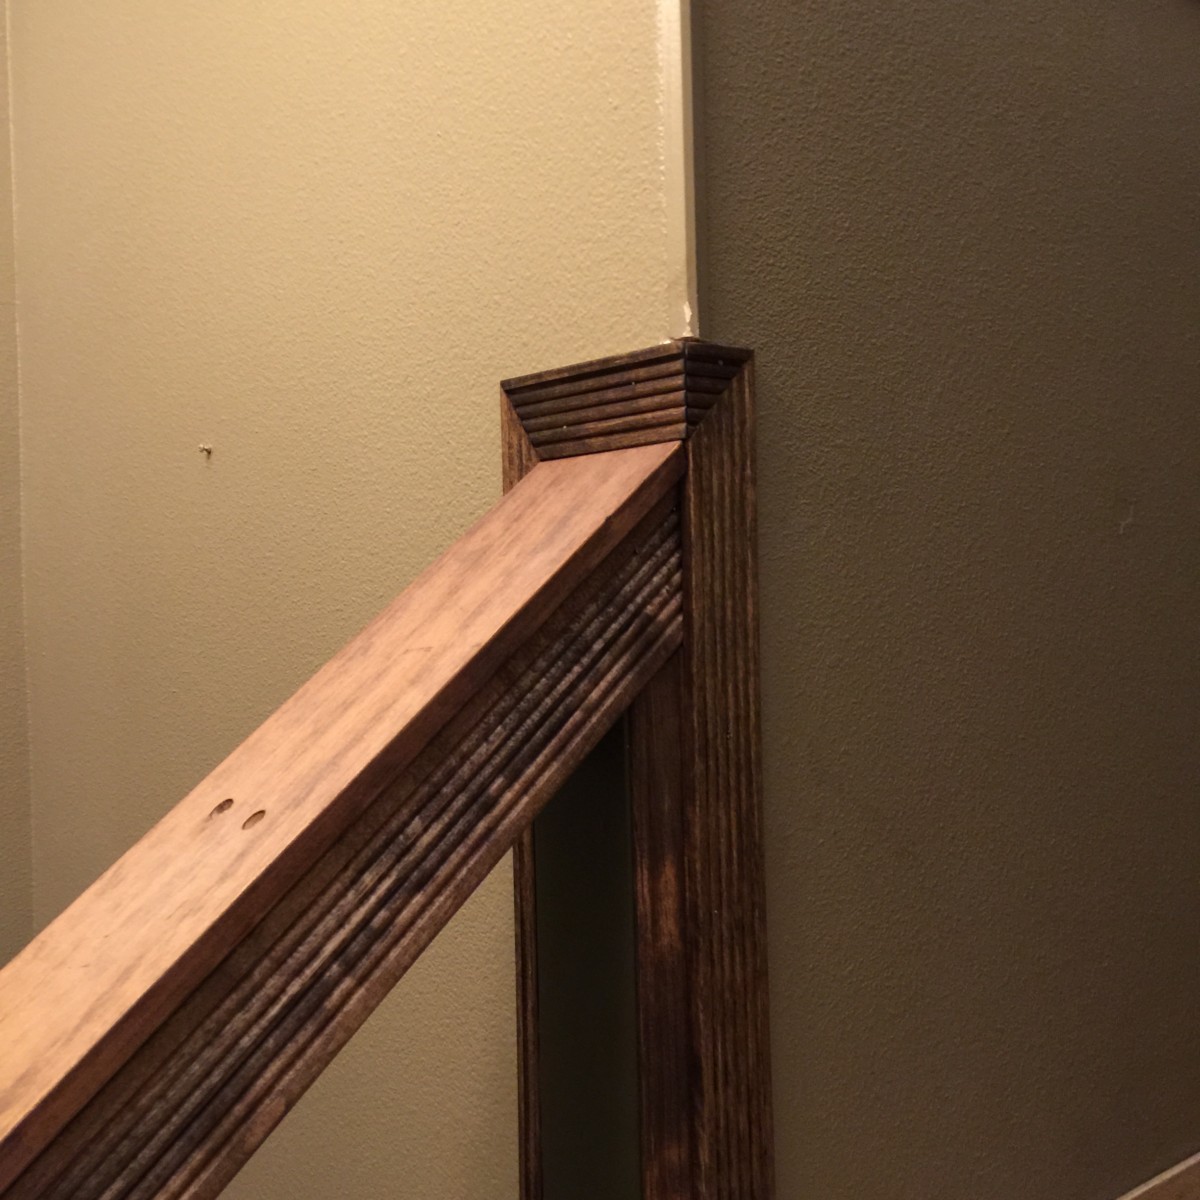
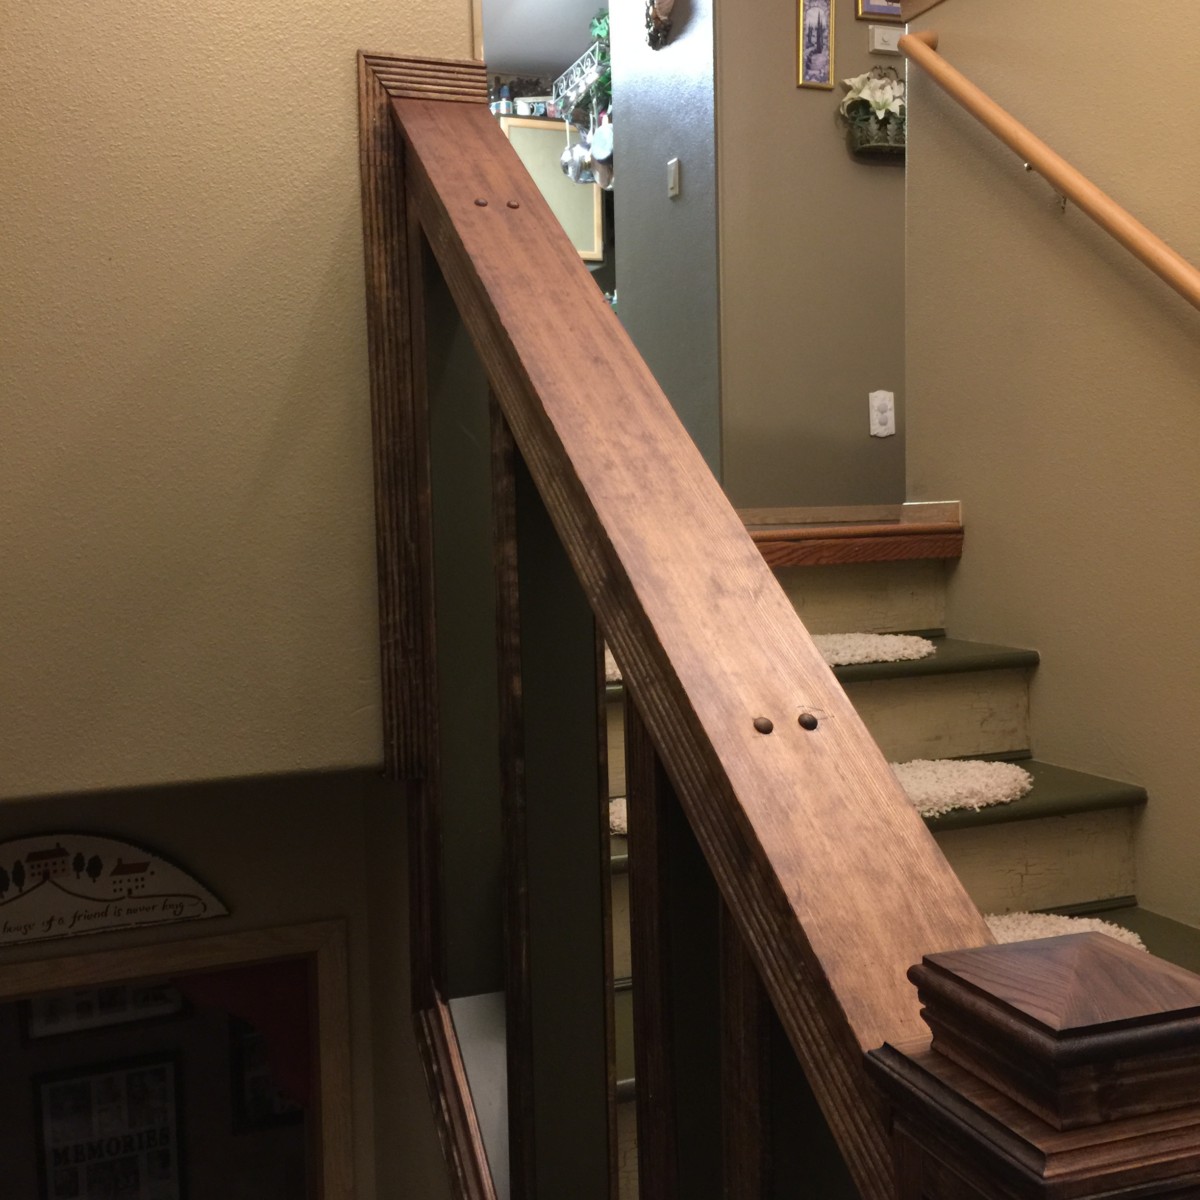
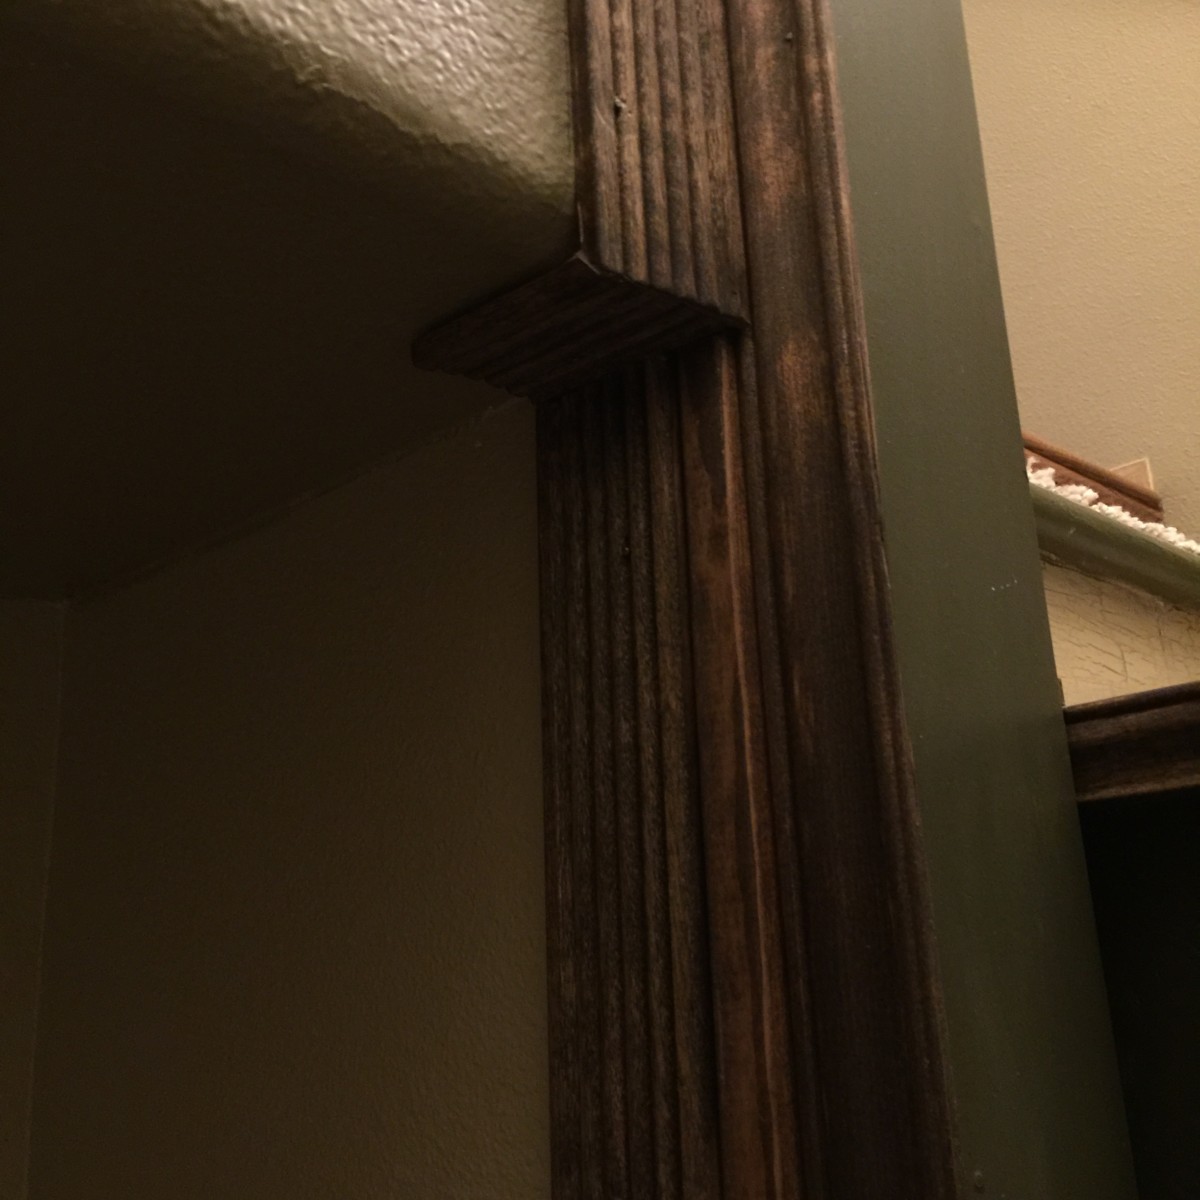
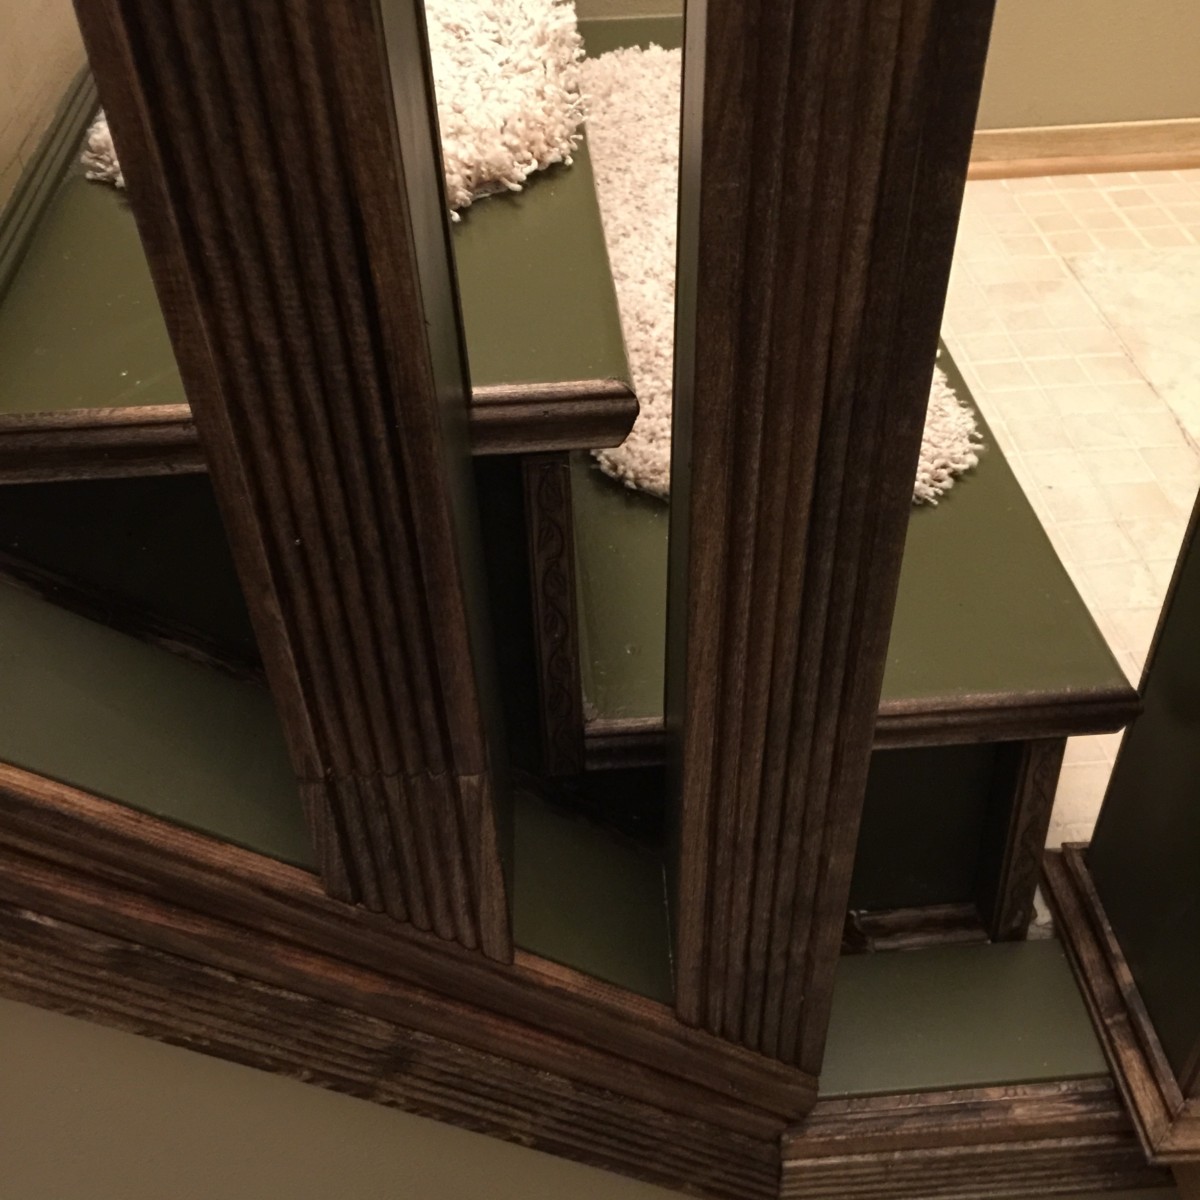
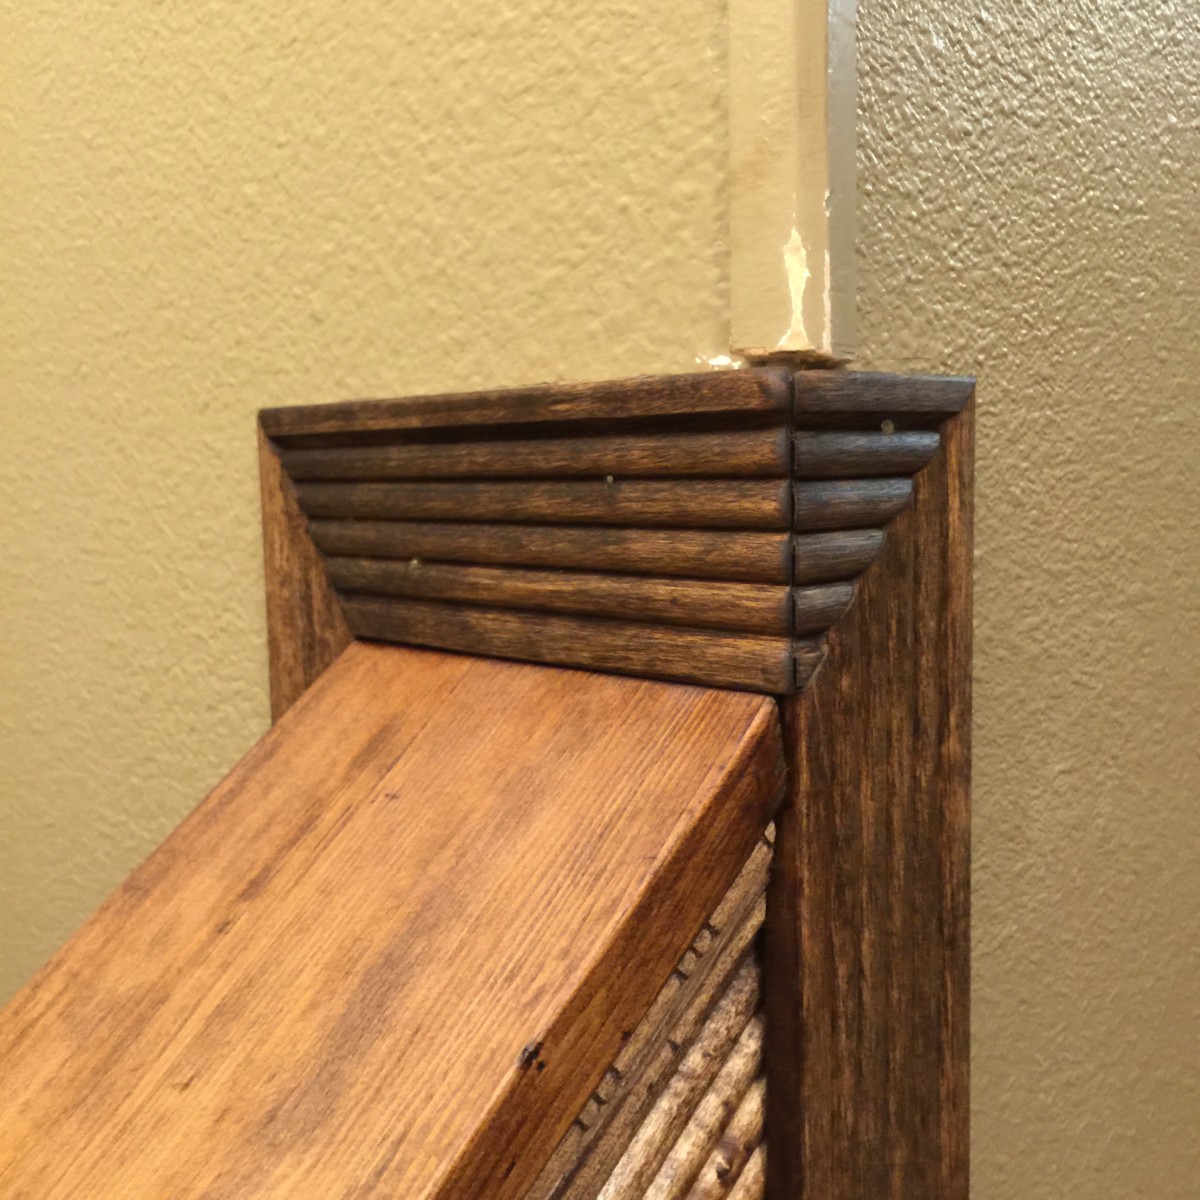
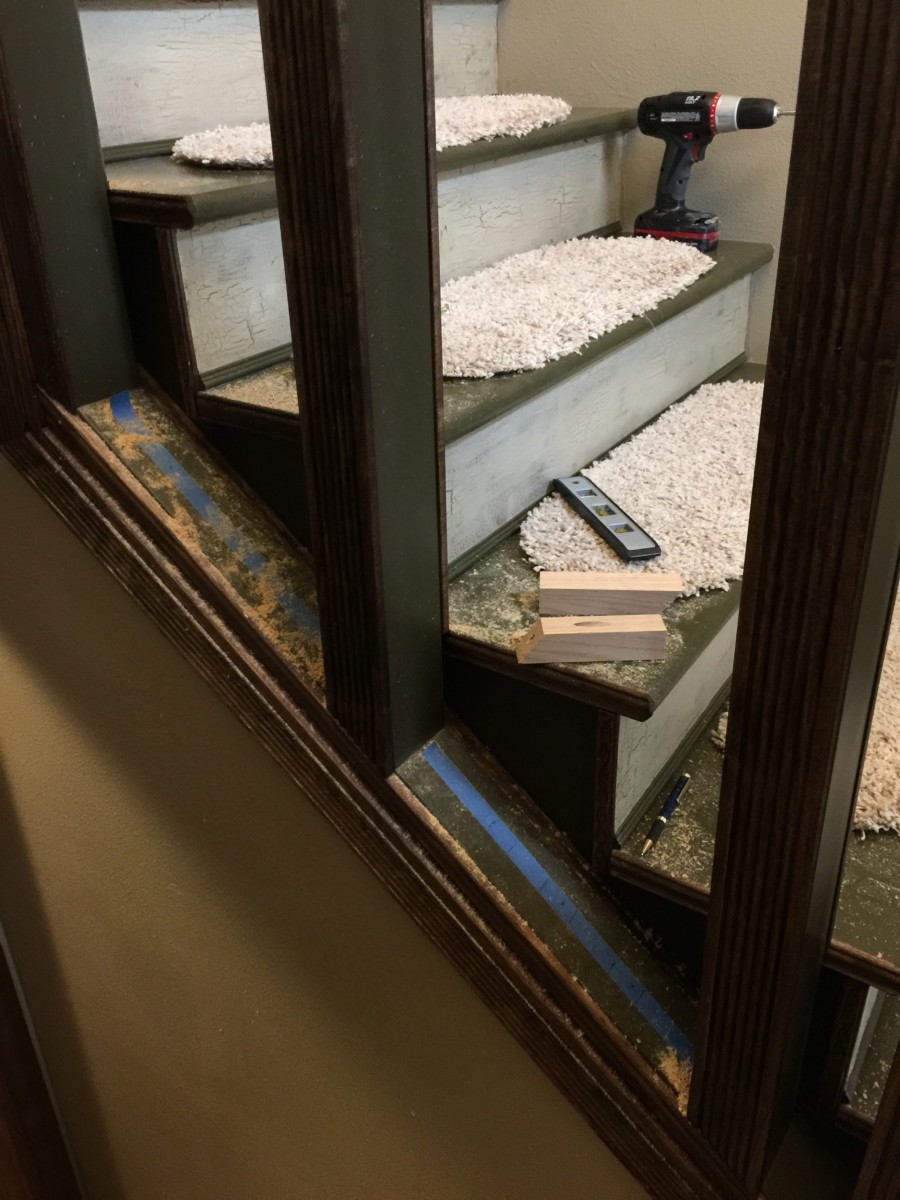
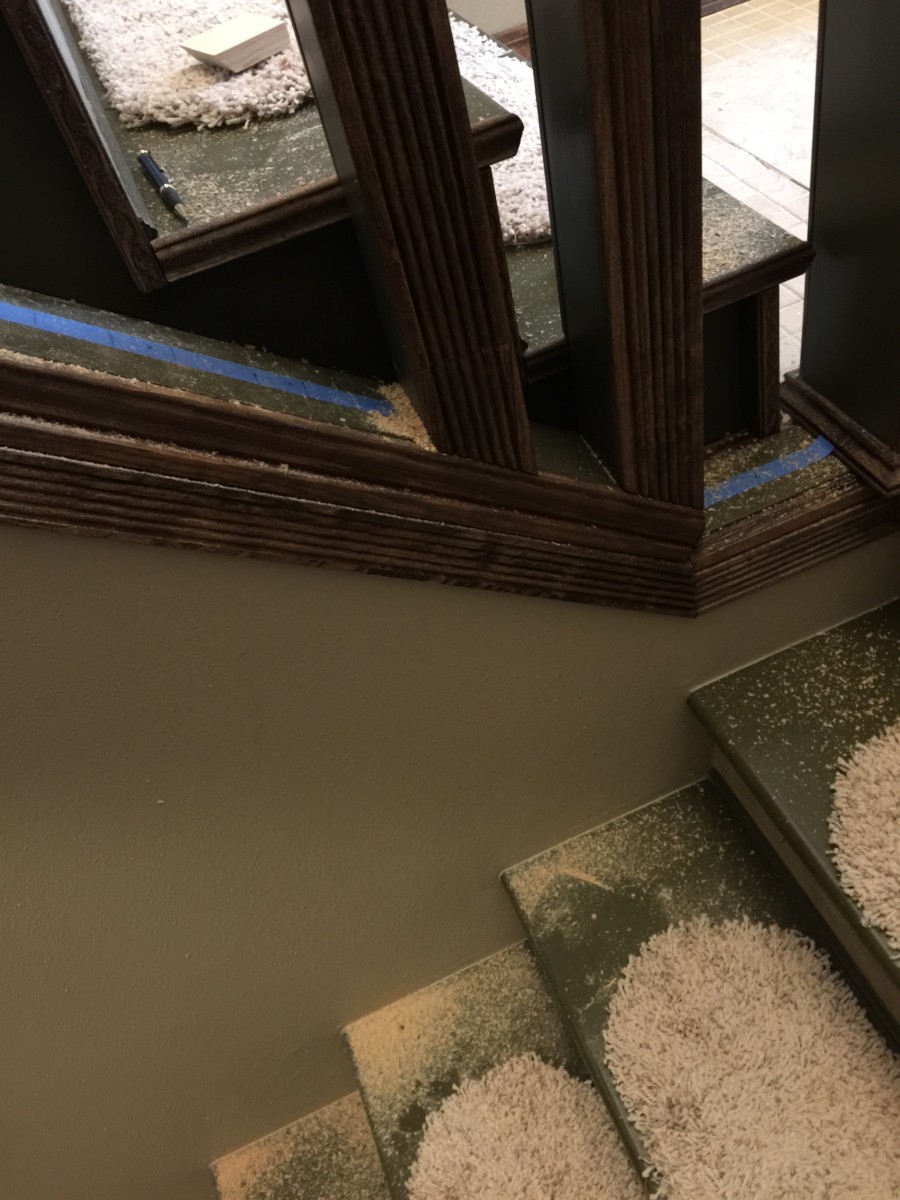
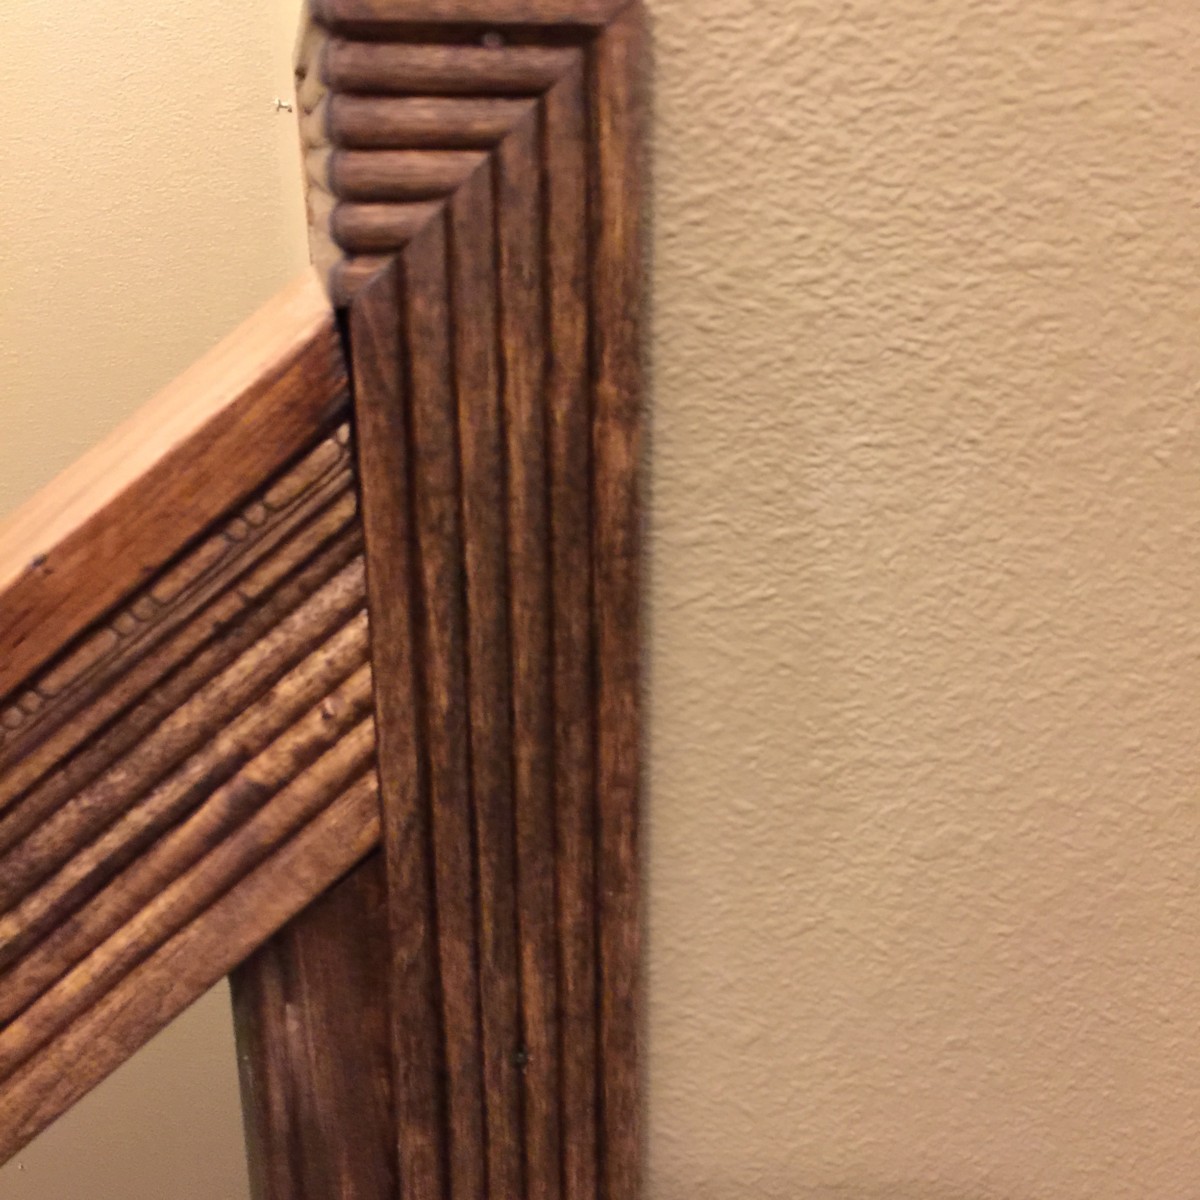
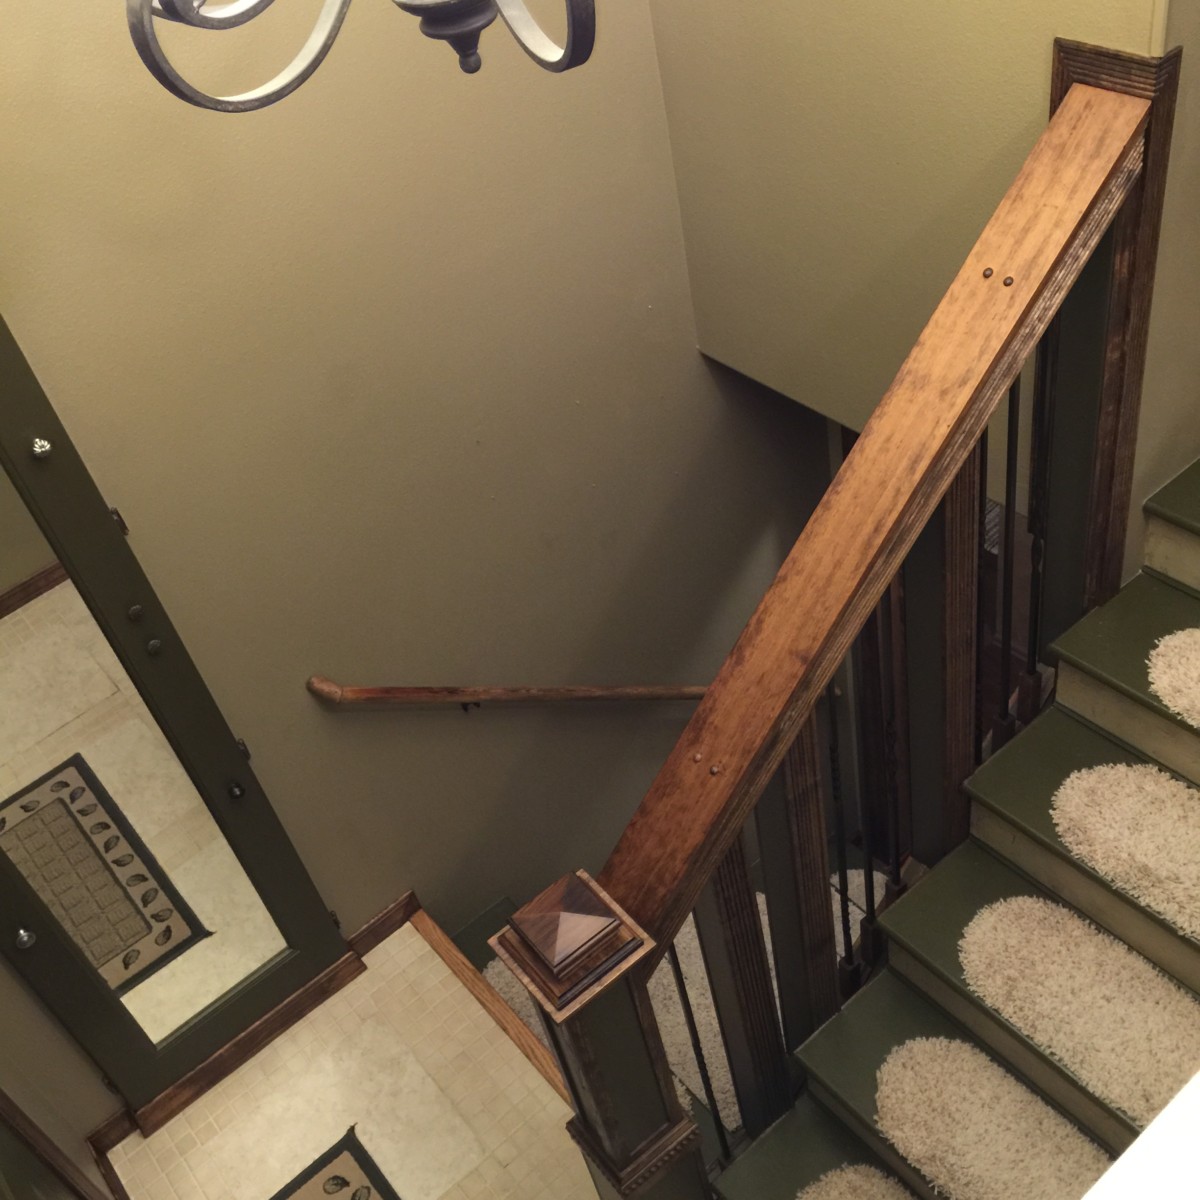
Now that the spindles and newel post have been built out, it’s time for the finishing trim. I stained all trim with Minwax water-based stain in Provincial prior to installing and applied 2 coats of Minwax water-based polyurethane. Since I started this project in January, the staining & poly were done in the family room. Added wood trim to the newel post, spindles, sides of the stair treads, banister rail, and trimmed out the adjoining wall space.
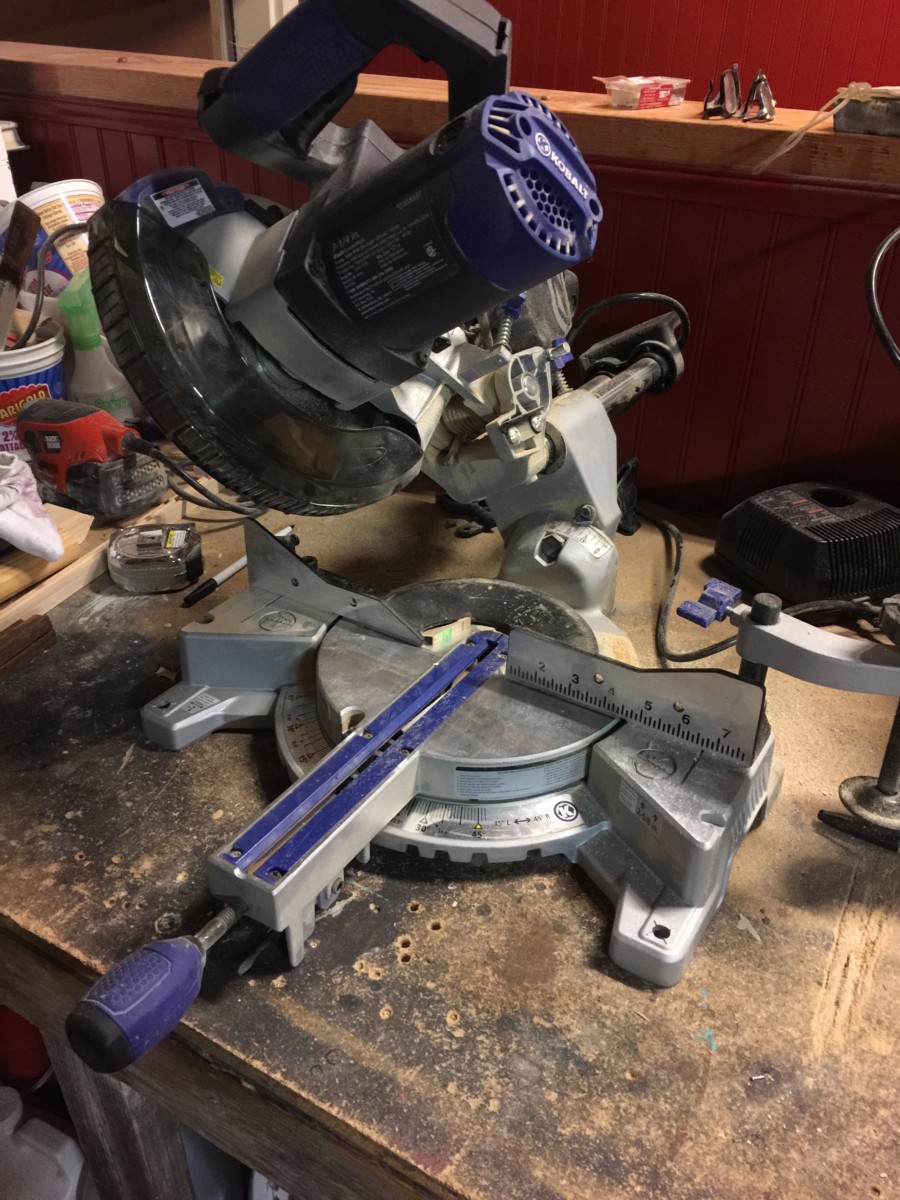
For all my prior wood trim projects, I used a miter box and saw, you know the one with the yellow box? Well, I finally decided I would invest in a real miter saw…..OMG!!! I fell in LOVE! My little saw paid for itself with the very FIRST cut! Had I known they were so reasonably priced and so easy to use, I would have bought one years ago!

Trim stained and polyurethane added My new miter saw!!! Close up of stair tread trim Adjoining wall before being trimmed Added trim to sides of bannister Trim on adjoining wall Glued on and clamped to dry Trim cut to fit stair tread edge Bannister and wall trim View of bannister Trim on adjoining wall Trimmed out sides of stair treads View from lower stairs View of trim at top of bannister


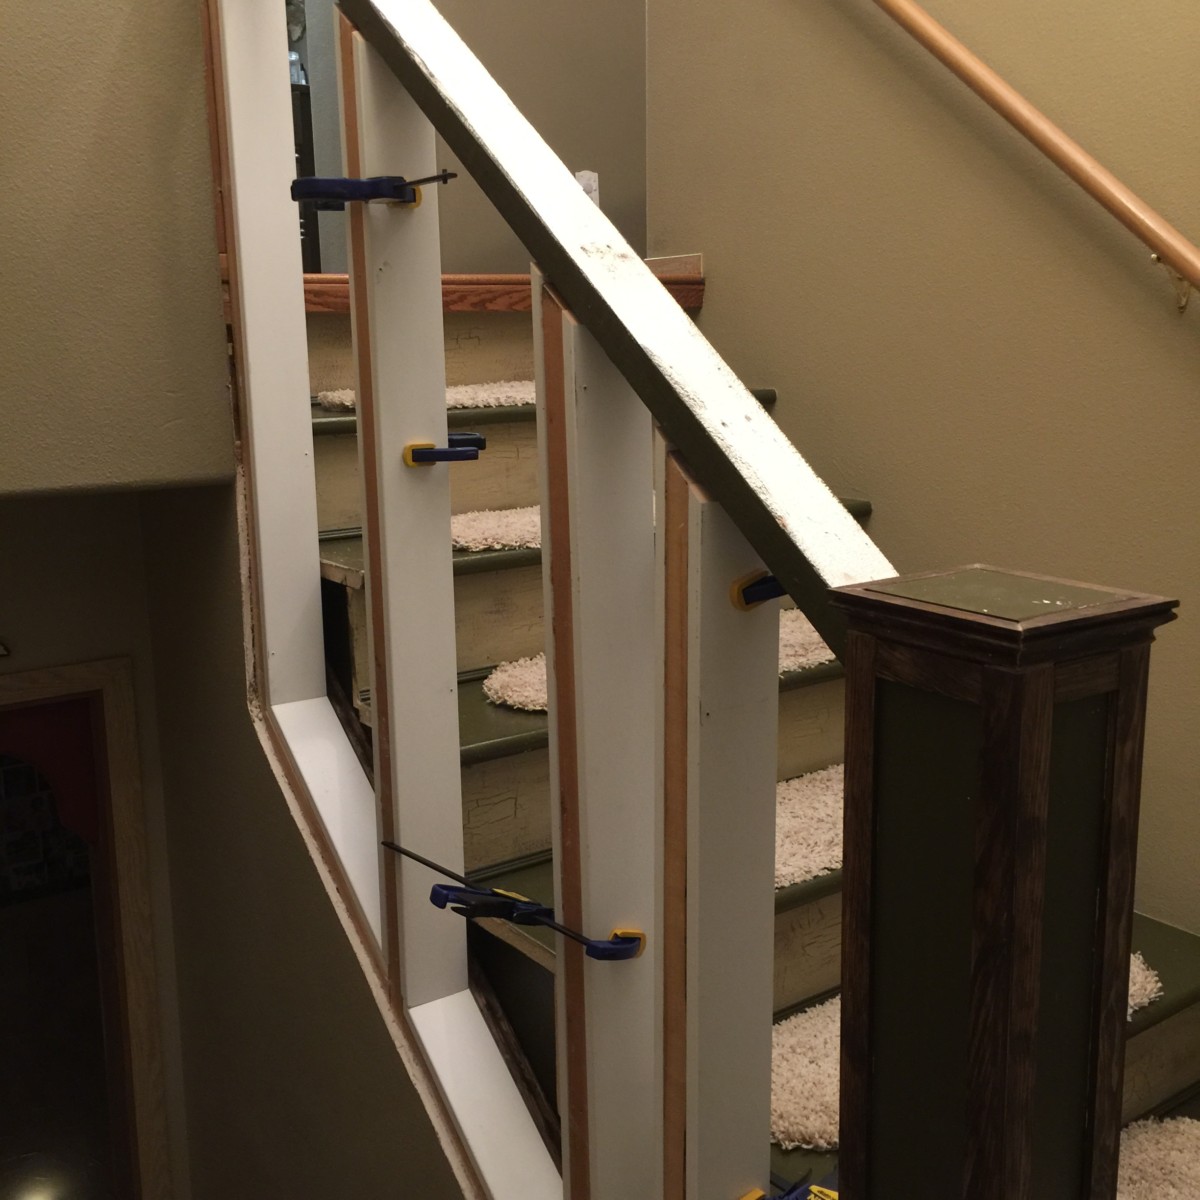
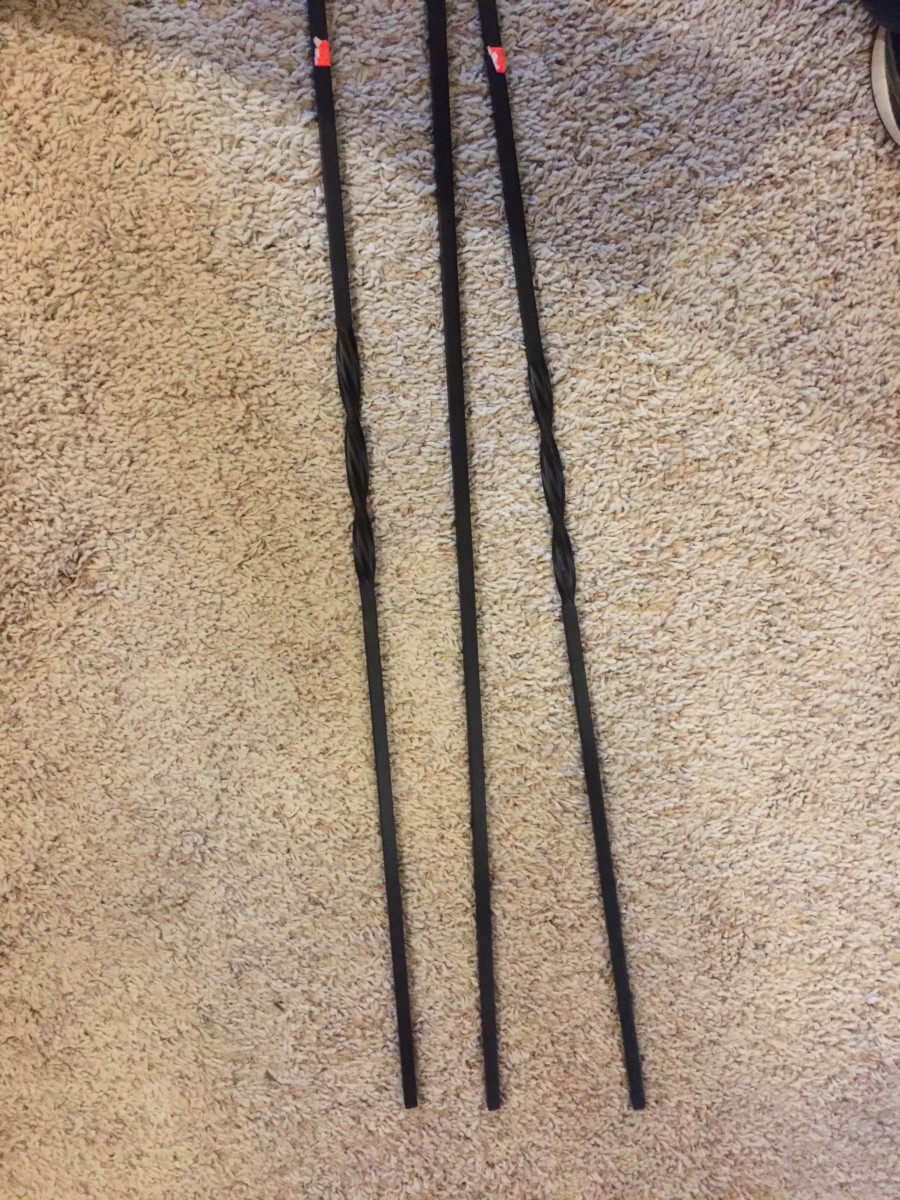
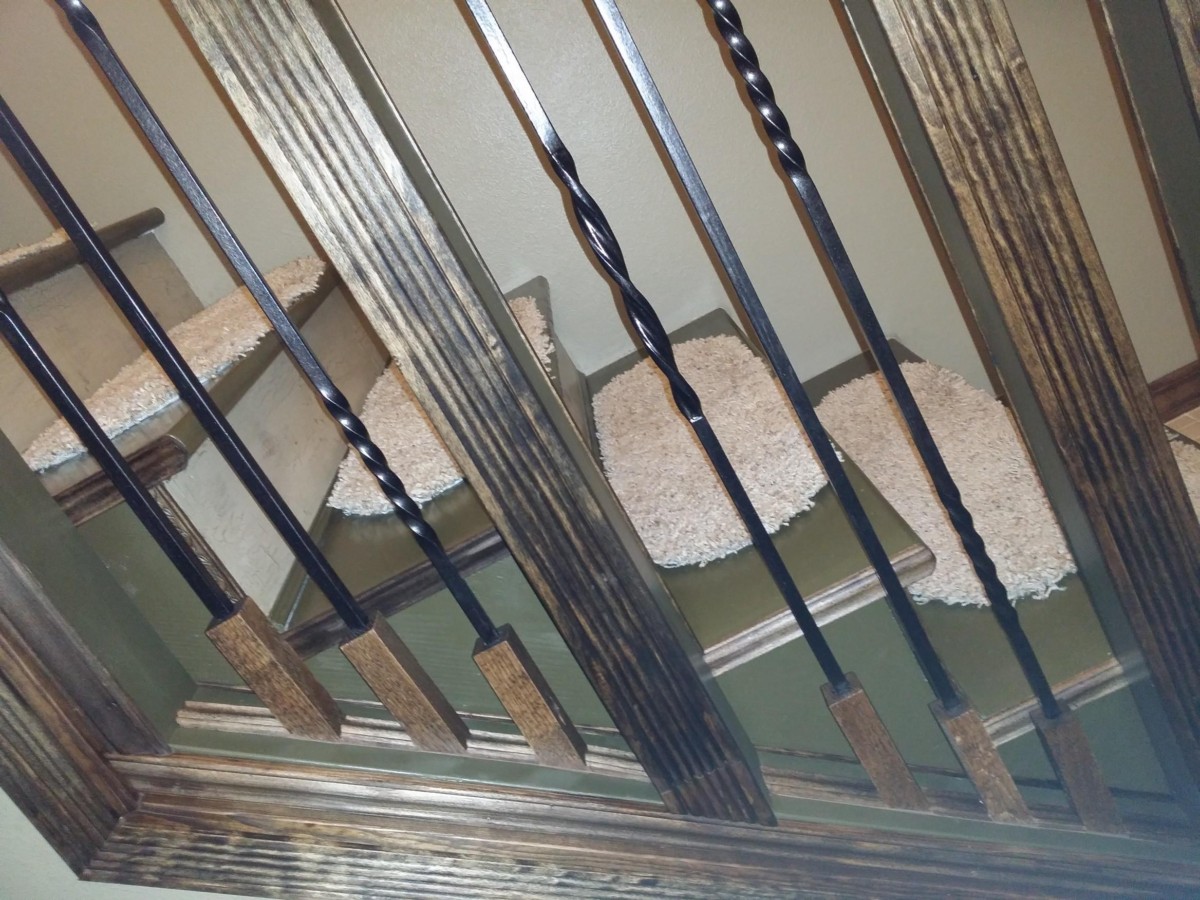
Adding iron spindles
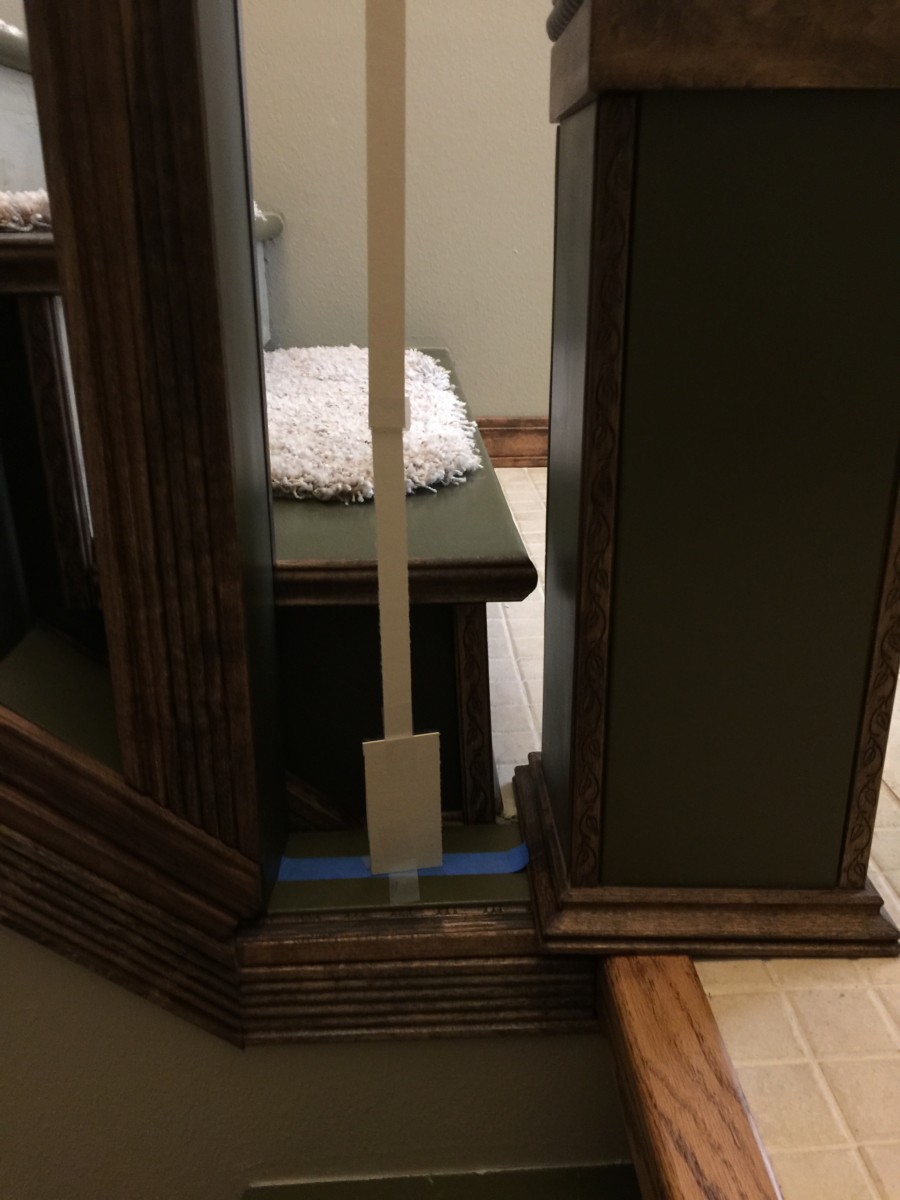
Now that the trim was finished, it was onto the additional spindles needed to ensure the stairway was safe. I’m a visual person so I like to see how things are going to look to get an idea of what is needed to complete a step. Using poster board, I cut ‘spindles’, taped them together, and then taped them into place. I was able to get the correct spacing and height for each because, of course, the height was different for each.
What I had in mind for the spindles was wrought iron but found out it was really expensive to buy new ones so I headed to one of my favorite haunts – Habitat! Lo & behold, they had exactly the number of wrought iron spindles at $2/each! I snagged those immediately!
When I got the spindles home, I found they were too short so I had to devise a plan to make them work. I decided to cut a 1×1 block of wood for each and drill a hold in the top for the spindle to sit. Once I had the blocks cut, I then had to figure out the angle to cut the bottom where they would meet the stairwell – that was tricky and took many cuts to figure out – I know there is a formula or tool to measure the angle, but my normal process is to guess & cut, guess & cut, guess & cut until it fits correctly.
To help the blocks stay in their desired position, I cut trim to sit between each and glued them down to the stairwell floor. Installing these wrought iron pieces was the most challenging part of the entire project and was a 2 man job. Hubby stabilized the rods while I attempted to set them….there may have been a bit of cursing and a few tears, ok a LOT of tears, before I managed to get them installed.
Wrought iron spindles from Habitat Spindle templates Trying to get a visual for the look Bottom spindle template Measuring for blocks The mess Completed stair case Closeup of installed spindles
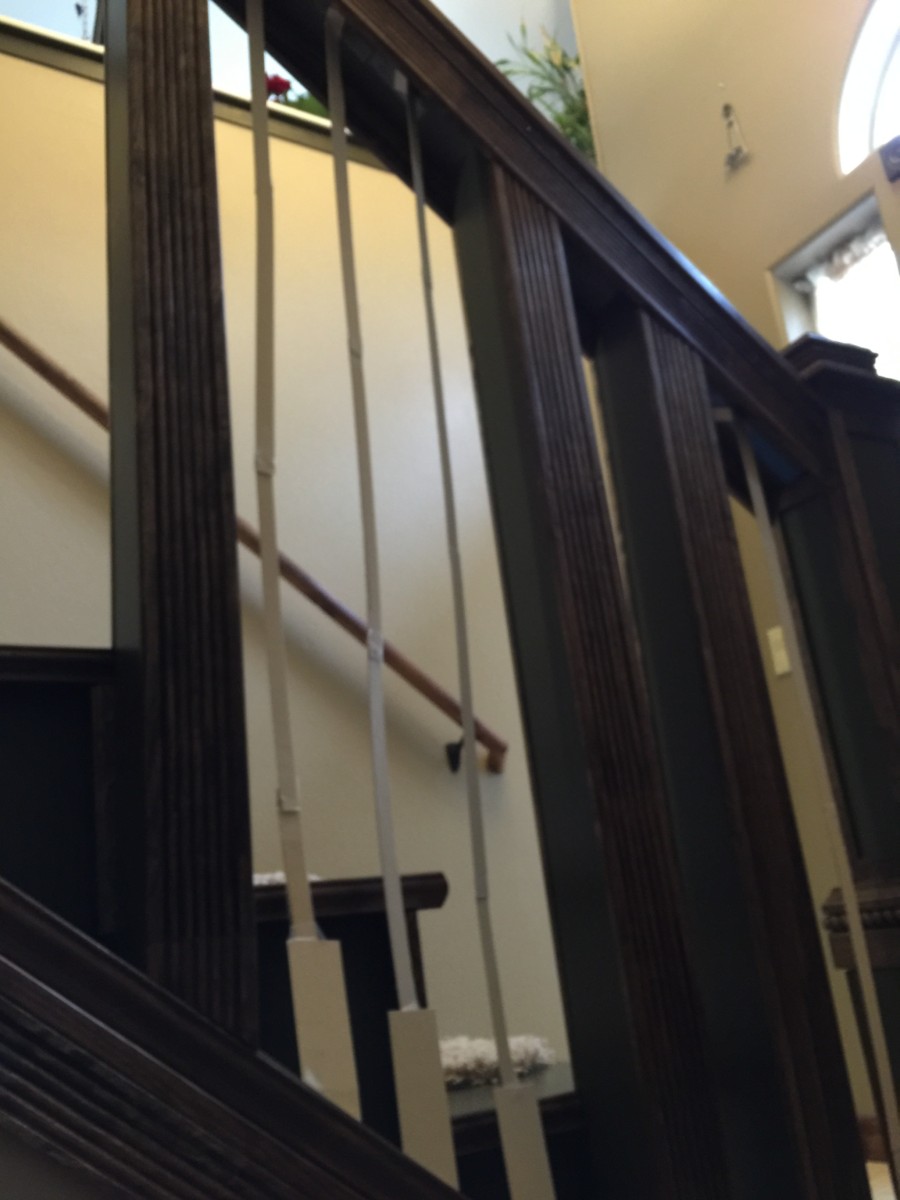

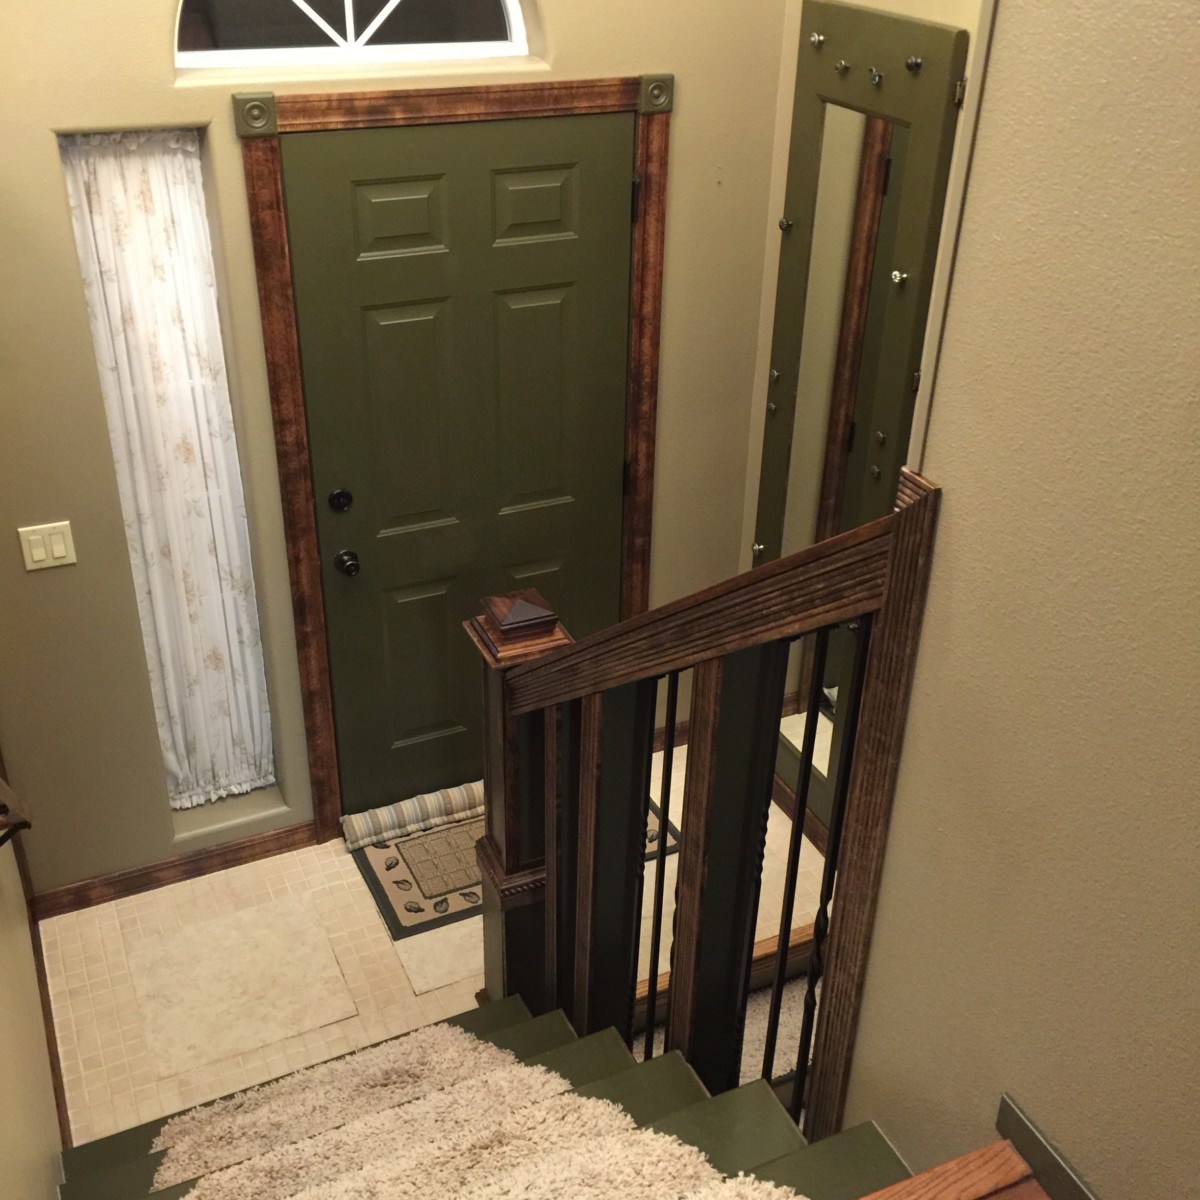
The difference this project made to the amount of light that reaches the downstairs hall was amazing. We love the new look even more! Below are some additional pictures.
Before & After pics
‘Newel post’ before deconstruction I managed to glue this piece back on Side view of newel post This little piece is my miter saw gem-1 1/2″ by 1 1/2″ View from the living room Finished newel post


The trim piece with the rope was found at Habitat
Supplies Used
- Miter Saw
- Nailgun & Air Compressor
- Drill
- Paintbrush
- Minwax Provincial Stain
- Minwax Polyurethane
- Wood Trim
- 1″ x 4″ Primed Boards
- Newel Post Topper
- Wood Frame from Michaels
- Wrought Iron Spindles
- Behr Interior Satin Paint in Chocolate Cupcake
If you need supplies
This post contains Amazon affiliate links. If you choose to order through these links, it will be at no extra cost to you


Sign up for more project ideas

Let’s Stay in Touch!
I’m excited to share more projects with you as well as tips/tricks/freebies! Just enter your email below to be one of my Blog Peeps!
Please leave a comment
I’d love to hear your thoughts! Scroll down and leave a comment for me. Let me know what you think and if you have this type of stairwell & might try this upgrade.


9 Comments
Trisha
Wow! What a huge difference! It looks great! Awesome job!
Jeanne
Thanks! We just love it!
Tara
That’s beautiful! I’m becoming obsessed with remodeling. We bought a house last year and it needs a lot of work! I’m finding I really enjoy doing it ourselves though! Great inspiration here!
Jeanne
Becoming obsessed with remodeling is so easy to do! Hope my posts give you some ideas 🙂
Sharon
Wow, this is incredible! I love all your detailed photos! Before and after project pictures are my favorite! The stairwell looks great!
Jeanne
Thanks so much Sharon! I also love before and after pictures! The stairwell is so much nicer this way and far less boring. 🙂
Carol
Having seen it in person, I can attest how beautiful it is!
Jeanne
Thanks! Sure is better than it was!
Pingback: