

Let’s Build a Garden Bench!
One of my favorite types of project is to use reclaimed items to create something new and different. One of my friends, Leslie and I were shopping at Habitat/Restore awhile ago and found some chair backs made from nice, solid wood. We each bought two, not knowing what we would do with them, but they were only $5 each so we couldn’t resist!
After some thought, we each decided to use the chair backs to build a bench. Les created hers first and used it on her deck (I don’t have a picture of hers). When I was ready to build mine, I didn’t have the tools I would need to make the cuts so I drove to her house with my chair backs so we could build the bench together. Before heading over, I did some searching around on Pinterest for design ideas for my bench. I found several that I liked and bought the wood I needed to create the look. I bought one 1″ x 8″ x 8′ board, two 1″ x 4″ x 8′ boards & two 1″ x 3″ x 8′ boards.
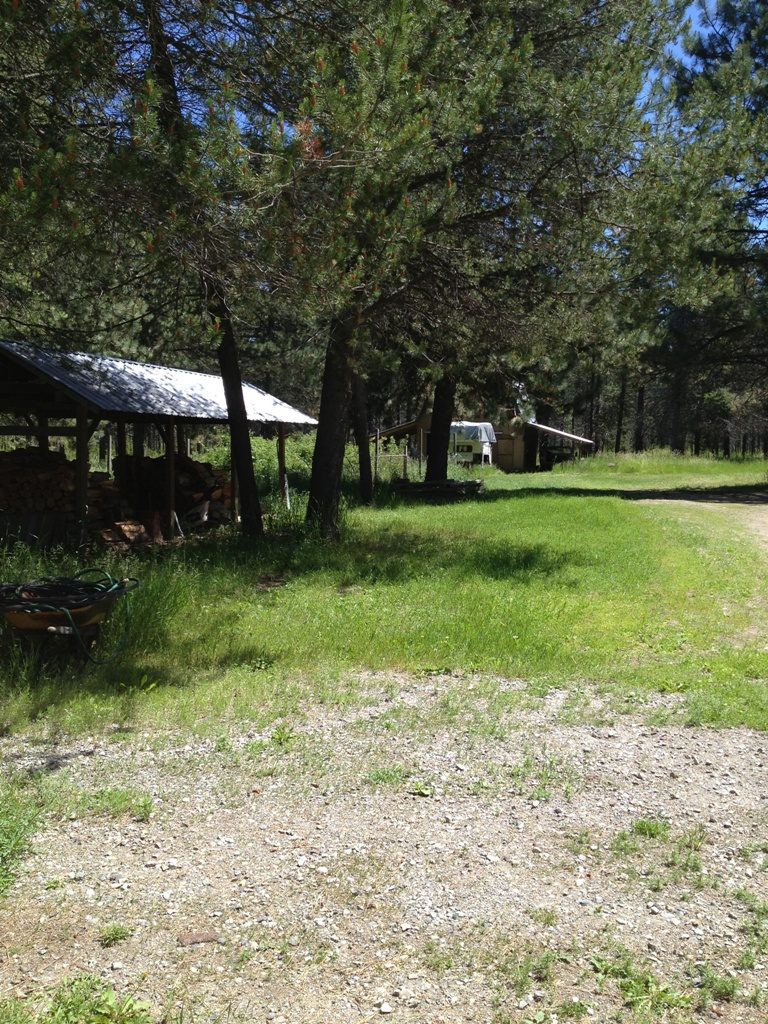
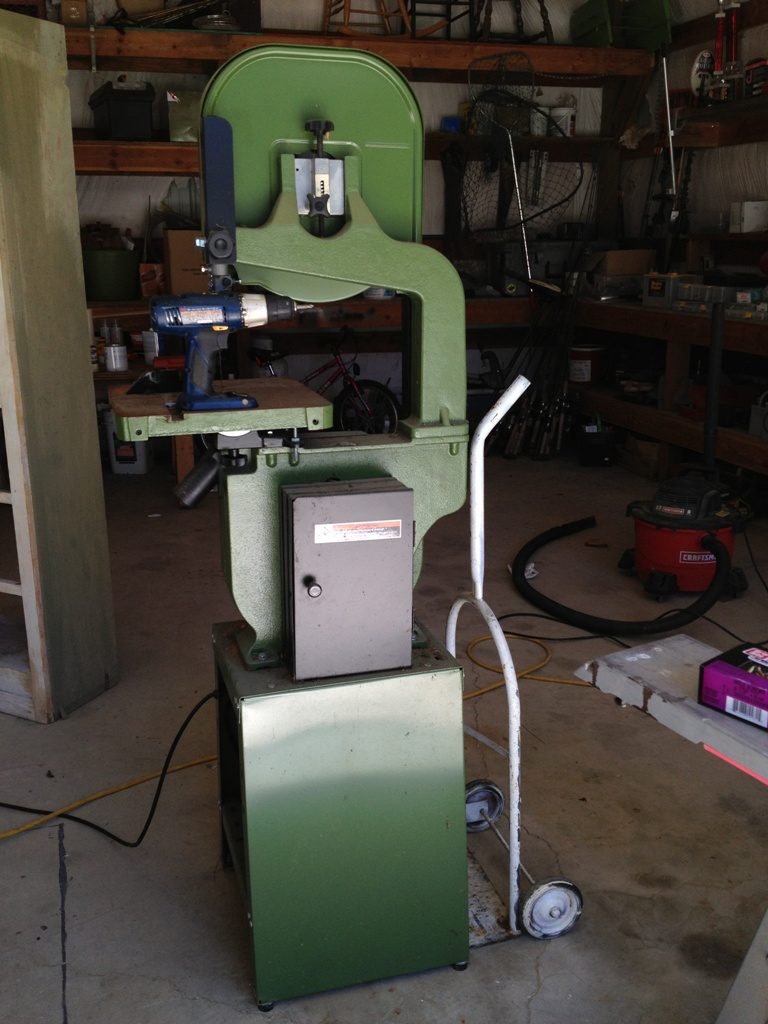
Les lives out in the country and when I got to her place, our first course of action was to move her band saw from the barn to the garage where we would be constructing the bench. As you can see, the barn is not close to the garage and the pathway is gravel, dirt, and grass. However, we were determined to get this project done that day. The saw was VERY heavy and we only had a teeny, small dolly to do the moving so it was quite the feat for us two
Distance to the barn Band saw & dolly
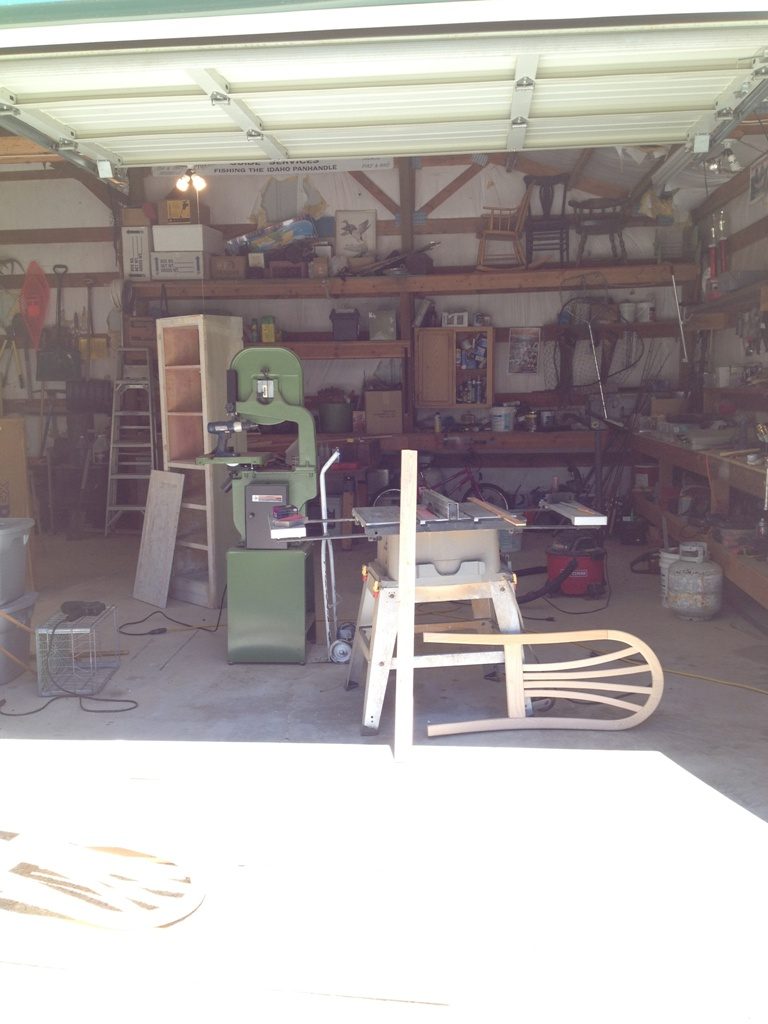
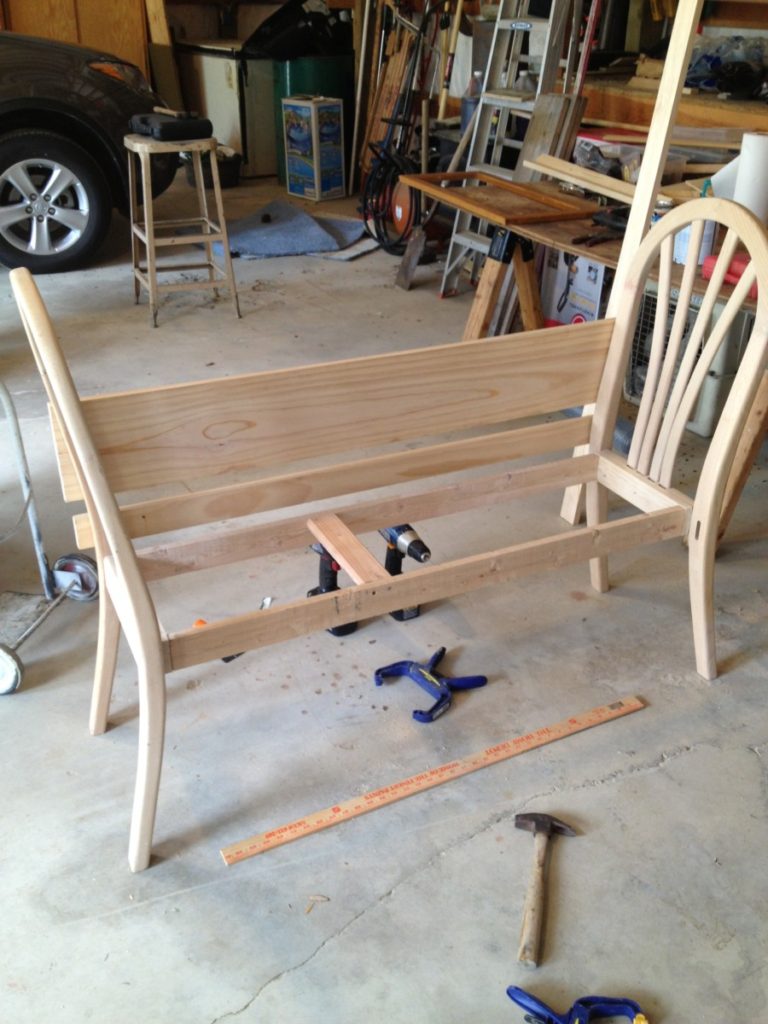
Once the saw had been moved from the barn to our workspace, it was time to design the bench. I had shown Les the pictures from Pinterest of benches using chair backs like ours so we were both on the same page for the design. When Les built hers, she didn’t add a back and since it was on her deck next to the house, that worked just fine. I planned to use my bench in the backyard so we thought that adding a back to mine would give it extra support should I decide to set it out in the yard.
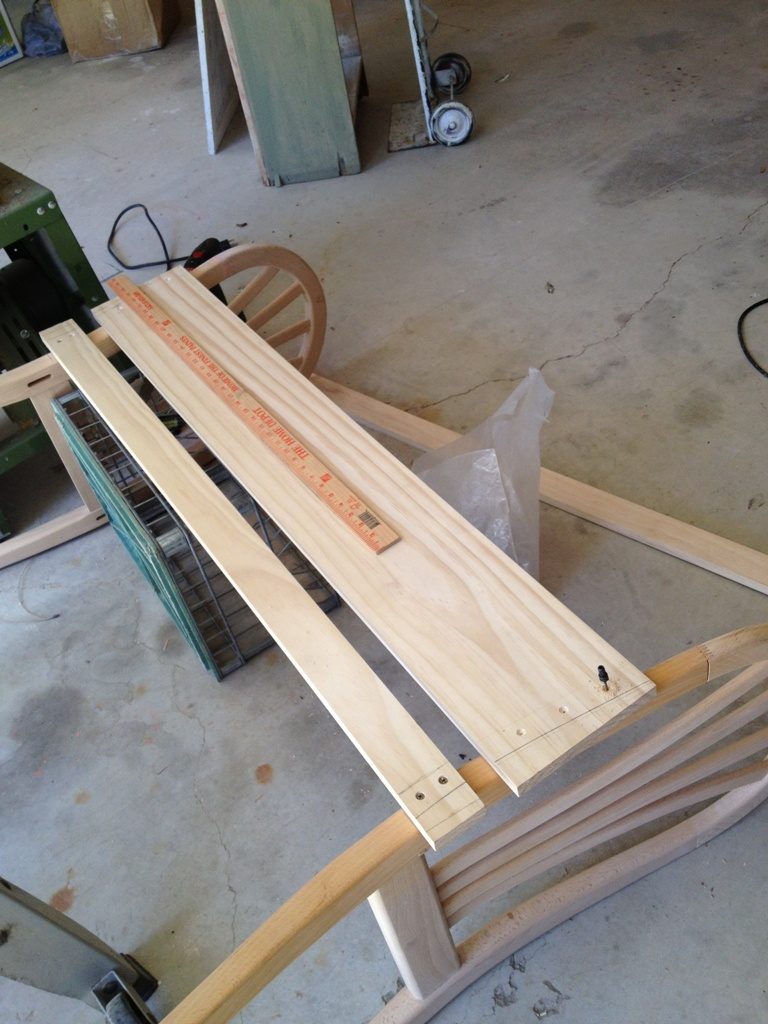
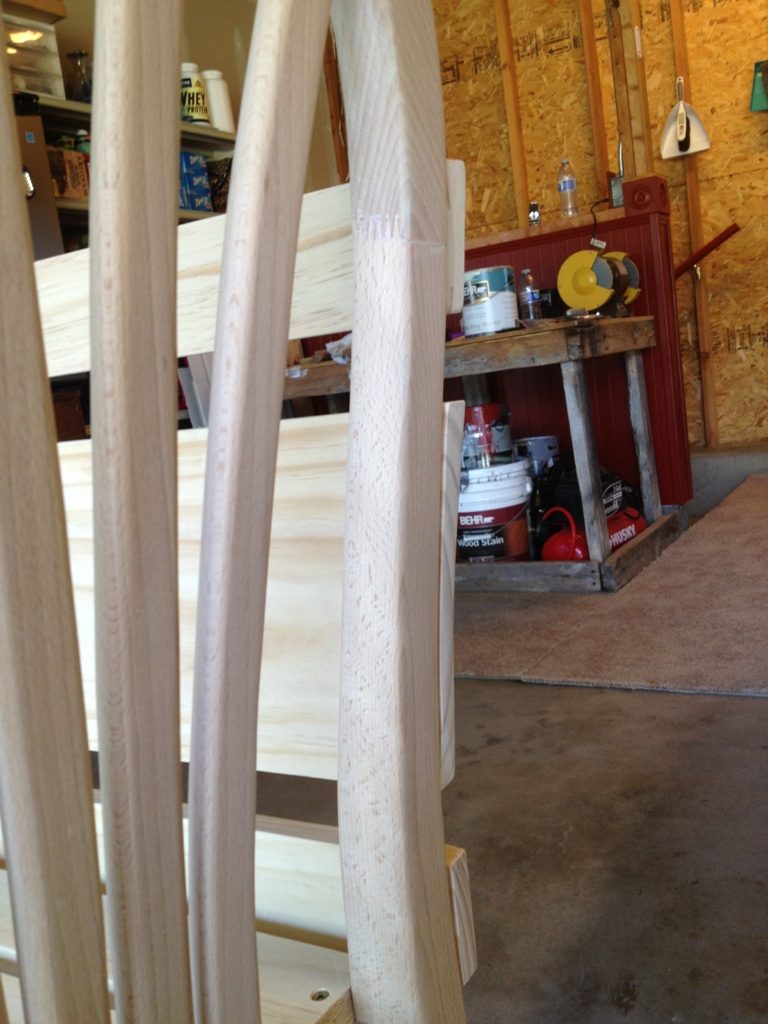
Using the table saw, we cut the 1″ x 8″ into two 4 foot sections, one for the back and one for the seat. Then we cut the two 1″ x 4″ boards into two 4′ pieces — we would be using two of those on the back and the other two on the seat. Since the chair backs are curved, we set the boards on the chairbacks and marked where we would need to cut them and then did those cuts with the band saw. Once the cuts were made, I sanded the pieces before we attached them with screws to the chair backs. It was really nice that there were two of us working on this project so one of us could hold the pieces in place while the other attached them together.
Work Space Attaching back Ready to attach seat
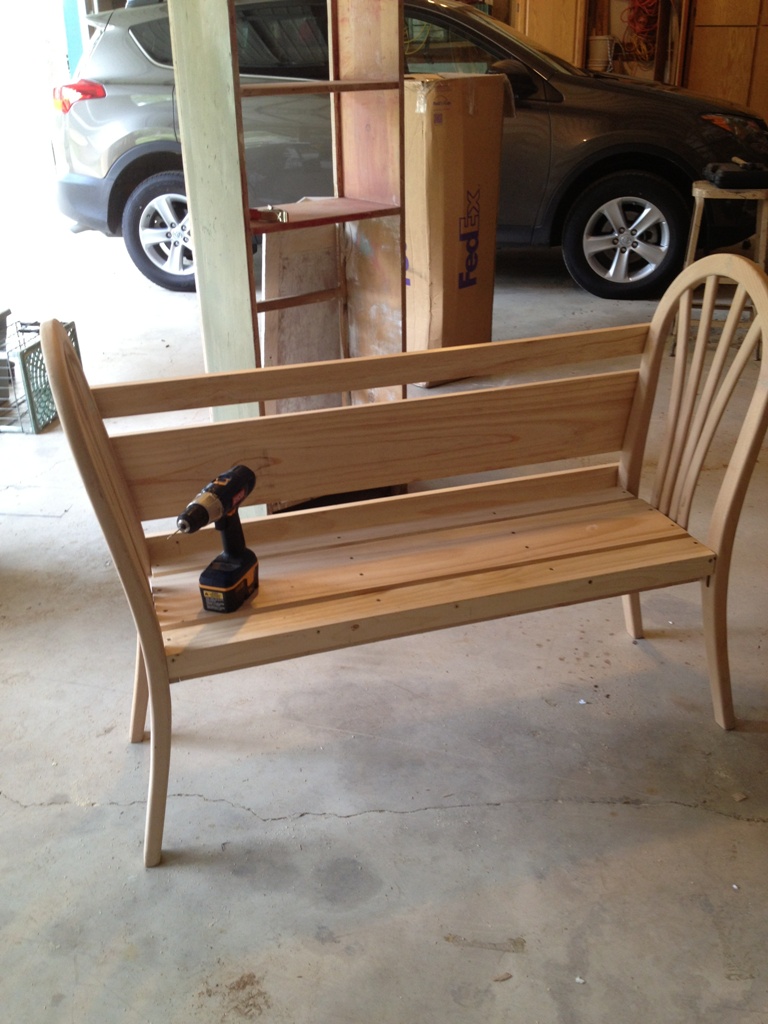
After two of the back pieces were attached, we attached the bench seat support using two 4′ pieces of 1″ x 3″ board. To help stabilize the seat, we then attached two crossbars with screws also using the 1″ x 3″ board. Once the seat support was done, it was easy to attach the seat boards using screws. The next step was to add the top rail to the bench back. To finish the seat, we attached a 1″ x 3″ board to the face of the seat also with screws.
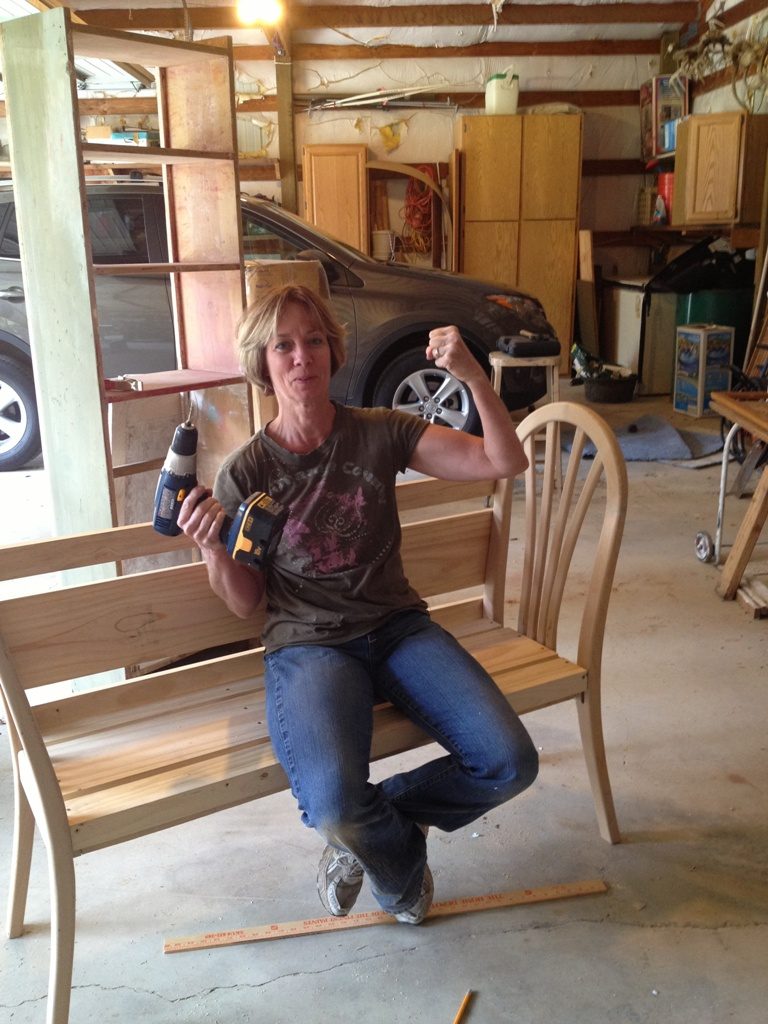
We were so pleased with our construction skills and the outcome of this bench that we just had to do a photo shoot with our tools! After a quick sanding, we loaded the bench into my Rav4 so I could take it home to paint.
Les 
Me

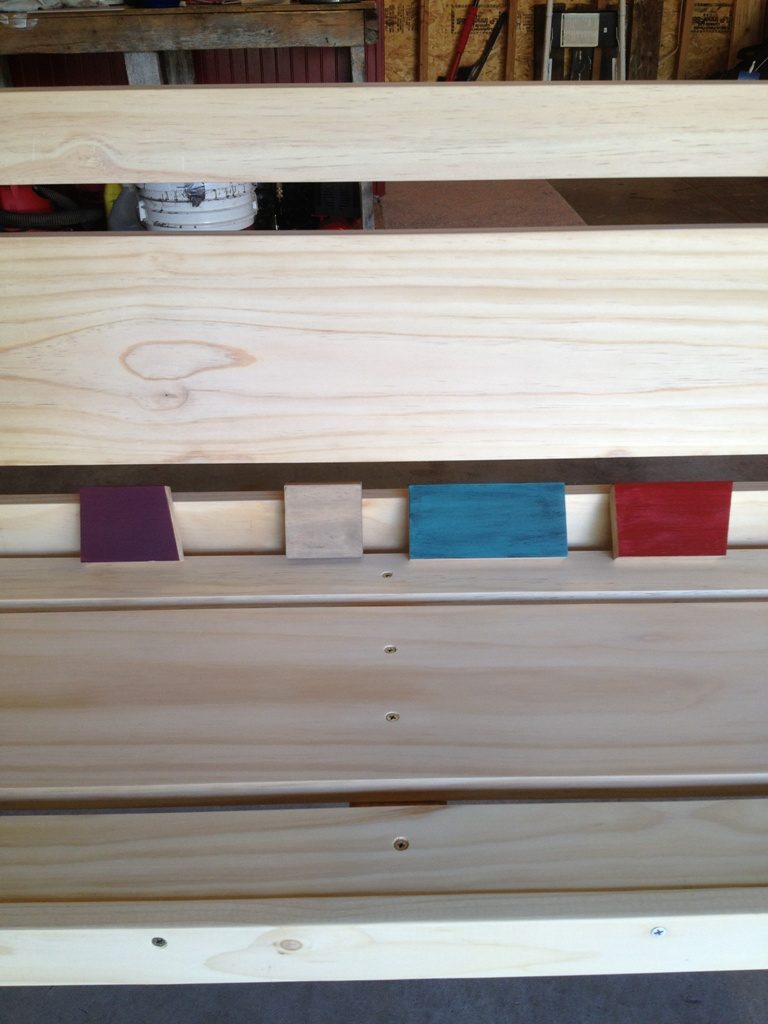
After bringing my new bench home, it was time to decide on the color to paint it. Since I’m a visual learner, I painted several small pieces of wood and placed them on the bench to see which color I liked best. I was using paint that I had on hand so my options were burgundy, taupe, teal with a blackwash or red. I decided to use teal with a wash of black paint. This is interior paint that I’ve had for years! It had been used to paint my daughter’s room when she was in high school and I’ve just kept the extra in case I wanted to use it on a project in the future. I’d say that was a wise move 😉
Color options Closeup of the bench back
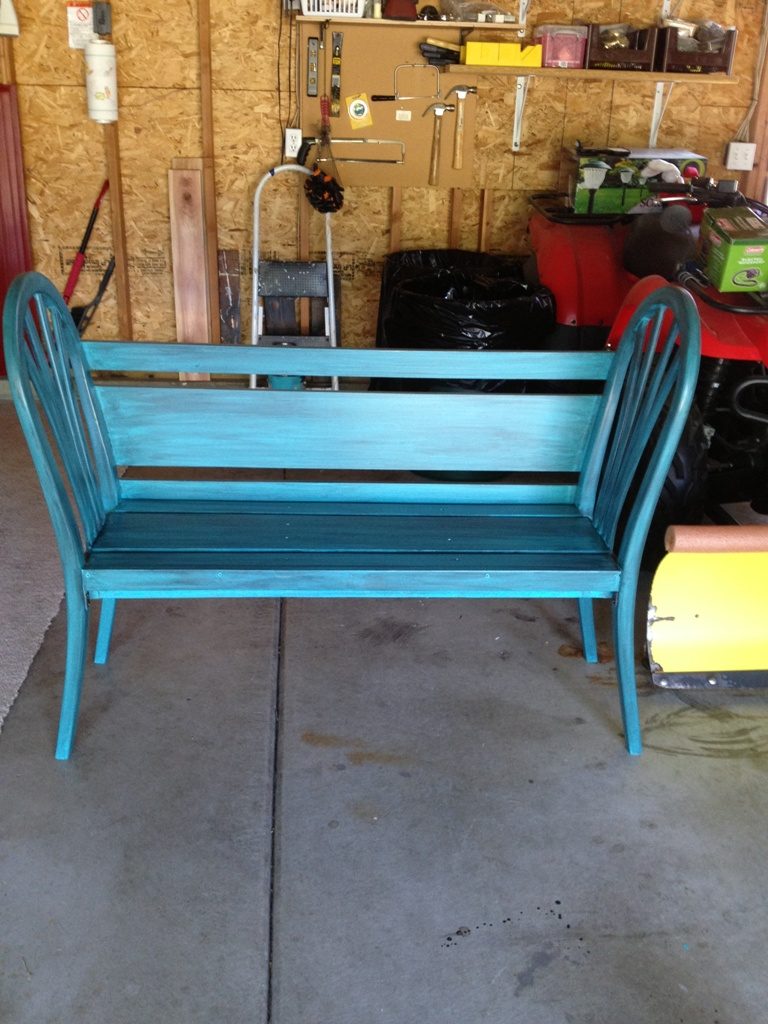
I applied two coats of teal to the entire bench using a 1″ angled paintbrush on the chair backs and a painting pad on the flat surfaces. After that dried, I applied a coat of black paint by brushing it on and wiping off any extra. Before applying the black, I thinned it with water so it would be an accent color. Since this bench was going to be used outdoors, after all the paint was dried, I applied two coats of water-based polyurethane.
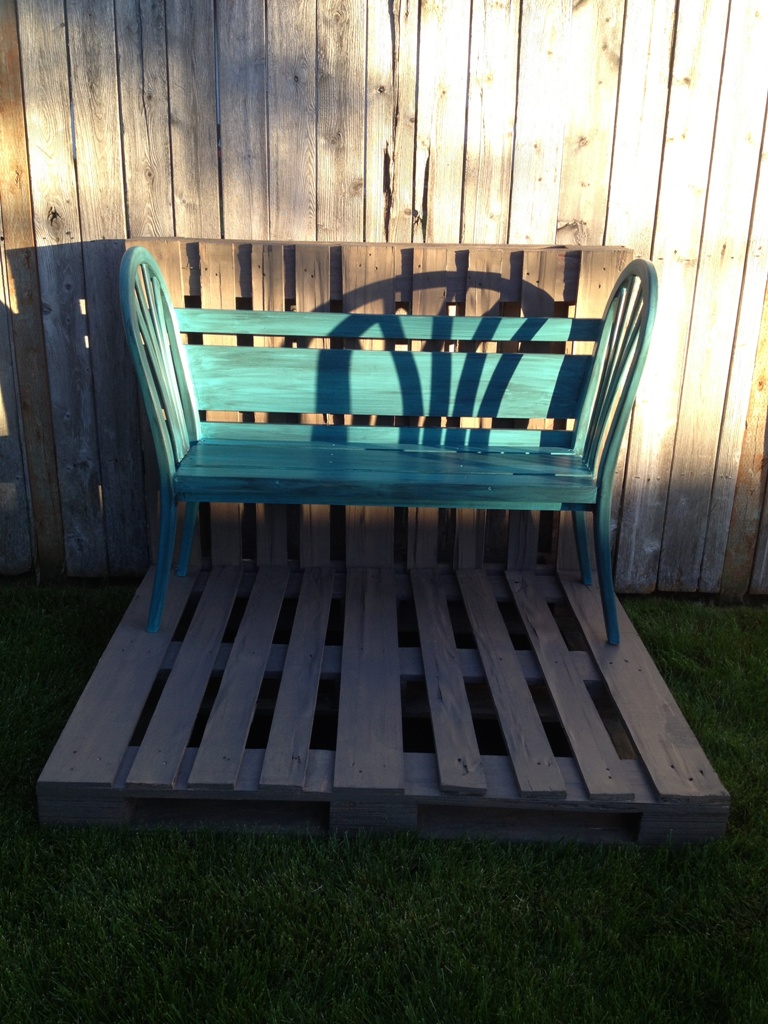
Teal paint Finished bench

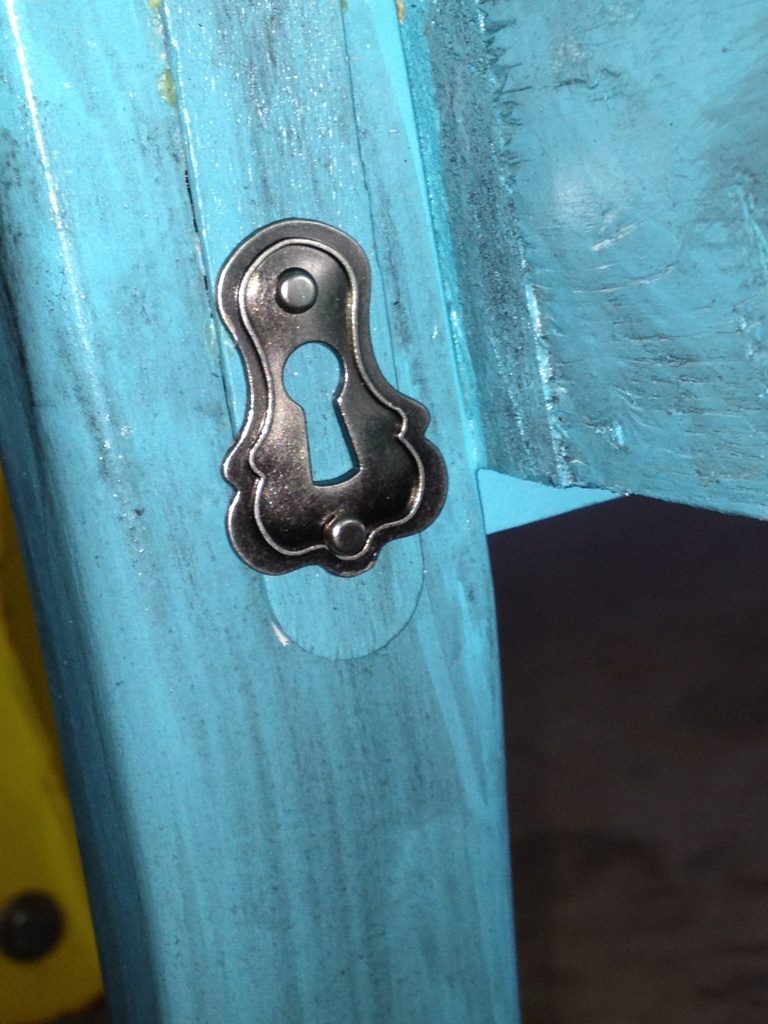
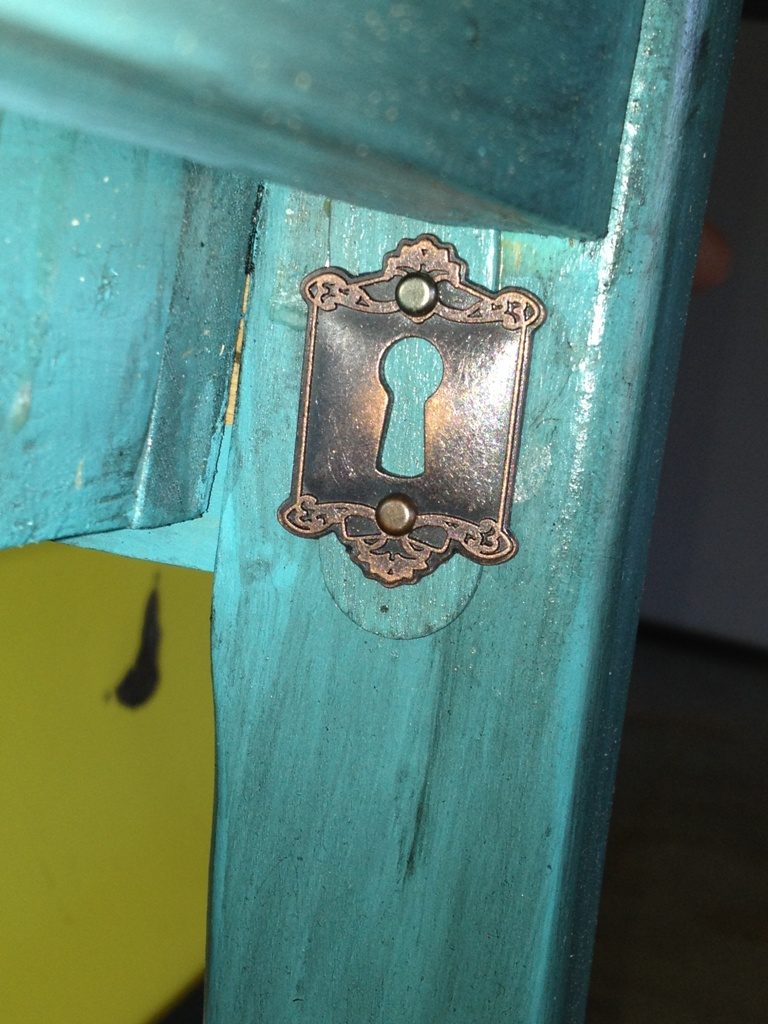
The leg portion of the chair backs had slots in them for attaching a chair seat. To cover those, I used thin craft strips of wood that I simply glued on and then added a decorative metal key hole that I found at Michaels.
Decorative touch Decorative touch
This bench was fun to make and I loved being able to use the chair backs we found at Habitat/Restore and repurpose them into a unique piece of furniture. The cost of the bench was approximately $35
Supplies Used
- 2 chairbacks
- One 1″ x 8″ x 8′ board
- Two 1″ x 4″ x 8′ boards
- Two 1″ x 3″ x 8′ boards
- Screws
- Wood glue
- Drill
- Screwdriver
- Saws (we used a table saw & band saw but this could be done with a skill saw or miter saw and a jigsaw)
- Sander or sandpaper
- Paint and polyurethane
Paint brush and painting pad
Instructions
- Measure the length of your bench seat – mine was 4′
- Cut wood to that length for each – back & seat
- Two 1″ x 8″
- Four 1″ x 4″
- Place the wood on chair backs and mark to cut boards to fit curve
- Cut curve
- Attach boards with screws to chair backs to make bench back
- Cut wood for seat support
- Two pieces 1″ x 3″
- Attach with screws to chairbacks
- Cut two pieces of 1″ x 3″ board for cross support
- Attach cross supports to seat with screws
- Attach seat boards to the seat support using screws
- Cut a piece of 1″ x 3″ board for
face ofseat - Attach face board to seat using screws
- Sand rough edges
- Paint or stain and apply polyurethane
I’m excited to share more projects with you as well as tips/tricks/freebies! Just enter your email below to be one of my Blog Peeps!


2 Comments
Deb
What a great bench. And I love the color you chose!
Jeanne
Thanks! It came out cute! I love the color also and ended up following that color scheme for the shutters, deck railing, house trim, outdoor furniture and flower pots 🙂 I’ll get around to writing about those soon since it’s that time of year. Next up – reclaimed wood planter boxes!