

Let’s Update the Kitchen Cabinets with Paint!
Have you painted your kitchen cabinets? If not, do you want to? If so, why haven’t you? It’s not a difficult process, although it can be time-consuming. I painted our cabinets about 9 years ago and they held up really, really well! Last year, I decided to change the color to an intense teal! You can read all about that project here. But today, I’m sharing my son’s kitchen cabinets!
Have I already repainted my kitchen cabinets?! No ~ I love the teal too much to change it this soon! However, one of my sons recently bought his first house and we have been updating it to his style. It’s his cabinets that I have painted 🙂
My experience
The first time I painted my kitchen cabinet, it was super simple! I didn’t even clean them first. Gasp! I know! I’m not sure what I was thinking but as I mentioned above, the paint was still doing great after 8 years! Back then, to prep the cabinets, all I did was give them a light sanding with a sanding block. The 2nd time I painted, I didn’t even sand the base cabinets. I did, though, have to strip the doors and drawers. Since I had sealed them with lacquer, that part of the painting process took a long, long time!
Newest project

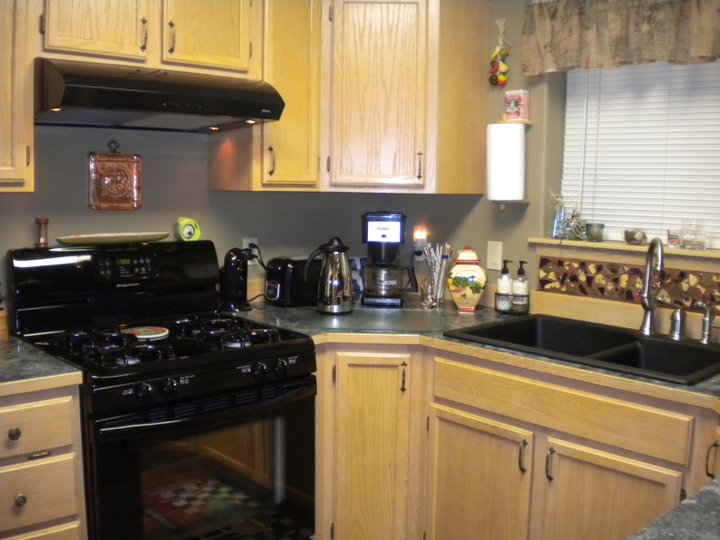
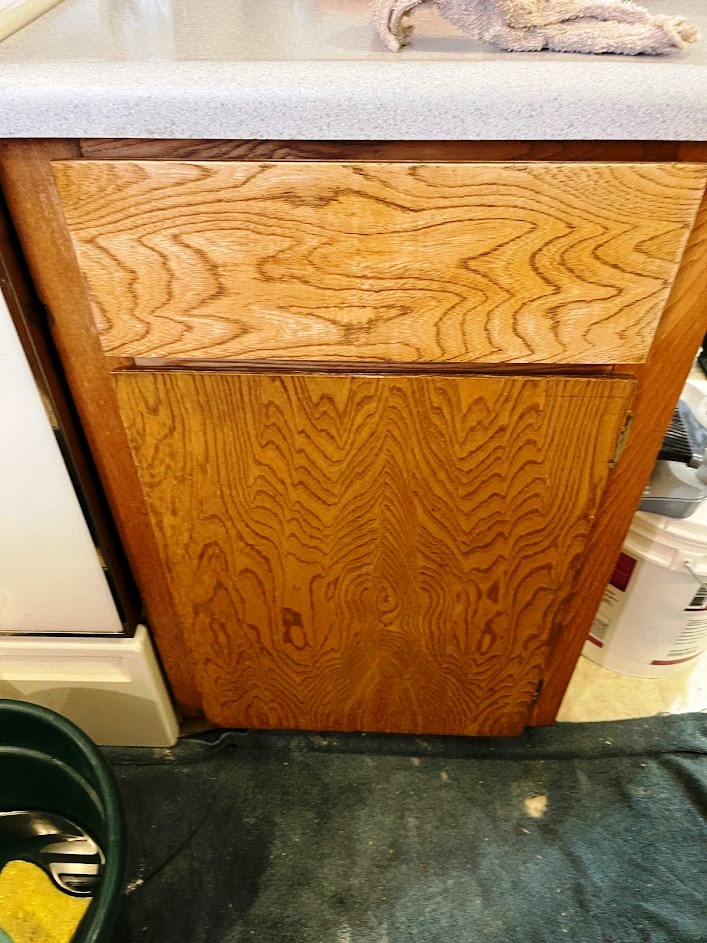
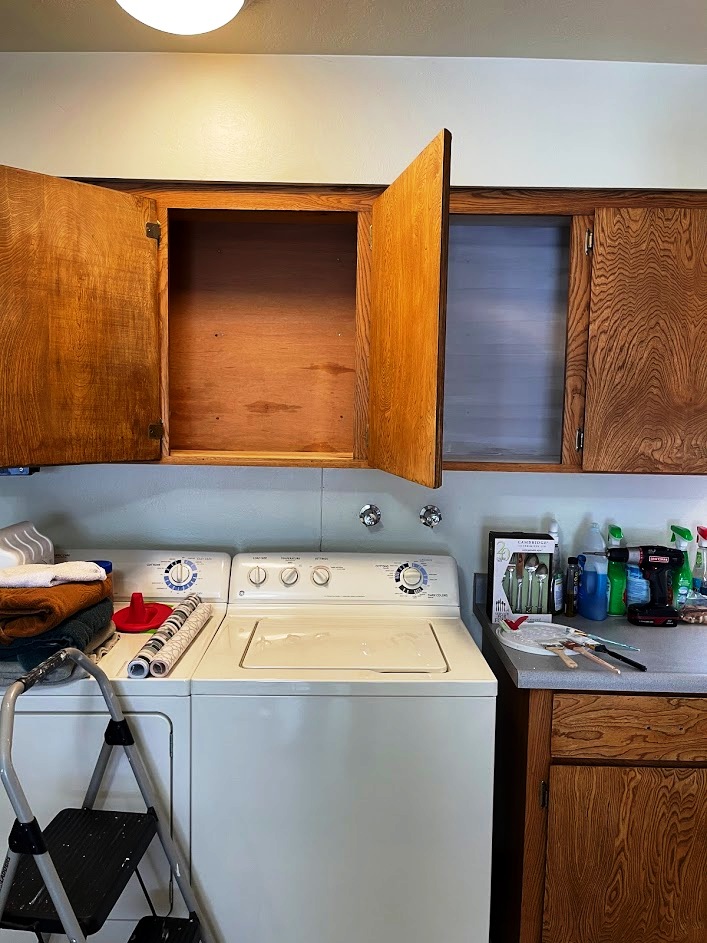
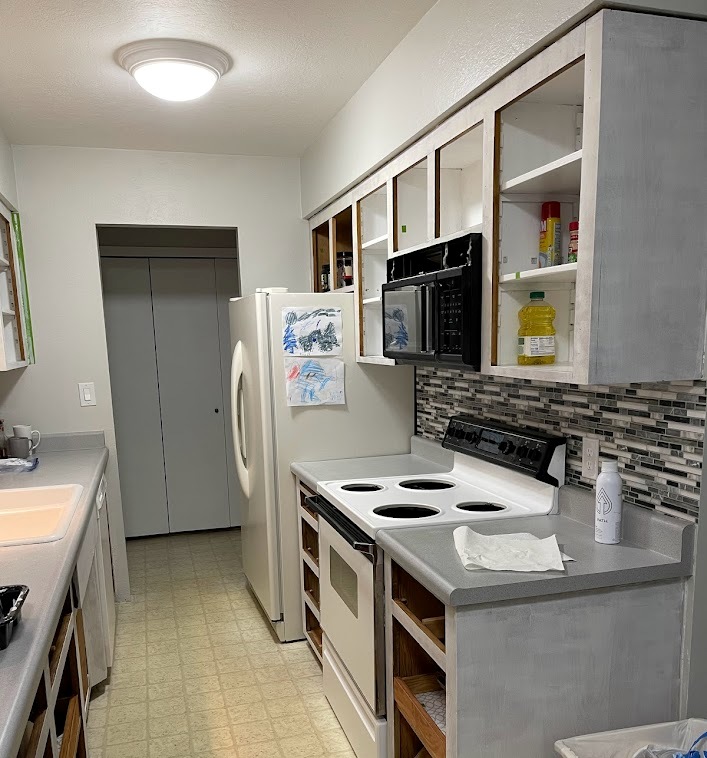
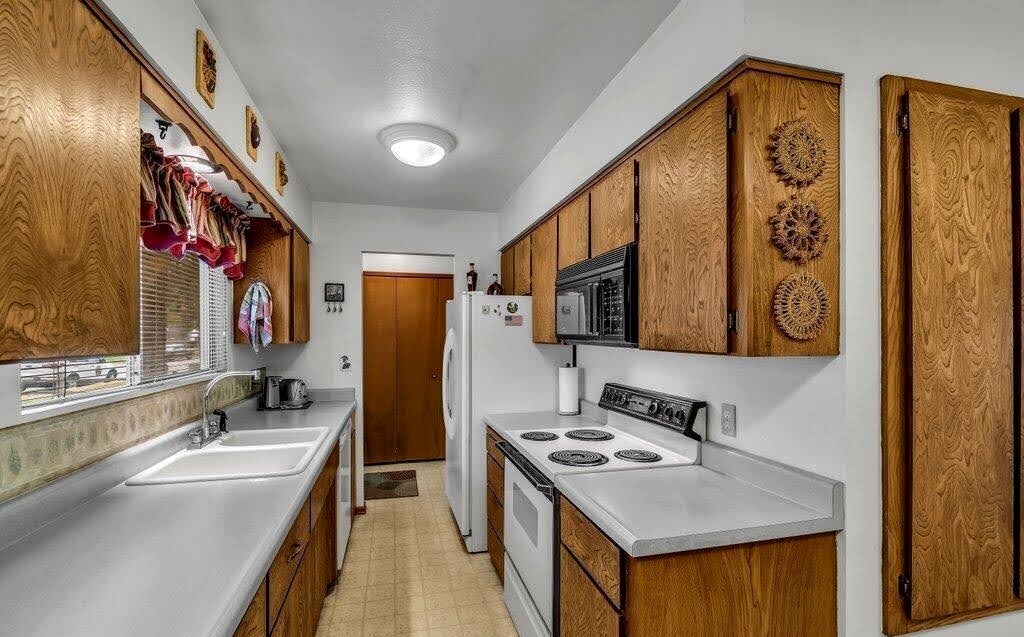
My son’s kitchen cabinets were basically raw wood. The house was built in 1969 and it looked like the finish on them had never been refreshed. I was certain that prepping and painting them would be as easy as it was the 1st time I painted my own cabinets…..but, that was not to be the case….
Cleaning
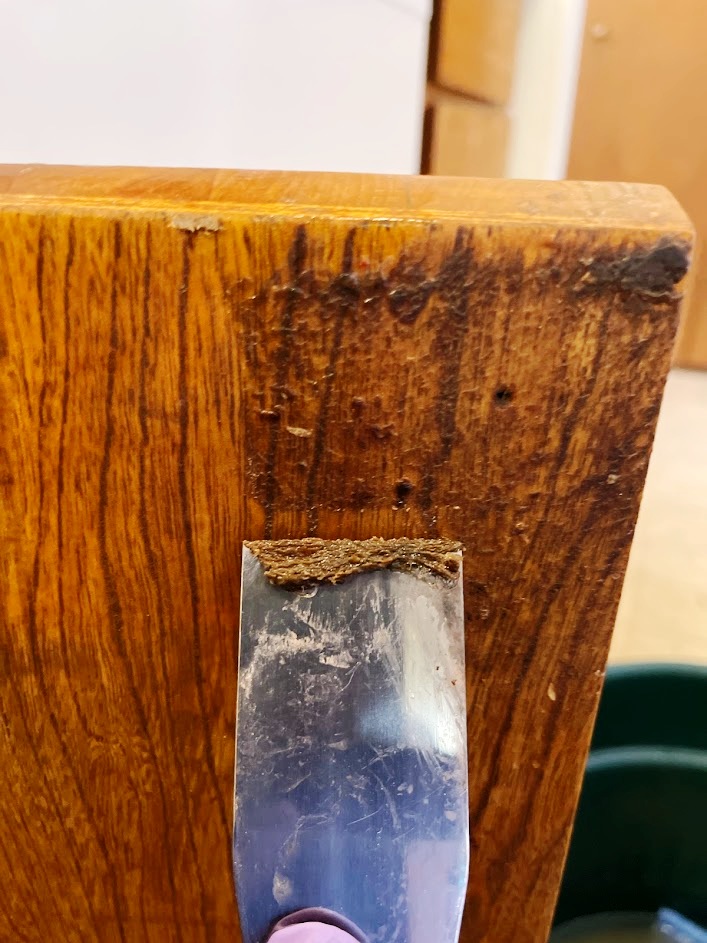
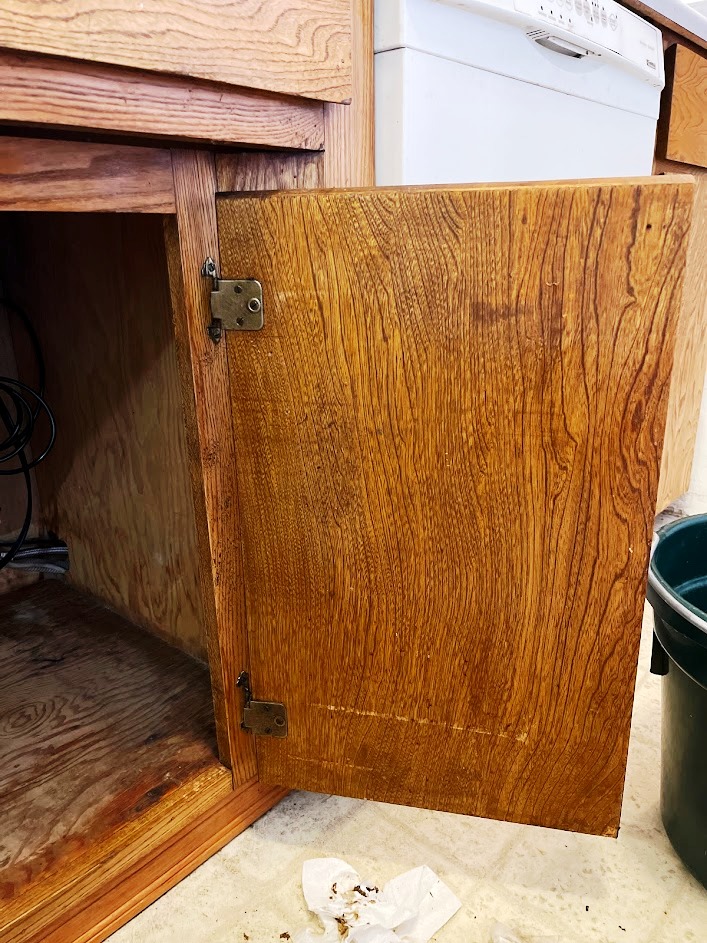
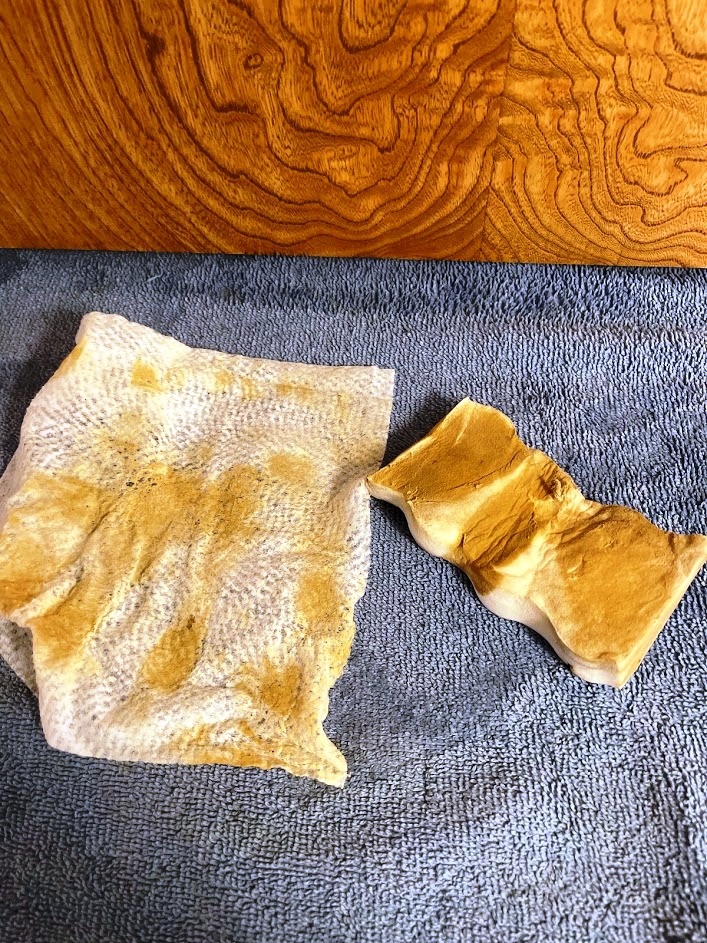
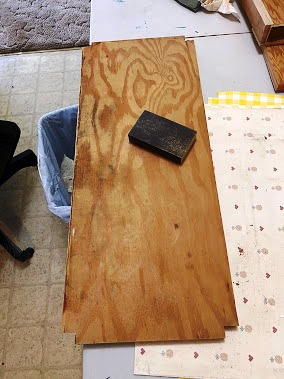
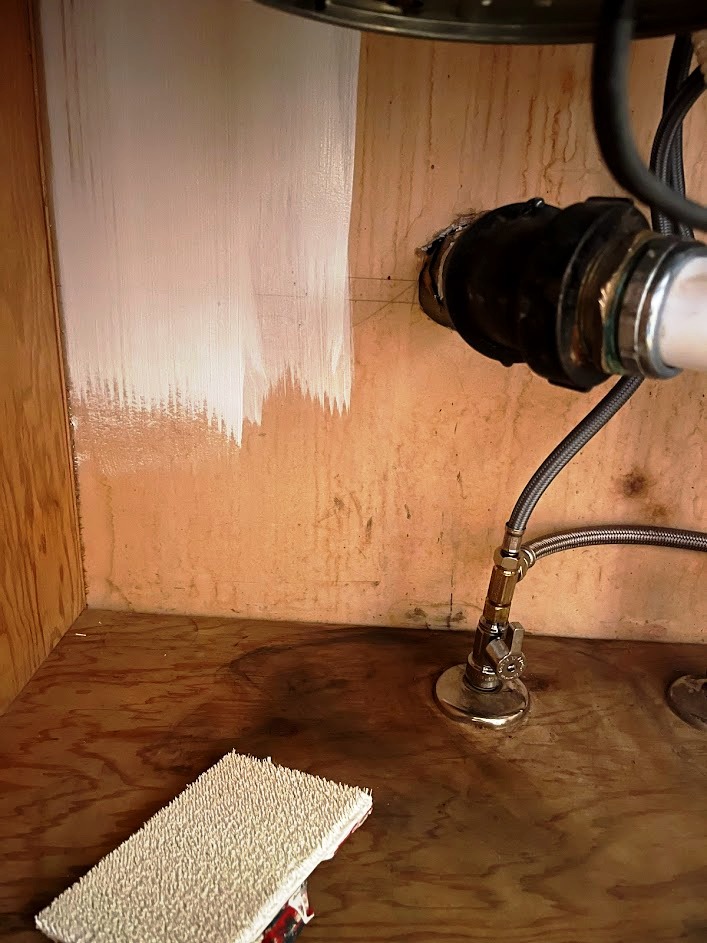
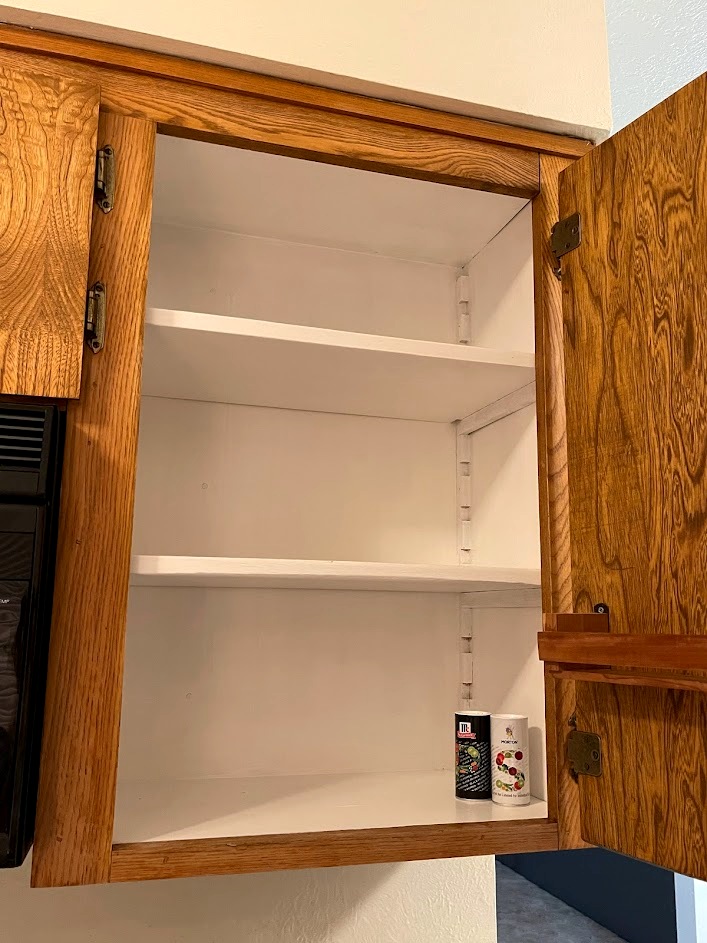
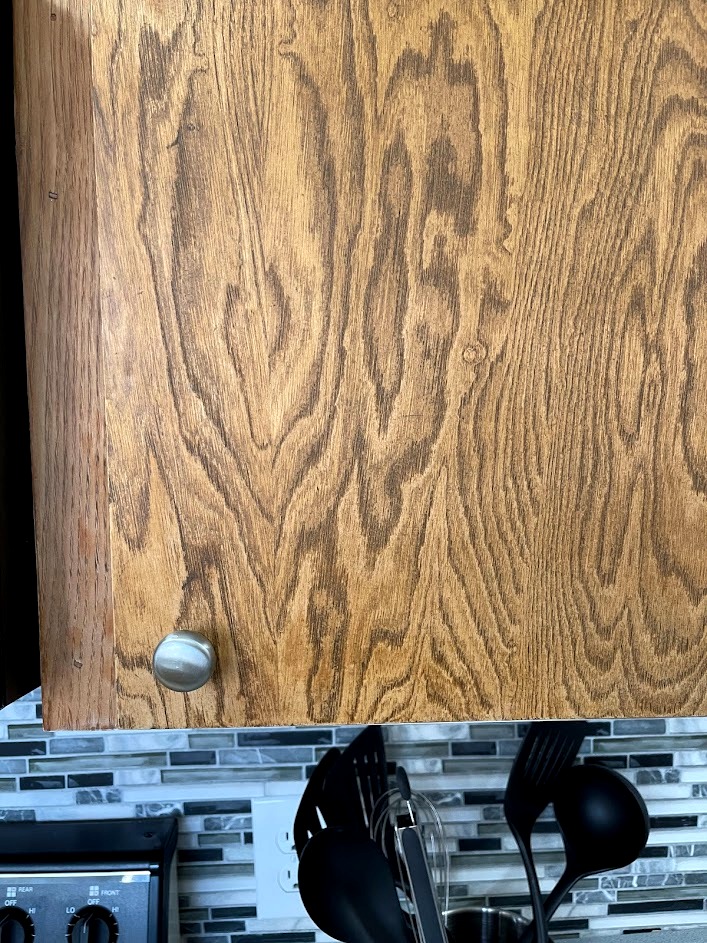
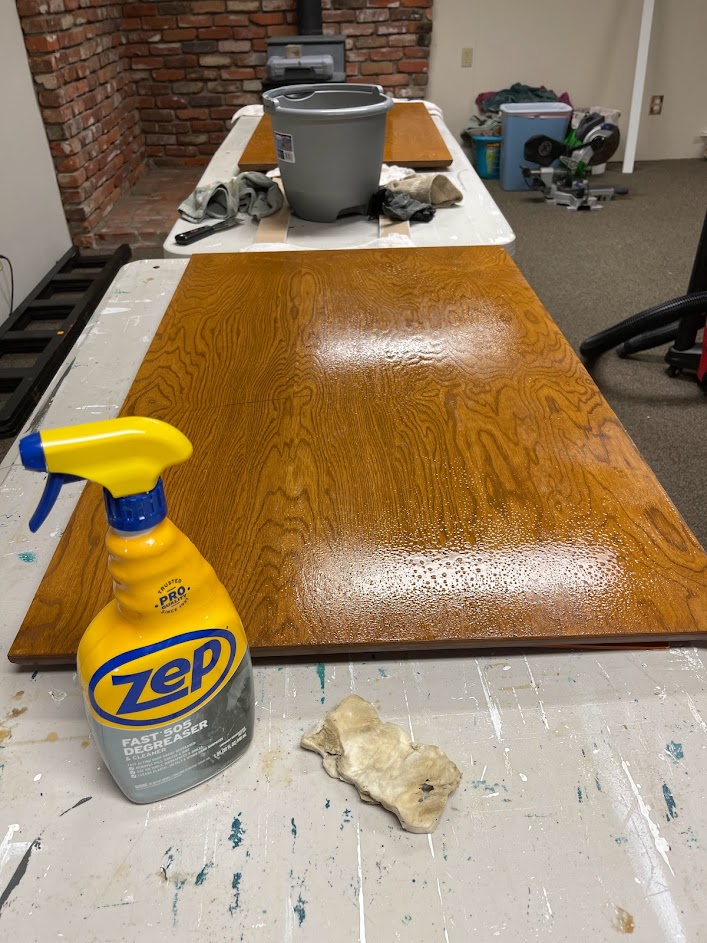
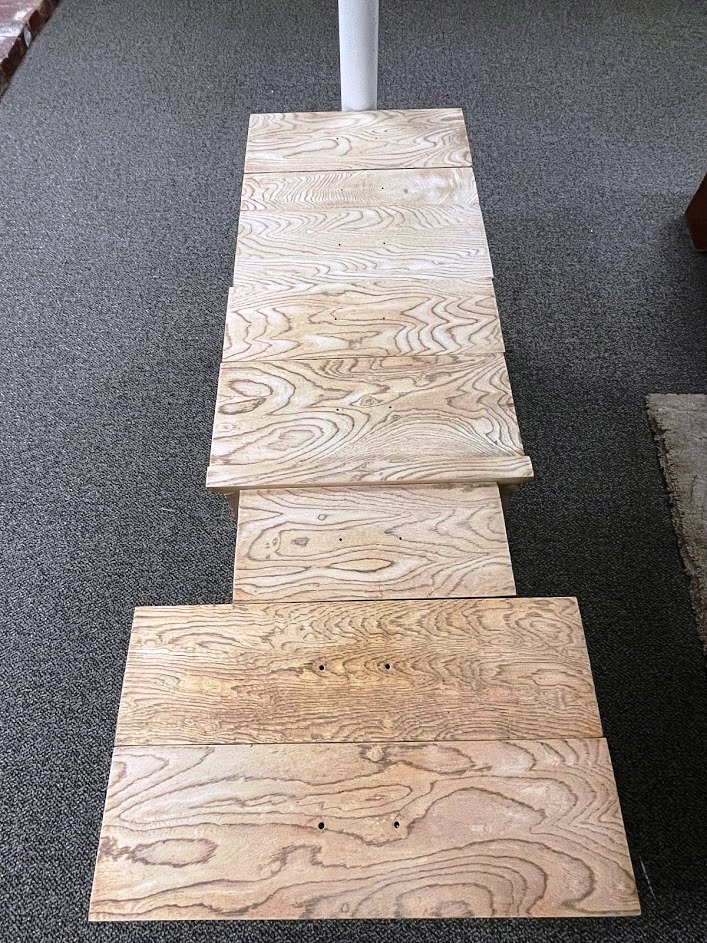
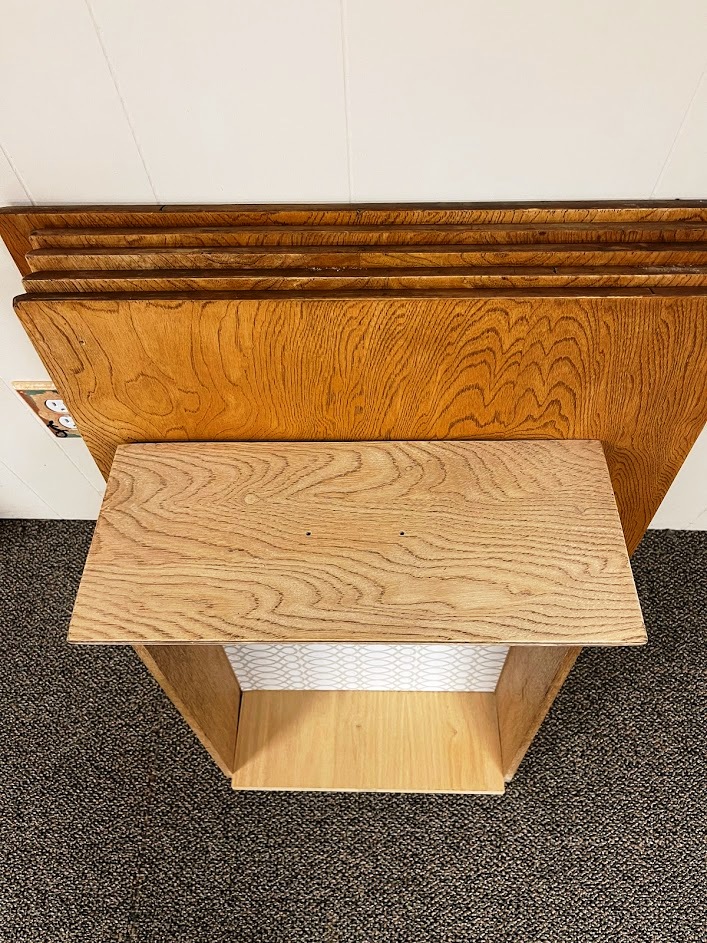
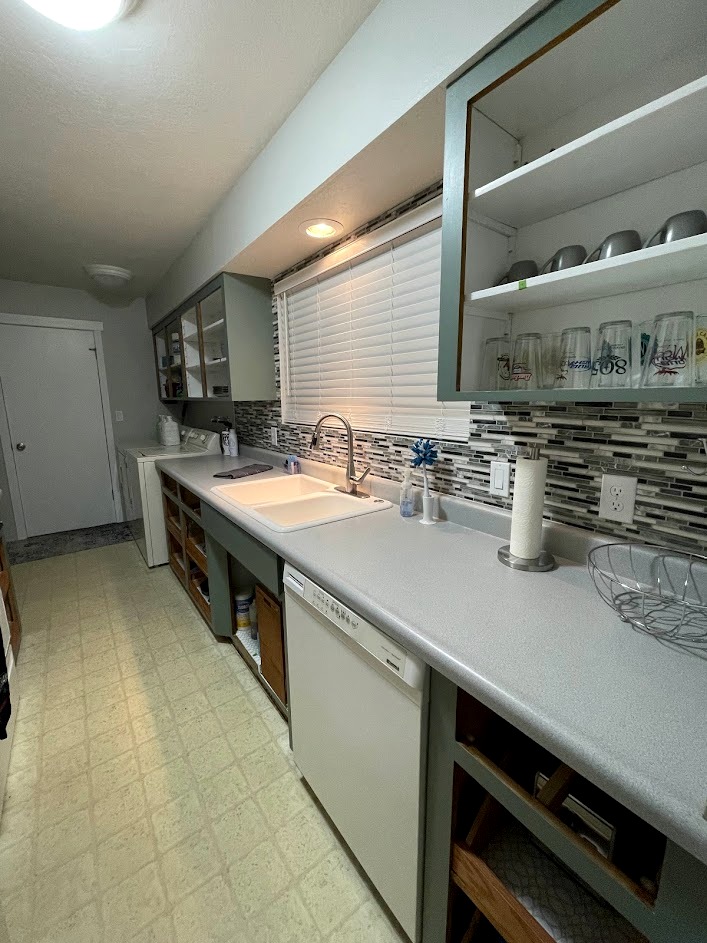
When we first walked through the son’s house, what he wanted to do with the kitchen cabinets. They were handcrafted from wood. When I say handcrafted, the brackets holding the shelves were made of hand-chiseled wood. Much of the interior of the cabinets was raw wood. The only thing I knew for sure that I would be doing was cleaning them. To clean them, I used Zep degreaser, Mr. Clean Magic Erasers, Clorox Wipes, a putty knife, water, and rags. As I cleaned, I could tell that there had been smoking done in the house. After scraping & scrubbing, the wood looked nice and clean. You can see the color change in the pictures below.
Painting the interior
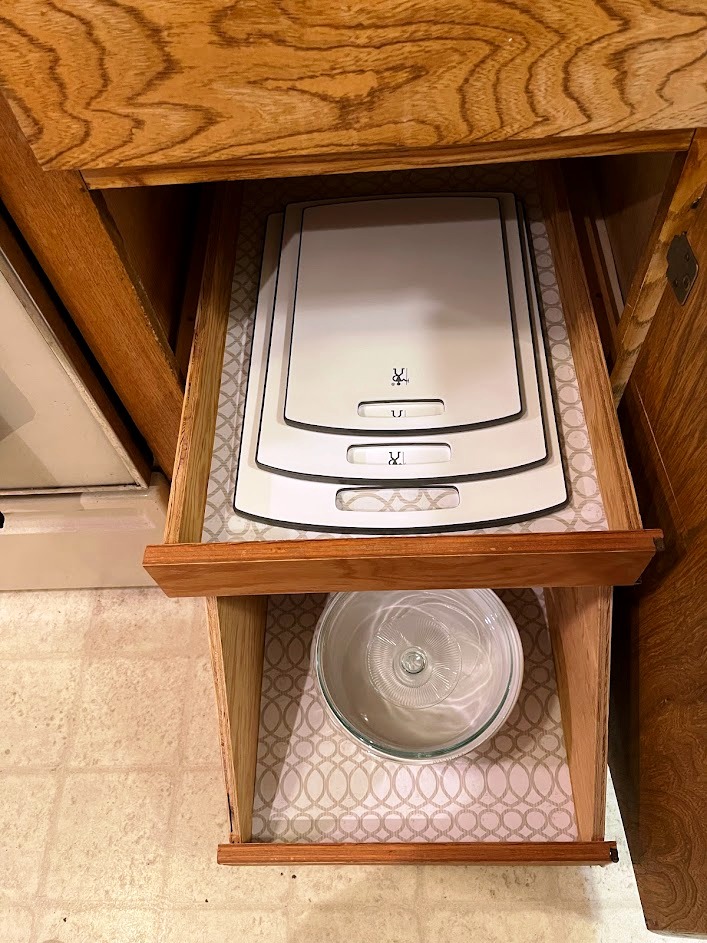
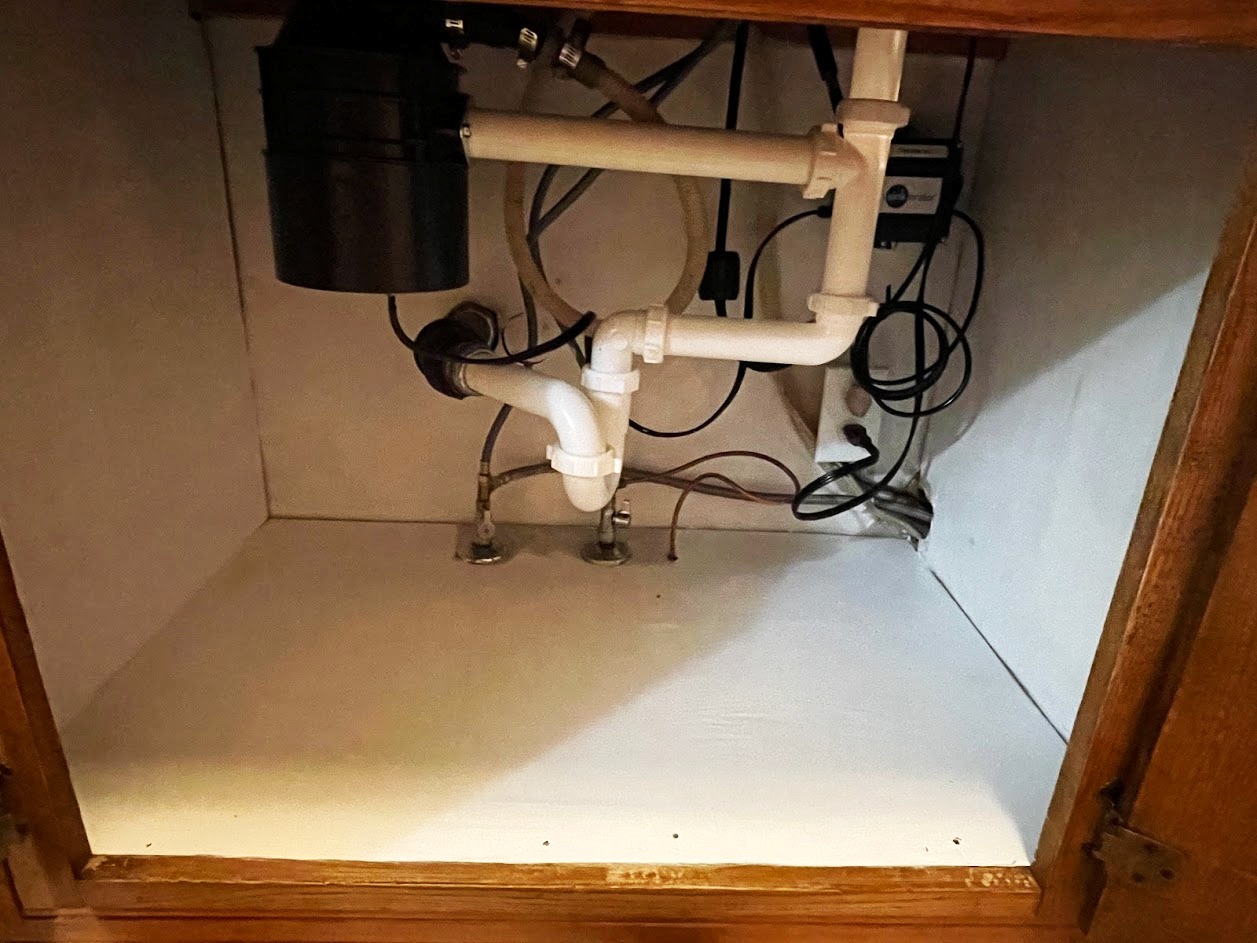
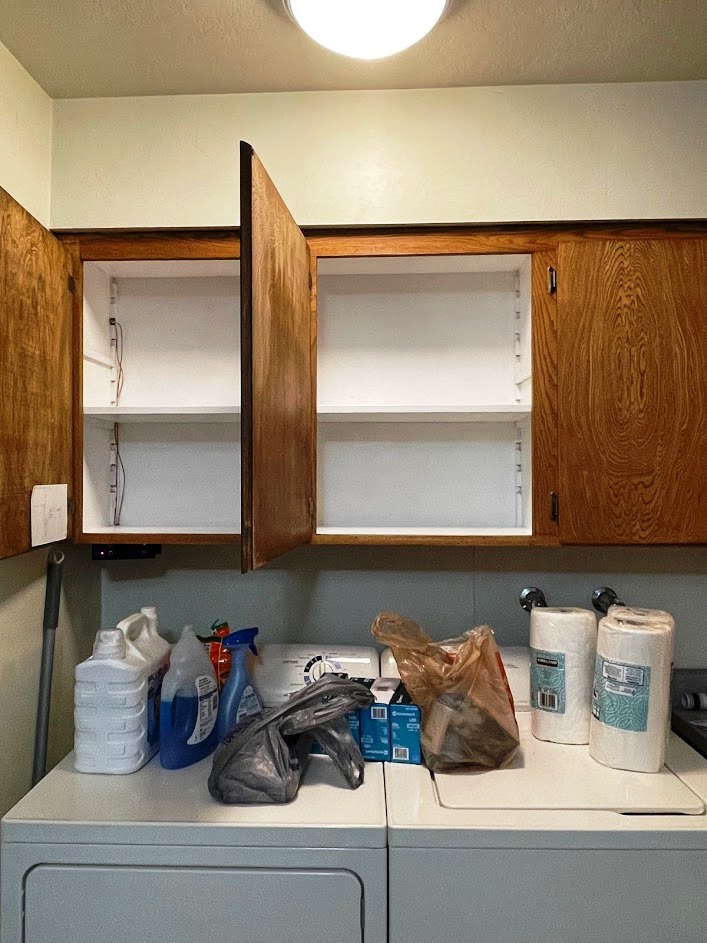
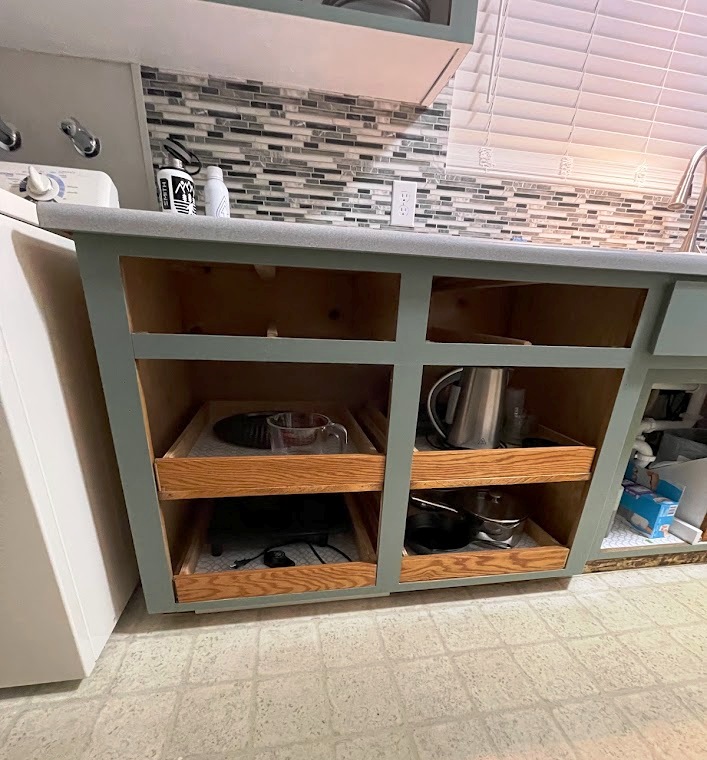
Even though we didn’t know whether or not we would be painting the exterior of the cabinets, the wood inside the cabinets was so rough that I thought it was a good idea to paint the interior. The shelves had shelf paper on them. It wasn’t contact paper, but heavy wallpaper-type material that just laid on top of the shelves. When I removed the shelf paper, I could see that the shelves were also rough. I removed all the shelves in the upper cabinets and sanded them. The lower cabinets have pull-out drawers that were in good shape so all I did with those was replace the shelf paper with contact paper.
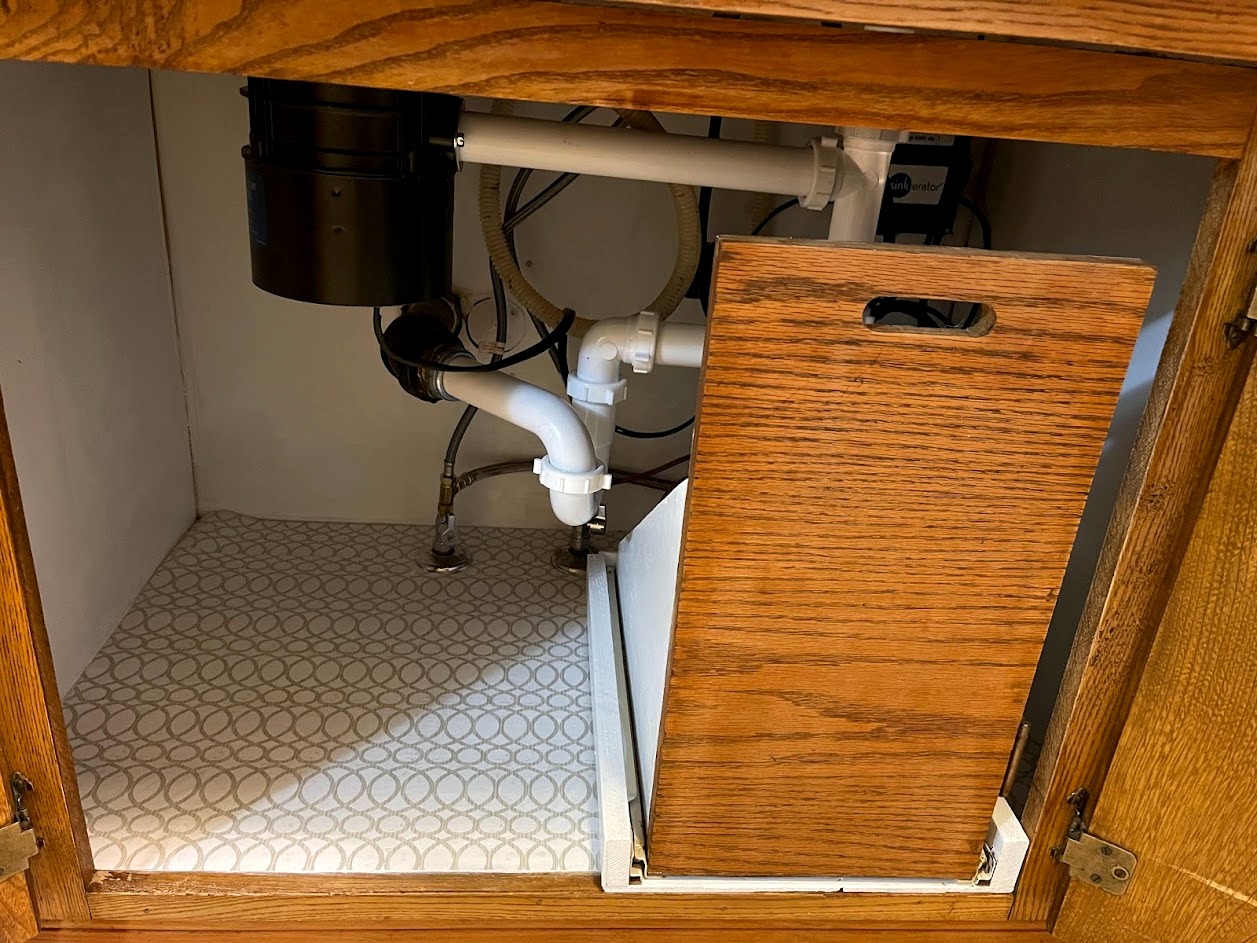
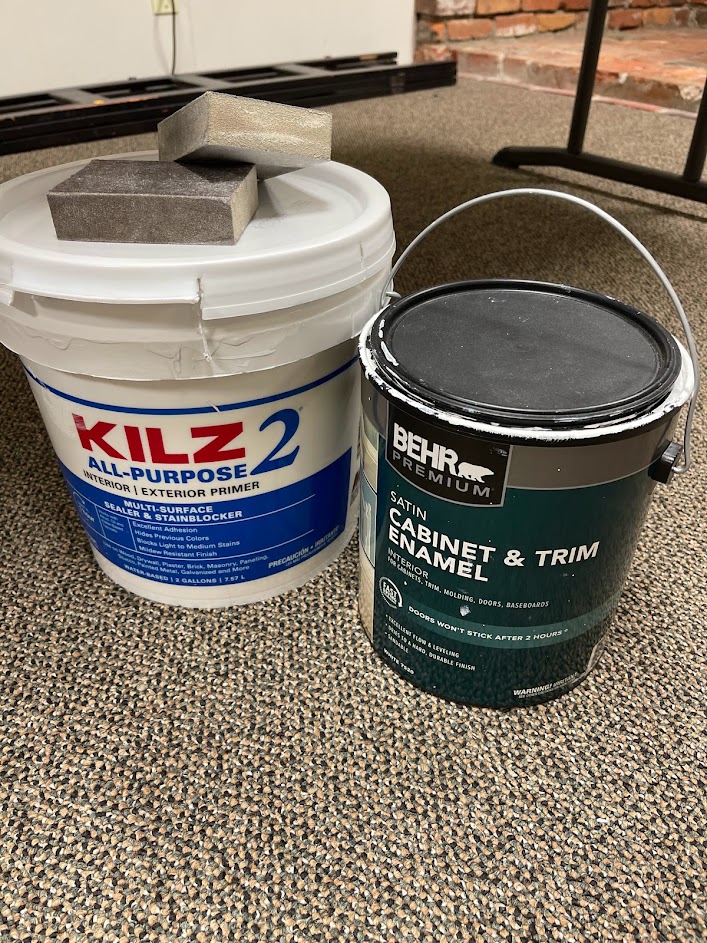
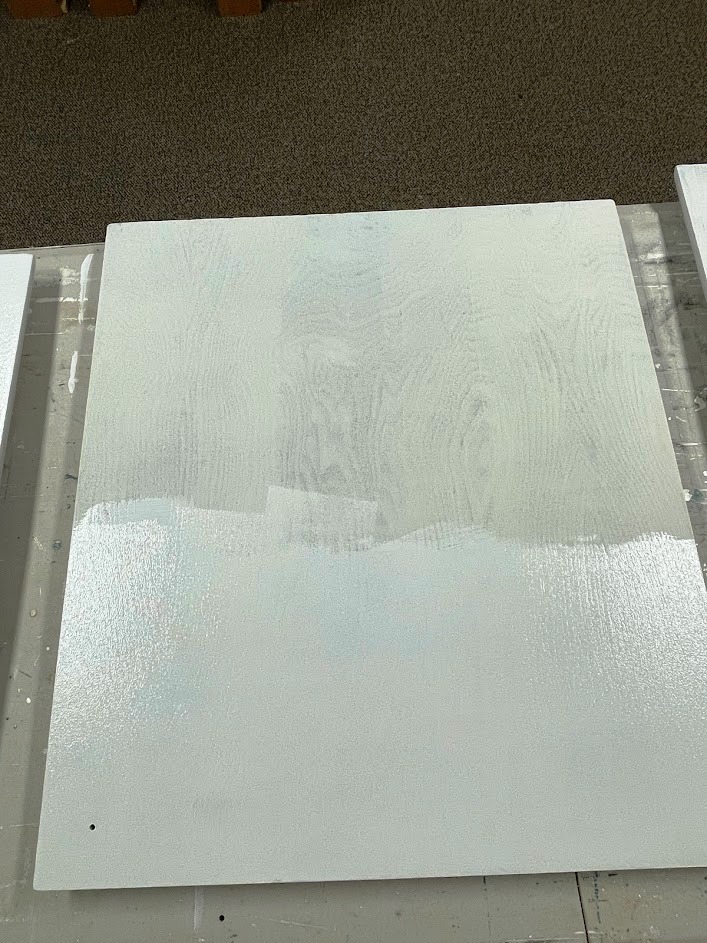
I wiped out the cabinets then applied two coats of Kilz primer using a painting pad & paintbrush, allowing each coat to dry before applying the next. Once the primer was dry, I applied two coats of Behr Cabinet & Trim paint in white. I also primed & painted the shelves. The only place other than the lower cabinets where I used shelf paper was under the kitchen sink.
Drilling holes-doors
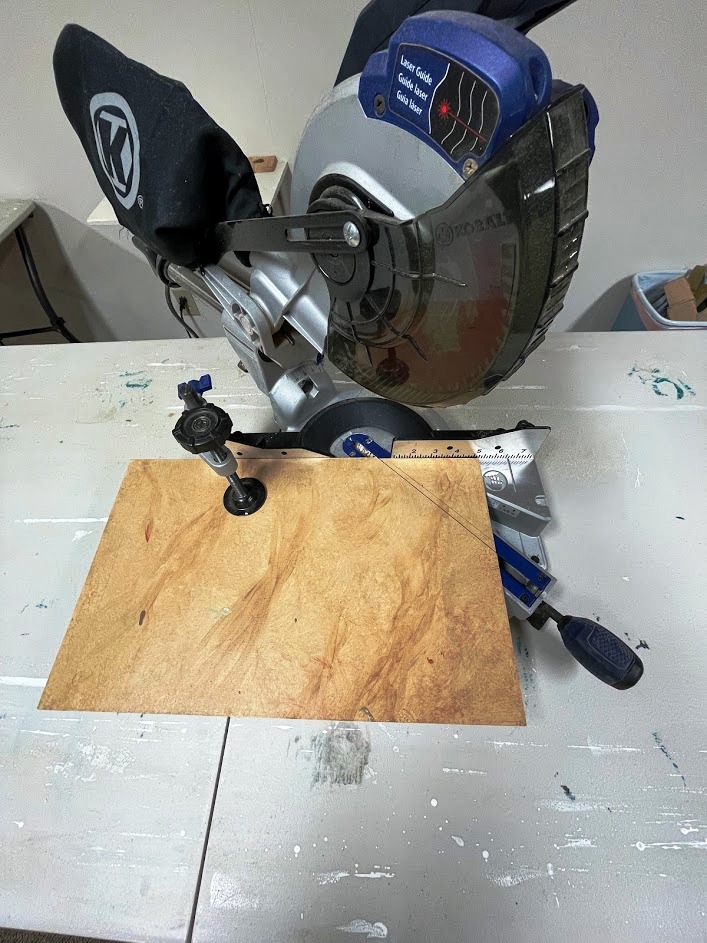
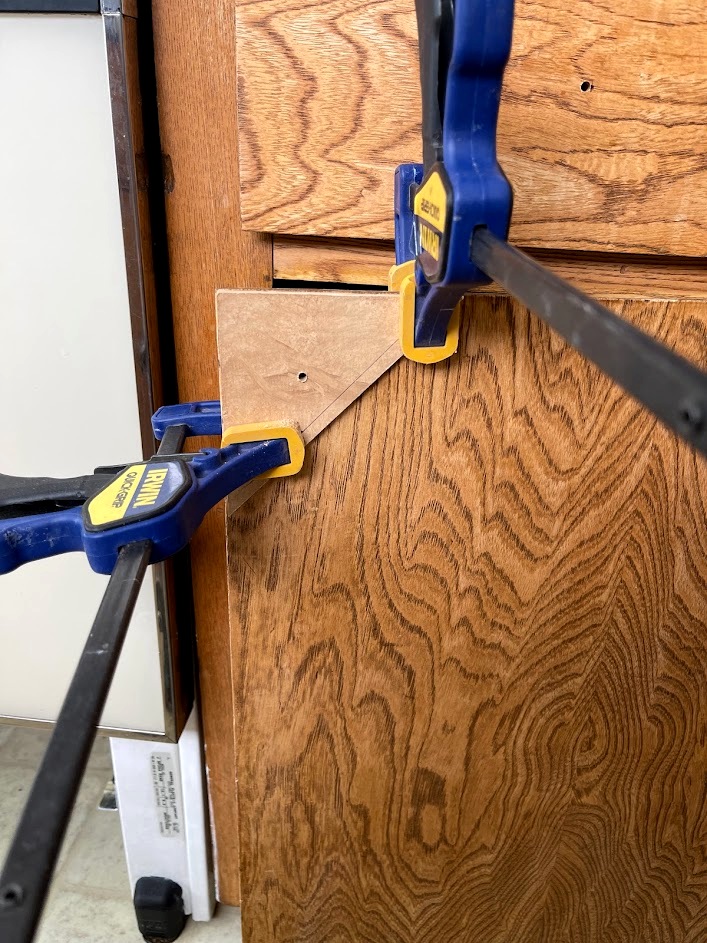
After a couple of months, the son decided that he would like the exterior of the cabinets painted. After he chose a color, I got to work. Since I had scrubbed all the cabinet doors & drawers as well as most of the bases, I was positive that all I would need to do was give them a light sanding (like I did on my cabinets the first time around) but that was not going to happen. Before removing the doors & drawers, I drilled holes for hardware. There were only 2 drawers in the kitchen that had handles & my son wanted all of them to have hardware. I considered buying a device that would help me mark the correct spot to drill but decided to make something instead. The knobs were going to be placed 1 1/2″ from both the side & bottom (or top) edge of the door. Using my miter saw, I created a jig from a piece of wood. After cutting the piece I needed, I marked where the hole should be and used my drill to create it. I then clamped the jig on the corner of each door & drilled a hole for where the knob would go. I couldn’t believe how easy it was!
Drilling holes-drawers
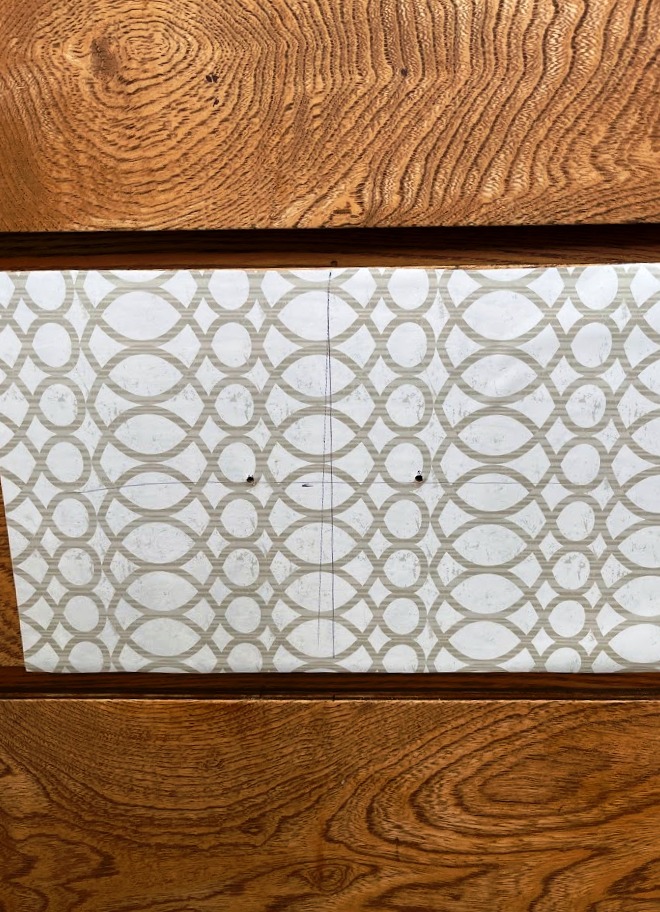
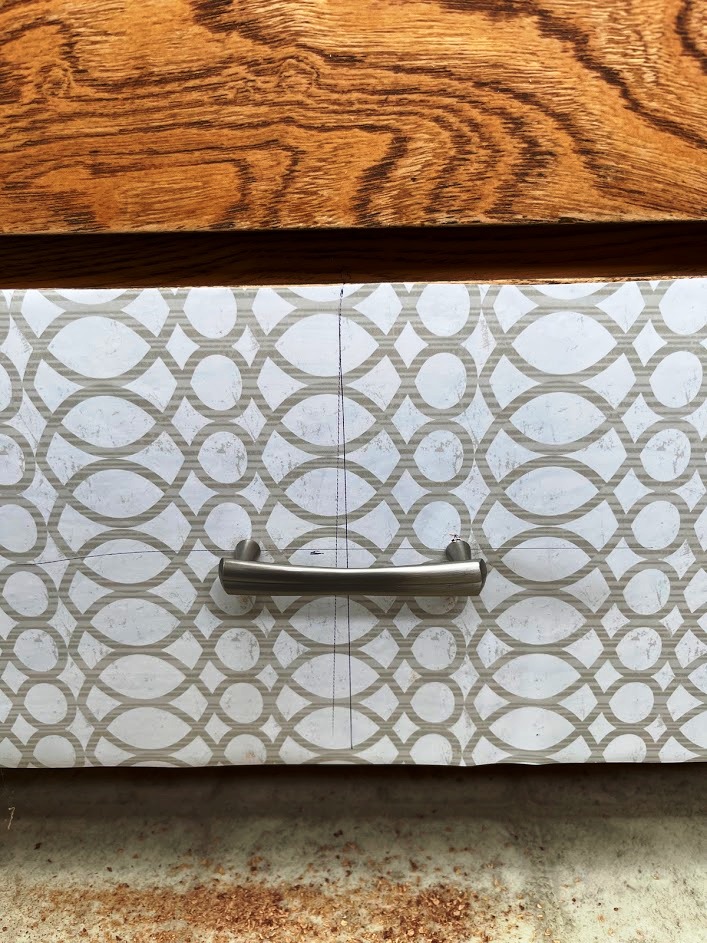
Now it was time to drill the drawers for handles. My son had chosen a handle that had 3″ between the bolts. The drawers were not all the same width or height, so making one jig wasn’t going to work. I thought it might work to use pieces of contact paper instead. I could cut a piece for each size of drawer and mark where the holes needed to be. It worked great! The contact paper I have is not super sticky but sticky enough to use more than once and to stay in place while drilling! I have to say, I was SO nervous to drill into these cabinets! Making & using these tools made it so much easier to ensure the holes would be in the correct spot!
Marking the doors
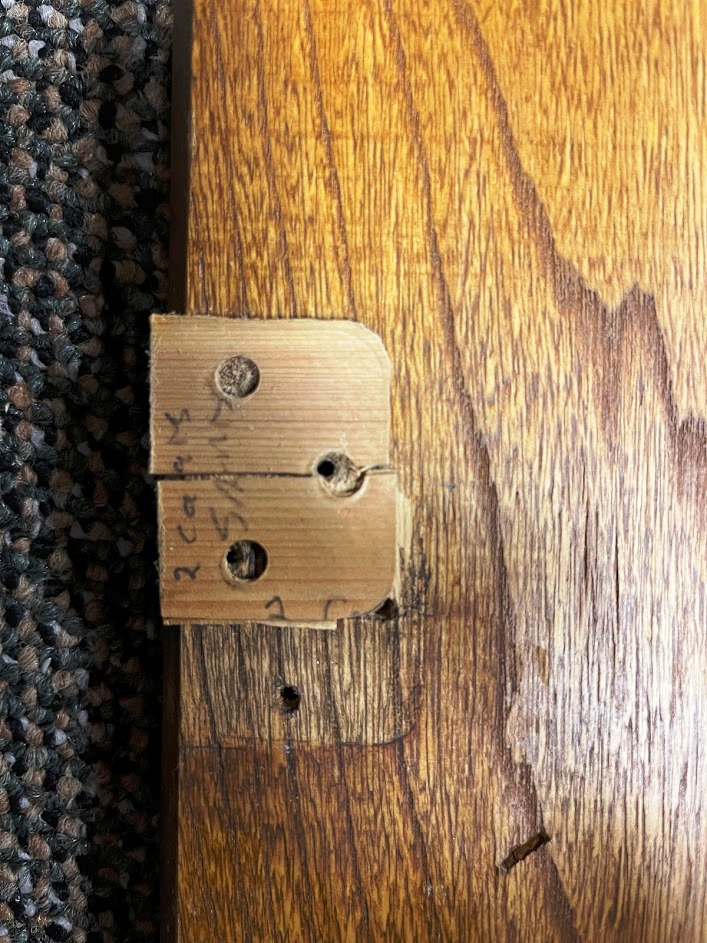
Before removing the doors, I did label each door with a letter. Using painter’s tape, I wrote the letter on two pieces then placed one piece on the cabinet and one on the door. This made it easy to know where each door went when it was time to rehang them. I removed the tape on each door and placed it on the table next to it where I was painting it. When the final coat of paint was dry, I placed the tape back on the door before taking it upstairs to install. I also took pictures of any oddities like the one below. Had I not taken this picture, I would not have known which hinges went with these doors nor where the shims needed to go.

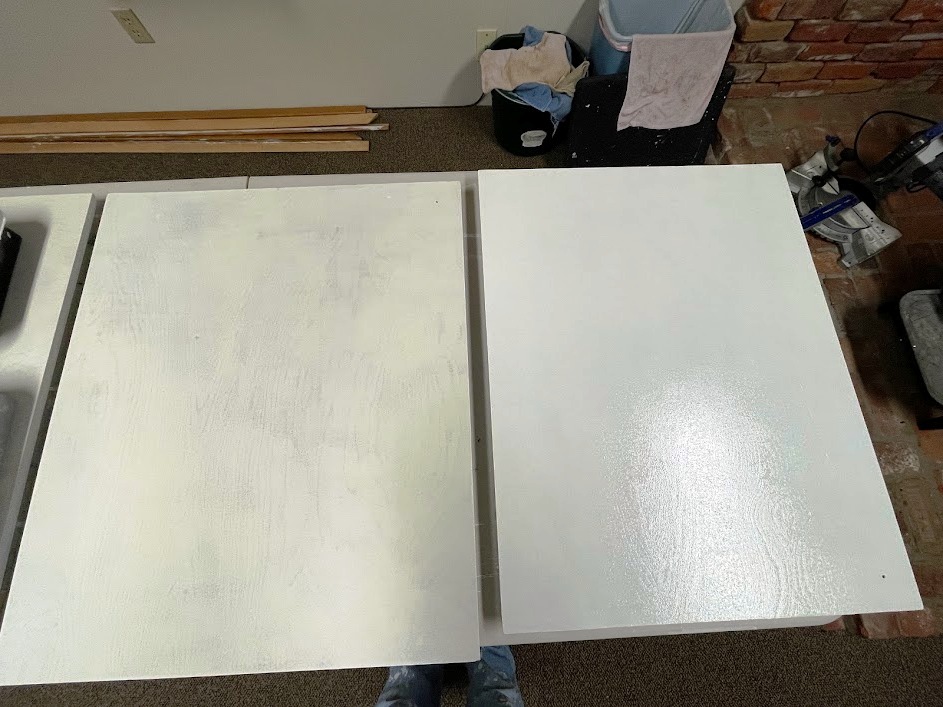
More cleaning & sanding
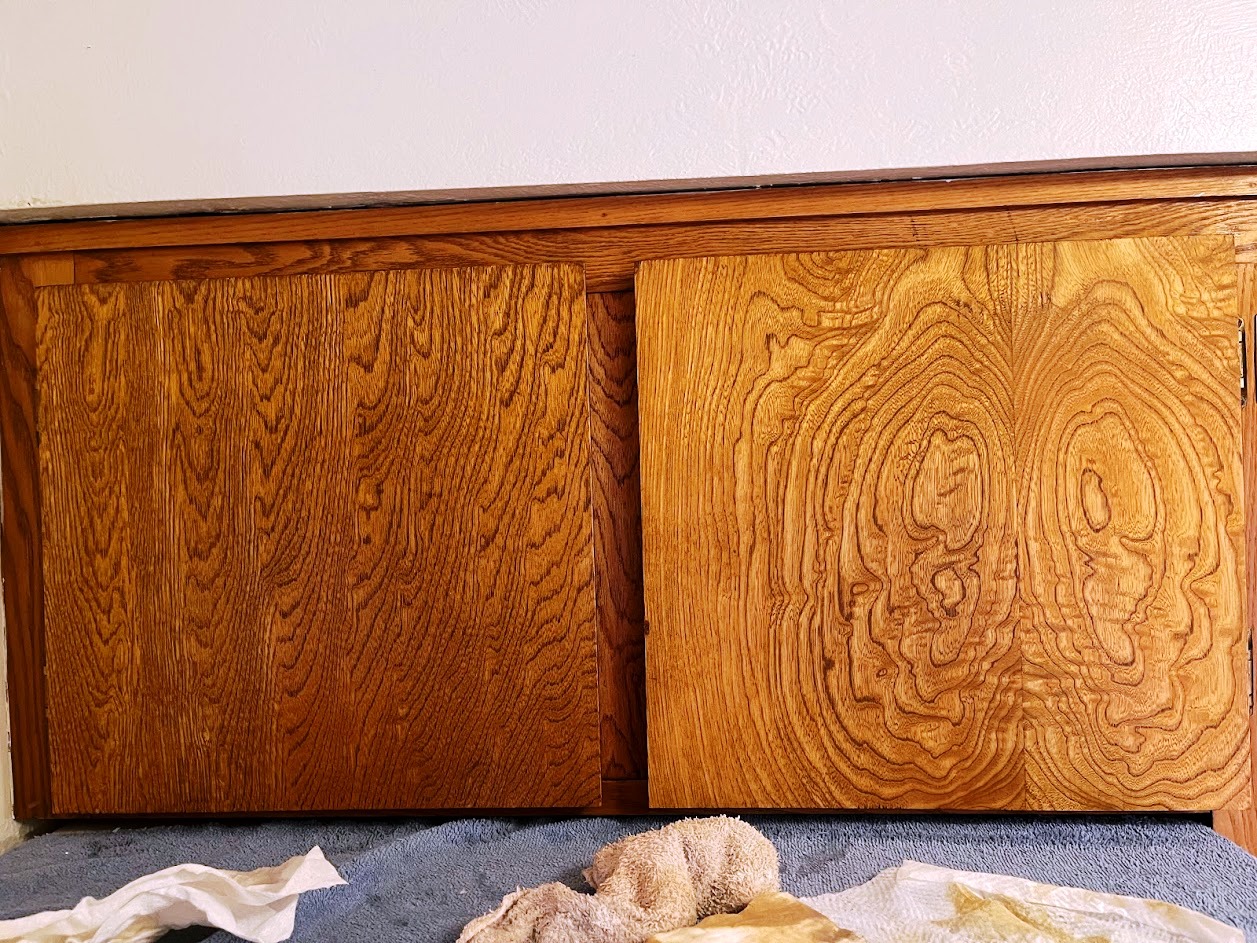
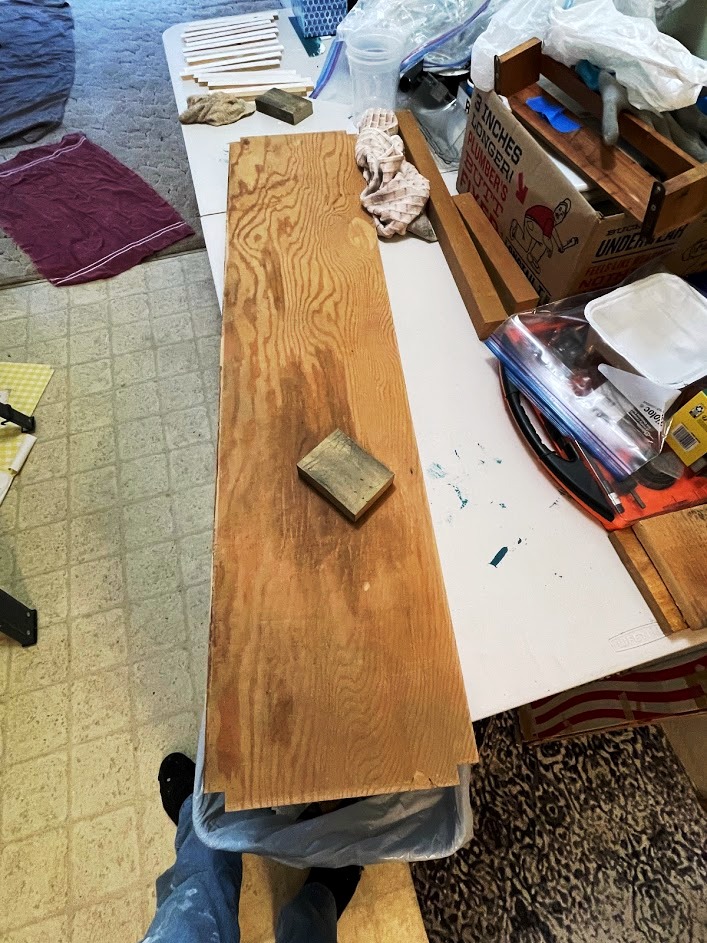
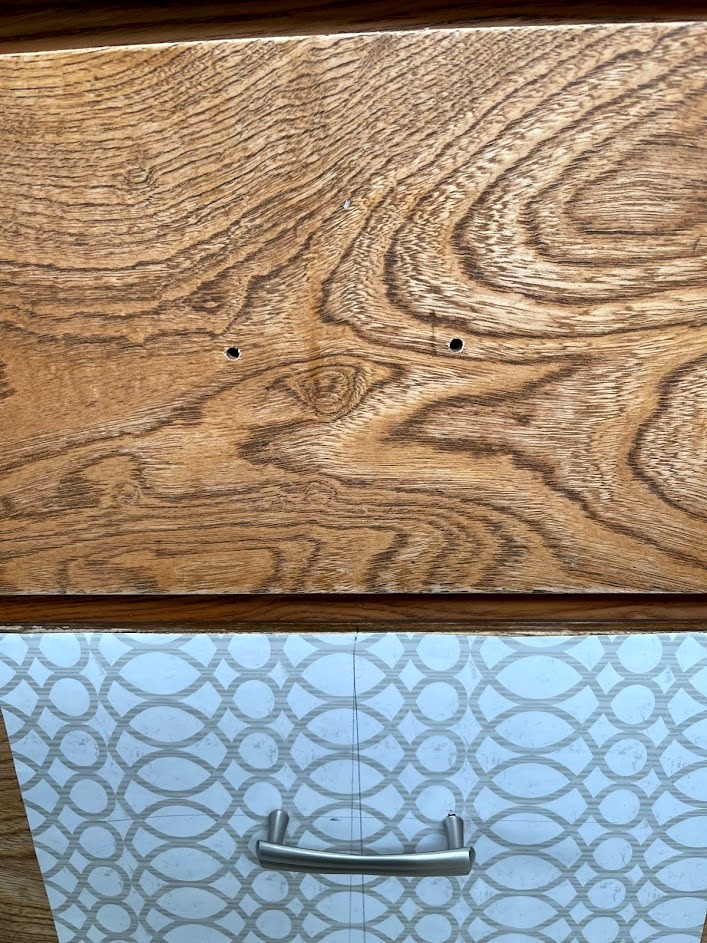
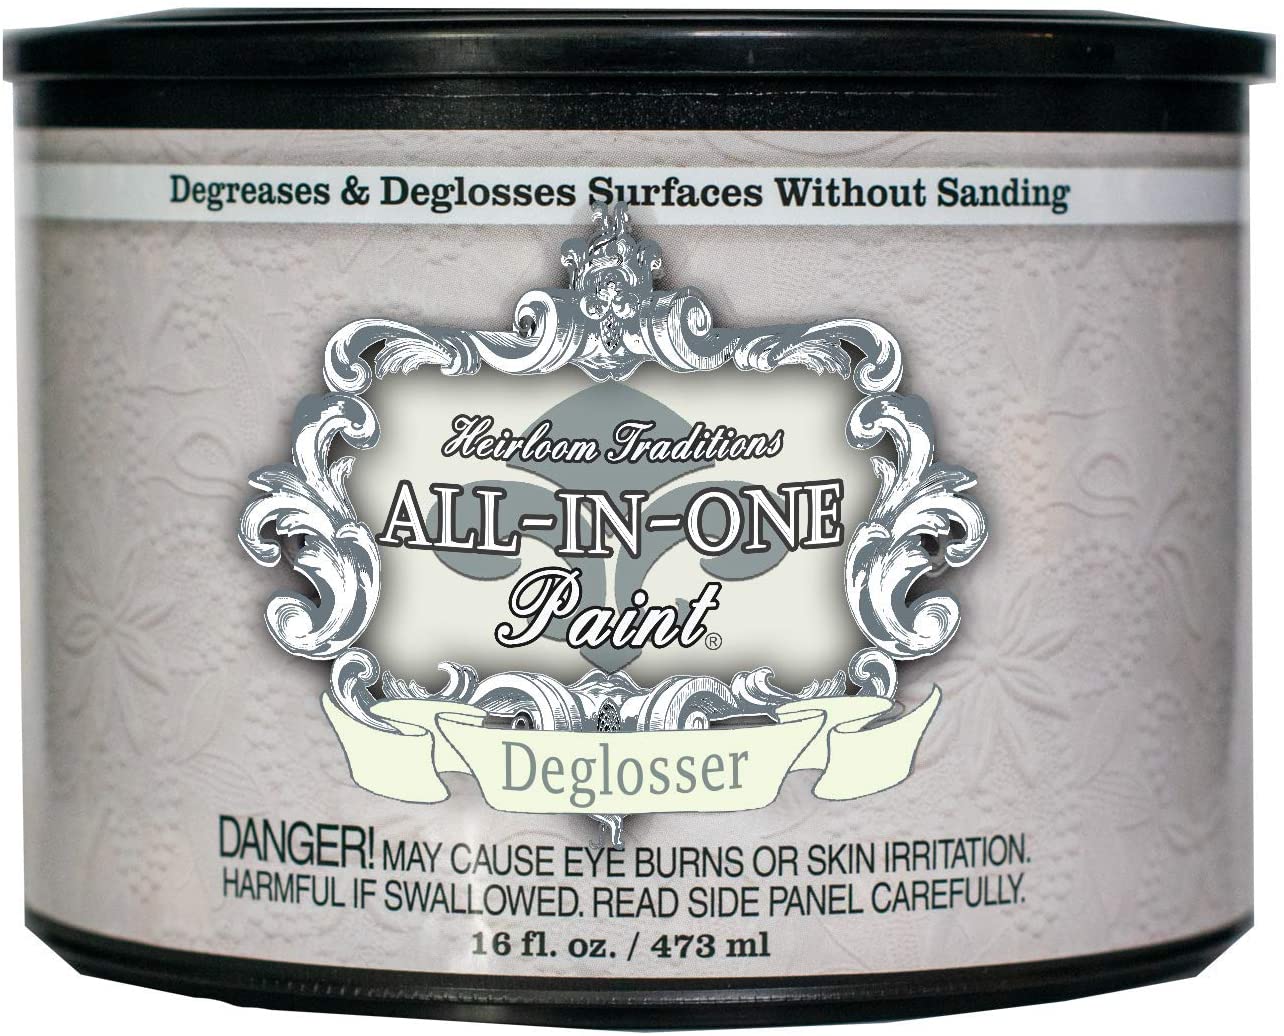
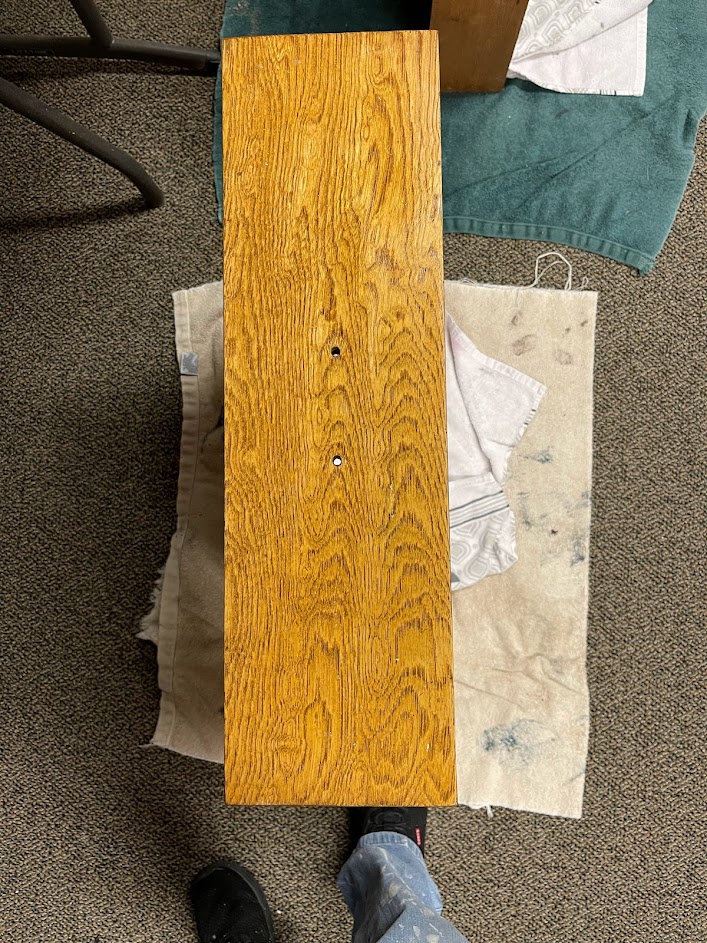
Now that all the hardware holes had been drilled and the doors were marked, I removed the doors and drawers so it would be easier to sand and paint them. When I started sanding the first drawer, the sanding block just gummed up with stuff! I didn’t know if it was more gunk or leftover finish but it was obvious that I was going to have to do more scrubbing. To remove the remainder of the grime & finish, I used the Zep degreaser. I also a product from Heirloom Traditions that I had left from painting the shower tile. It is a deglosser which is also a degreaser. If I were to do this again, I’d only use the Heirloom Traditions one, it worked so much better! When all the wood was cleaned and dried, it was a quick task to give it a light sand using the sanding block. You can see how different the wood looks once it was cleaned again then given a light sanding. The base cabinets did not need any additional cleaning, so I just gave them a light sanding with a sanding block.
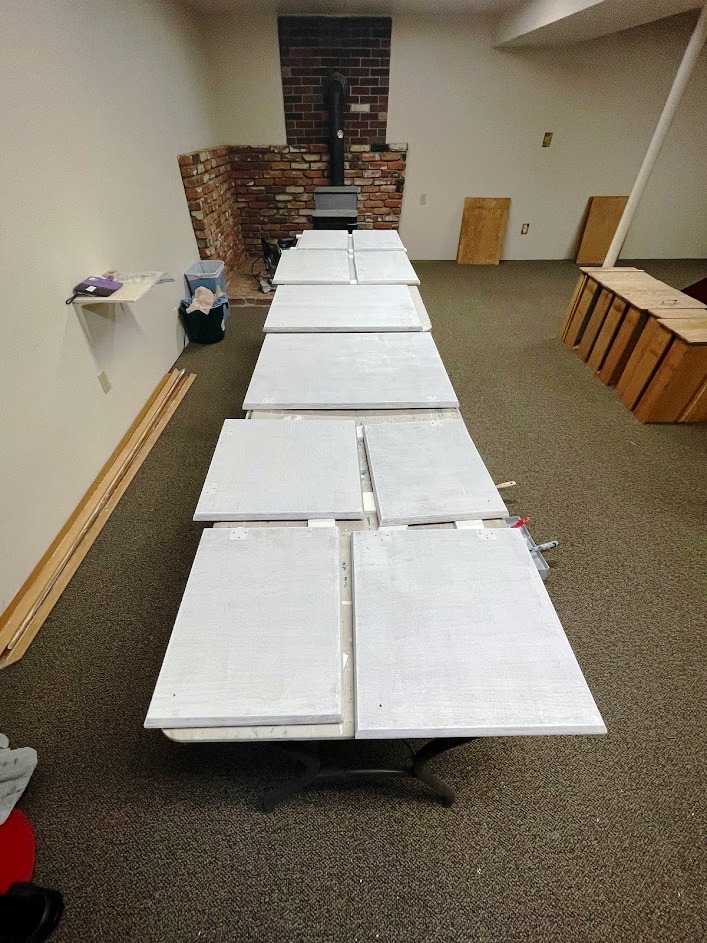
Priming
When the doors, drawers, and base cabinets had been sanded, I wiped them all down with a slightly damp cloth. I was hoping I could use just one coat of primer on the wood but some of the areas had nicotine bleed through the first coat so I applied two coats on all surfaces. For the doors and drawers, I used a 2″ paintbrush & a 4″ dense roller. For the base cabinets, I used a small painting pad followed by a 4″ dense roller. Painting doors takes patience. I try not to rush this process by allowing each coat of primer and/or paint to dry longer than suggested by the manufacturer.
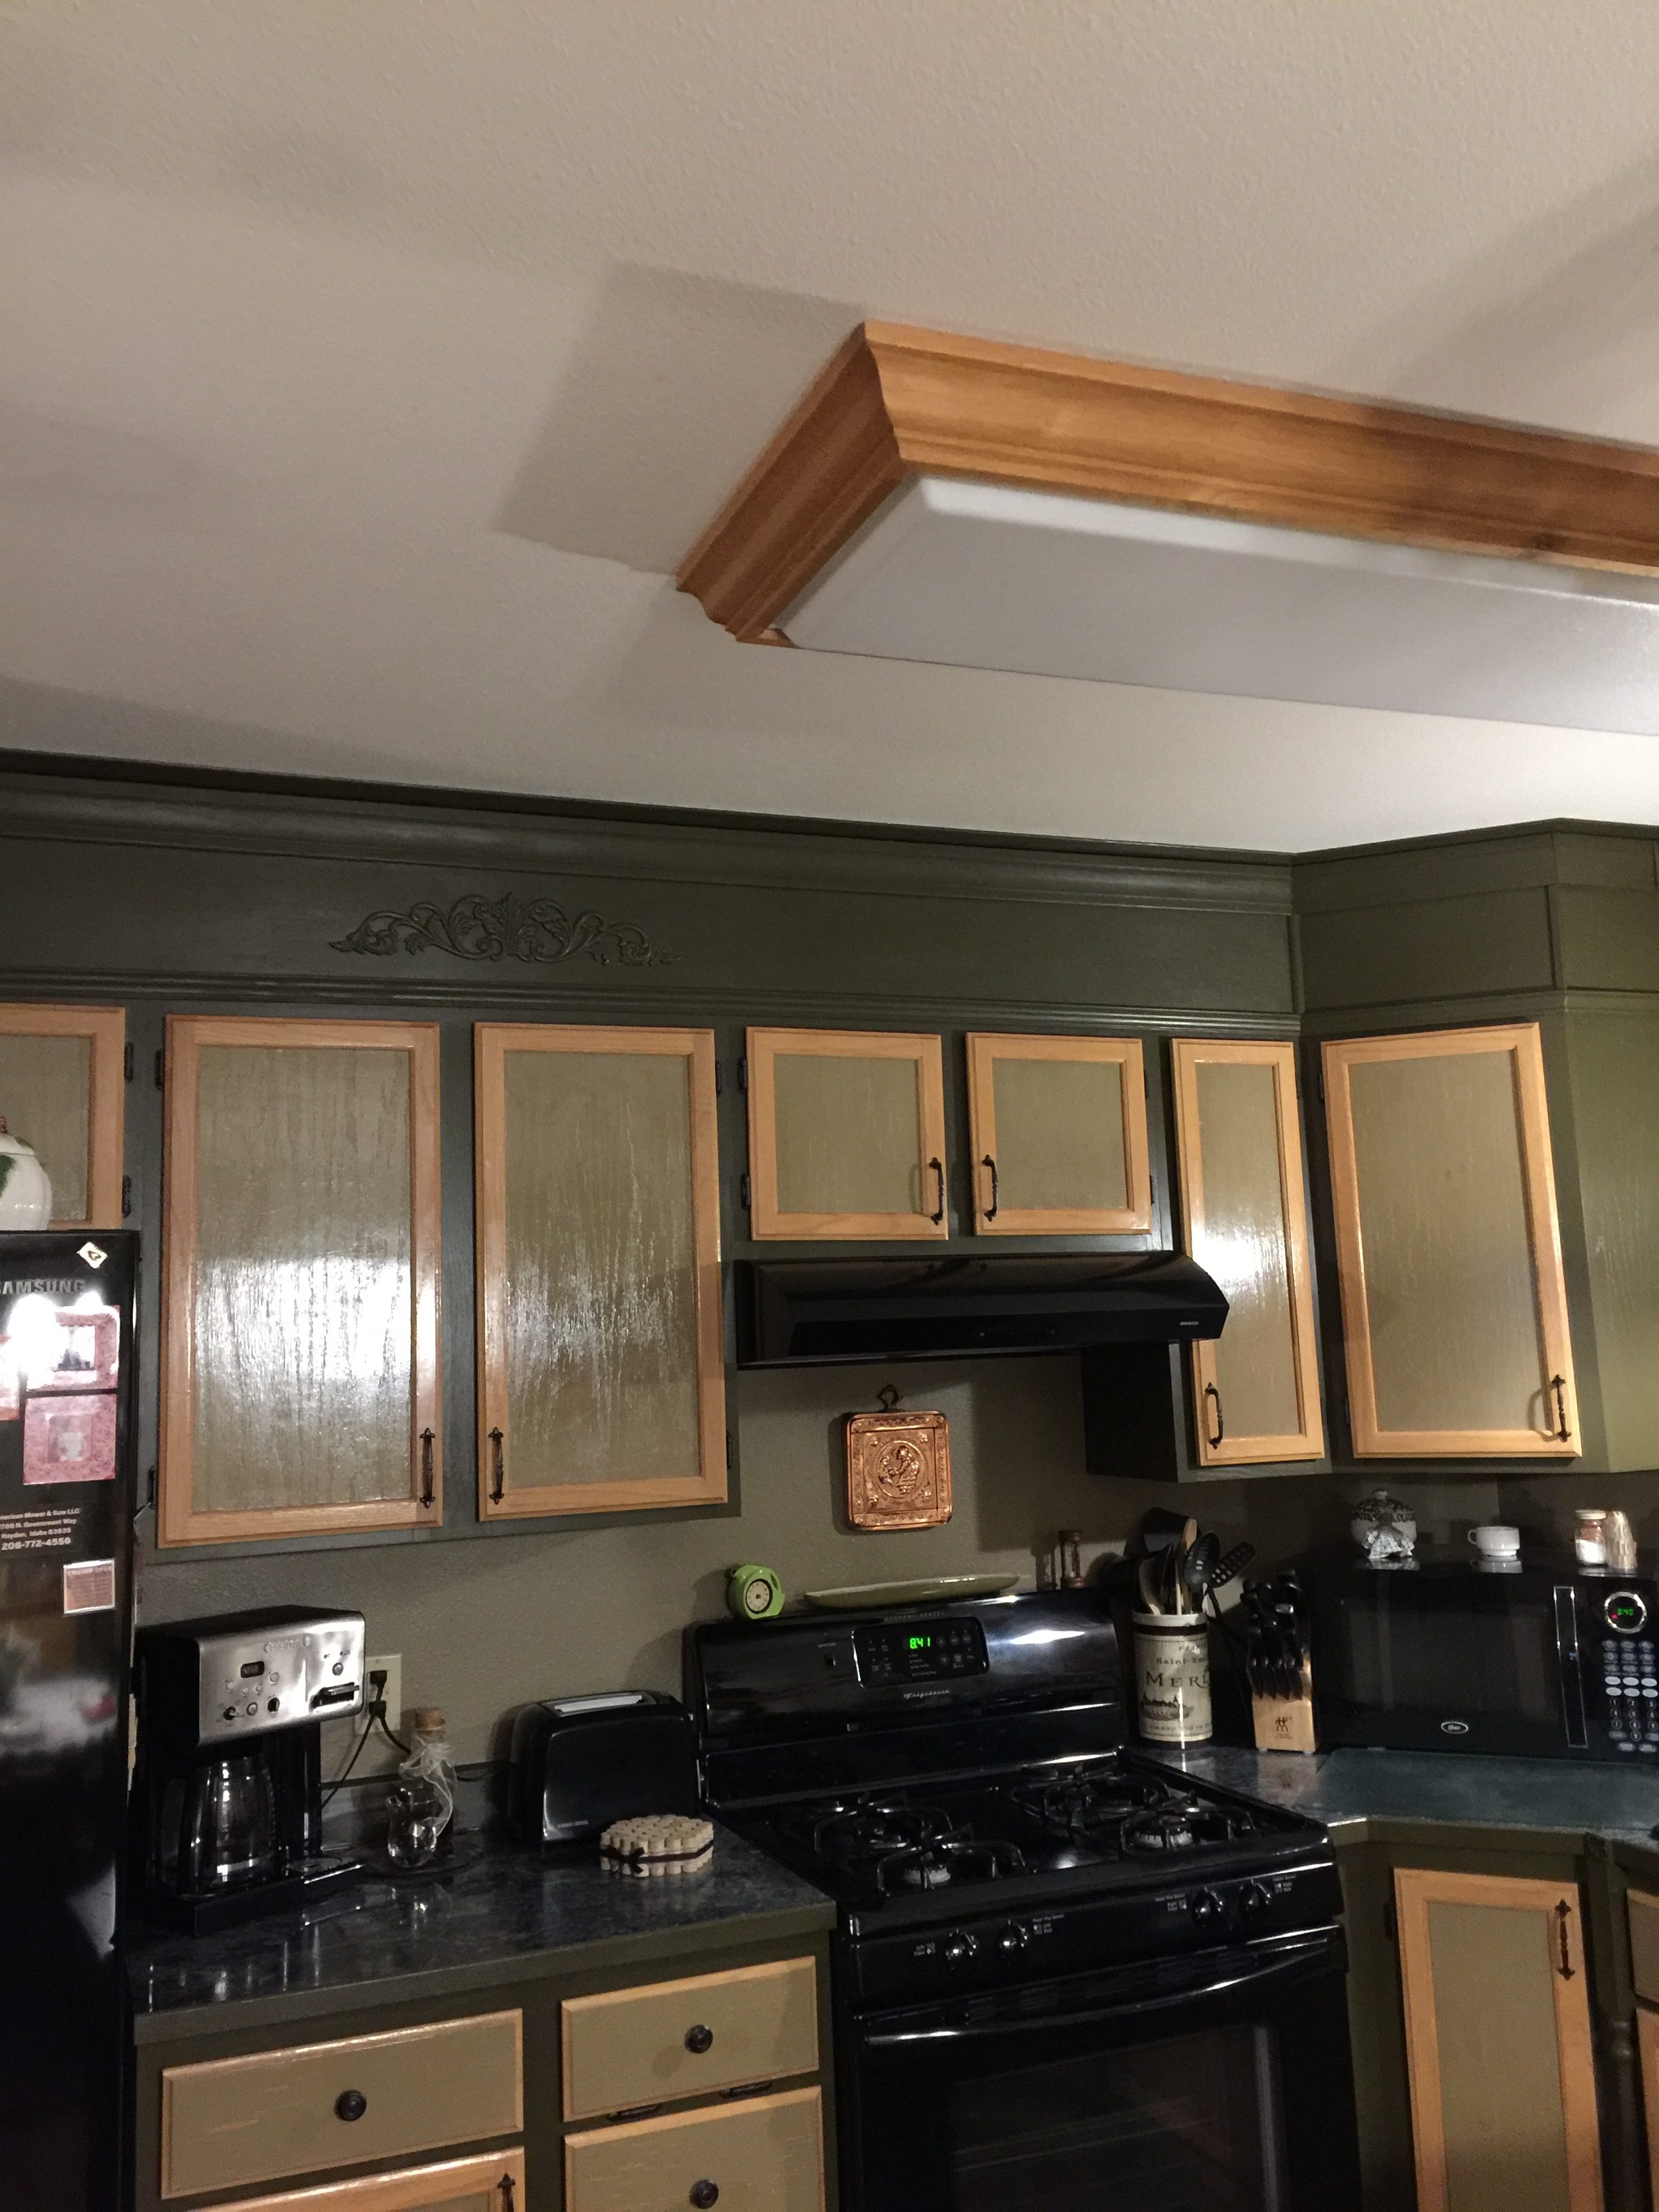
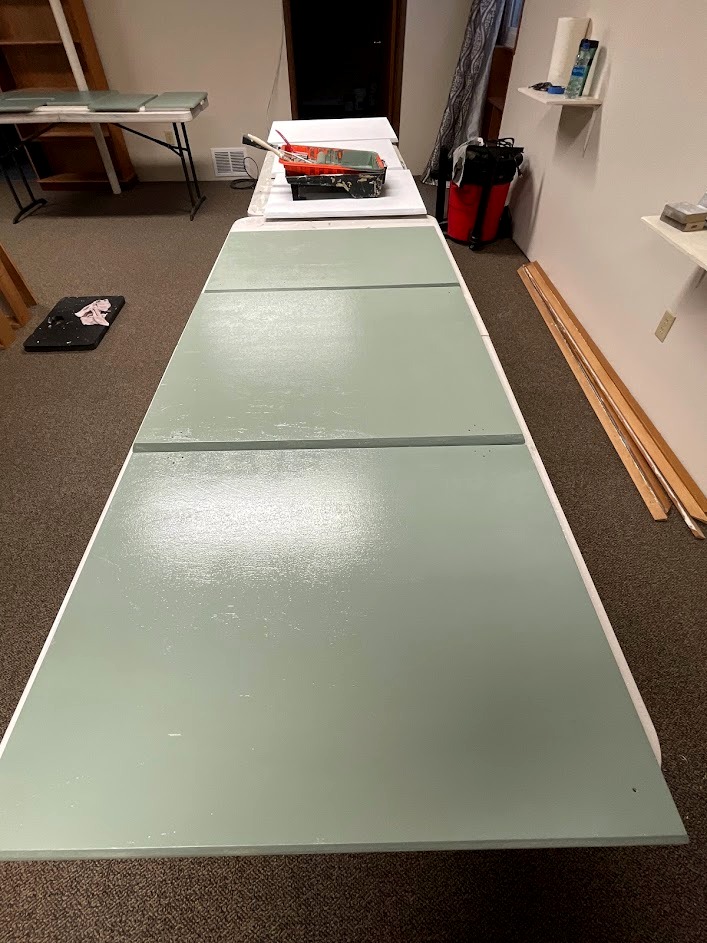
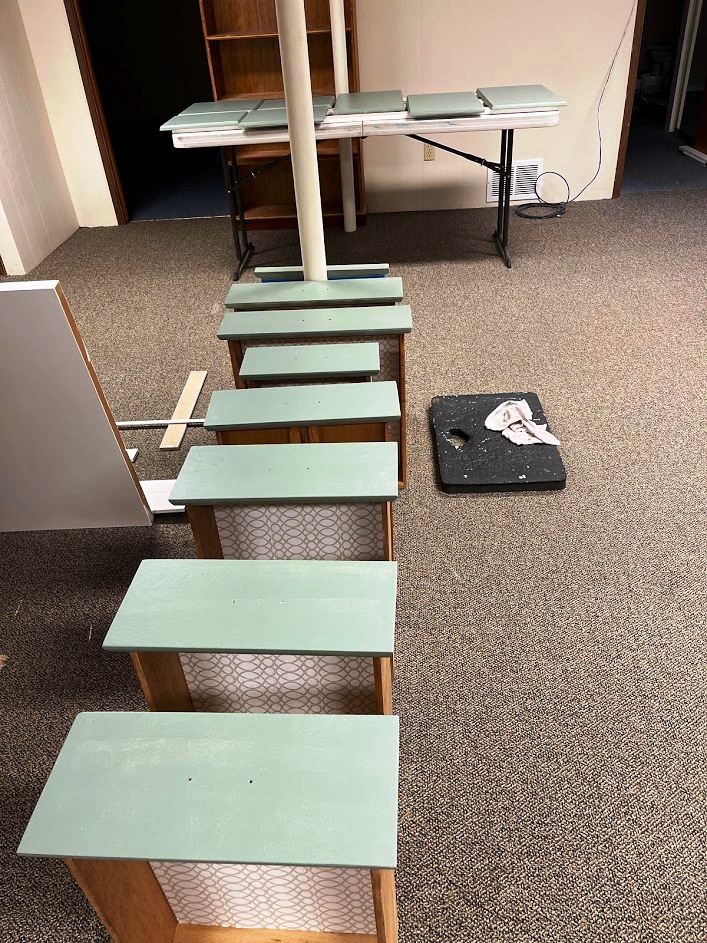
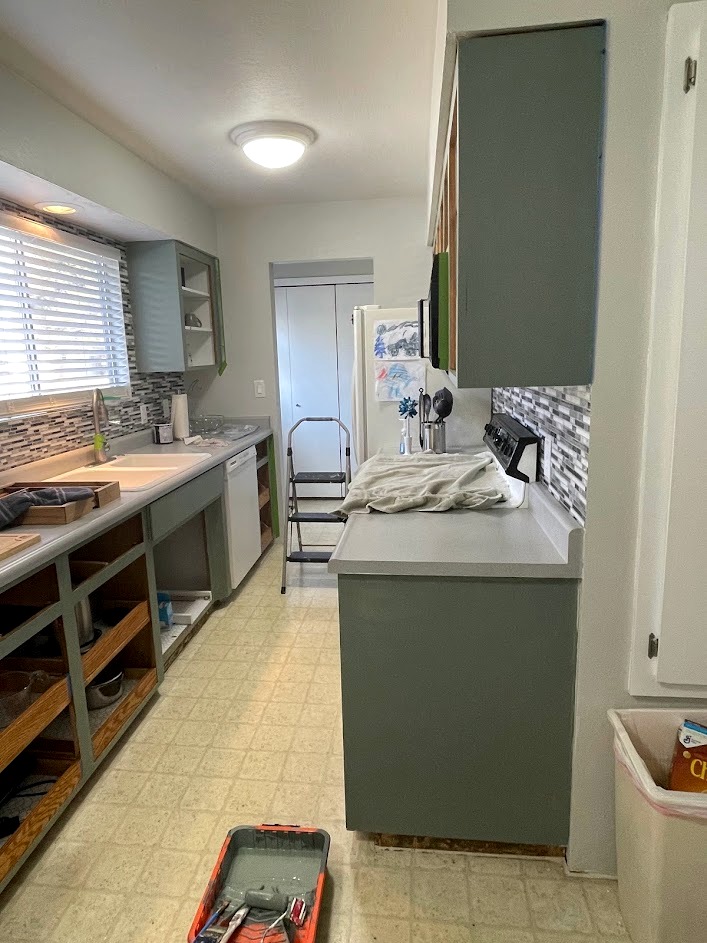
Painting
When the primer was dry, using a 2″ paintbrush & a 4″ dense roller, I applied two coats of Behr Village Green. The paint I was using for the cabinets is a water-based latex paint in eggshell. I know that is not the traditional paint to use on kitchen cabinets but I’ve used latex on my own cabinets twice and it holds up very well.
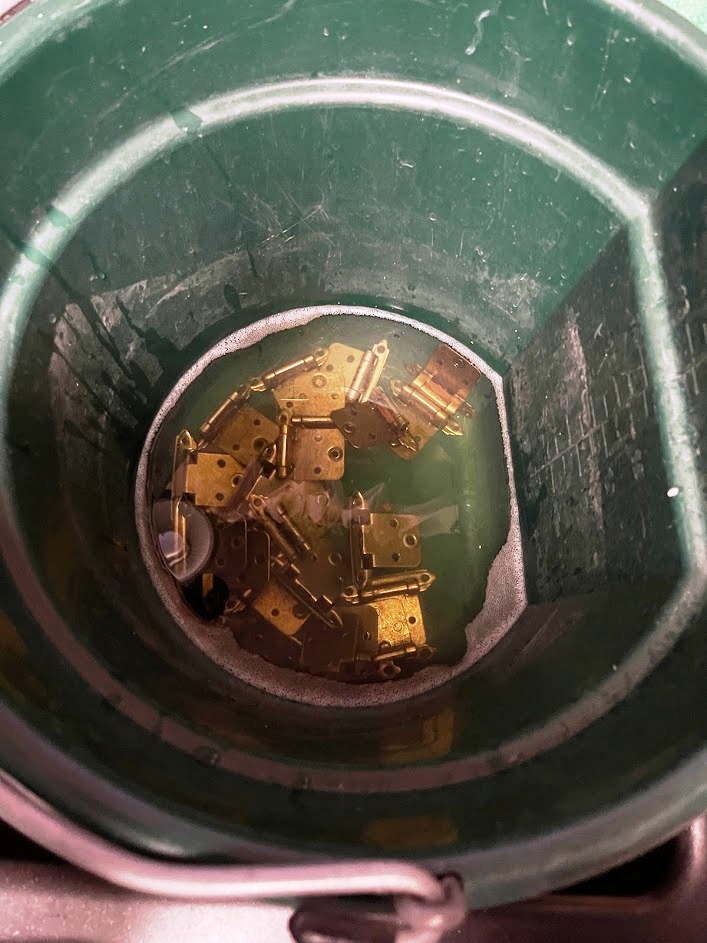
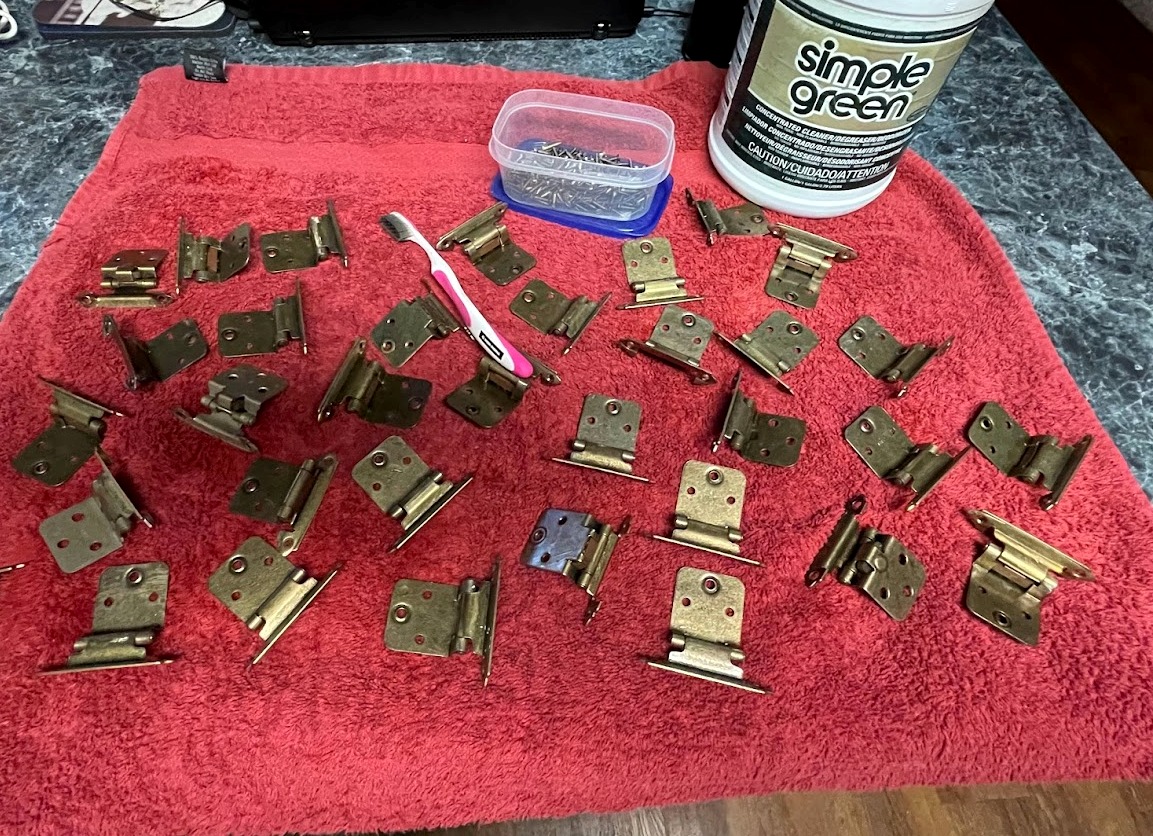
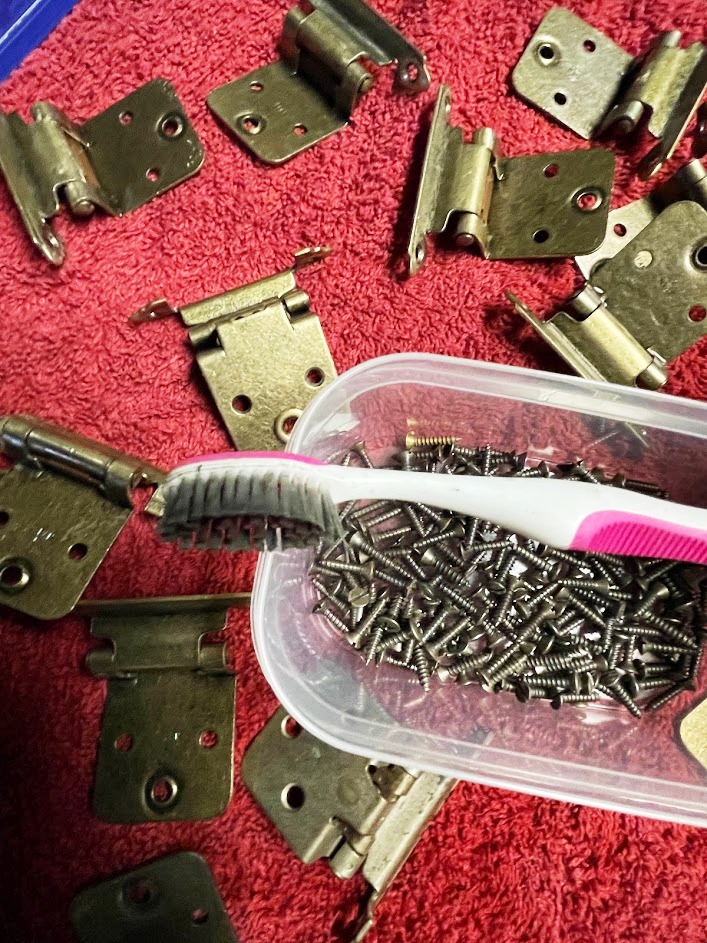
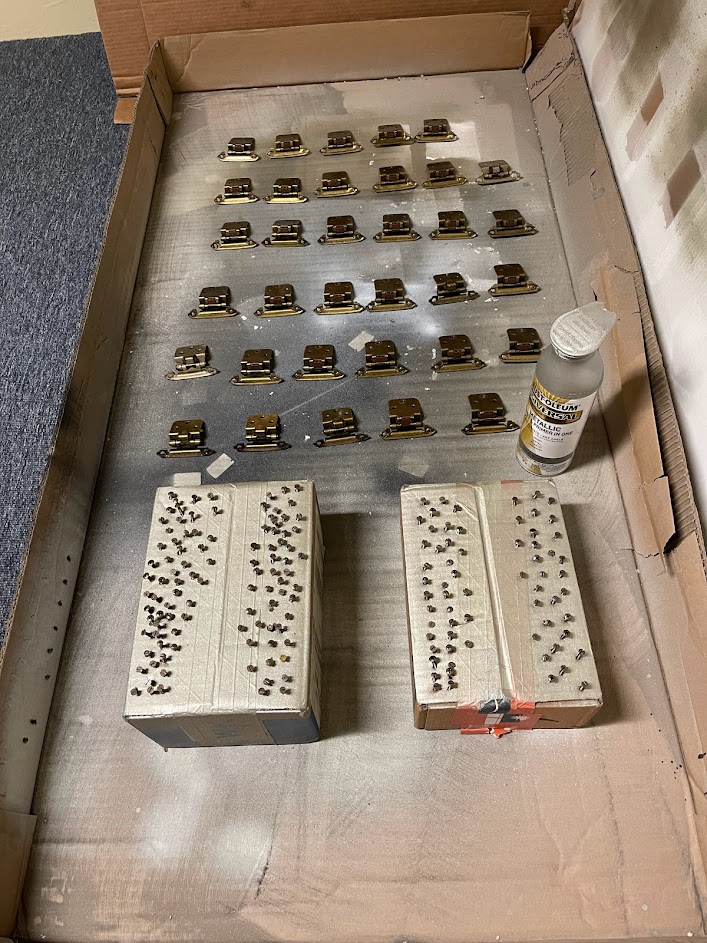
Painting the hinges
While he bought new hardware for the cabinets, my son did not want to spend extra money to buy all new hinges. When I took down the doors, I removed the hinges so they could be cleaned & painted. Removing them also makes it SO much easier to paint the doors! I used Simple Green to clean the hinges & screws. I placed the hinges in a bucket & the screws in a plastic container, added water and Simple Green, and let them sit for a while. Using a toothbrush, I scrubbed each hinge and screw (yes, each of the 140 screws!) After rinsing, I set them on a towel to dry. The color we used to spray them was Satin Nickel. It matches the new hardware perfectly!
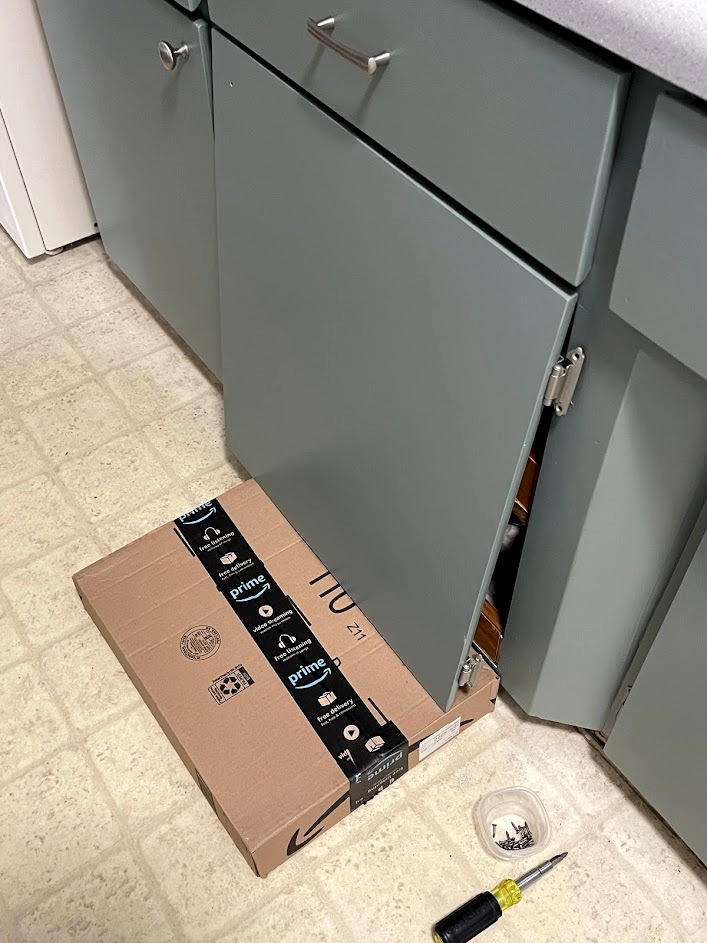
Hanging the doors
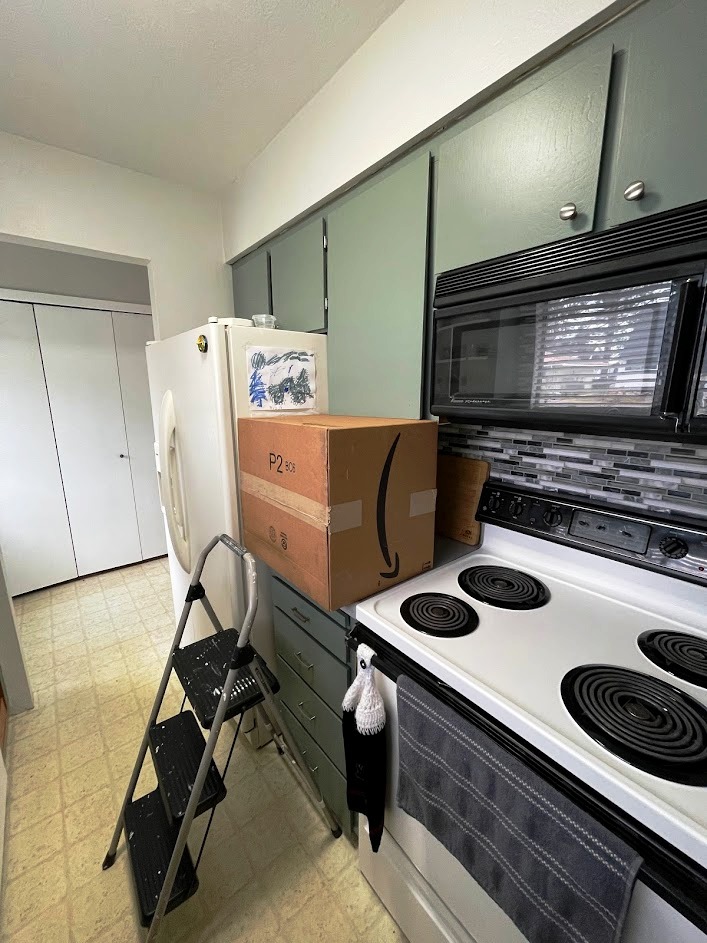
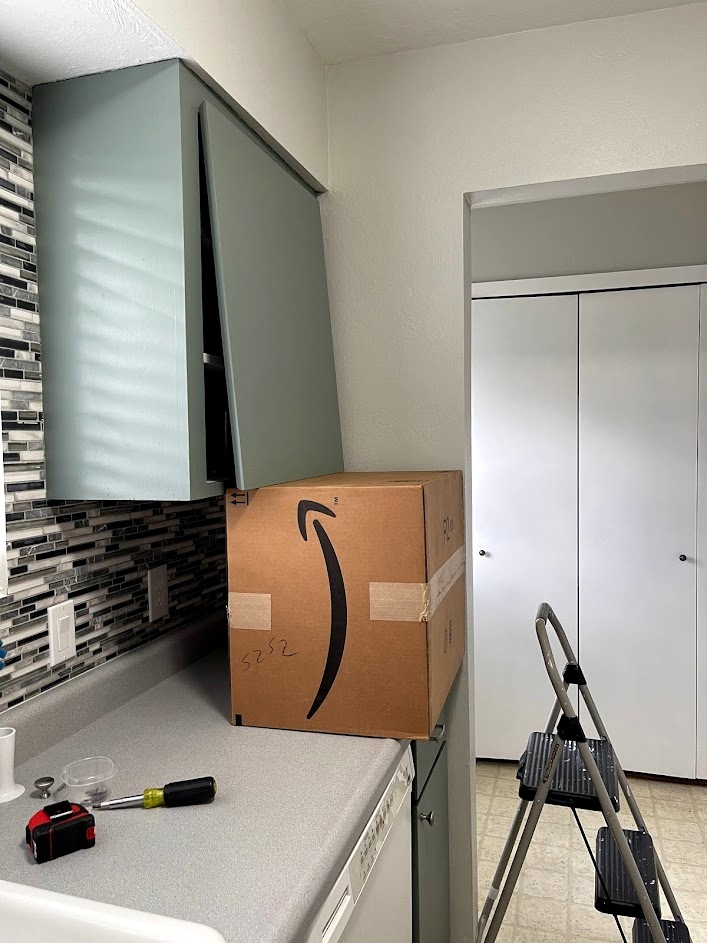
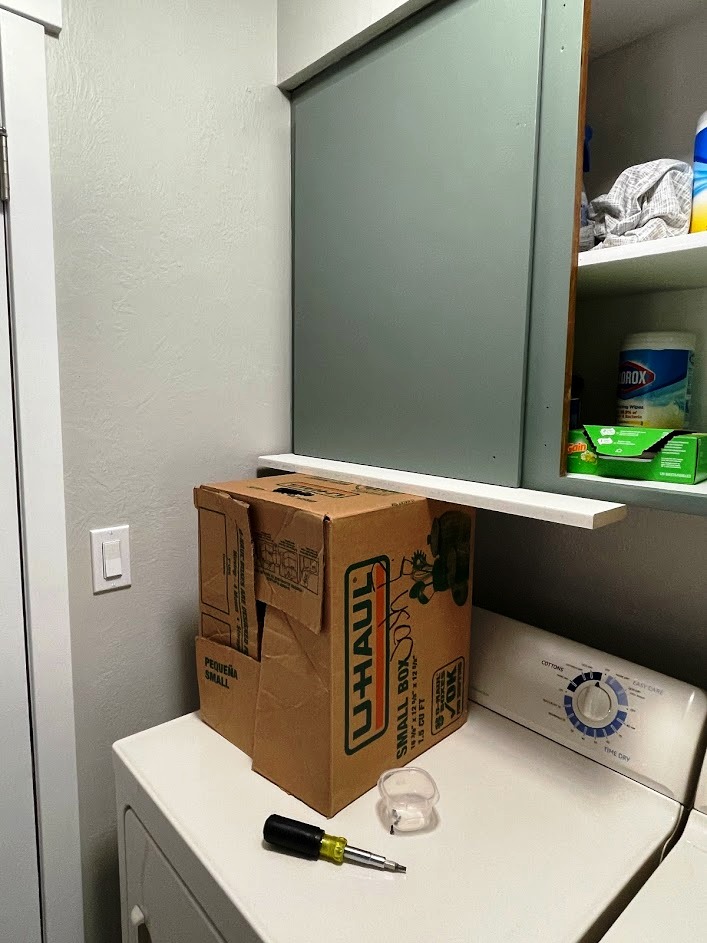
Hanging cabinet doors can be tricky. I figured I could hang the doors on the base cabinets and the two small sets of upper ones but thought I should wait for my son to get home from work to hang the large upper doors. After attaching the hinges, I hung the two sets of small doors and then started on the lower doors. I found that I needed something to put under those doors to hold them in place while I secured them with screws. I found an Amazon box that was just the right height. Once the lower doors were attached, I thought maybe, just maybe I could find boxes that would hold the heavy upper doors in place. Voila! I found what I needed in the garage (the son has plenty of boxes from the move) and was able to get the upper doors on by myself! I needed a little extra height for a couple of the doors so I grabbed a leftover piece of trim to put on top of the box. I was super surprised but happy because I really wanted to see the finished product!
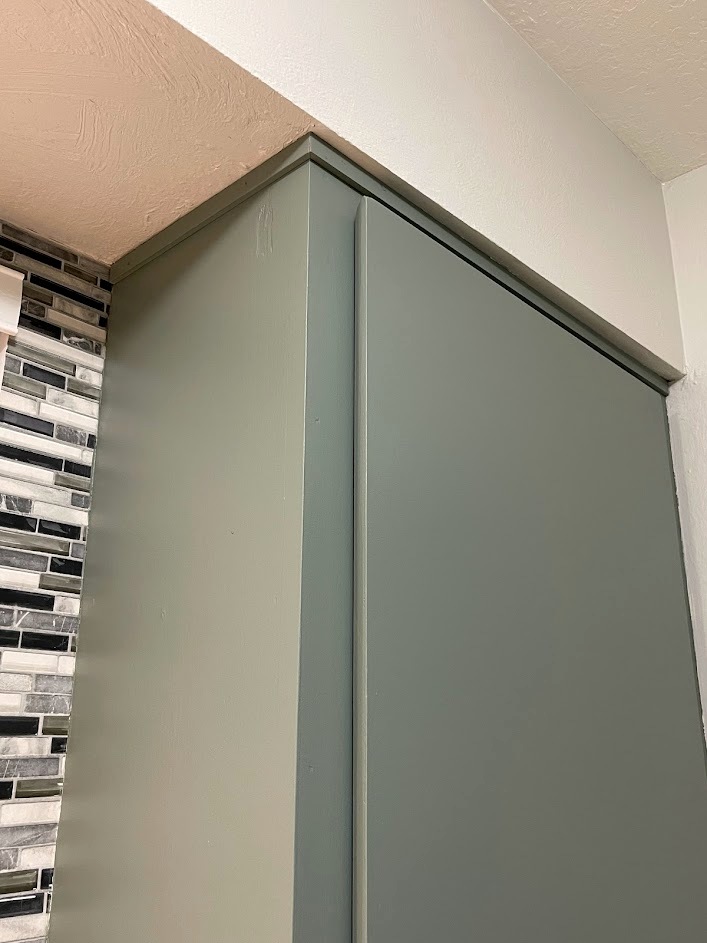
Finishing touches
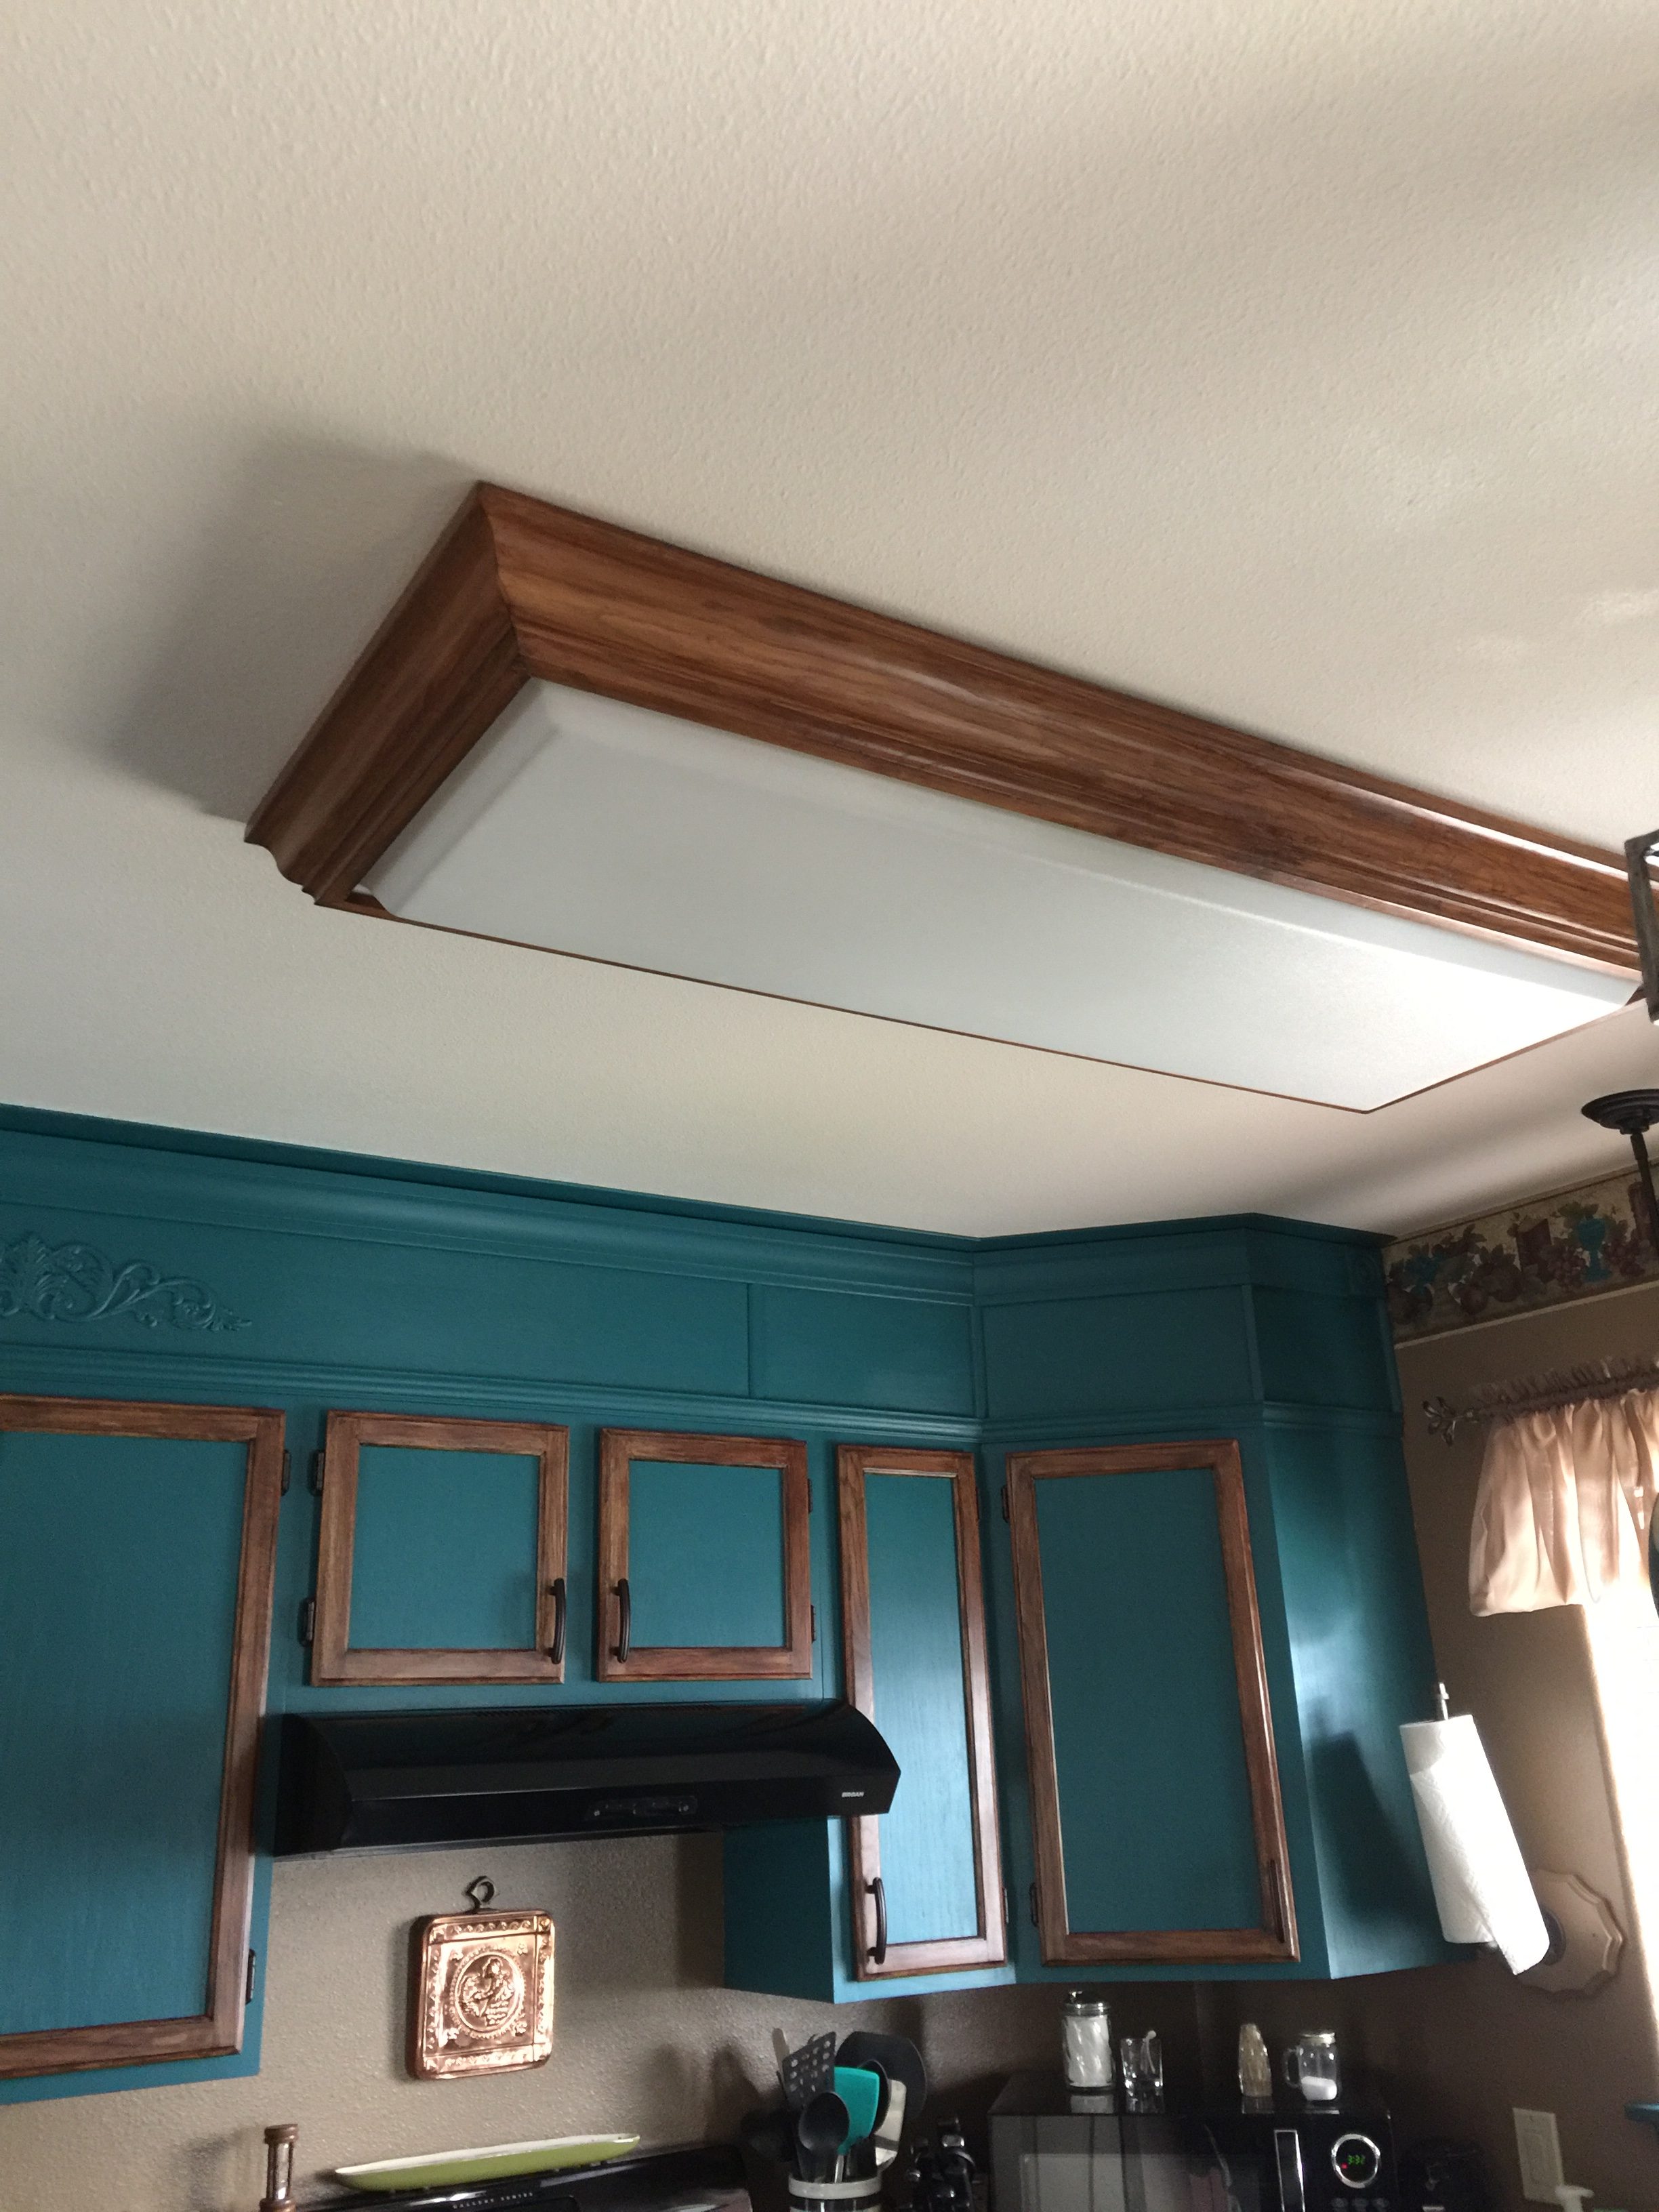
As I installed each door, I attached the knob. I attached the handles to the drawers before placing them in their slots. I didn’t take any pictures of installing the trim along the ceiling line, the caulking, or the paint touch-up process. Before starting this project, I had removed the wood trim at the top of the cabinets. I cleaned, sanded, primed, and painted it along with the doors & drawers. If you look closely at the before picture, you can see that the trim on the cabinets by the window included a decorative board. My son didn’t want that board to remain so I removed it. The trim for that area went on top of that board so when I was replacing the trim, I had to cut that piece to go along the sides of the upper cabinets. After the trim was installed, I caulked along the soffit as well as the wall along the sides of the cabinets then used a small artist brush for paint touch-ups.
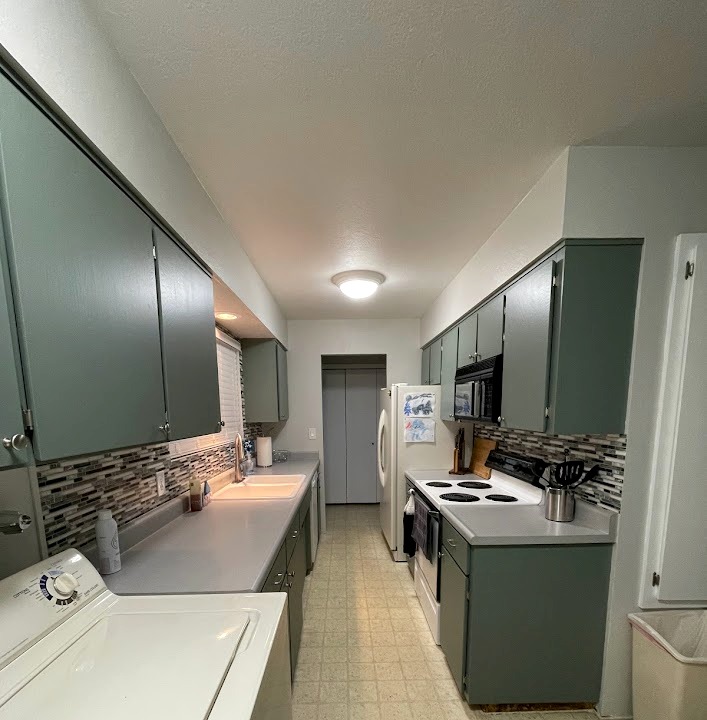
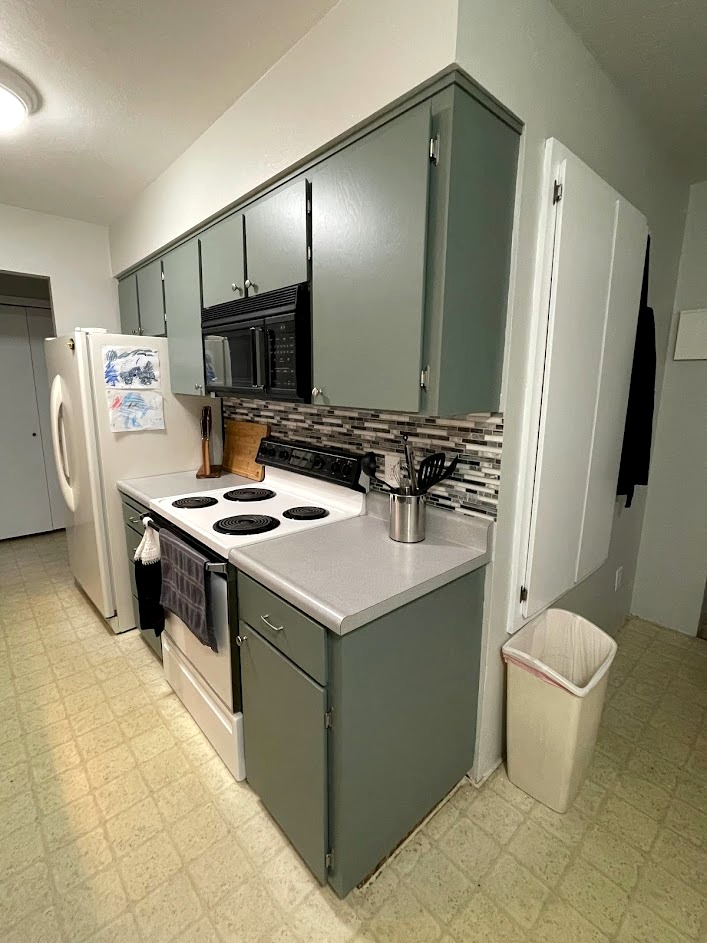
Finished project
Painting these cabinets took about a week and a half. A lot of that time was used in allowing paint to fully dry.
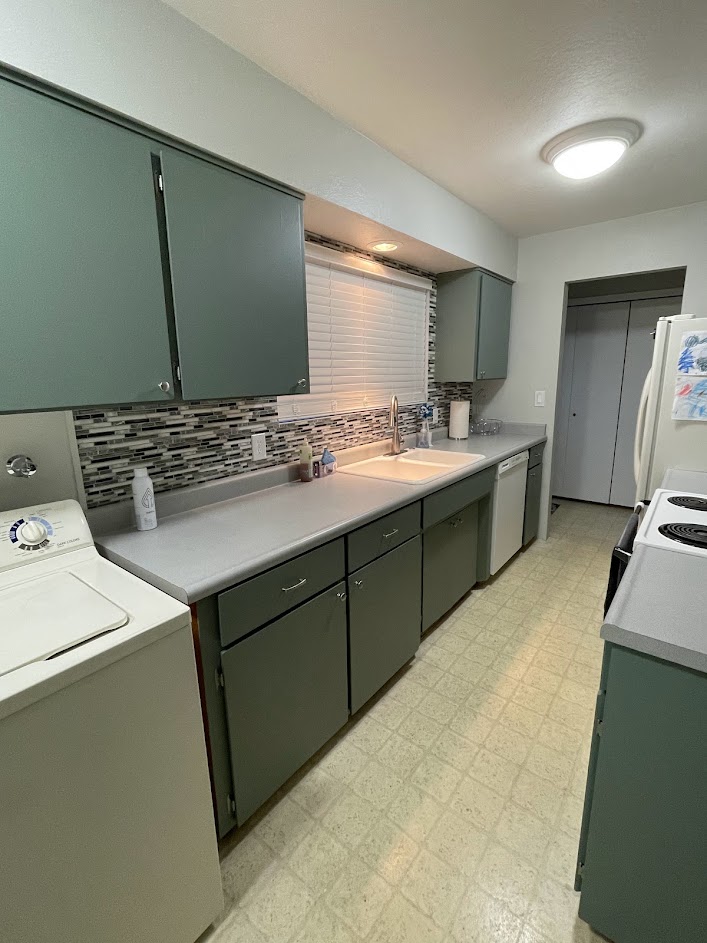

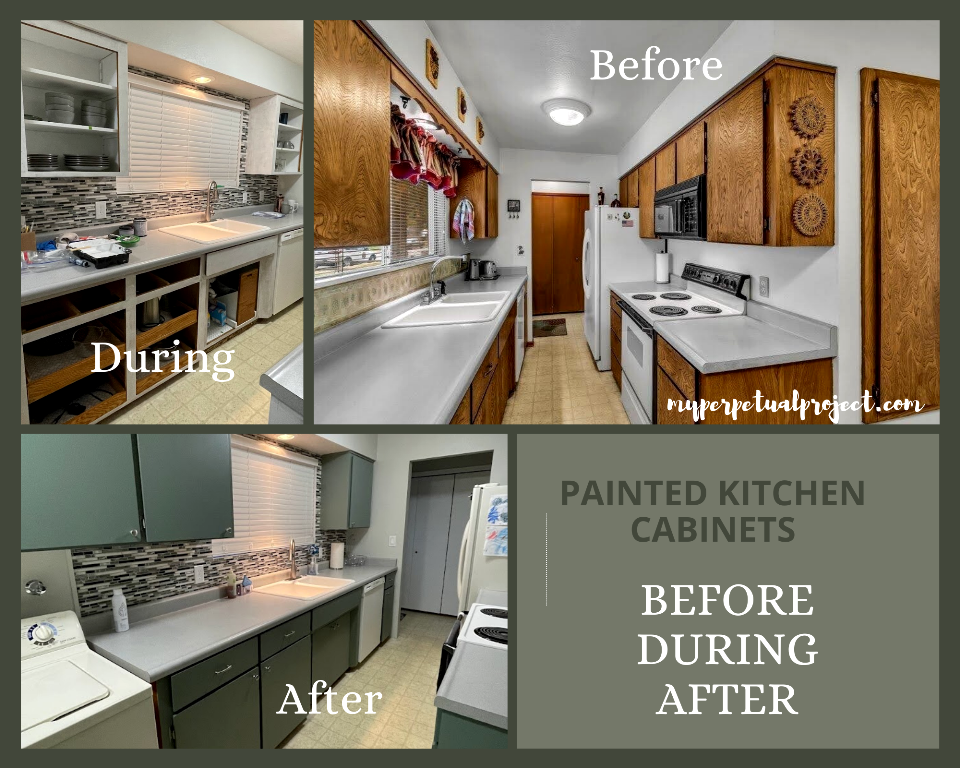
Before, During, After
The wood on these cabinets had a pretty grain and would have looked nice with a fresh coat of polyurethane. However, my son wanted a more modern look in the kitchen. The next project for this area is to install laminate flooring. He already has the laminate purchased and we plan to begin the installation soon!
If you need supplies
This post contains Amazon affiliate links. If you choose to order through these links, it will be at no extra cost to you


Sign up for future projects

Let’s Stay in Touch!
I’m excited to share more projects with you as well as tips/tricks/freebies! Just enter your email below to be one of my Blog Peeps!


2 Comments
Sandy Stone
Is it easier to do the kit, with everything included. Primer, paint. I’ve never done this before and one website has a cabinet makeover kit. Is it easier and less expensive?
The cabinets in this update are gorgeous!!
Jeanne
Hi Sandy,
I’ve not used one of the kits before but I looked them up and they range from $60-$90. Since I already had the painting tools & primer, a kit would have been more expensive. However, if you are starting fresh, a kit may be the way to go.
I’m glad you liked the cabinets! They do look great!