

Let’s Tile the Entry Floor!
We have one of the smallest entryways into a house possible! Anyone who has a split level home can probably relate. It makes me wonder who designs these houses – those who don’t live in them is my guess.
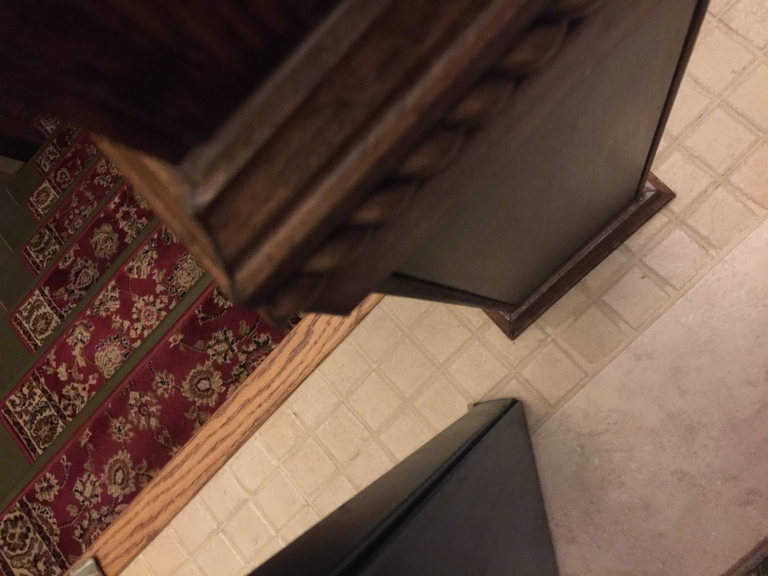
When you open the front door and walk into the entry, you have the choice to either go left and down 7 steps to the lower level or vere right and go up 7 steps to the upper floor. The entry floor measures 3′ x 7′.2″ and the space between the front door and the newel post is a mere 30 1/2″. Now, mind you, the front door is 35 1/2″ wide and yet it clears the newel post by 1 1/2″. Don’t ask me how all that works out, I just know it does because I’ve measured – twice.
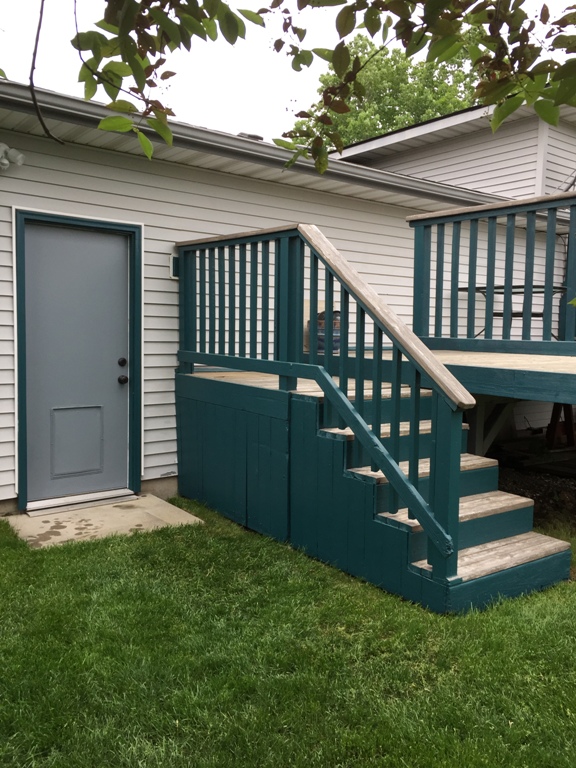
Moving into the house was a chore due to this small entryway. There was no way we could get the refrigerator into the entry and up the stairs. We were forced to take it through the garage into the back yard then up a flight of steps to the lower deck and up another set of stairs to the upper deck. Once we had the fridge to the sliding glass door, we were able to get it into the house, through the dining room to it’s resting spot in the kitchen. The same process had to be done with the couch and some of our large dressers. The downstairs furniture found it way inside via a set of steps that lead down from the garage.

Yep, I’d love to have the opportunity to provide feedback to the architect. I did explore the possibility of enlarging the entry – pushing it out to the end of the sidewalk would have given us an extra 8 ft. However, with a cost of almost $10,000 and the need to go before the City Planning Board to see if it was even allowed, deterred me. Hence, we continue to live with the small confines of the front entry.
Back to the topic of this post. As with most of the interior of the house, the flooring was basic, contractor material – linoleum. After removing the carpet from the stairs, it just seemed to make sense to update the entry floor from linoleum to tile. I had a few pieces of Travertine left over from installing the tile floor in the mud room so I went on a hunt for tile to match or coordinate with those tiles.
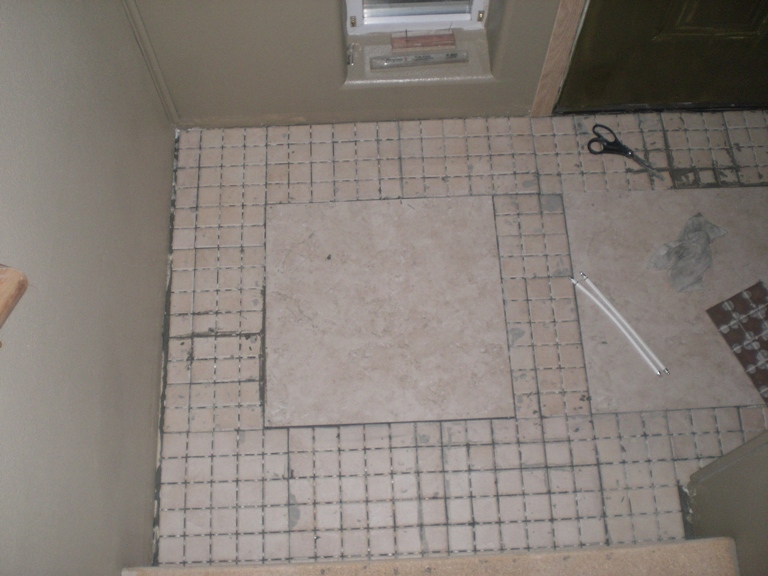
Ok, I’ll admit that the teensy size of the entry floor made it a fast project – that’s about the only compliment I can give to the area. On my search for tile, I found some that matched perfectly. The tile consisted of a 12″ x 12″ sheet of 1″ tiles on a mesh background. I only needed a few sheets of the mosaic tiles since I was going to use 3 of the 24″ x 24″ Travertine tiles.
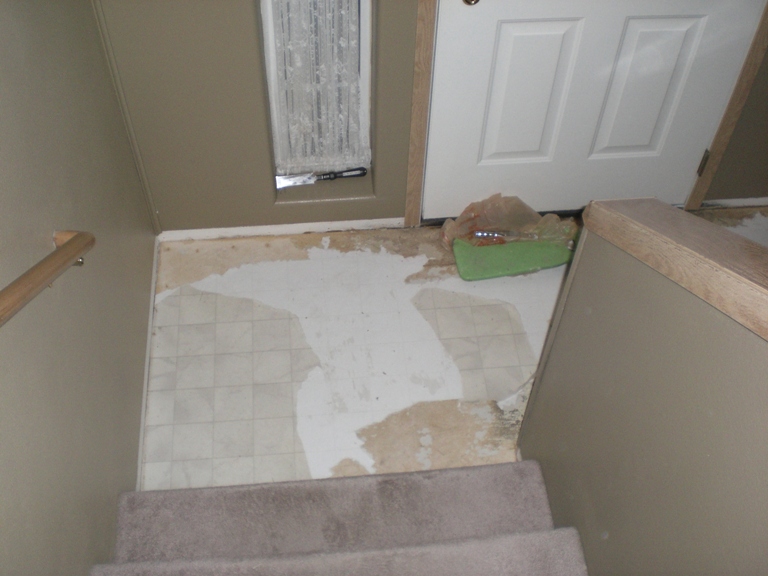
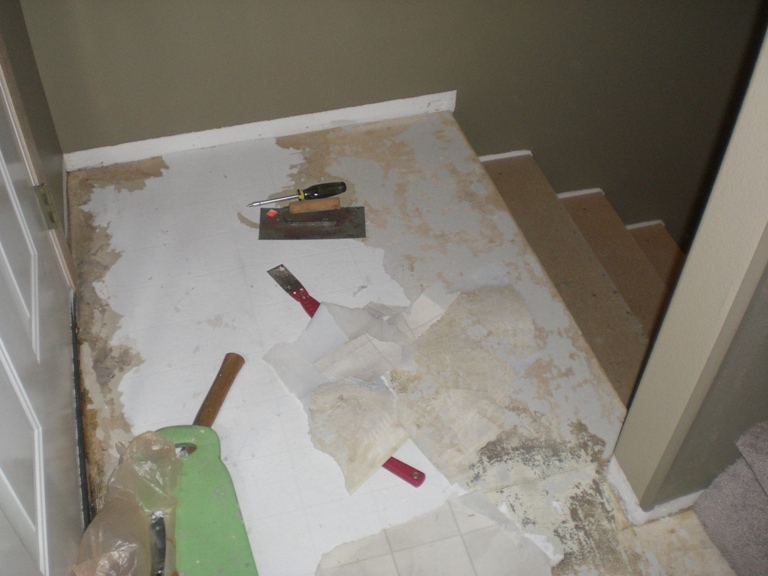
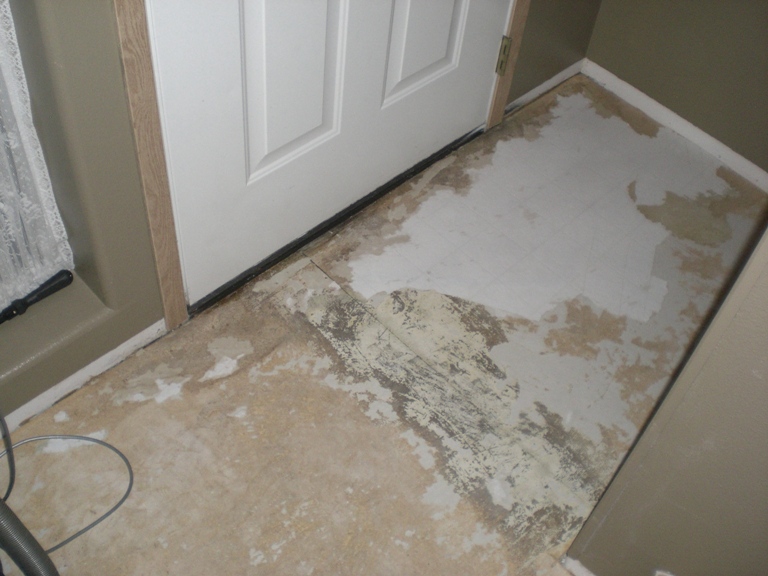
Now that I had my tile ready, it was time to start the project. The first step in the process was to remove the baseboards. I did my best to pull up all the linoleum from the floor – you can see the variety of tools I used…hammer, putty knife, screw driver, tiling trowel. Although not all of it would come up, the bulk of it did. That’s some glue they use to install linoleum!
A friend of mine suggested I install cement board before laying the tile but I chose not too (a decision I would live to regret-see Oops post). My decision was based on inexperience and the feeling that it would be a lot more work to follow her advice. Now that I have a few more projects under my belt, I realize that installing the cement board would have been easier than I thought and would have prevented the grout from cracking as it has….but, I digress…

Removing linoleum 
This took longer than expected 
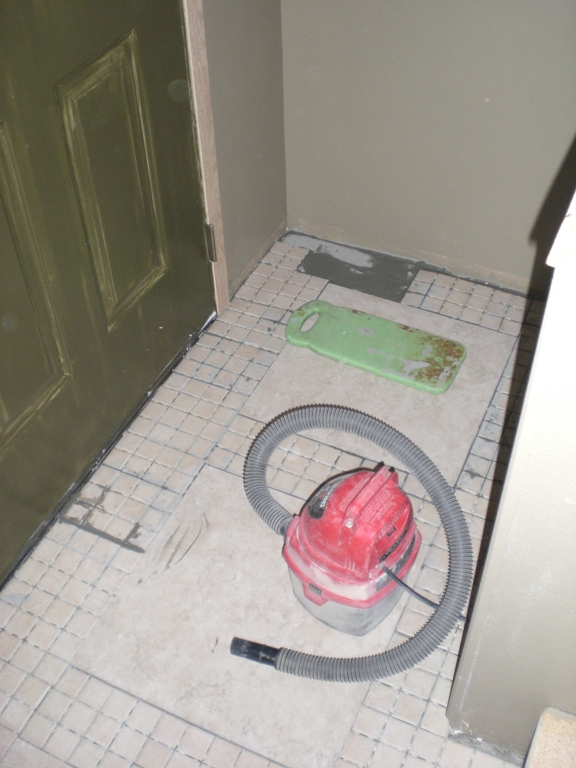
Linoleum removed, floor cleaned
Once the linoleum was mostly removed, I vacuumed the mess and washed down the floor. The next step was to lay out the tile to decide on a pattern. I sat the 3 large tiles on the floor in a pattern that centered them in the area. With the large tiles on the floor, I was able to measure the remaining area and cut the mosaic sheets into strips the size needed to fill in the empty spaces. I am aware that there are folks who can measure an area and factor out how many tiles are needed to fill the space. I am, however, a visual person and tend to need to see how it’s going to look as opposed to merely doing the math.
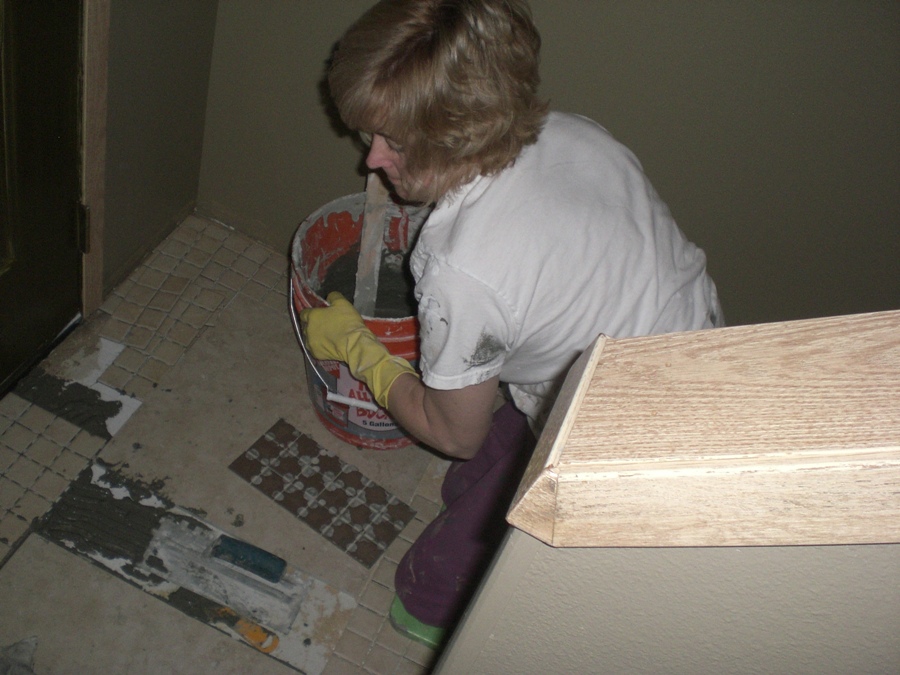
Now that all the tile was laid out, I mixed the thinset and started the install. Since it’s such a small area and pretty confined, it was easier for me to pick up each section of tiles or each tile, plop down some thinset, trowel it and lay the tile back in place than to remove all the tile and remember the pattern — I’ve learned now that it helps to take pictures to use as reminders of the patterns.

Applying thinset to floor 
Installing entry tile 
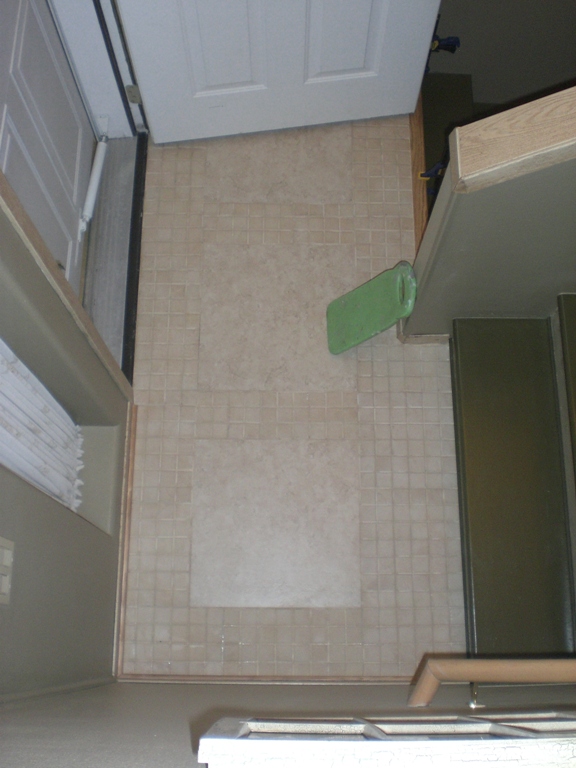
Tile installed
Once the thinset had dried, it was time to grout. As you can see in the photos, the tile has a tint of a warm orangy/tan cream. The grout I bought was cream – too light to go well with the tile. I had some rust colored grout from the mosaic I installed above the kitchen sink so I decided to mix a little into the cream to get just the right color (another decision I would live to regret-see Oops post).

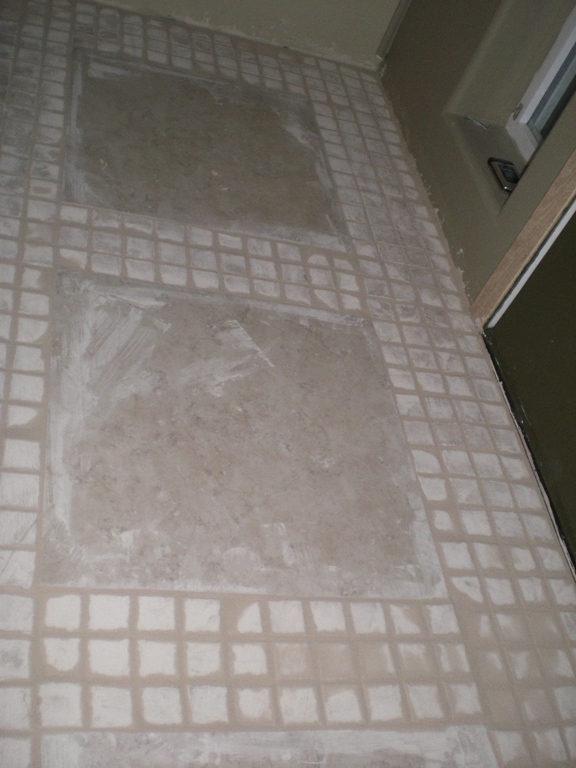
Thinset dry-ready to grout 
Grout applied 
Grout dried – floor washed 
Finished entry floor
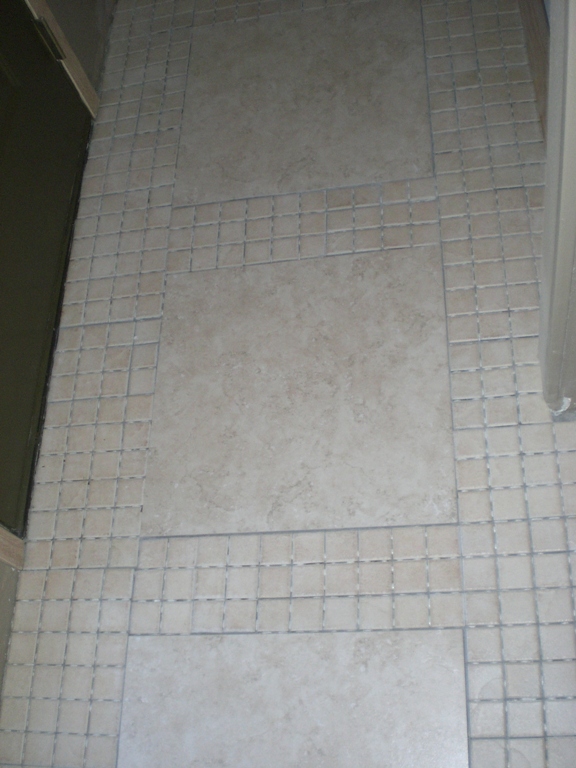
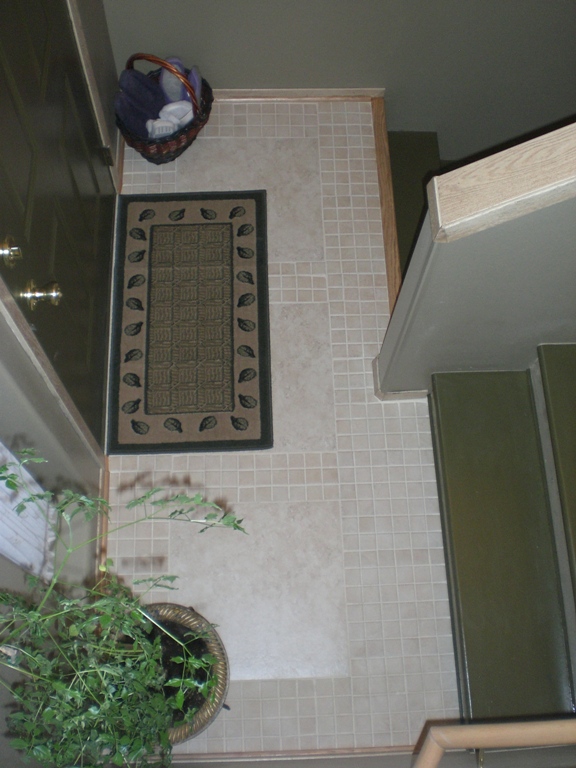
The tile did make a big difference in both the look and feel of then entry floor and added to the upgrade to the stairwell.


You May Also Like

Let’s Create a Secret Garden! Part 1

Let’s Paint the Kitchen Cabinets an Intense Teal!

