

Let’s Repair the Painted Window
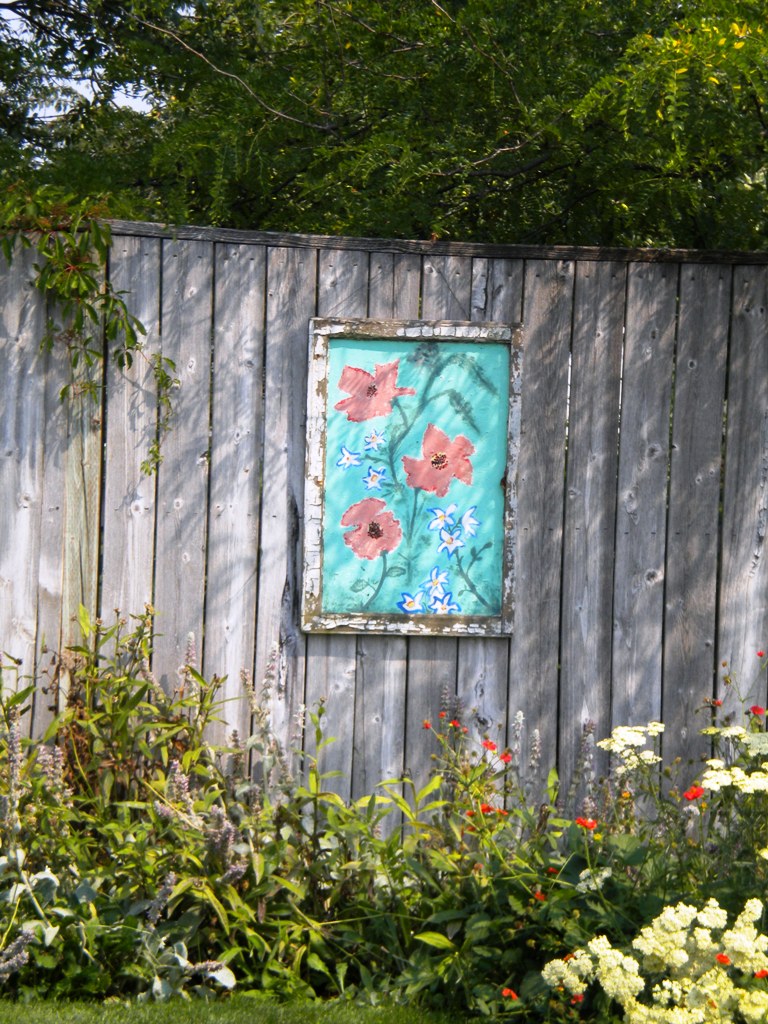
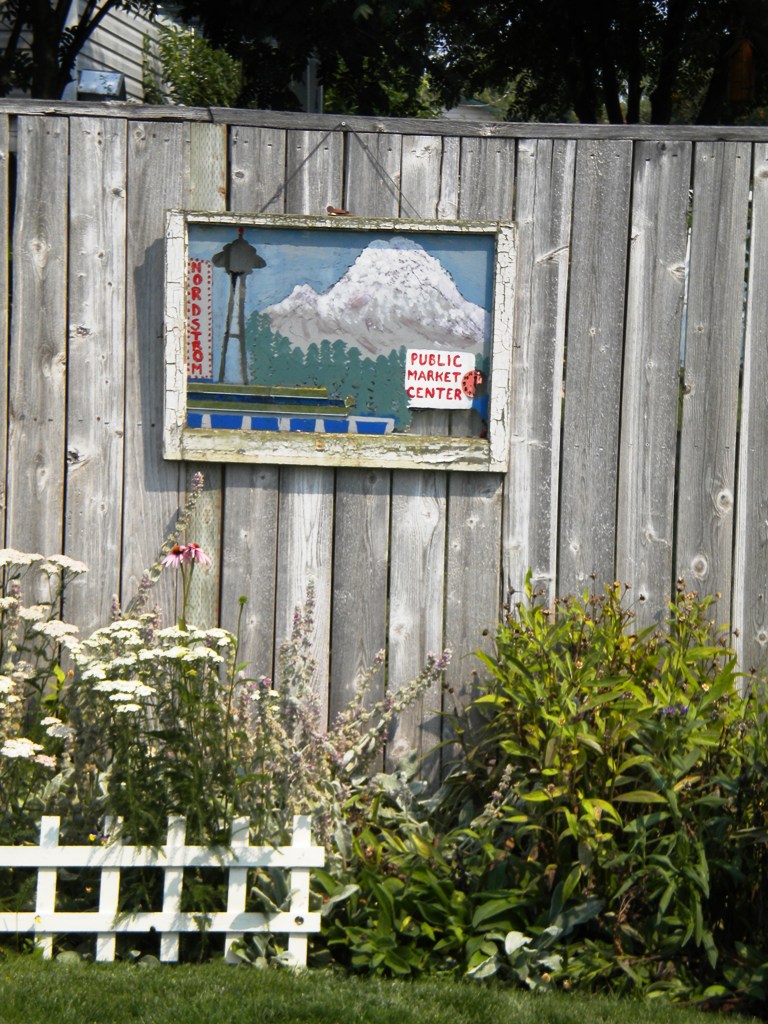
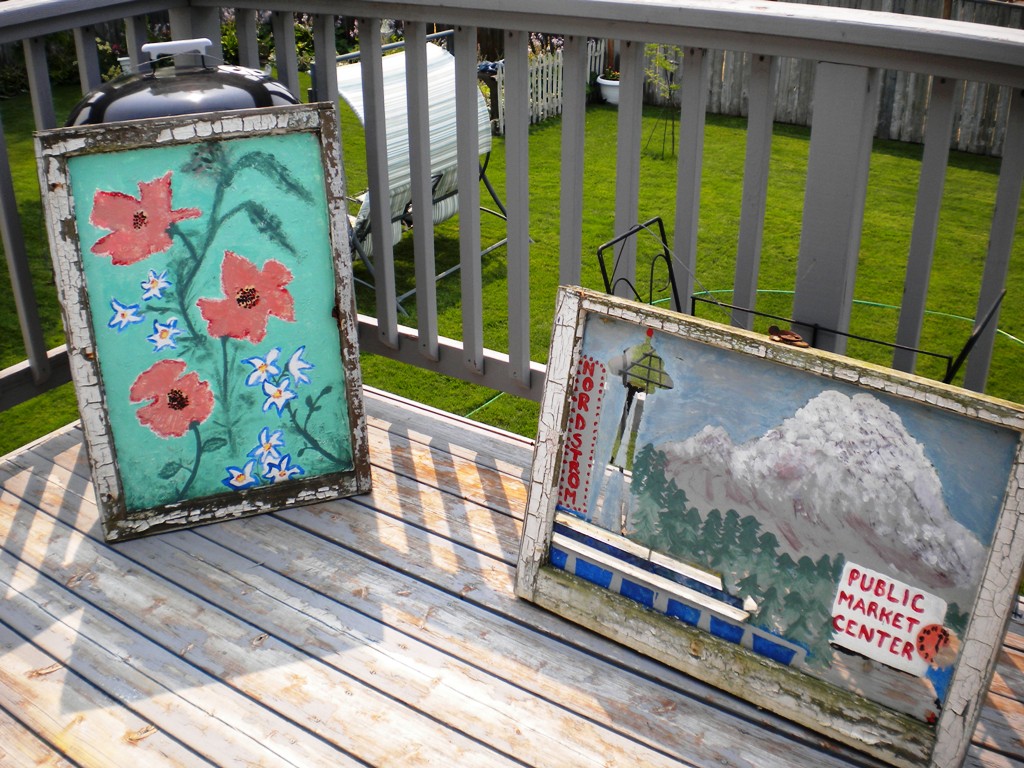
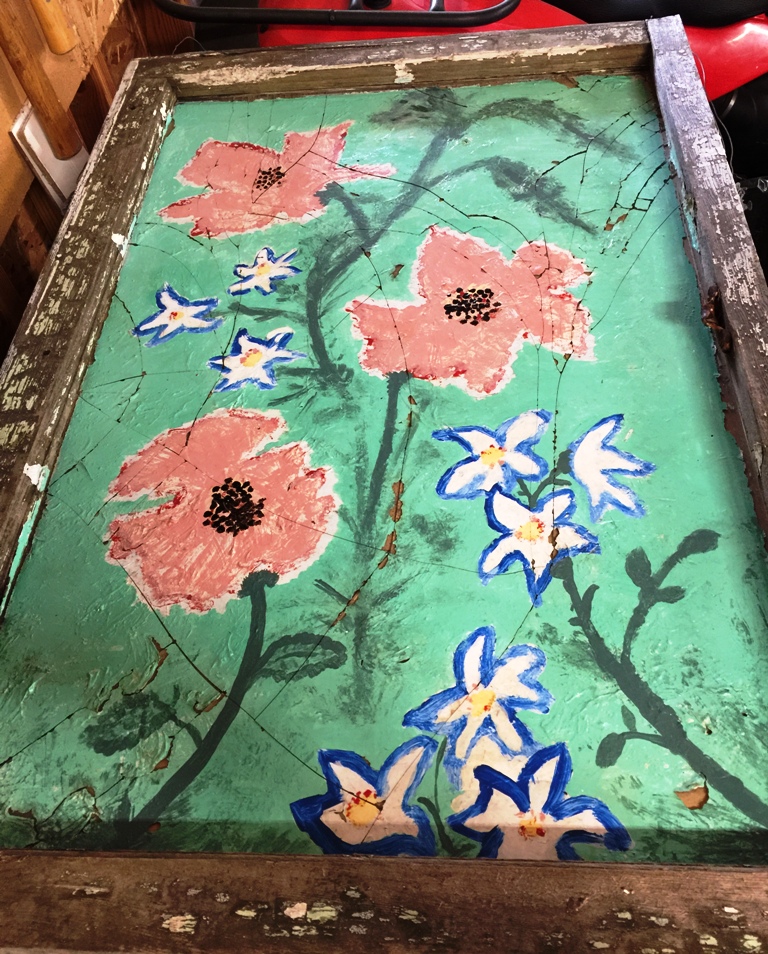
A few years ago, my oldest son gave me a couple of painted antique windows. He was living in Seattle at the time and on a trip to come over for a visit, he saw these two windows that someone had placed on the sidewalk. In case you don’t live where this is a common practice, instead of taking items to a thrift shop or to the dump, people will put things on the sidewalk that they no longer want/need for others to take and use. He picked them up and brought them to me. I LOVED them! Since they were already weathered, I decided to put them on the fence in the backyard garden area in the spring, summer & fall. When winter came around, I put them in the garden shed to be protected from the harsh weather.
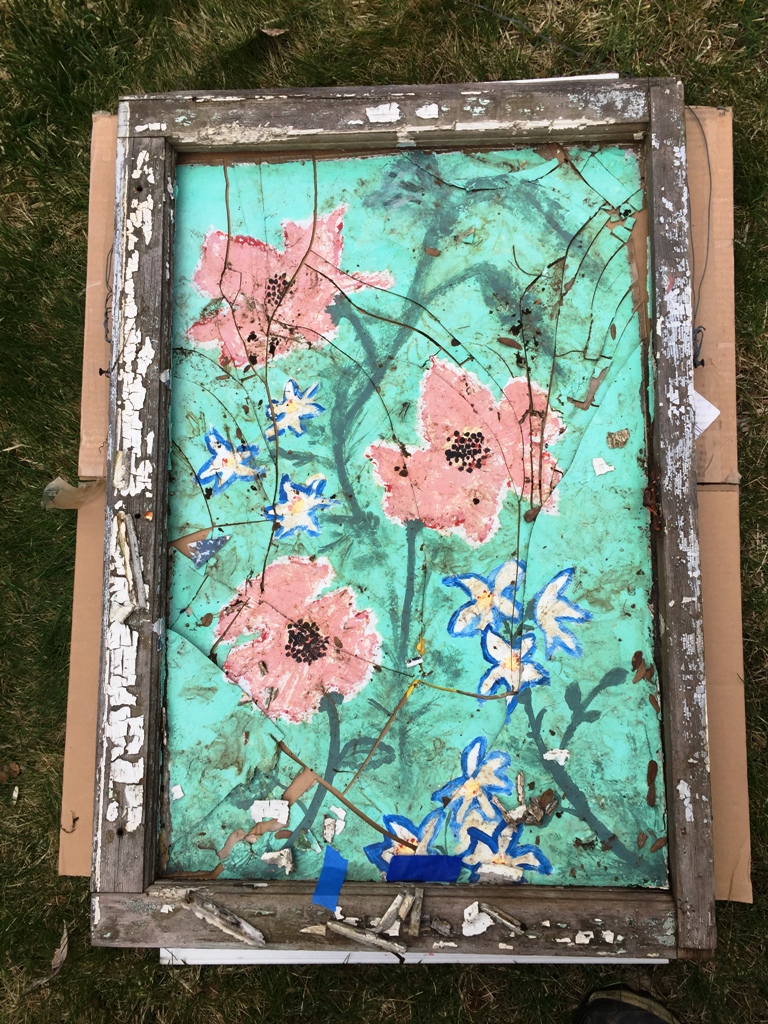
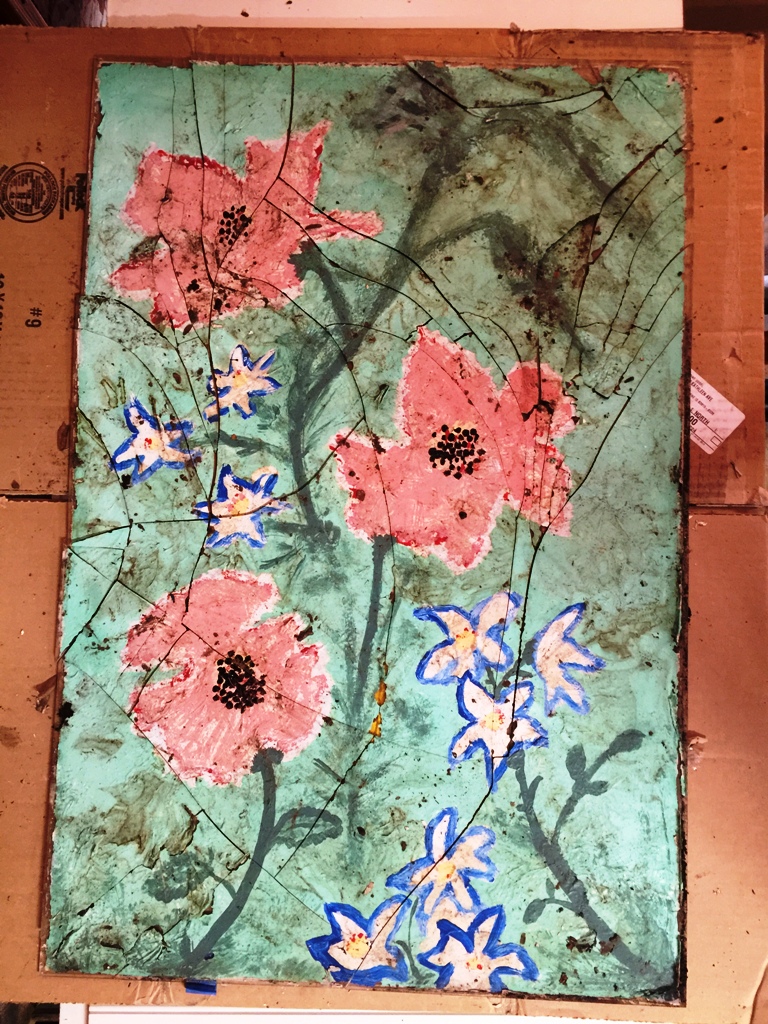
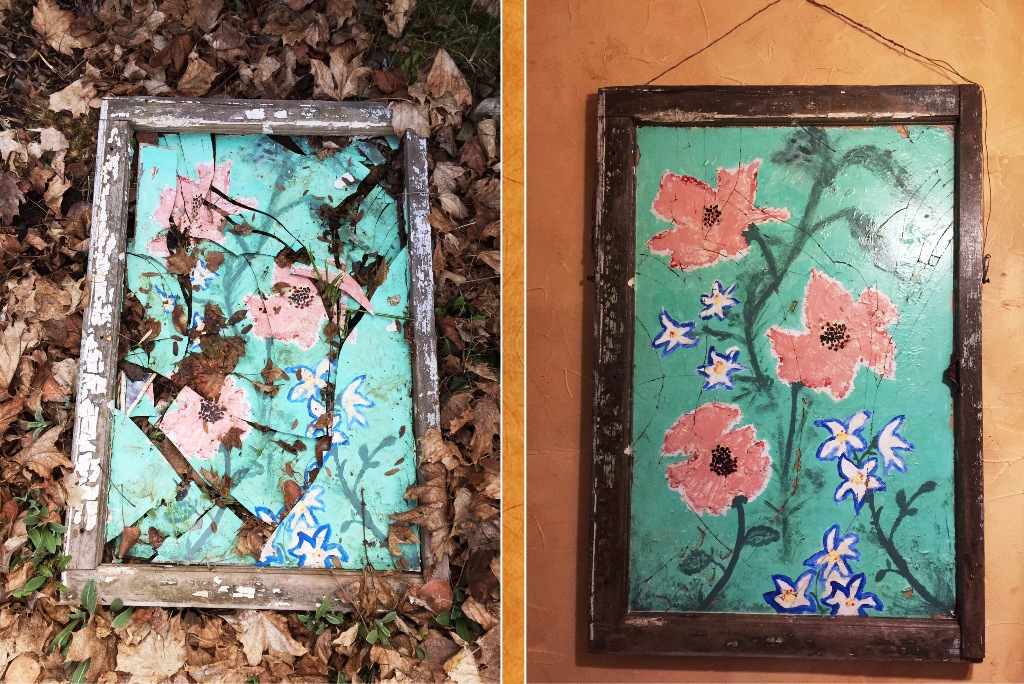
A few years after he gave them to me, I was away on a trip in the fall when hubby sent me a text to tell me that one of them had fallen off the fence in a windstorm and broke!!! This news broke my heart! By the time I got home,
Broken artwork

Well, as sad as it was that the window had shattered, amazingly, it looked like most of the glass was laying on the ground within the frame. I stared at it for a long time before deciding to get some cardboard and try to carefully move each piece from the leaves to the
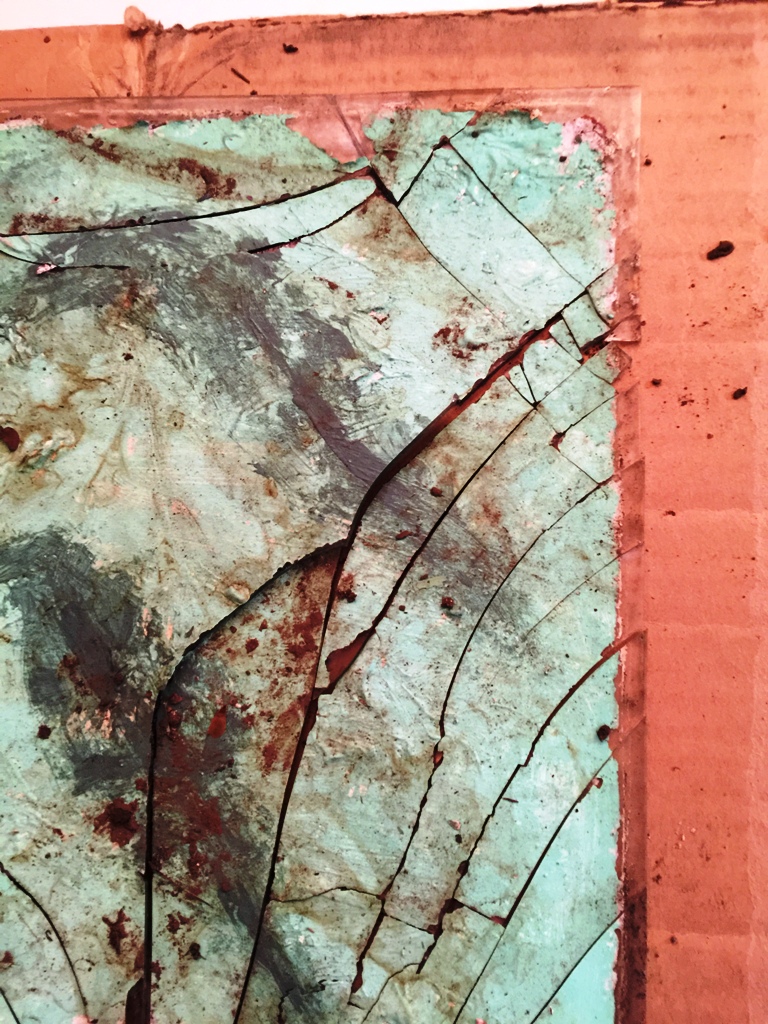
My first step was to lift the frame to see if any of the glass was still attached – it was not. Once the frame was out of the way, piece by piece I transferred the glass from the leaves to the cardboard. To my surprise & delight, I found almost every single piece…..just one teeny piece was missing! I set the frame on top of the pieces and carried it into the garage.
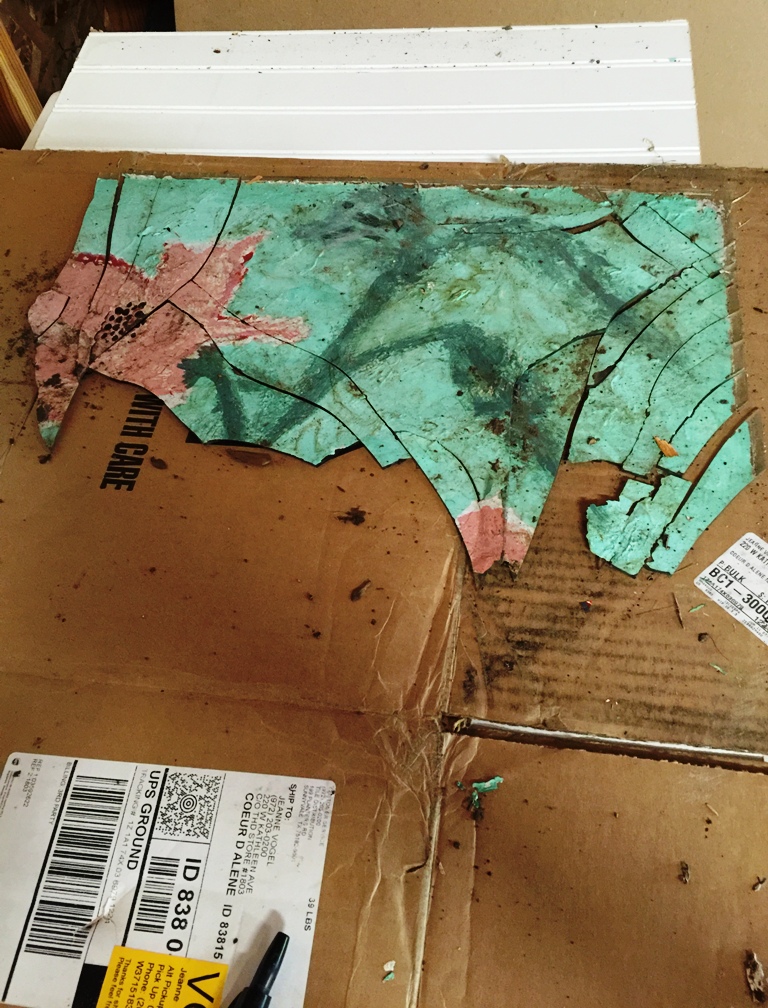
Picking up the broken pieces

Pieces picked up 
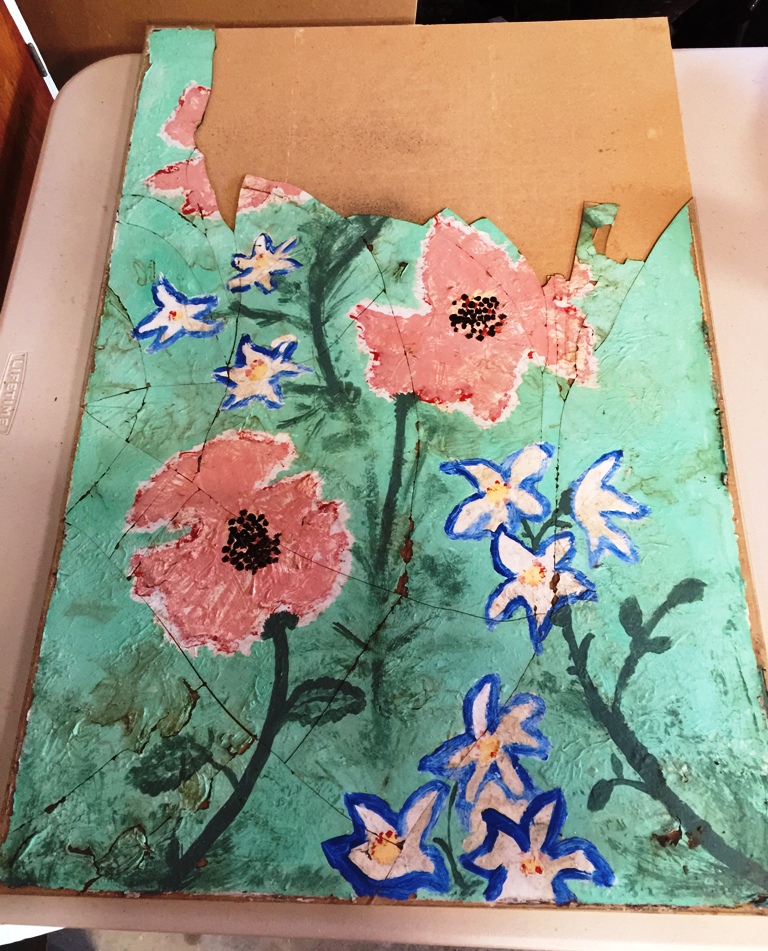
Ready to repair 
Where the window fell


Once I had the window sitting on
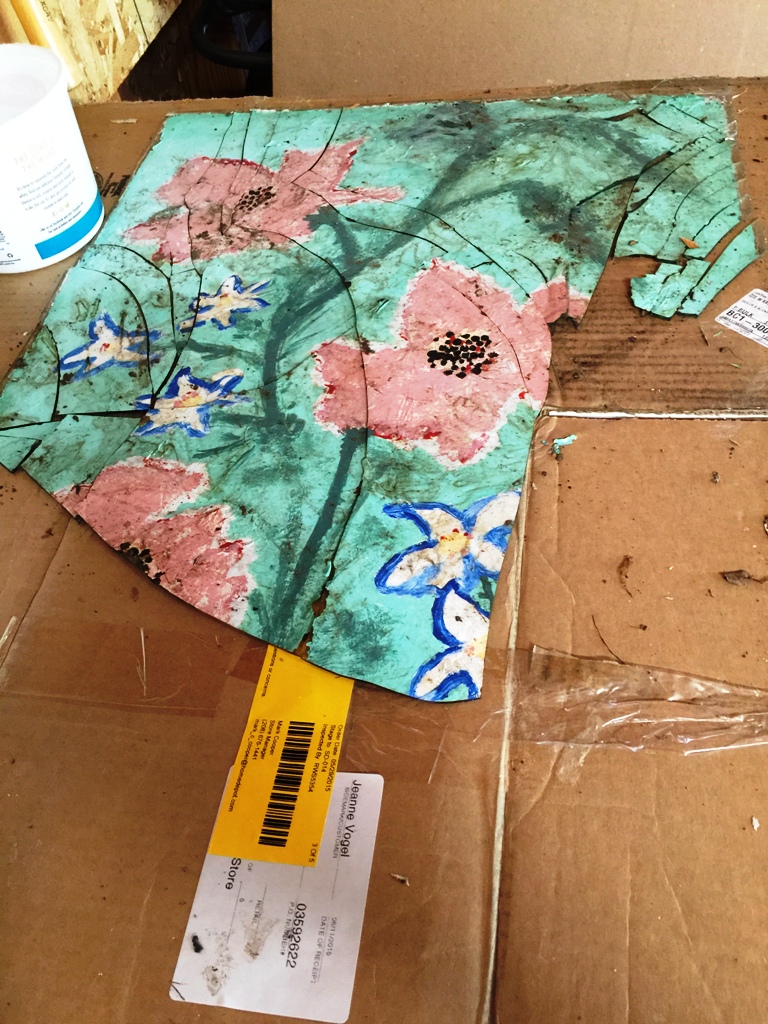
Gluing pieces to backing

All pieces on the cardboard 
Smallest pieces 
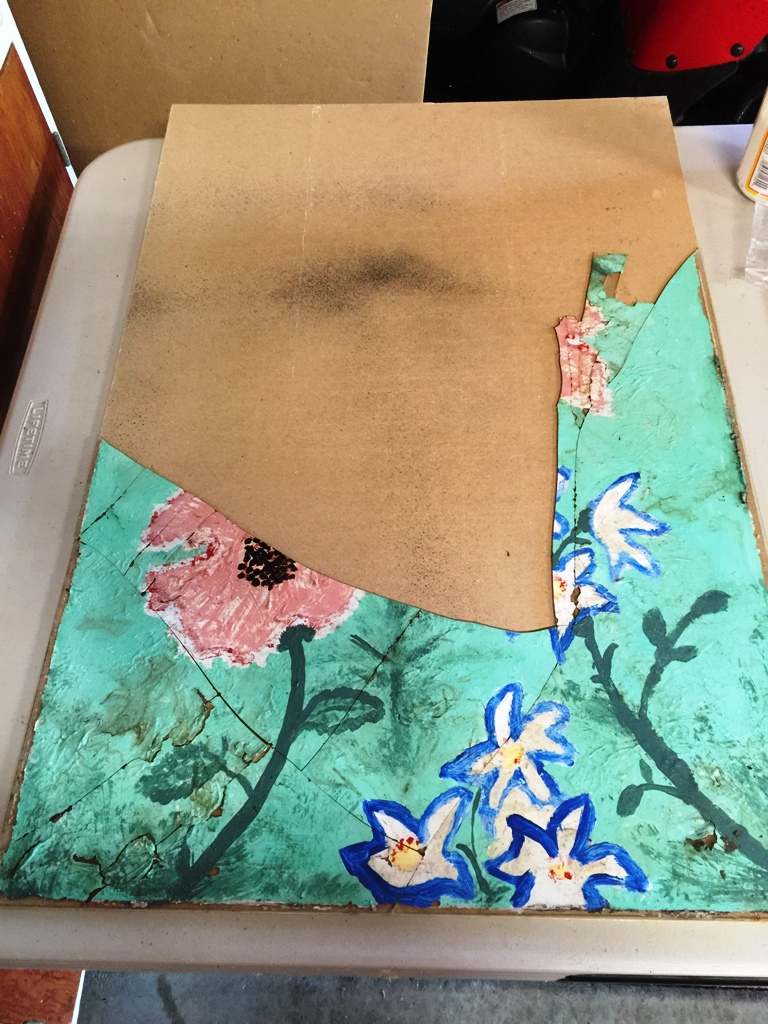
Beginning to transfer to board 
Top part ready to transfer 
Almost done 
Final pieces to move & glue 
Glued to beadboard
With all the pieces glued onto the beadboard, I did go back to the leaves and look one more time for the missing piece but was not successful in finding it. I came back into the garage and carefully wiped down the glass with a damp rag & dish soap to remove the dirt.
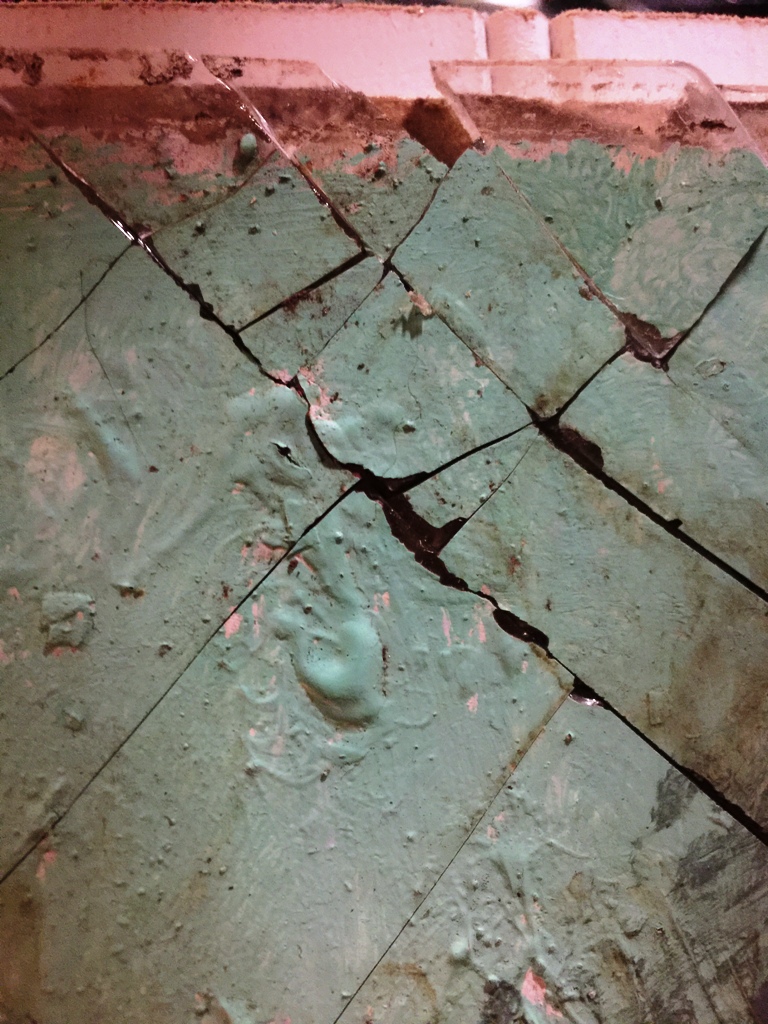
Missing piece

Now that all the pieces were glued down, I left it to dry. Once the glue was dry, I carried the piece into the house to apply two layers of polyurethane to seal the broken pieces.
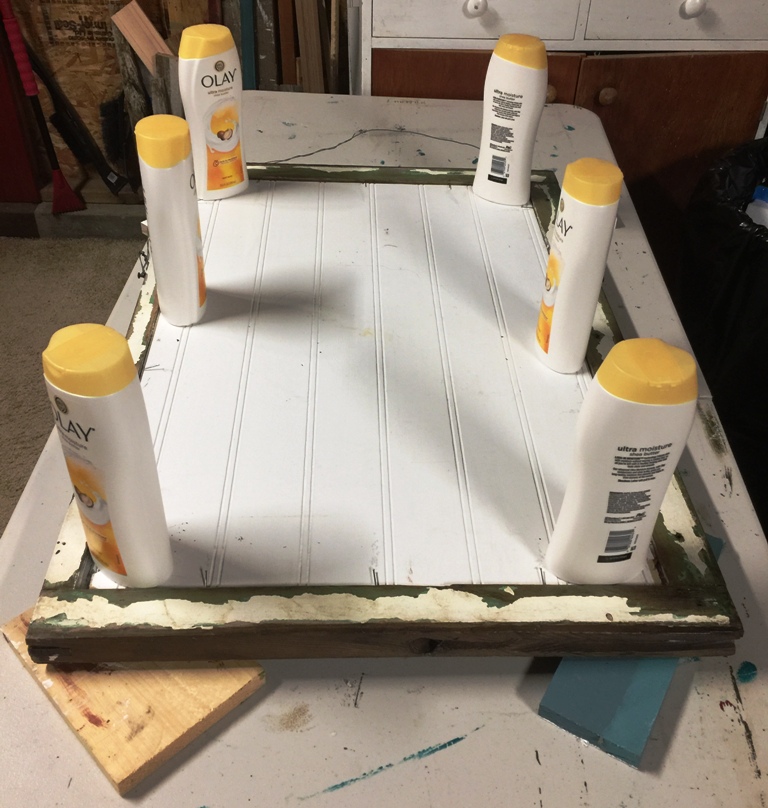
When the poly had dried, I ran a bead of glue along the inside of the frame where the glass sits and sat the frame on top of the glass. Very carefully, I turned it over so that the frame was face down on the work table. To help create a good seal, I sat some weight on the beadboard. You can see that I had to improvise.
Gluing the glass to the frame

Gluing window to the frame 
Allowing glue to cure
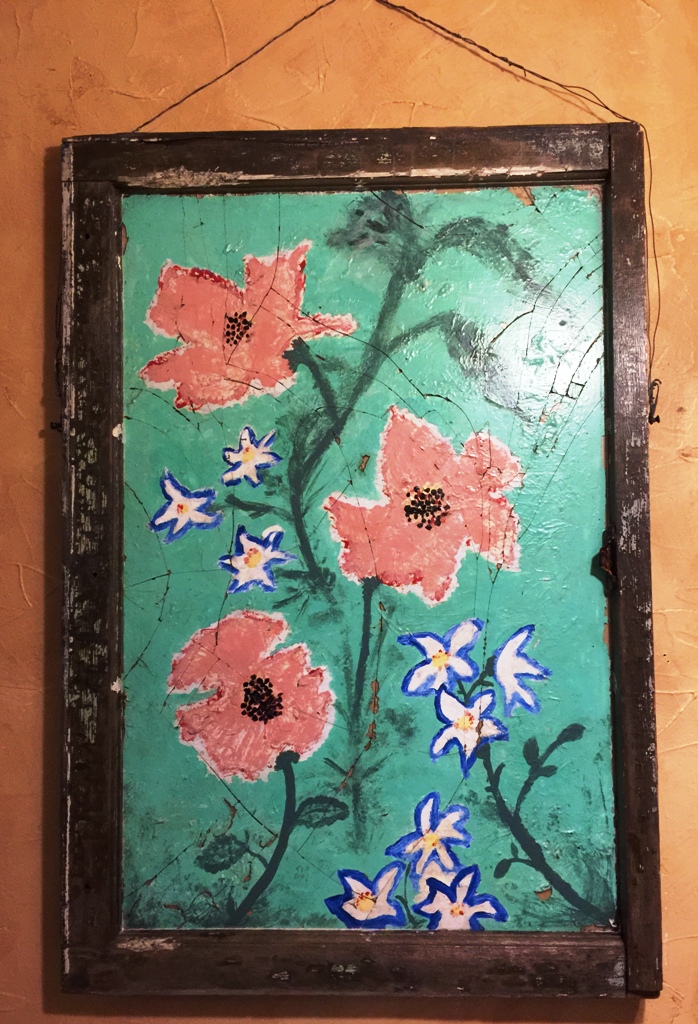
After a couple of days, I turned the window right side up and applied two coats of poly to the frame. Now that the piece had been repaired, I couldn’t see putting it back outside so I found a wall in the house to display both windows. Before handing them, I looked at the Space Needle artwork and noticed just how faded it was and how much of the artwork was missing. I am not an artist but I knew that I needed to do something with it before I hung it with the peonies. I grabbed my paintbrushes and craft paint and go to work. I’ll write all about that process….stay tuned!
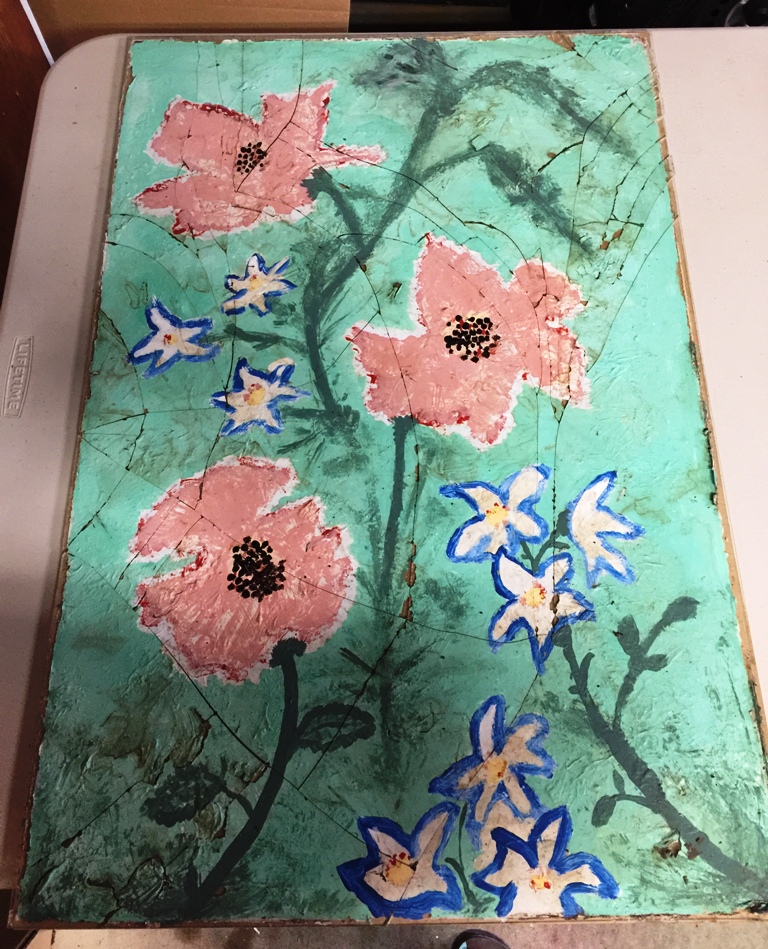
Repair complete!
Have you ever had a special item break? Did you debate whether to repair it or trash it? If so, I’d LOVE to hear about it! Let me know in the Comment section below what you decided and how it came out!
Supplies Used
- Elmer’s wood glue
- Polyurethane
- Paintbrush
- Beadboard


This post contains Amazon affiliate links. If you choose to order through my links, it will be at no extra cost to you
I’m excited to share more projects with you as well as tips/tricks/freebies! Just enter your email below to become one of my Blog Peeps!


2 Comments
Carol
I love the idea of “saving” this broken piece is art. It was saved twice: by your son and by you, which makes it extra special. I think I like your saved version best! It has tons of character.
Jeanne
Love that way of looking at it! I like the new version too. I decided not to ‘fix’ any of the painting where it broke so it does have more character now.