

Let’s Make Some Cleaning Cloths!
Last week, a coworker, Dee, asked if I could recreate an environmentally- friendly kitchen cleaning cloth for her. She said she bought a few of them 30 years ago and was still using them! Amazing! She told me that even though they still work great, she can no longer get the stains out of them. The next day, she brought one into the office for me to see and to tell her if I thought I could make some new ones for her. The cleaning cloth was made from fairly thick terry cloth and edged in bias tape/seam binding with a little loop at one corner of the cloth for hanging. Dee said that she keeps them on a hook in the kitchen and whenever there’s a spill, she wets one and wipes it up. She said she just loves the convenience of having them at hand for quick use and that they wash up nicely. Sure, I can make some of these for you….

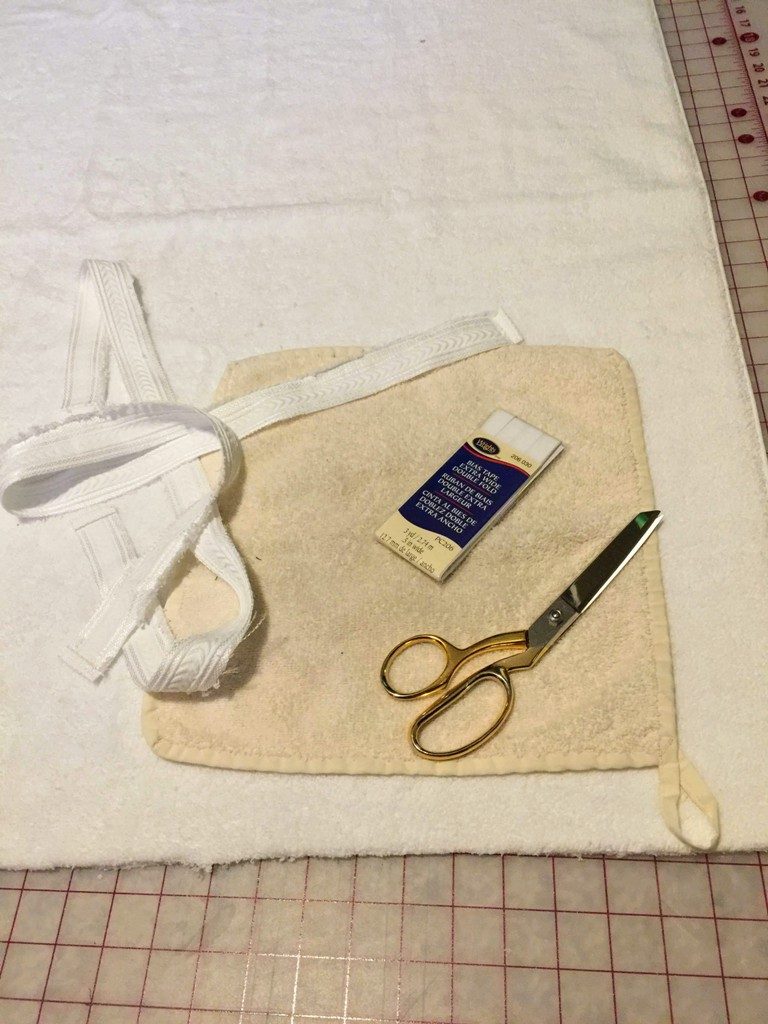
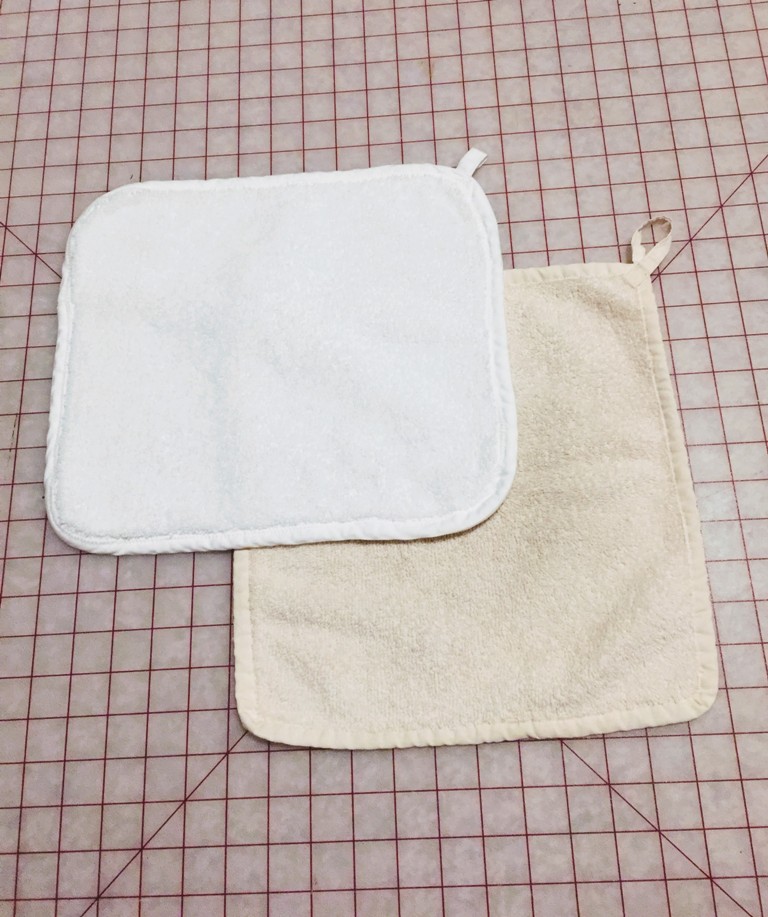
Here is the cleaning cloth Dee brought to me to use as a pattern. It is 12″ x 12″ and even though it is 30 years old, the terry cloth still feels thick.
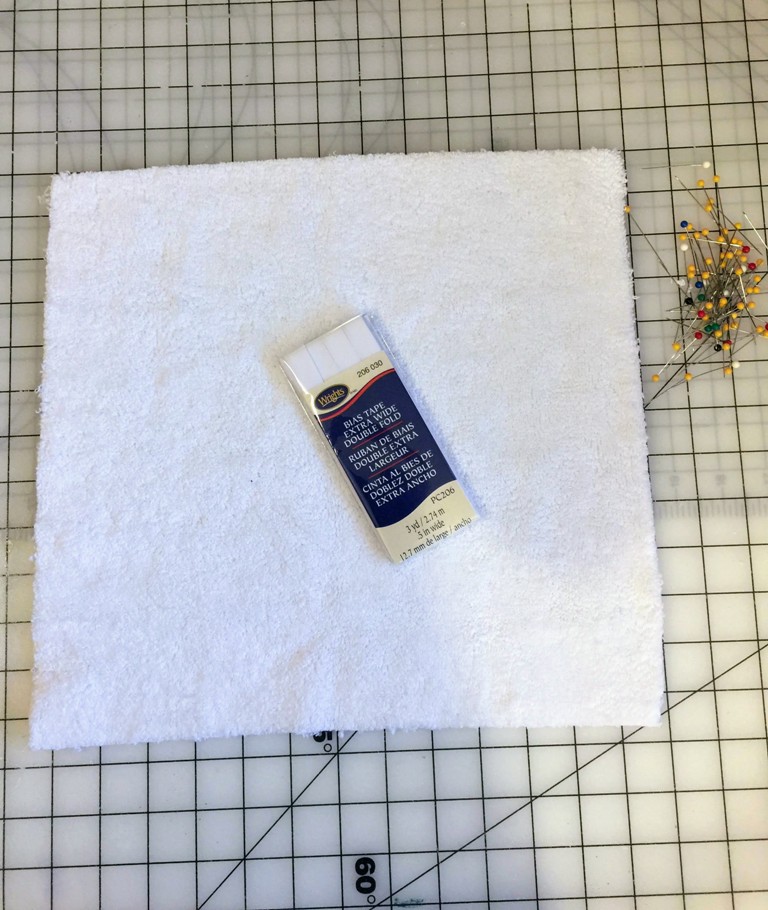
Once I had the prototype, my first action was to find a towel. I stopped at Walmart on the way home from work and found a nice, thick (but not too thick) white towel. Although Dee’s original cloth is cream, I thought white would be a good option should she want to bleach the new ones. (You could also buy terry from a fabric store)

The towel was $7.72. I also picked up a package of double fold bias tape (seam binding) for $1.87. I only bought one package because I planned use the decorative braid that is part of the towel design for some of the binding and didn’t calculate how many cloths that might edge. I did end up going back for a 2nd package of bias tape as the braid was only enough for 2 cloths. Each cloth ended up costing about $2 in materials and took approximately 30 minutes to make.
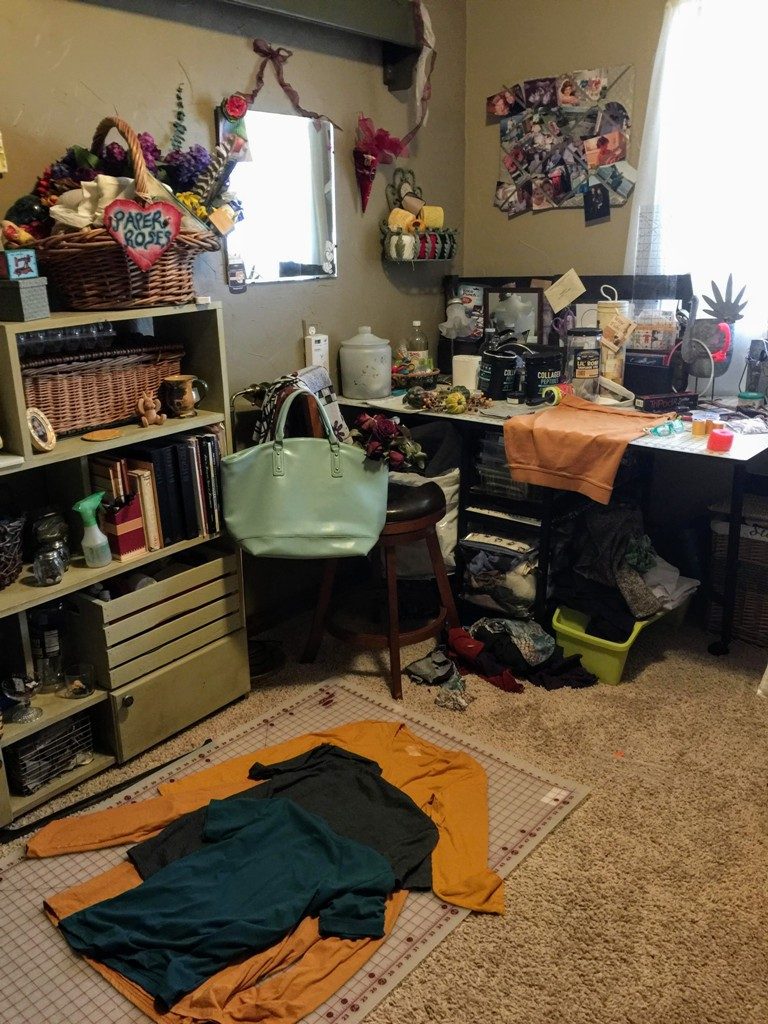
Now that I had the supplies, my first step in this project was to make space to work in my craft/sewing room. I have several in-process projects laying around waiting for inspiration to either start or finish them.

In-process projects 
Space ready to create

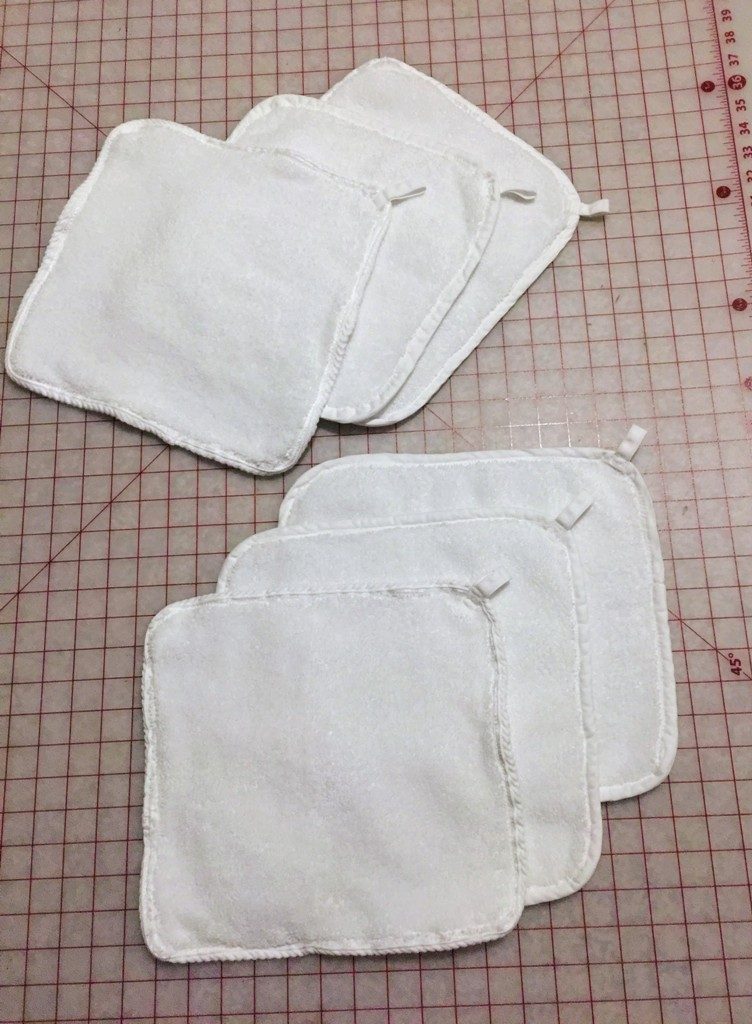
Once there was room to work, the next step in this new project was to remove the braiding from the new towel. I cut the decorative braid from each end of the towel and then cut each of those pieces in half lengthwise. I then sewed two of the lengths together at the short end to make two long pieces. After removing the braiding, there was enough towel material to make 6 new kitchen cloths.

Braid cut from towel 
Cutting 1st cloth
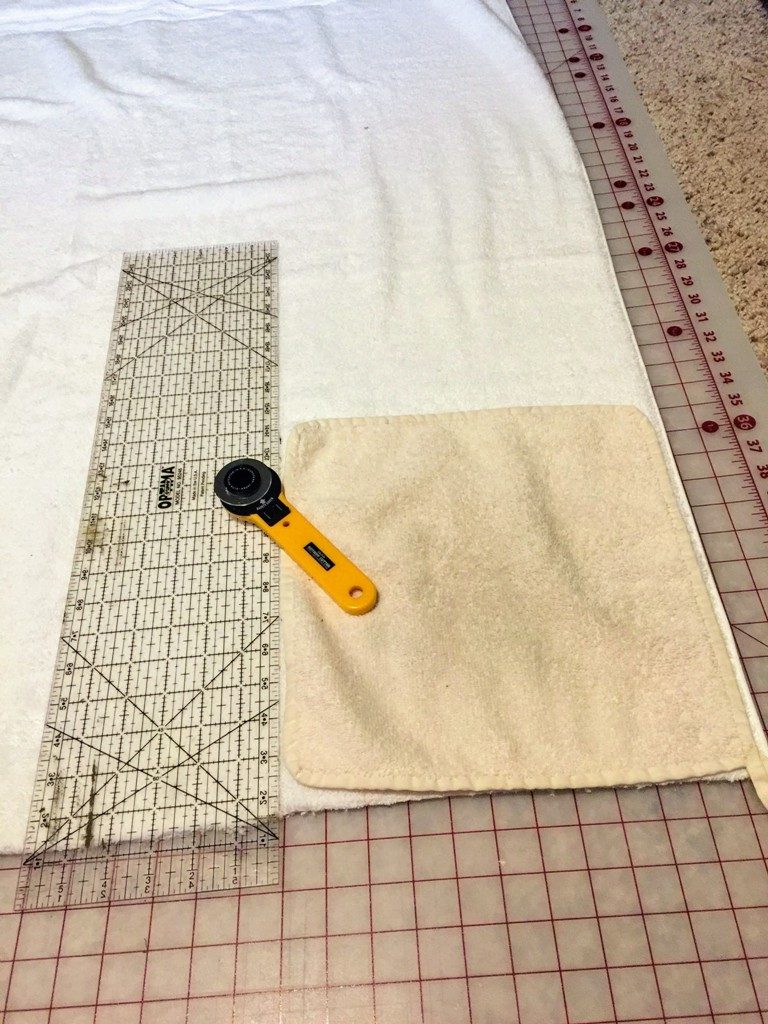
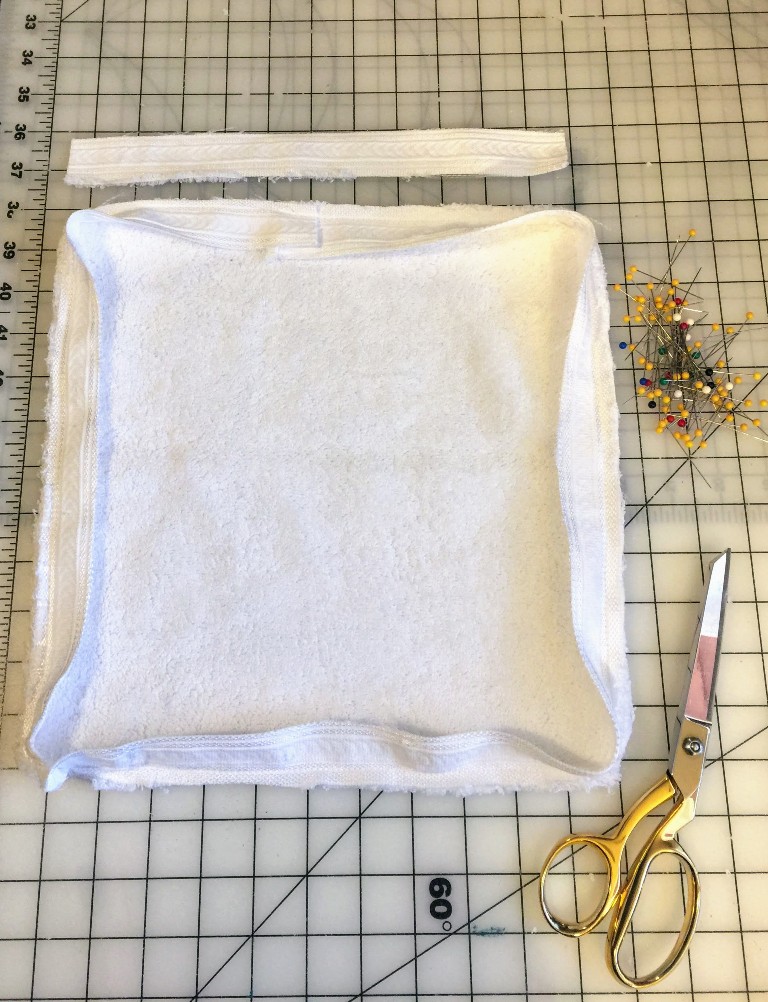
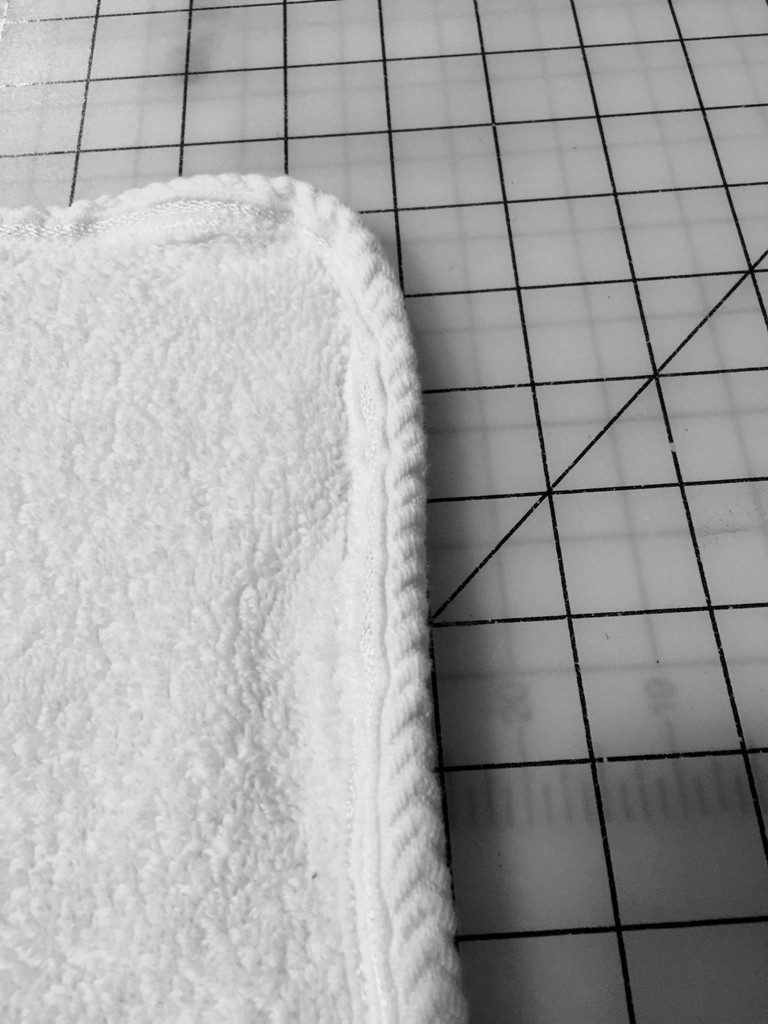
To start, I cut out the first 12″ x 12″ cloth. I decided to edge the first cloth with the braiding to see if it would even work. With the braiding sewn into a long strip, I pinned it to the edge of all 4 sides of the first cloth and stitched it close to the edge using a straight stitch. After the braid was sewn to one side of the cloth, I trimmed the seam to reduce bulk, rounded the corners & turned the piece over to pin the braid to the other side of the cloth. Since the braid was too narrow to turn it under for a clean finish, I decided to use a tight zig-zag stitch to attach the braid to the 2nd side.

Braiding pinned to cloth 
Stitching close to edge of cloth 
Trimming excess fabric 
2nd side – braid pinned
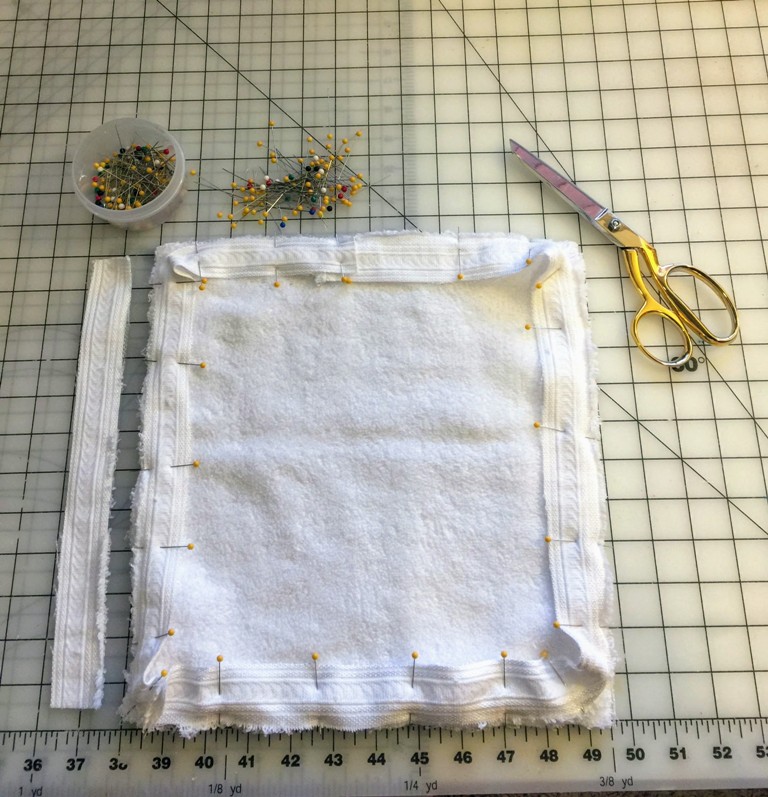
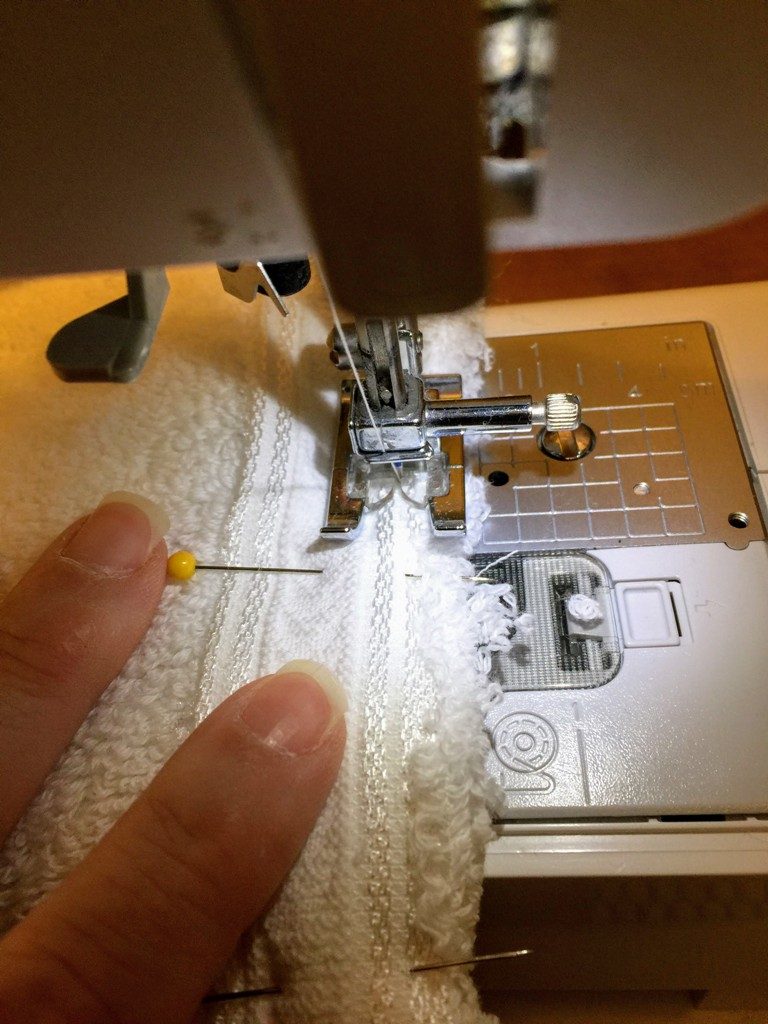
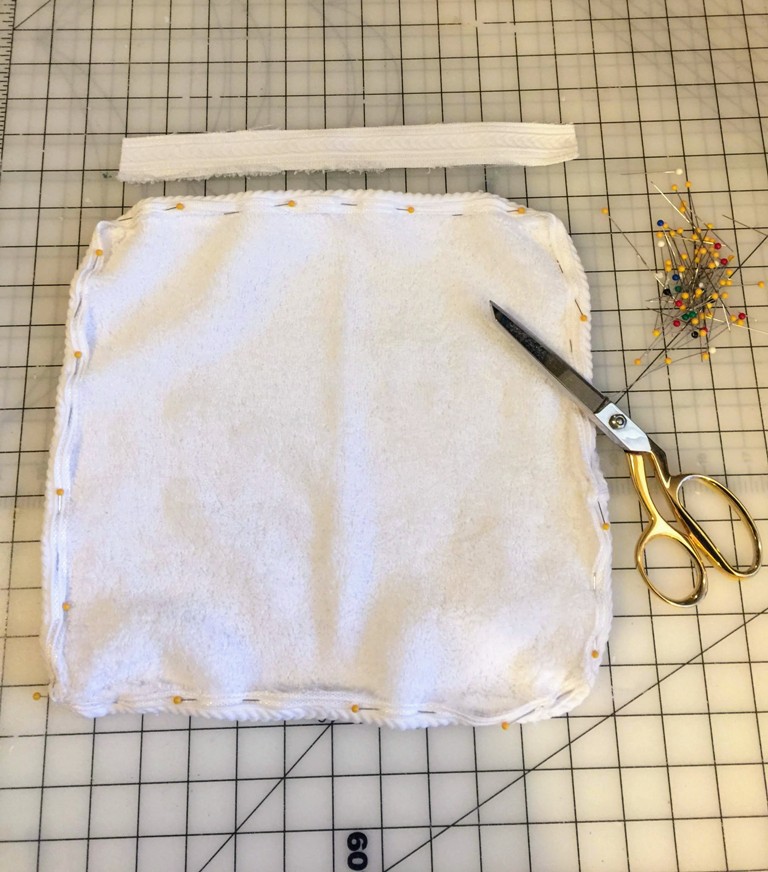
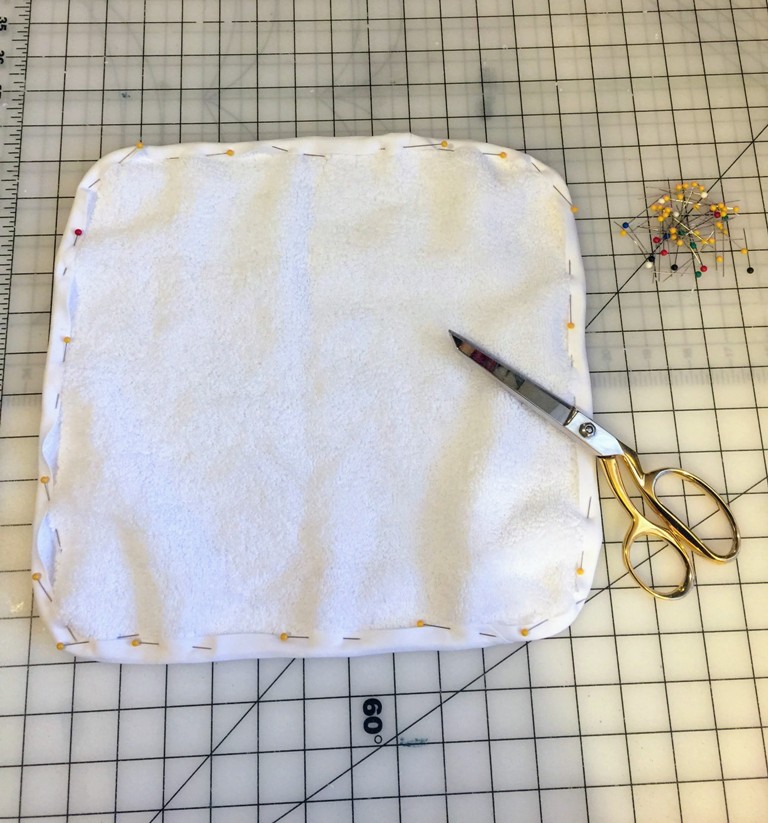
Well, the braiding looked like it was going to work just fine. I sewed it to the 2nd cloth then moved on to using the bias tape. Knowing I would need the corners rounded, I trimmed them prior to pinning the bias tape to the piece. Now, I’ve used bias tape on projects in the past. When sewing double folded bias tape onto material, you can usually slip it over the edge of the material and sew both front and back at the same time. That really helps cut down the sewing time; however, with this thicker terry cloth, that wasn’t a possibility. Even though I knew that, I tried it anyway and ended up having to remove the stitching – I am experienced enough to know not to sew too long before checking the other side of the project to see if the stitches were catching the tape on that side….they weren’t….hence the need to remove it and start over. I used the same process as I did with the braid, sewing one side with a straight stitch and the 2nd side with zig zag.

Cloth ready to be finished 
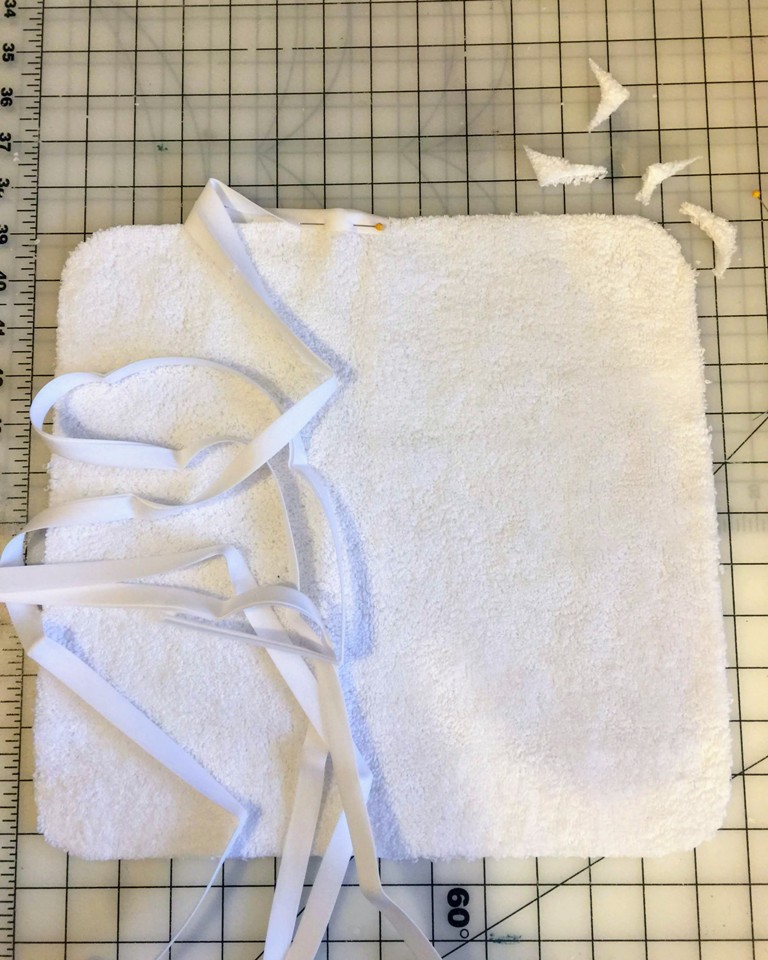
Pinning bias tape 
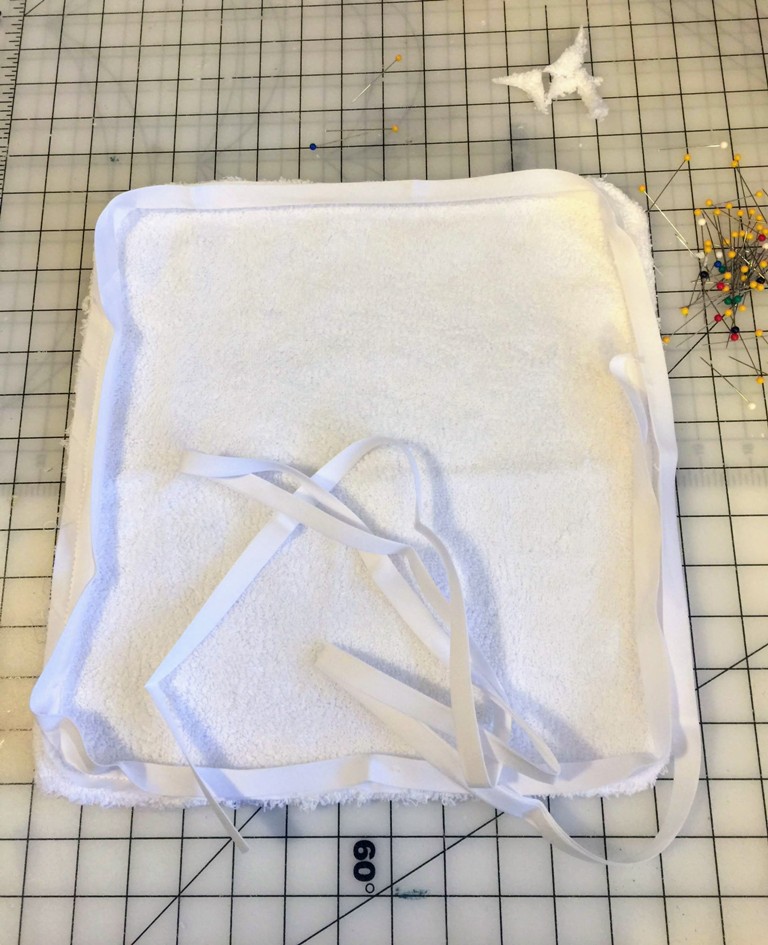
Bias tape sewed to side one 
Bias tape pinned to side two
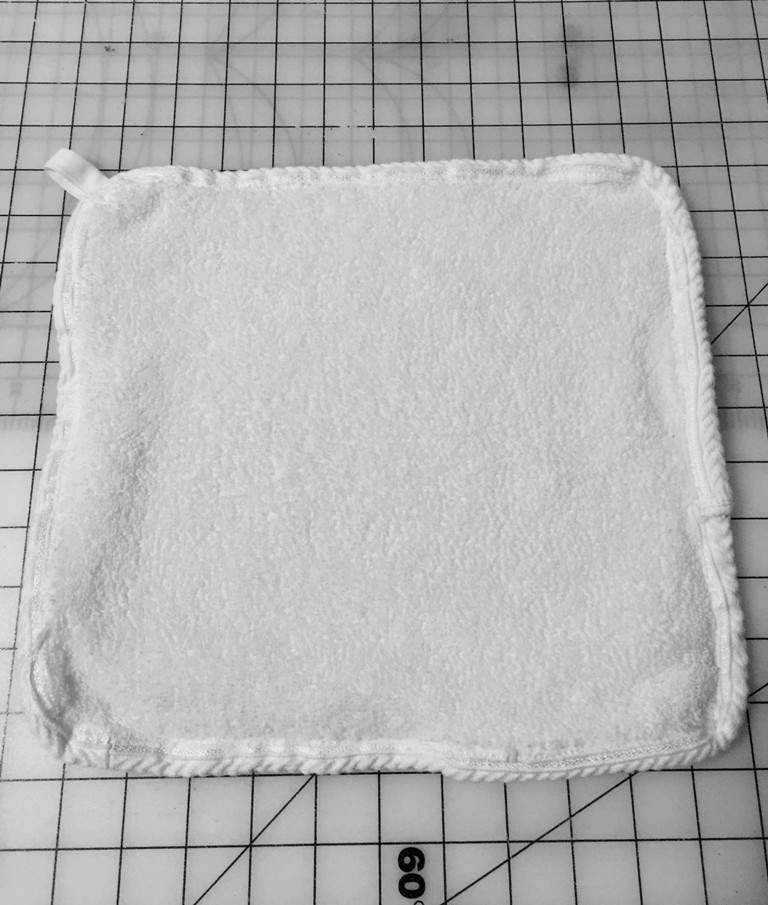
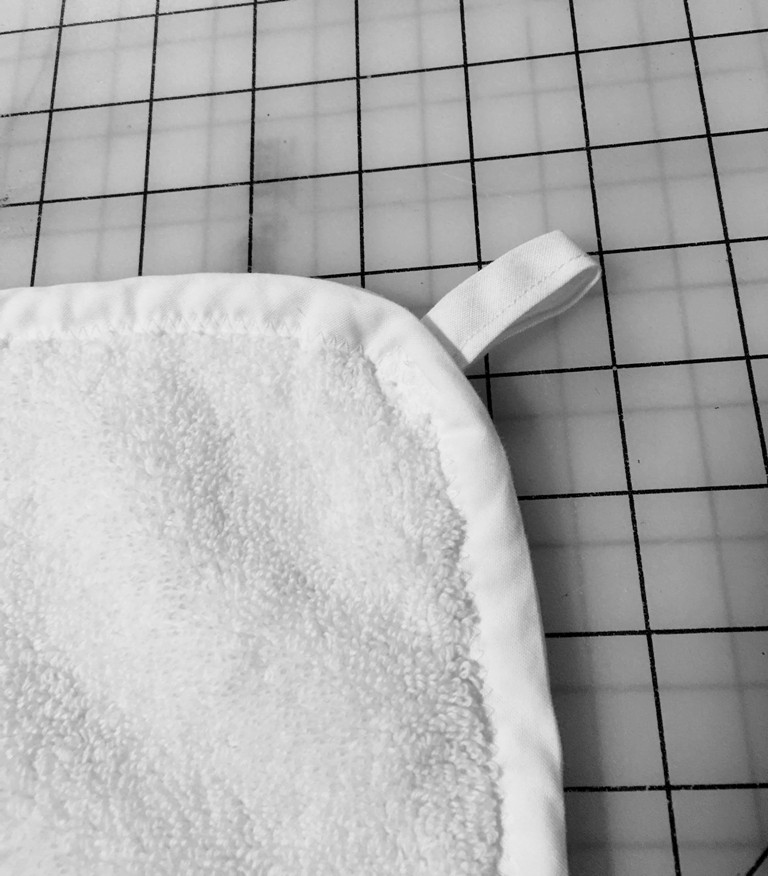
After all 6 cloths were bound, I attached a loop for hanging them on a hook. To create each loop, I took the remaining bias tape and stitched close to the open edge to seal it shut. I then cut a 3″ length for each cloth and sewed the ends together to make the loop. To attach the loop to each cloth, (after turning the loop right side out to hide the raw ends) I sewed it to one of the corners, stitching back and forth in a couple of areas to be sure the loop was securely attached.

Cloth bound with braiding 
Close up of braid 
Cloth bound with bias tape 
Close up of bias tape

These cleaning cloths are inexpensive and sew up pretty quickly. As I mentioned above, they ended up being around $2 each and took about 30 minutes per cloth to sew. If you do not have a sewing machine, you can hand stitch these together. Dee was thrilled to have new cloths and since this was a paid project, I was thrilled that she was thrilled! These little cloths would make great gifts for almost any gift-giving occasion….Wedding Shower, Birthday, Christmas….. You and I probably need to make a few of these cloths for ourselves!

New & old cloths 
Finished cleaning cloths
Supplies Used
- Sewing machine or needle and thread
- Thread, sewing pins, scissors, rotary blade
- Sewing ruler
- Cutting mat
- 1 bath towel or 1 yard terry cloth
- 3 packages of bias tape or two if you buy a towel with decorative braid
Instructions
- Cut braiding from the towel (skip this step if only using bias tape)
- Cut in half lengthwise and sew short ends together
- Cut six 12″ x 12″ squares from the towel using rotary blade & ruler or scissors
- Round the edges with scissors
- Pin braid or bias tape to all 4 sides of the square of material folding over the first end to create a finished edge
- Sew braid/bias tape close to the edge of material along all 4 sides
- Remove pins as you sew
- Trim excess material from all 4 sides
- Turn cloth over and pin braid/bias tape to the other side
- Zig zag braid/bias tape close to the edge to attach it to the material
- Create a loop from bias tape for each cloth
- If using bias tape – sew open edge together
- Cut 3″ sections. For each loop, sew raw edges together making a circle
- Turn right sides together and sew loop to the corner of the cloth


2 Comments
Carol
I love these! These are the perfect compliment to my flannel reusable napkins!
Jeanne
Thanks! I’ll have to make ya some 🙂