

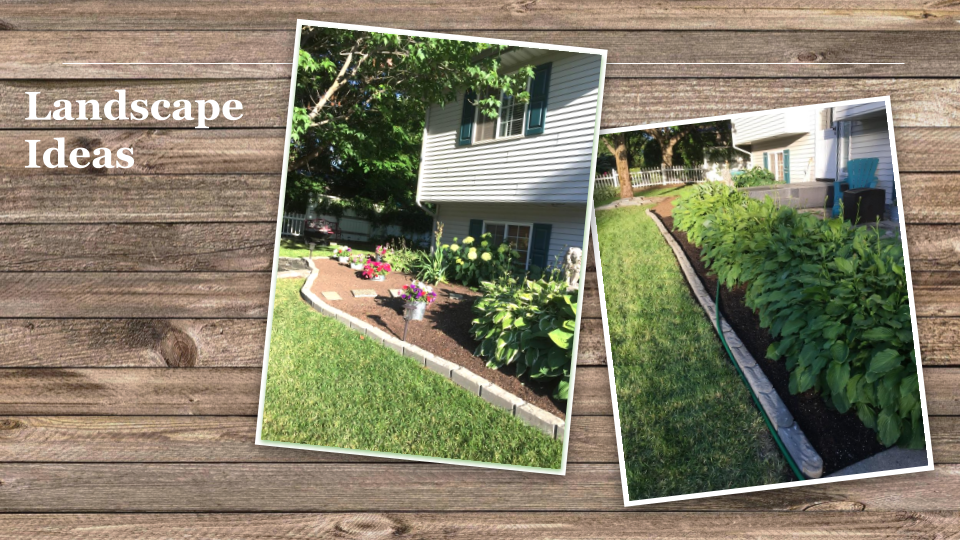
Let’s Create a Rock Garden!
If you’ve been following my Summer 2019 landscape journey, then you know that I’ve been refabbing the front yard. Initially, my focus was on enlarging the flower beds close to the house where we have some very large, very healthy Hosta plants. They love their location and have grown to the point where they just begged for more room.
That project ended being much larger than I anticipated so I started calling the different areas of the yard ‘Zones’. By the time the front yard refab was complete, we had a total of 4 Zones. You can catch up on all of those at the links on the pics or read about them again if you’re still wanting to refab your space this year.


Once the Zones were done, I thought I was also done pulling up sod for awhile! Last Summer, I pulled up lots of sod too – but that was in the backyard for that refab! Although there are sod cutters for this activity, for some reason, I choose to do it by hand. And by hand, I mean on my hands and knees using a kneeling pad, garden shovel and a little garden rake. It is a workout for sure!
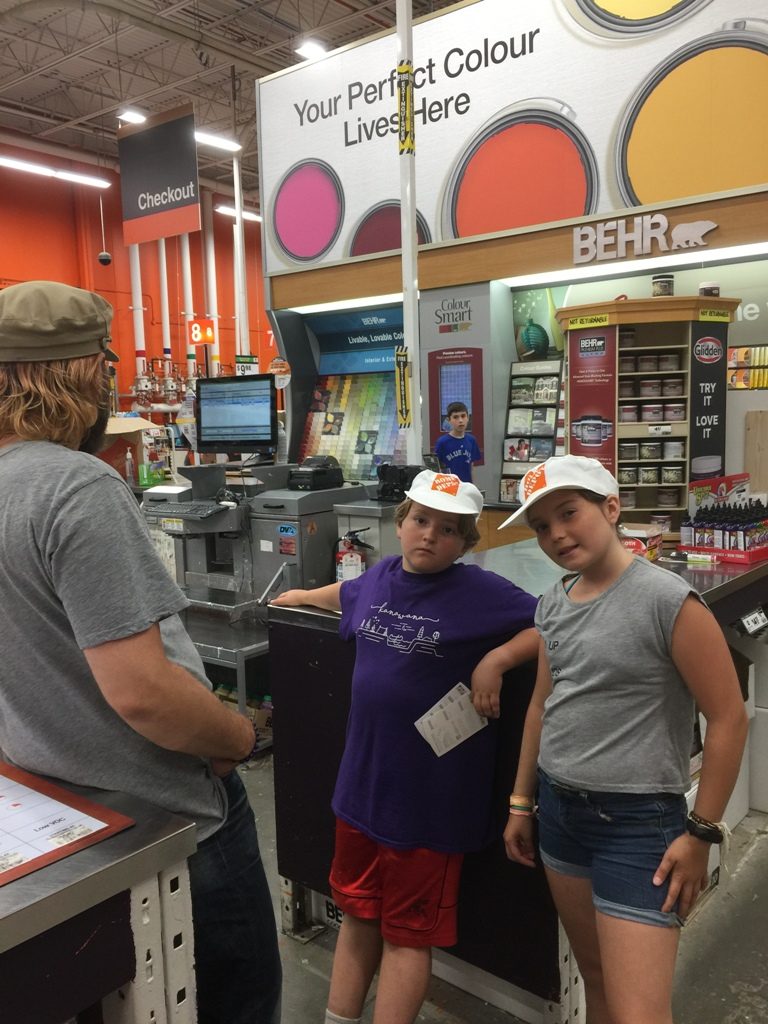
So, when the Zone project was complete, I put away my shovel, kneeling pad & garden rake and went on vacation to both Cali and Canada for some snuggles and projects. The oldest son and his family bought their first home so I flew northeast to help them move and paint! It was a blast and I would have loved to stay for another couple of weeks helping with the settling in. When I get all the pics together, I’ll share them with you! Below are a few of my favs from the trip!

Cali snuggles 
Paint crew 
My project partner


After I got back home and settled into my routine, I started thinking it might be a good idea to address the east front lawn. Doesn’t that sound fancy? The East Lawn, hehe. Anyway…the grass in the area along the neighbors fence just hasn’t been growing well. In fact, there was a large brown spot. Not to mention that mowing along the vinyl fence is tricky and I end up having to pull the grass up by hand after mowing. So, I decided to create a rock garden similar to the one in Zone 3 along the fence line and a matching one along the house.
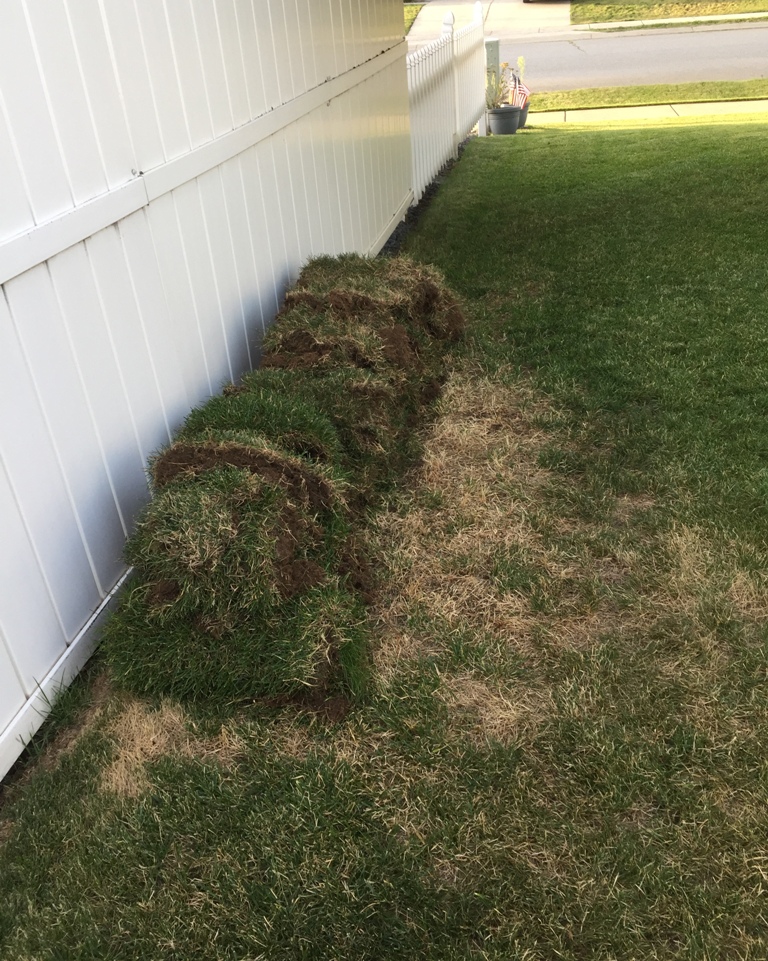
The first step in this process is the same as in the Zone process, pull up the sod! I started along the wood fence line and that sod came up in nice LONG strips; so long that I decided to roll the pieces. How cute do they look?! Since I didn’t want to carry them far once it was time to load them into the truck, I piled them along the vinyl fence laying them on top of the brown grass.
Like I said, pulling up sod by hand is quite a workout so it took me a few days to complete this part of the project. All of the sod came up nicely until I got close to the tree, then it was coming up in little, dry handfuls. I have had this experience in all the spaces where I have removed the sod – the closer you get to a large tree, the harder it is due to the tree roots being close to the surface.

Area by the house 
Sod removed 
Almost done
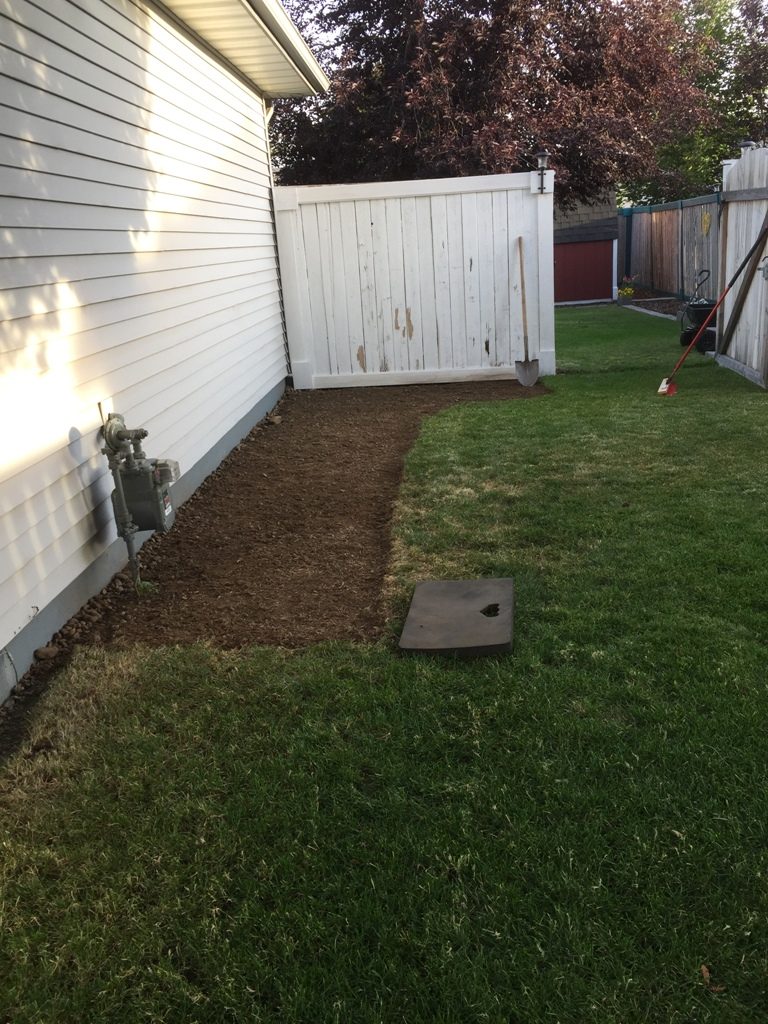
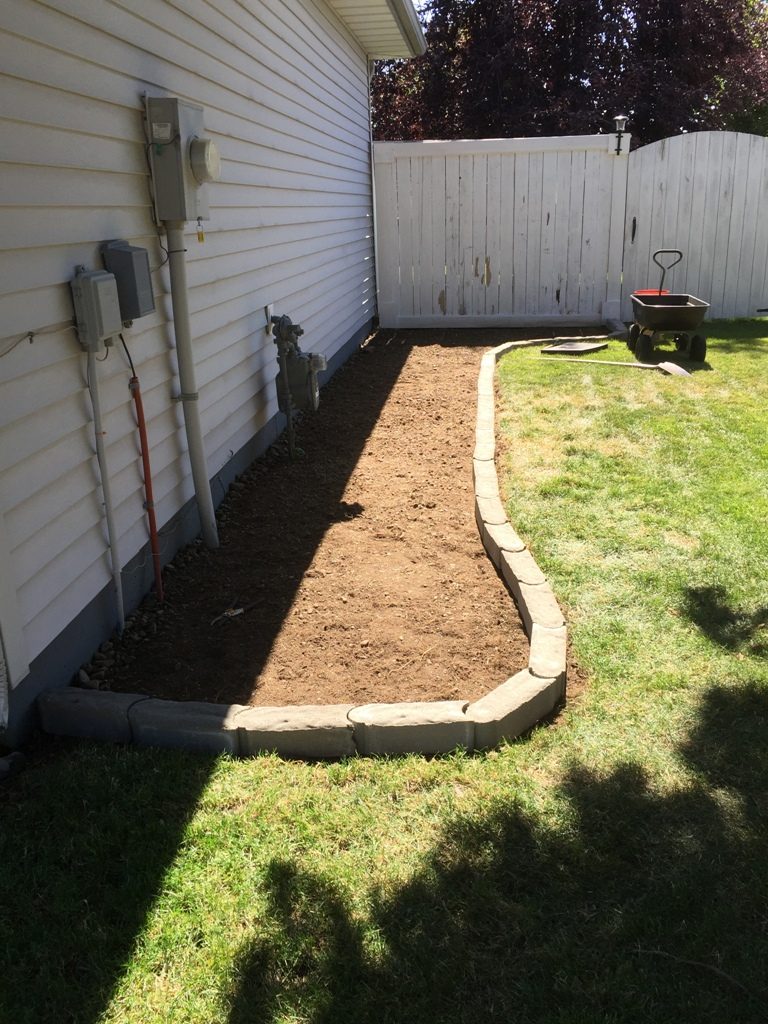
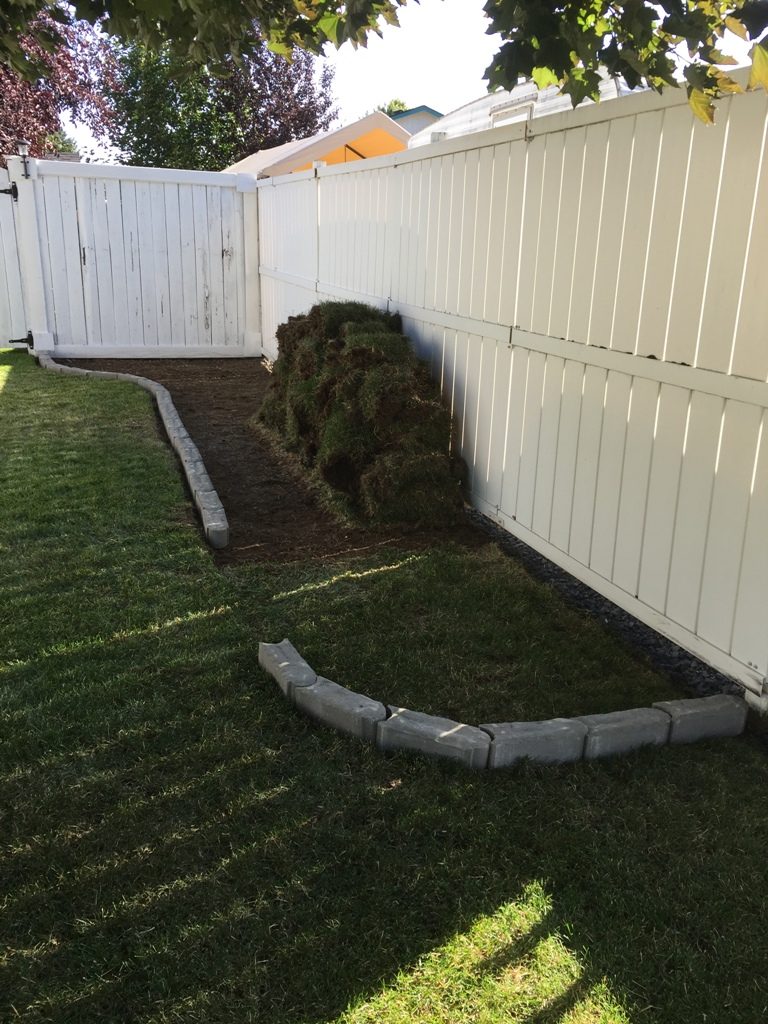
When all the sod was pulled up along the house, I put the edging bricks in place. I just love these bricks! They are called Bullet edgers and were on sell for $1.19 each. I ended up buying 64 for this project. Next, I removed the sod along the vinyl fence and sat the edgers in place as I worked. The spot beneath the rolls of sod would have to wait until I loaded them in the truck. With most of the sod removed, it was onto the next step, buying landscape rock.
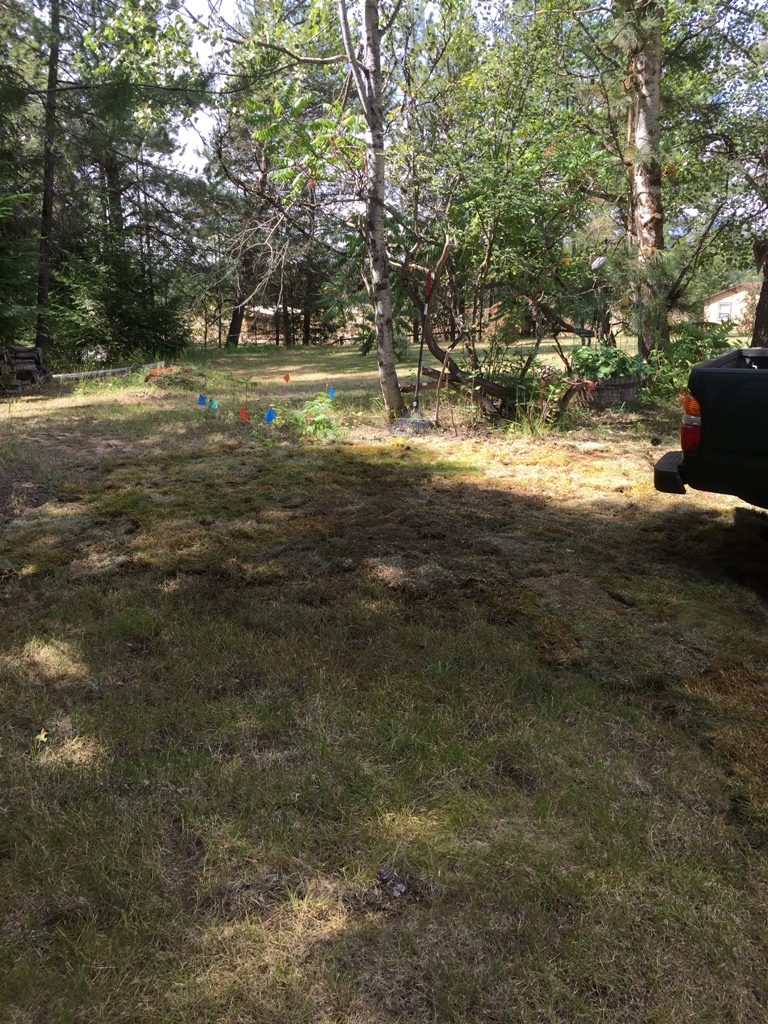
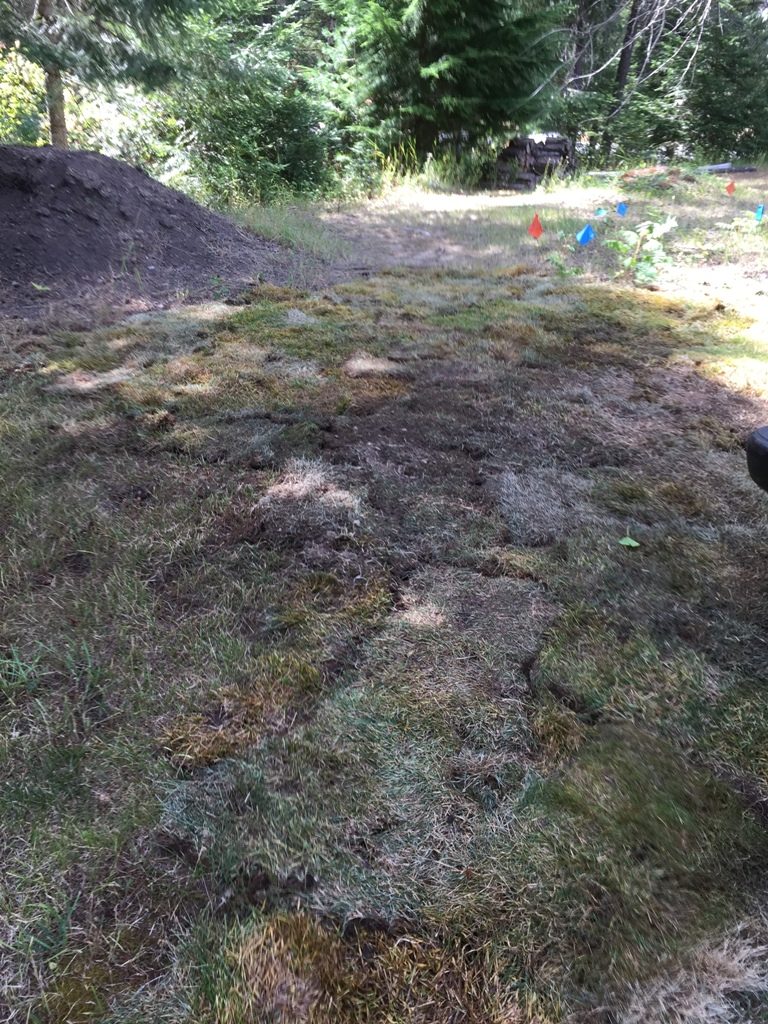
Before heading to Rockhound to get the landscape rock, I needed to load up the truck and just like the last two times I removed sod, take this new batch to Linda’s property. It seemed like a good idea to roll the sod, but the rolls were a bit heavier than the 1′-2′ squares that were in the last two batches. When I got to Linda’s, she and I unloaded the truck and arranged the sod pieces into a nice grass quilt.

Sod in it’s new location 
Sod quilt
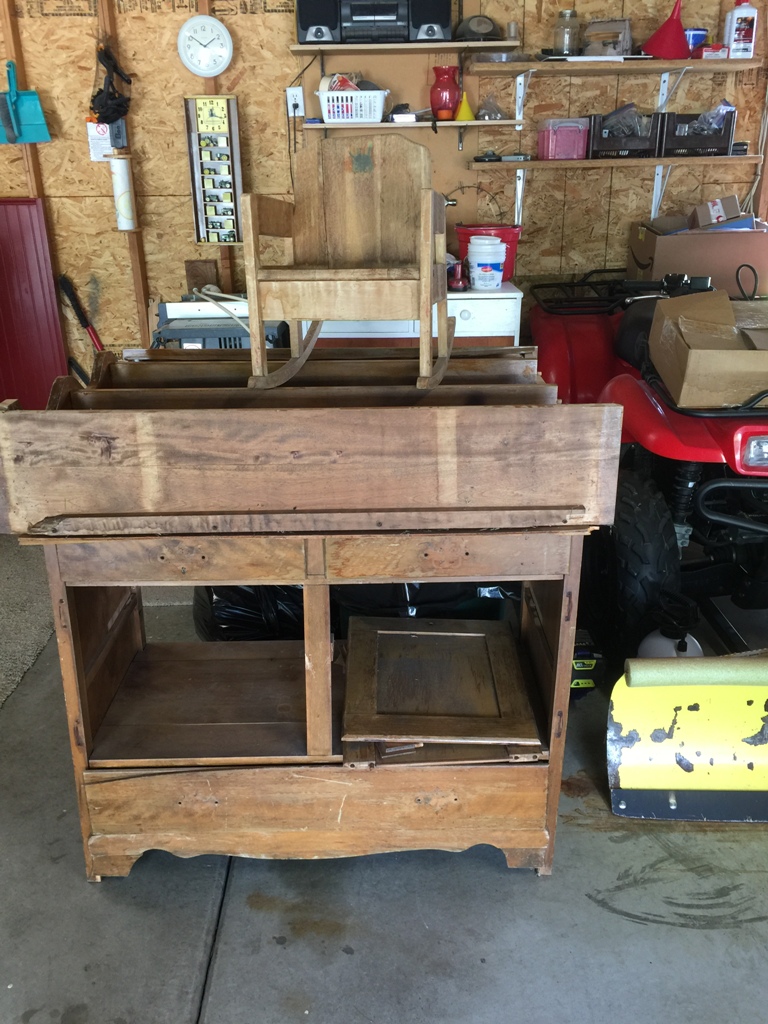
Now that the truck was empty, Linda asked if I could use some maple wood. Depends, I said, let me see it. While we walked toward the back of her property, she said there was a maple dresser by the burn pile and it had been her mom’s. That’s the maple wood?! Gasp!!!! Burn pile??!! She said it was a bit broken and she didn’t know what to do with it so took it out there. But she said she had been feeling bad about it and when I showed up, she figured I could put the wood to good use. Uh. YEA! I walked back to get the truck and we loaded it up. She then said she had a little wooden rocker that was falling apart and if I wanted that also, I could have it. Bring it on! Sooooo, before heading to get the rock, I detoured to the house to unload my new treasures! Nice exchange – you take my sod, I take your wood projects! Love it!
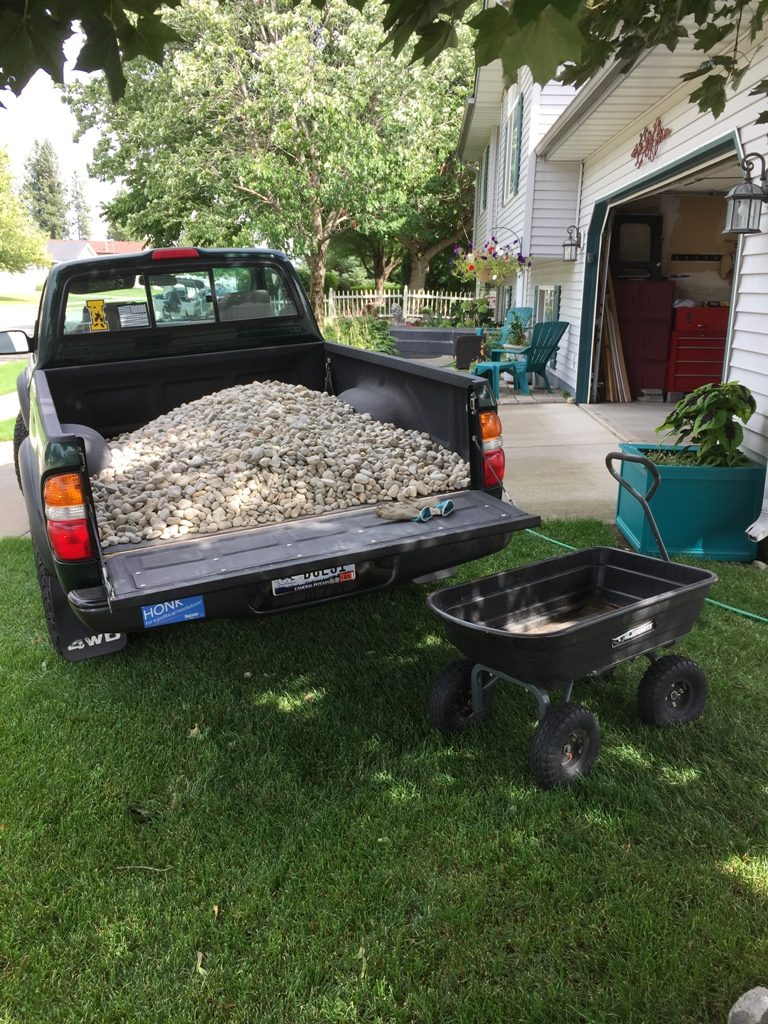
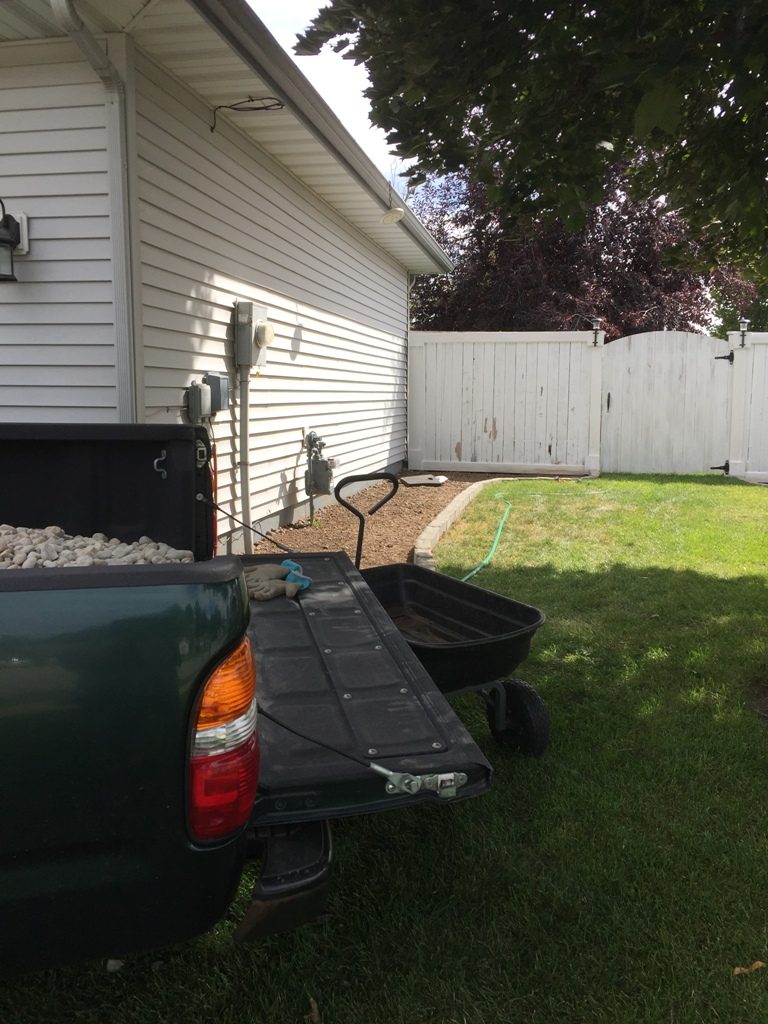
Ok, NOW I headed to Rockhound. We have a Tacoma so I can only get 1/2 yard of rock at a time. 1/2 yard of landscape rock is $16.50. I figured it would take 3 loads and, yes, it took 3. I was able to pick up & unload the first rock & go back to get load 2 all on Saturday after taking the sod to Linda’s. On Sunday, I unloaded the truck and picked up load 3 and then unloaded that one too! To move the rock from the truck to the garden beds, I used the garden shovel to fill up my little wagon, pulled the wagon to the bed and used the shovel to unload the rock and place in the beds. Busy weekend, lots of free exercise!

1st load of rock 
Ready to unload
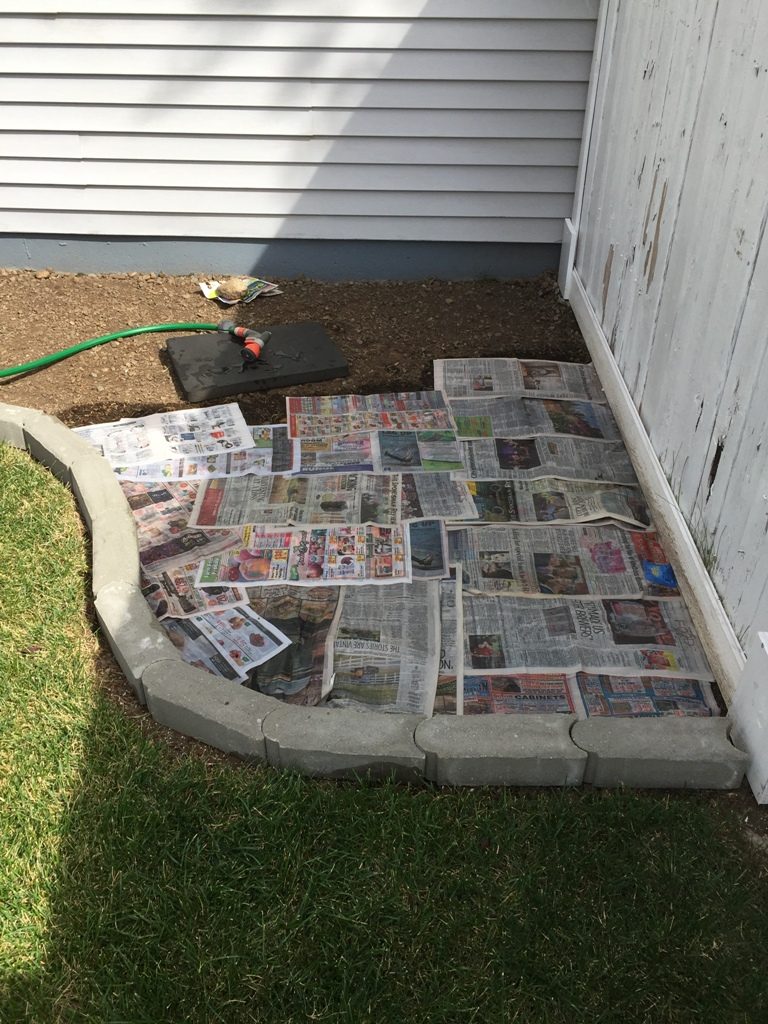
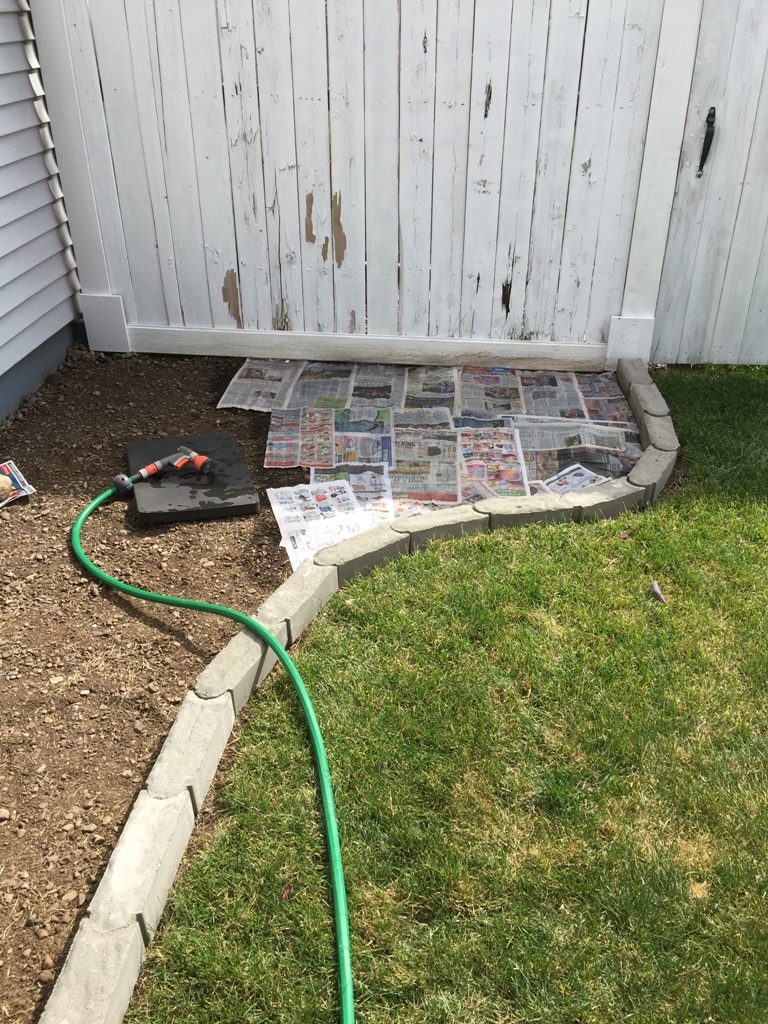
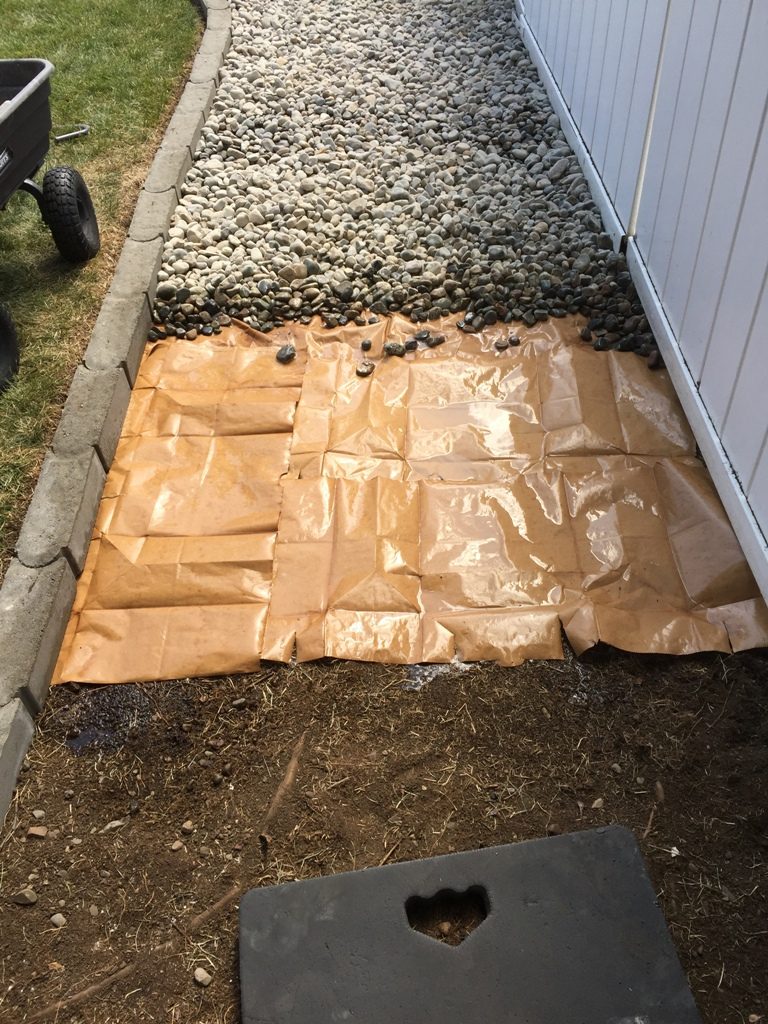
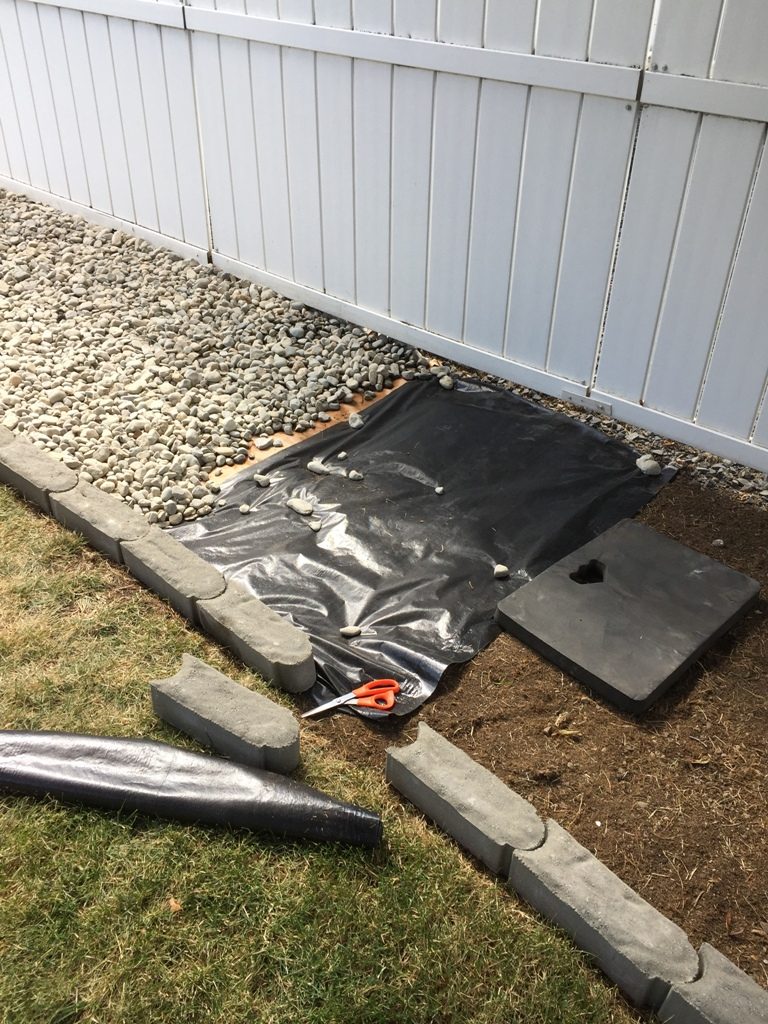
But before unloading the rock, to help prevent weeds & grass from growing up through the rock, I laid down newspaper over the soil. I had used newspaper in Zone 1 until I ran out and then used landscape cloth for the remainder of that section. Both have worked well, there are a few volunteer pansies that have grown through them but fewer have come up where I have the newspaper. When using newspaper, be sure to wet it well before covering it with soil or rock. I find this technique also helps keep it in place since it’s usually windy when I’m working on these projects. By the time I got 1/2 way through the rock garden along the vinyl fence, I had run out of newspaper again so I started using paper grocery bags since I had a stash of those on hand. I almost had enough of those to finish the project and when I ran out, I used the landscape cloth I still had for the last 4′ or so.

Newspaper 
Have a hose handy 
Brown paper bags 
Landscape cloth
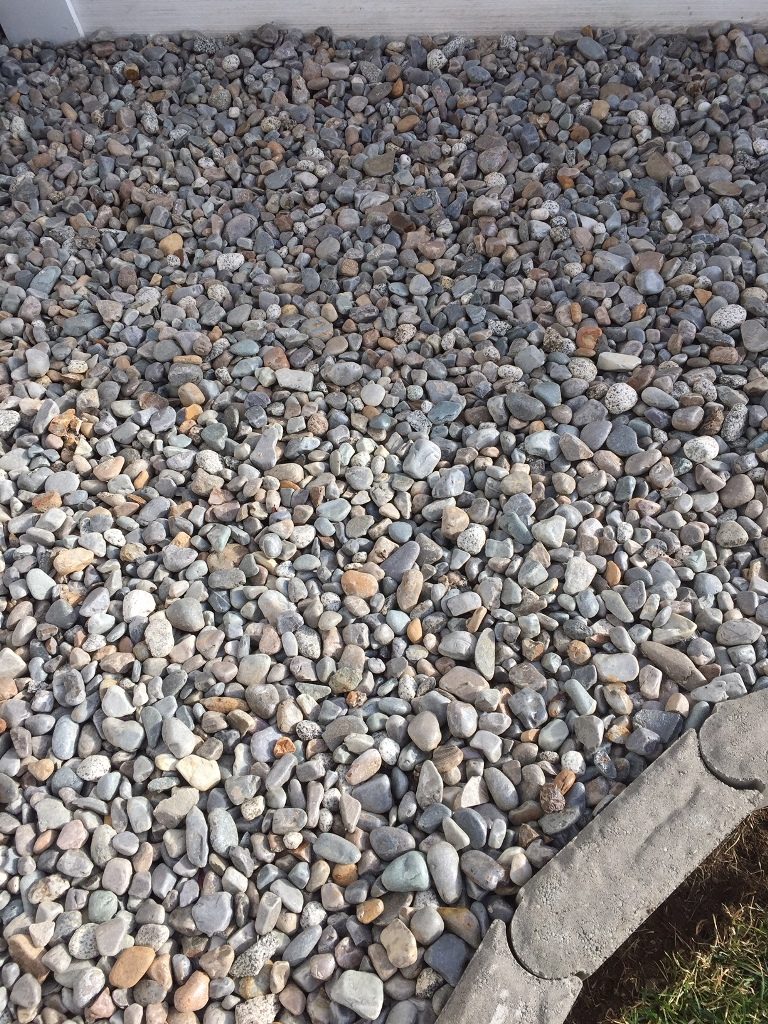
With all the rock in place, it was time to seal it. I washed both rock gardens with water using the garden hose & spray nozzle then let them dry for a few days. I had sealer left over from the Zone project and liked the shine it gave to the Zone 3 rock garden. Using a garden sprayer, I applied two thin coats on the rock. I was surprised that it didn’t darken the rock like it did when I sprayed it in Zone 3 but it did give it a nice shine.

Wet rock 
Sealed rock
It took me two weekends and a few evenings to complete this project. 64 Bullet edgers @ $1.19 + tax = $80.73 & 1 1/2 yards of landscape rock @ $16.50 + tax = $52.47 Total cost: $133.20 I had the landscape cloth, but if you need to buy some, there will be additional cost.
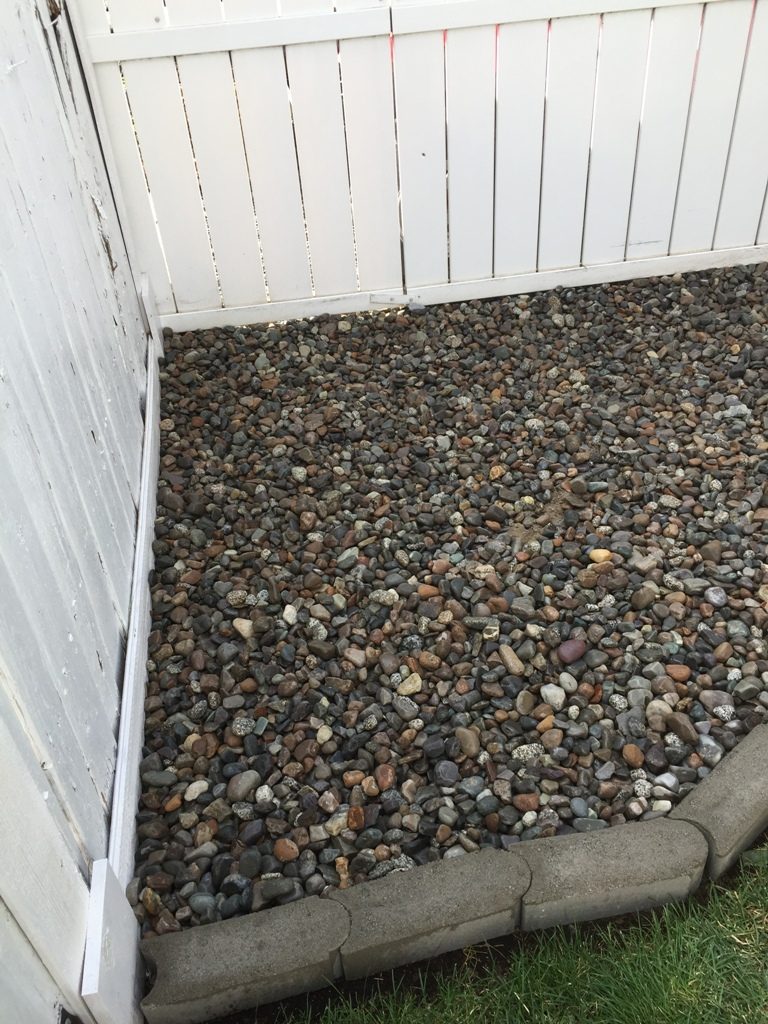
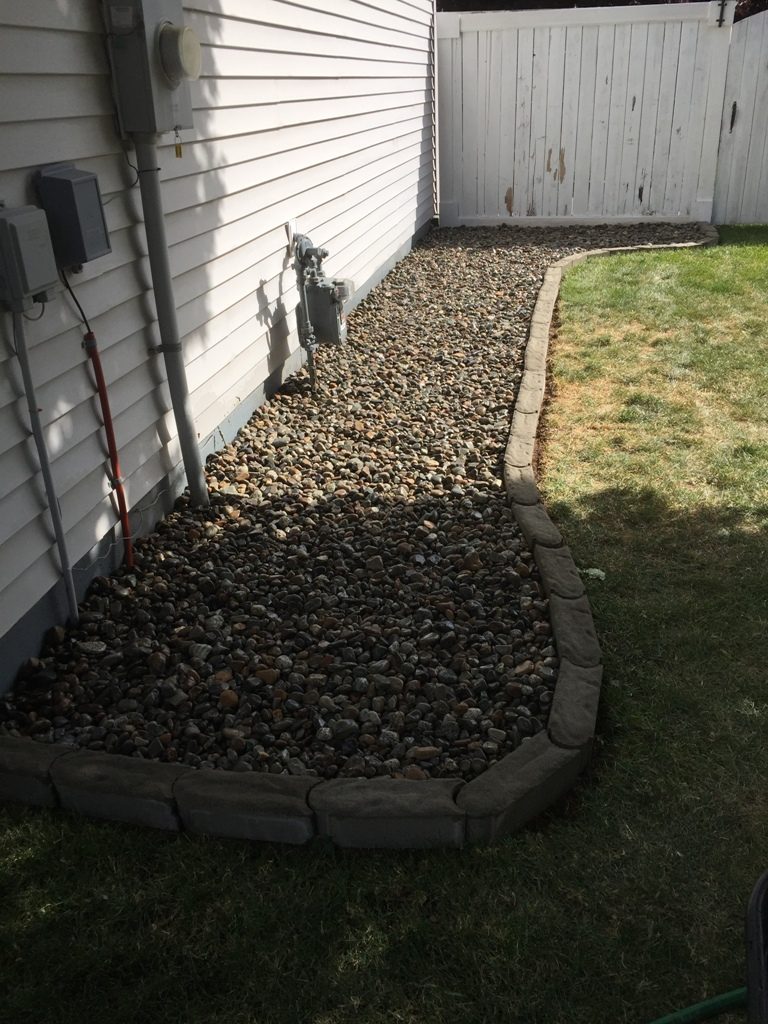
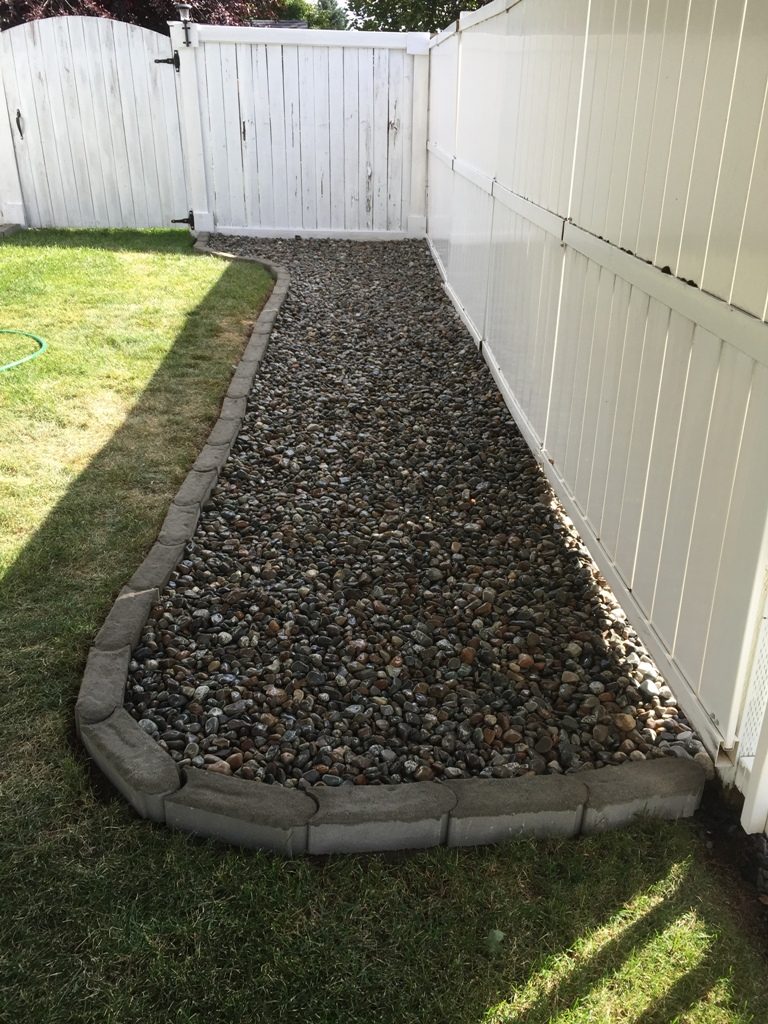
We really like the clean lines the rock gardens create along the fencing and house. I am so happy that I don’t have to maneuver the lawnmower close to those areas any more. I will, though, have to weed along the brick to keep the grass from encroaching in on them so adding the rock gardens has not removed all the work. But, it sure looks better! Next project in this area is to make a cover to hide the utility boxes…..

House side 
Fence side

Supplies
- Kneeling pad
- Small garden rake
- Garden shovel
- Hose & nozzle
- Edging bricks
- Landscape rock
- Newspaper, brown paper bags, landscape cloth
- Garden sprayer
- Homax Concrete/Rock sealer
- Wagon
- Gloves
Instructions
- Measure the size of the area where you are removing sod
- Mark with a line or garden hose or use a yardstick
- Using a garden shovel, cut through the soil along the line for the new area
- Pull up the sod and set aside
- You can use the shovel to loosen the sod or a small garden rake
- Use edging bricks to line the new area
- Lay down either newspaper or landscape cloth
- Cover with landscape rock to the depth you want – 2-3″
- Apply two light coats of sealer *Optional*


3 Comments
Pingback:
Melissa Fugate
I’m sure you already know this but just in case you don’t…..you can lift your little black garden cart up from the front, using the small handle to lift the cart up and dump the contents out. I love your can-do attitude, cheery disposition and website! Thank you for sharing!
Jeanne
Thanks Melissa! That’s a great compliment 🙂
Yes, hubby made sure I knew of that little feature when he brought it home to me. 🙂
Thanks for sharing the tip, though!