

Let’s Add Finishing Touches!
Master Bath Remodel Part 5 – Trim
Welcome to the Grand Finale! Part 5 of the Master Bath Renovation! Now comes the fun part, trimming out the space to add interest and finesse! If you haven’t read the first 4 parts of this project and want to start there, here they

Master Bath Remodel Part 1 – Demo
- Demo’ing the surround bathtub
- Removing the tile & hardibacker that was above the bathtub
- Removing drywall from the buffer wall at the end of the tub
- Cleaning all debris and taking a load to the dump

Master Bath Remodel Part 2 – Rebuild
- Building the shower wall
- Updating the plumbing
- Installing a window
- Building two niches
- Installing greenboard
- Setting shower pan
- Prepping shower for tile with waterproofing

Master Bath Remodel Part 3 – Tile
- Tiling the new shower space
- Buying tile at Habitat, Overstock Builders, Home Depot
- Buying thinset, mastic, grout
- Applying waterproofing on greenboard
- Borrowing James wet saw
- Installing tile
- Grouting
- Sealing tile

Master Bath Remodel Part 4 – Floor
- Removing & replacing the damaged subfloor
- Removing & replacing toilet
- Buying tile at Overstock Builders
- Tiling a 3ft section of the bathroom floor closest to the shower
- Grouting
- Sealing
- Replacing vinyl planks
What we will see in this final step of the project
- Remove & replace ceiling moulding
- Remove & replace trim around door
- Remove & replace baseboards
- Sand, cut, paint ceiling trim
- Sand, cut, stain & seal baseboards
- Strip polyurethane sealer from vanity
- Sand, stain & seal wood on vanity
- Paint vanity with
fresh coat of white paint - Trim out
new wall - Fill holes; sand rough areas
- Paint new wall and trim
Let the finishing touches begin!

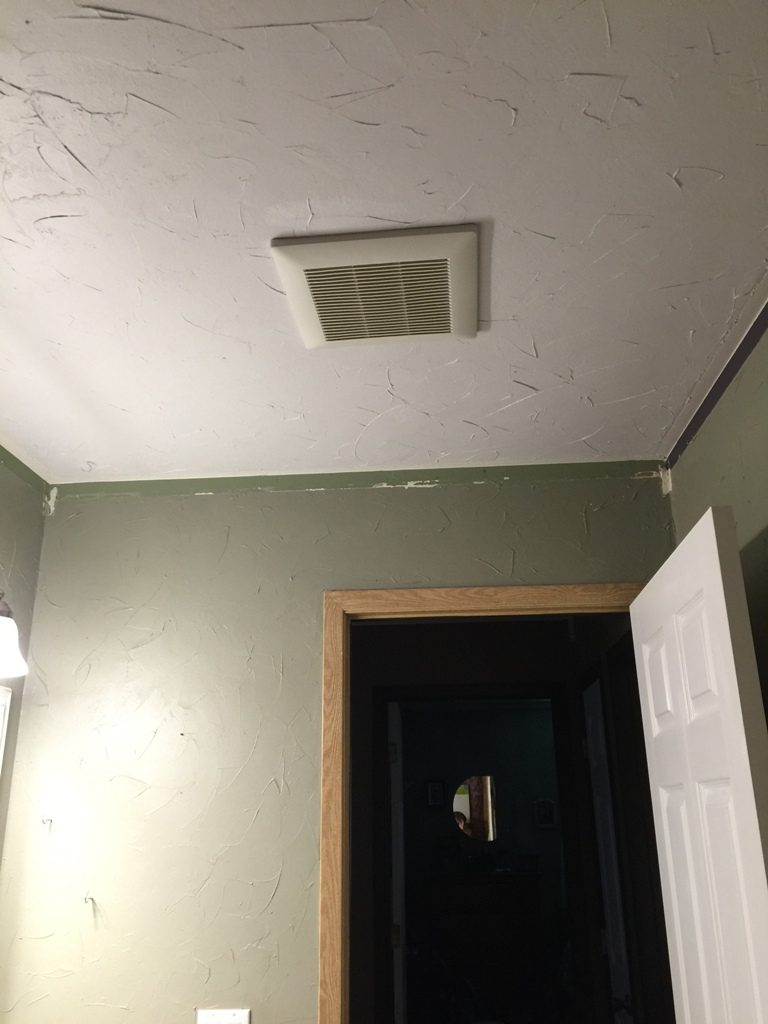
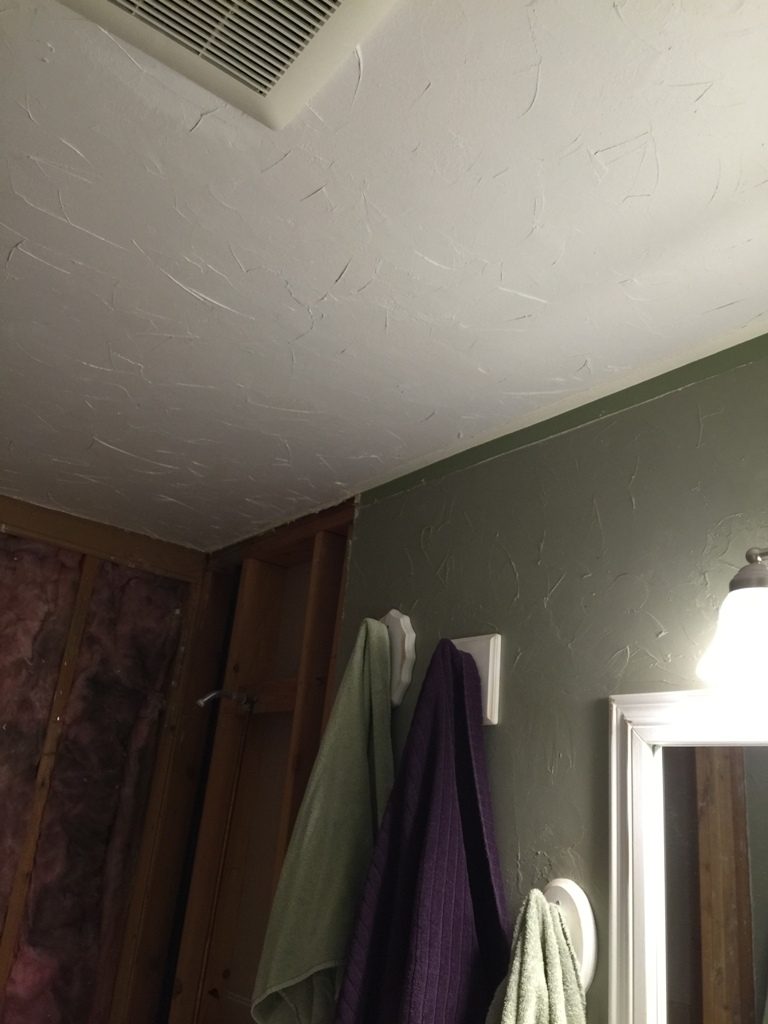
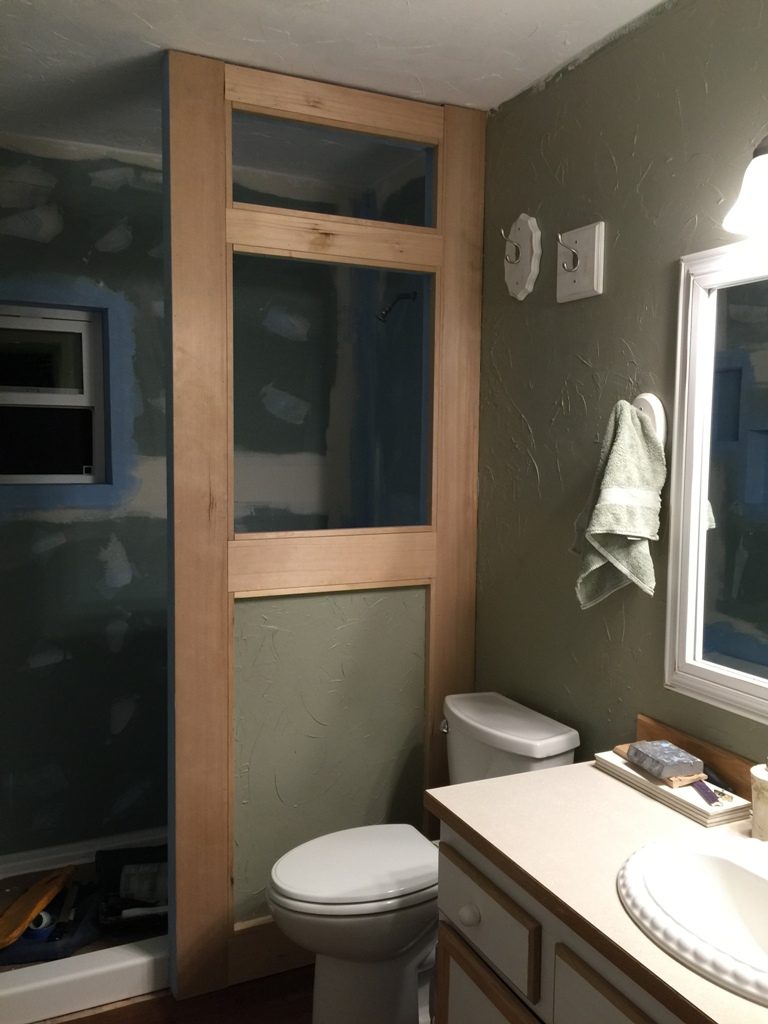
While waiting for the construction to be done, I chose to remove the moulding that I had installed years ago along the ceiling. To save money and since I didn’t really know what I was doing at the time, I used MDF. I never loved the look, but it sufficed to give the bathroom a little pizzaz. I also removed the baseboards & the trim around the door. All those would be replaced with new wood trim.
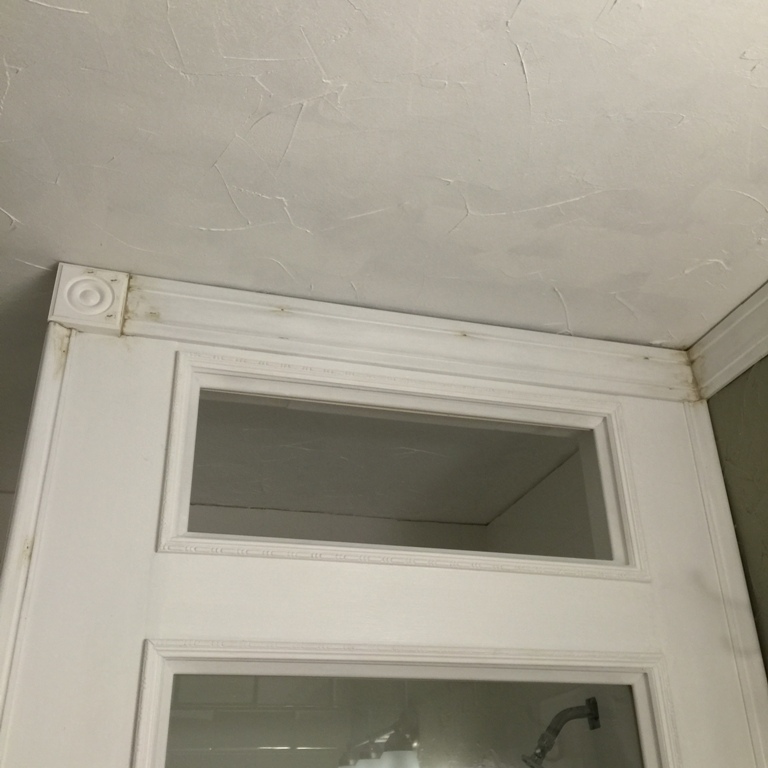
New ceiling moulding

Ceiling trim removed 
Ready for new moulding 
New moulding 
New moulding 
New moulding
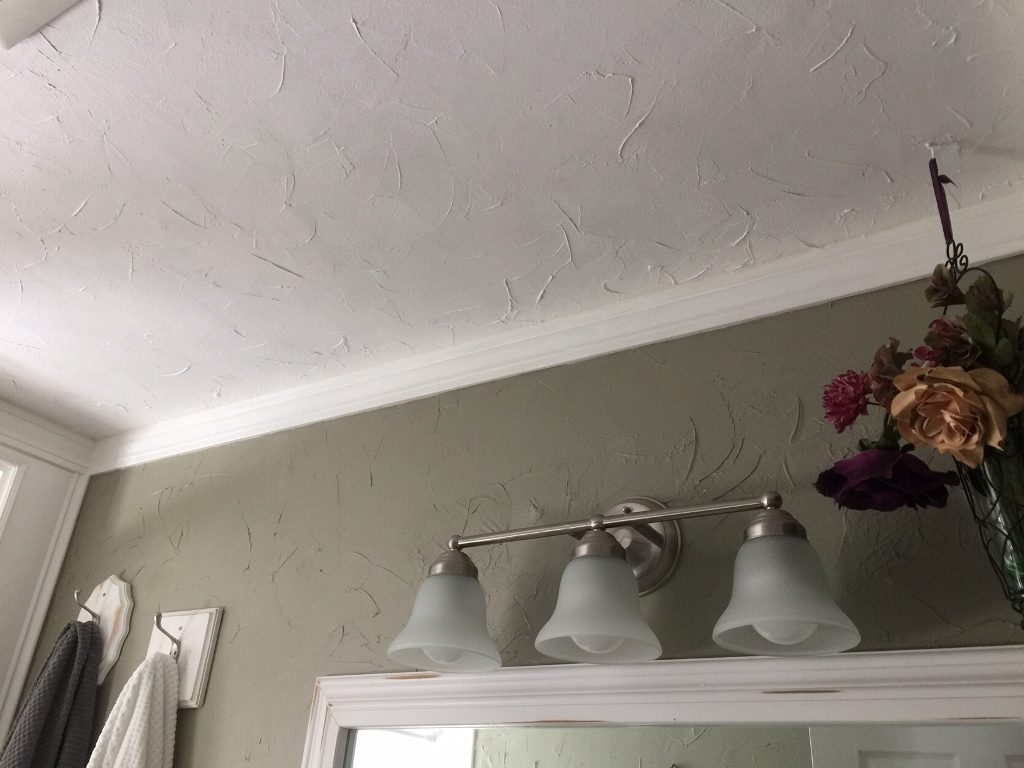
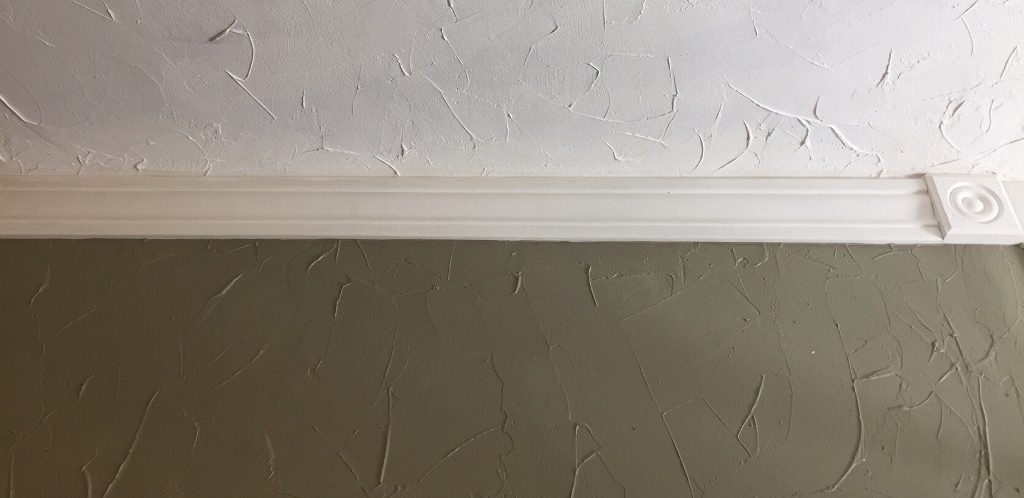
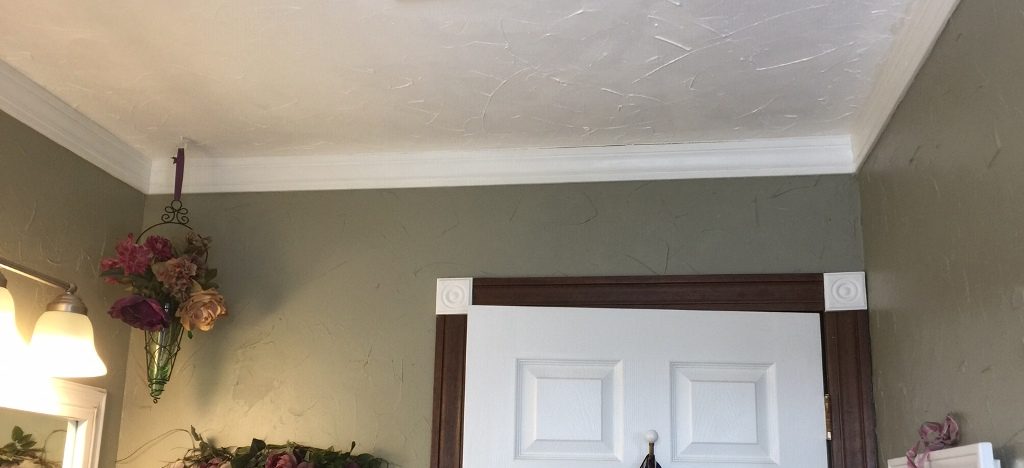
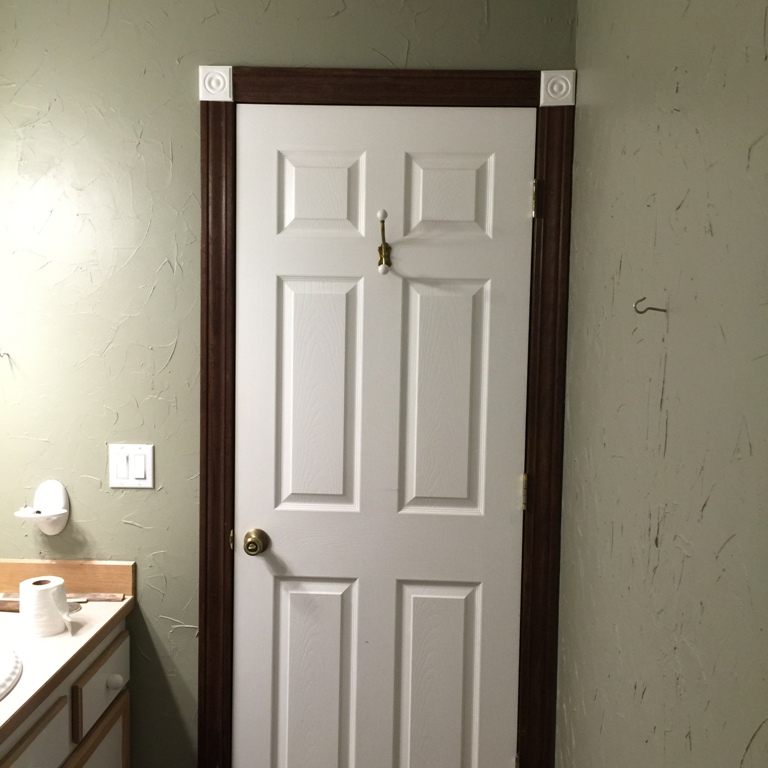
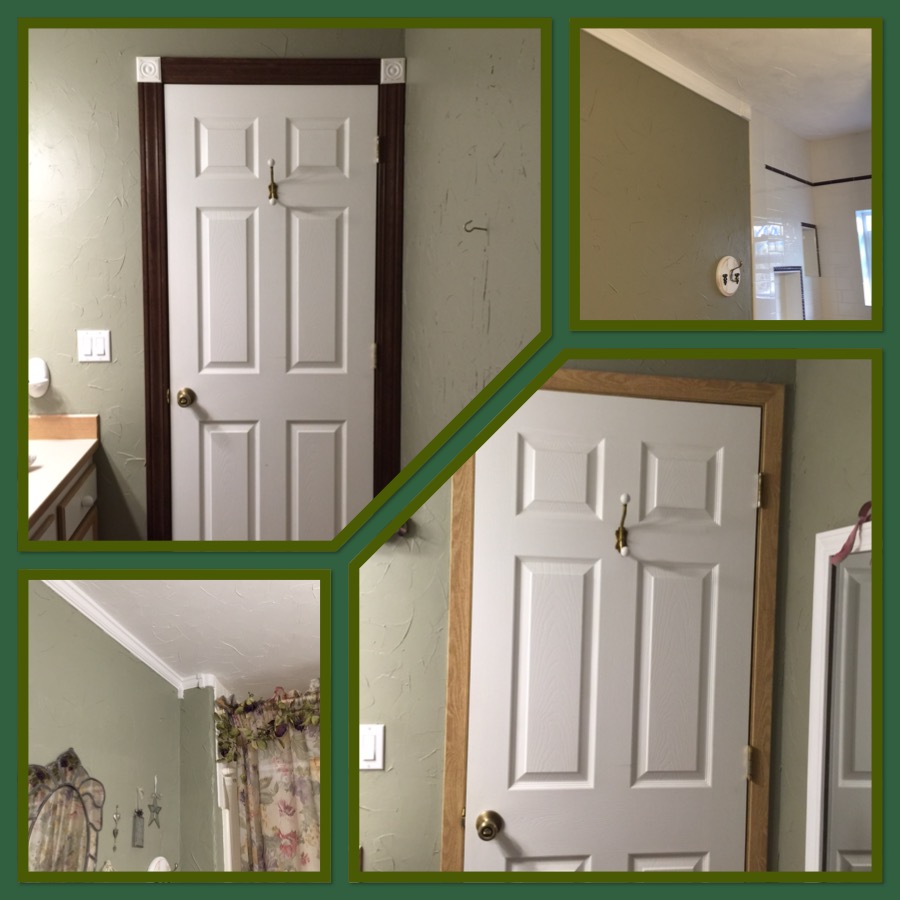
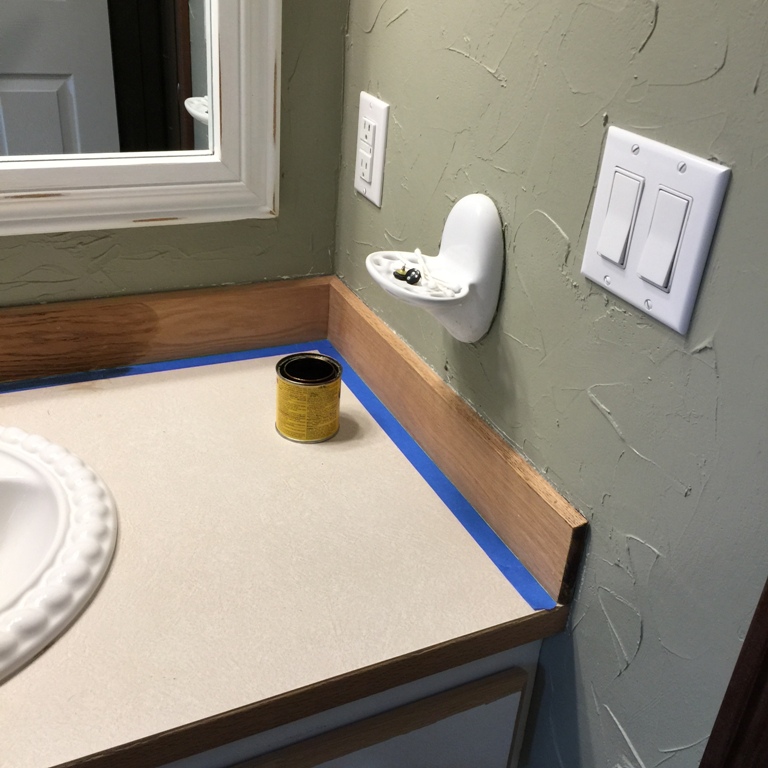
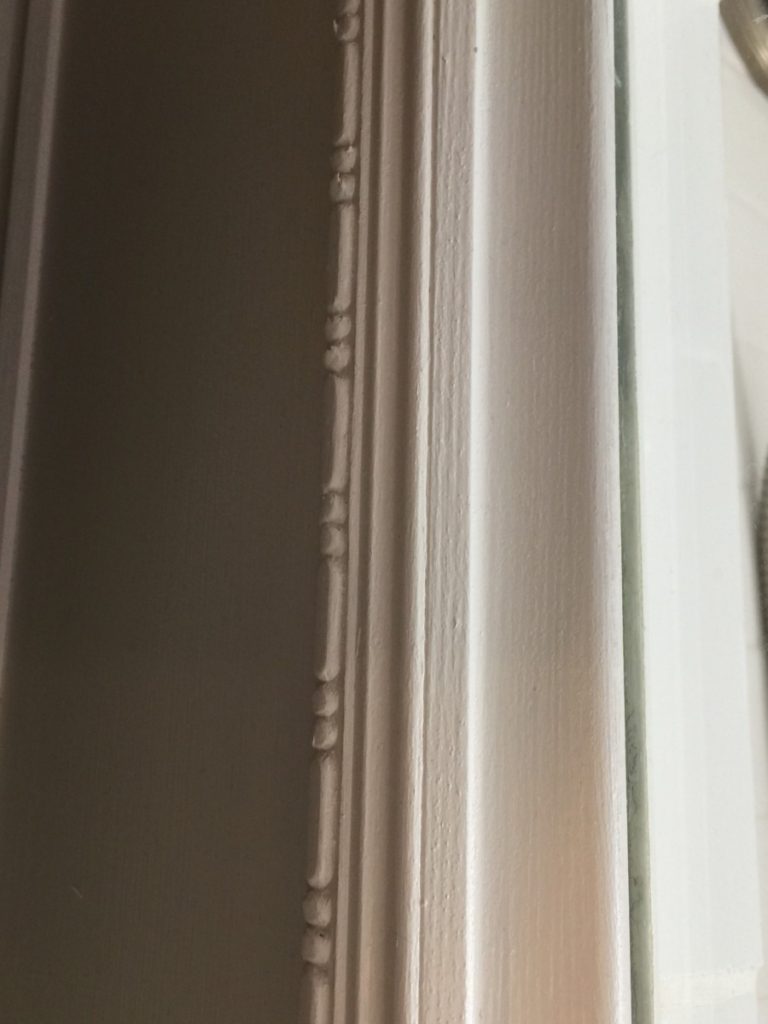
The new trim is the same moulding that I’ve been using in the rest of the house. It’s a 3″ wide Hemlock and it stains up so beautifully! I have to admit, it was a little difficult to decide to paint such beautiful wood, but I liked the look of the white at the ceiling line because it helped to add brightness to the bathroom. While I painting the trim that would go along the top of the walls, I stained the trim around the door and the baseboard trim. The stain I’ve been using throughout the house is Minwax in Provincial. It’s a nice, rich brown. I always add two thin coats of polyurethane after the stain has dried and my go-to poly is also Minwax. It is water based, dries quickly and is easy to use.
To cut the trim, I used my adorable little miter saw (which I love ! ) This little workhorse has created hundreds of cuts since I bought it just a few years ago! I found it at Lowes (you can find one here) and it really does a beautiful job! I seriously don’t know how I lived without it! Using a miter box was fine back in the day, but once I bought this little baby, there was NO going back! If you are still using a miter box, might I suggest you grab a little compound miter saw for yourself? You will fall in love, like I did, with the very first cut!

Compound miter saw 
Minwax Provencial Stain 
Minwax Polyurethane
To install the trim & baseboard, I used my little nail/brad gun that I purchased at Harbor Freight. This is another tool that I instantly, well almost instantly, fell in love with….the air compressor scared me for a bit – it is loud and it took a little while to become comfortable with using it. I also wondered why I waited so long to add one of these beauties to my tool collection. You can find one like it here along with a similar compressor. I bought the compressor at Home Depot for one of my son’s birthdays, but he stored it here so voila’, I have adopted it for my projects. Both these tools are under $150 each. The amount of time they save, the headaches they prevent and the professional touch they provide to all your projects is priceless!
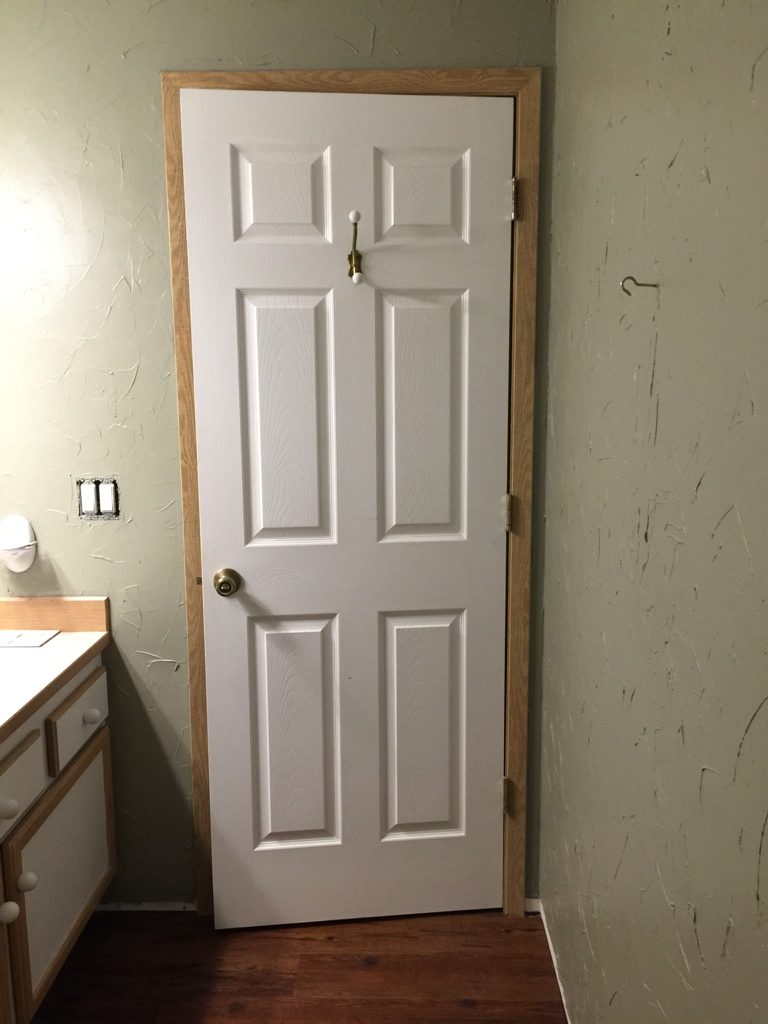
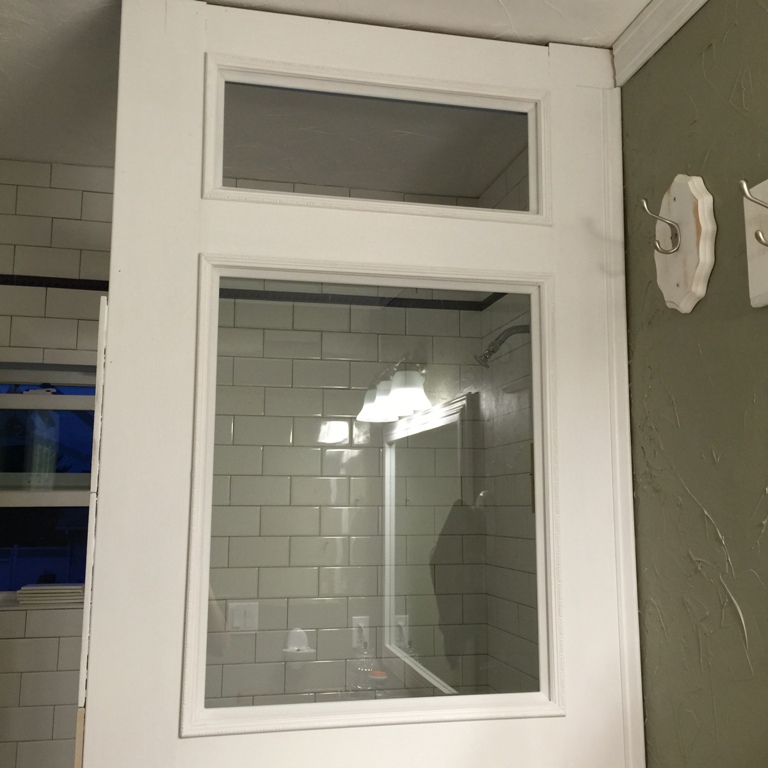
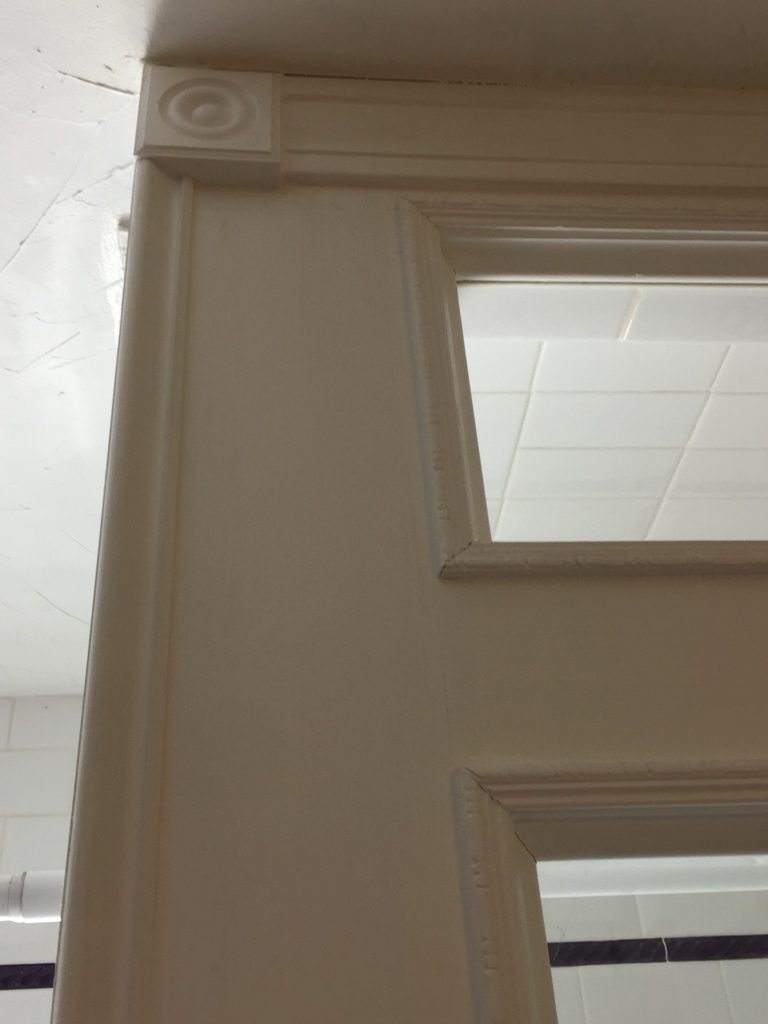
As you can see in the picture below, there was no need to miter the trim around the top of door (although with my little saw, the cuts would be quick and easy) because I’ve been using these little wood blocks on all the door trim in the house (I still have several doors left to trim out) and just love the character they add. I’ve found them at both Lowes and Home Depot. They are priced around $2 each.
New door trim

Before trim color 
New trim 
Updated trim
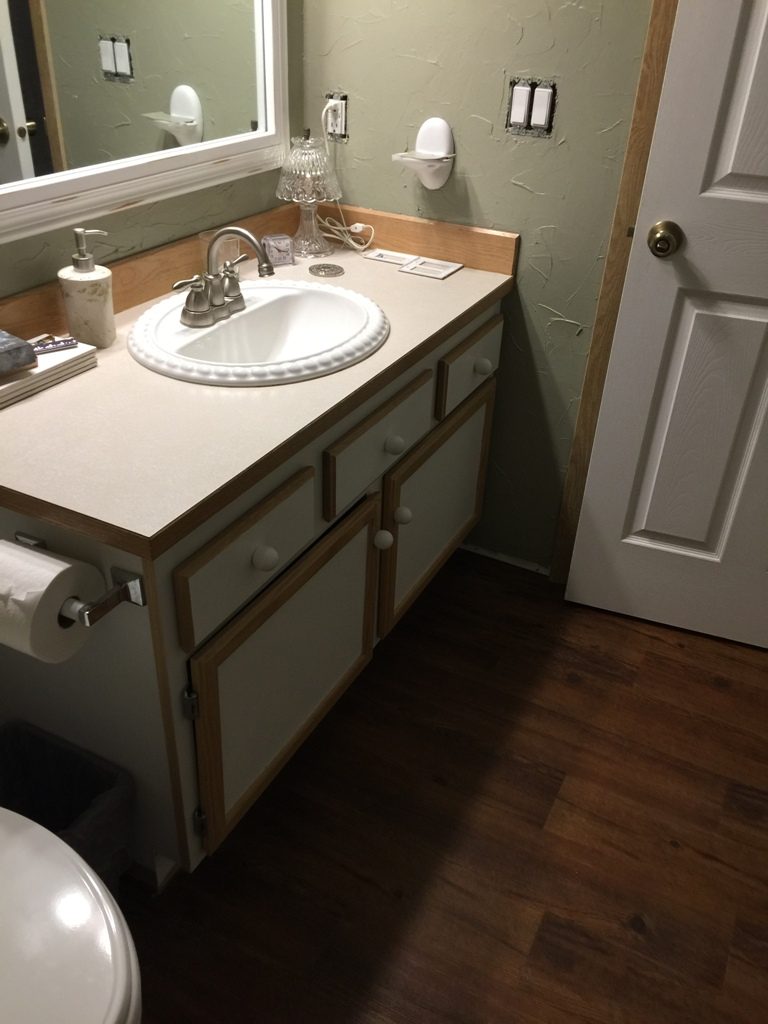
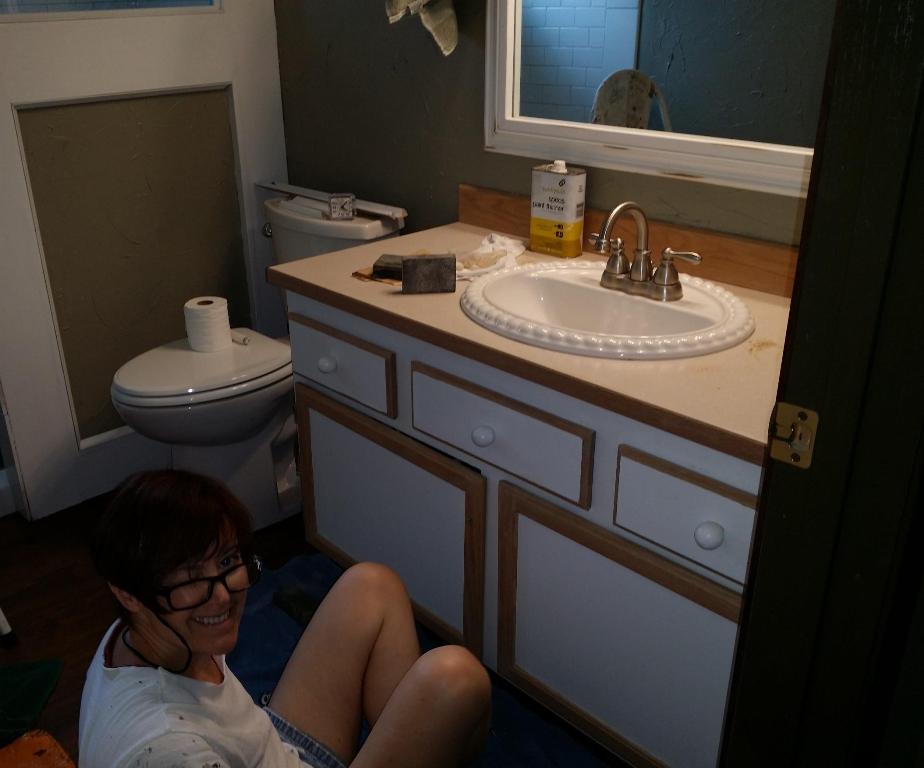
I was on a roll! I also decided to update the vanity. Since I didn’t want to rip out the old one, I thought a quick update would suffice. I had painted the vanity white a few years before, leaving a wood trim around the doors, drawers and the wood trim along the top of the vanity unpainted. The wood is light oak and I have been slowly replacing that color in the house with the Provincial stain. I decided to strip off the polyurethane finish and then stain the wood so it would be darker which would help it coordinate better with the new trim. I figured that would be a quick job, but, alas, it was not. I carefully brushed the stripper on the wood using a small artist brush then just as carefully removed it with a rag as I needed to prevent dripping it on the countertop and flooring.

Wood color – before 
Removing knobs 
Scraping off old varnish 
Stripped, sanded 
Applying stain 
Applying stain
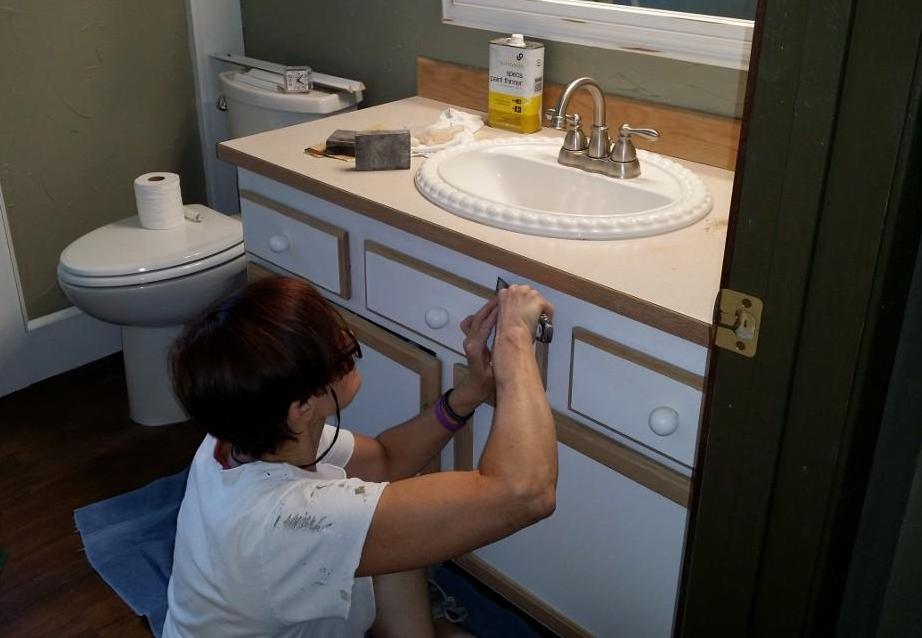
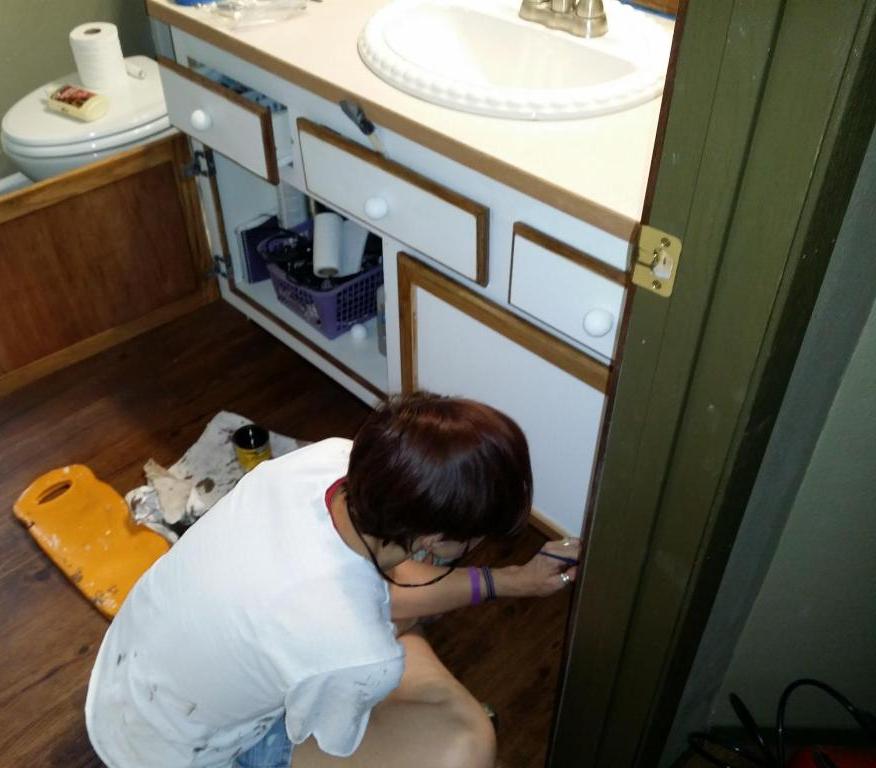
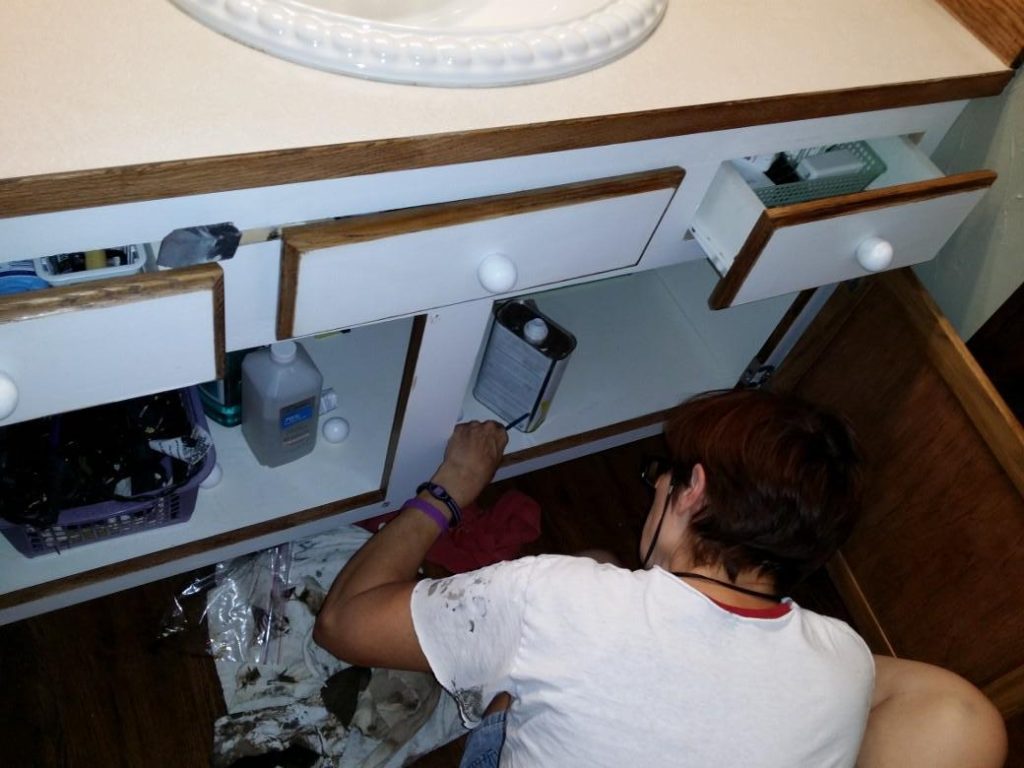
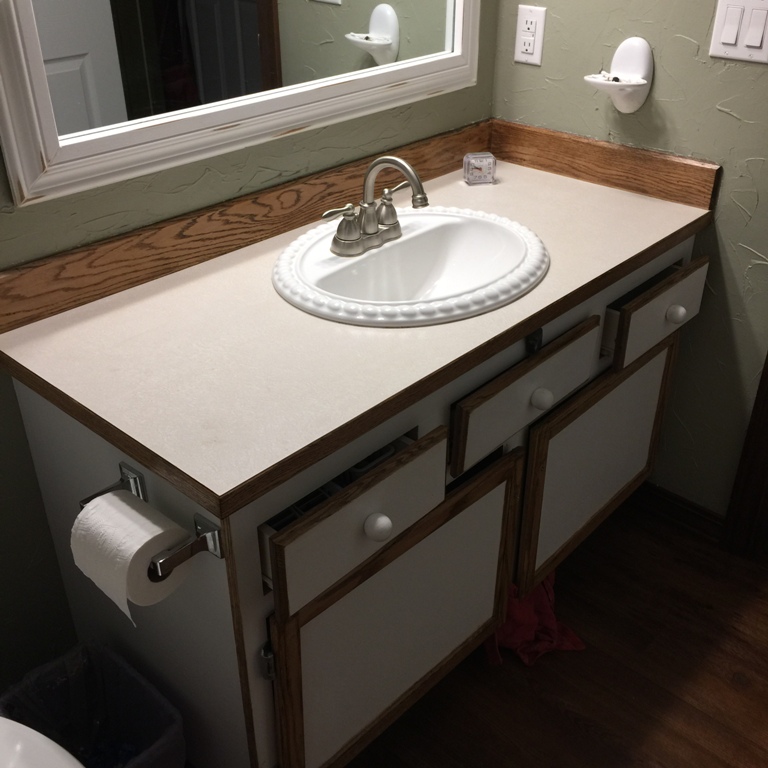
After the stripper had been removed and the wood dried, I gave all the sections a light sanding then applied the new stain. As I mentioned above, I used Provencial, the stain I have been using on the trim and baseboards in the rest of the house and followed up with a couple of thin coats of polyurethane. While the wood accent on the vanity is not as dark as the trim, it complements it well. After the woodwork was dry, I gave the vanity a fresh coat of white paint. You can see in the picture below how much better the new stain matches the flooring.
Finished vanity

Fresh stain & paint
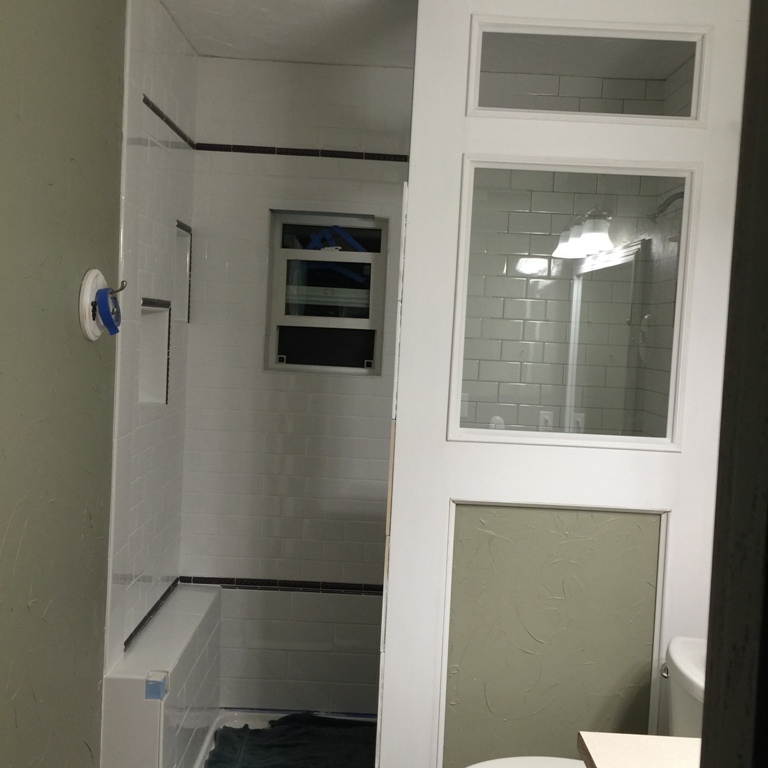
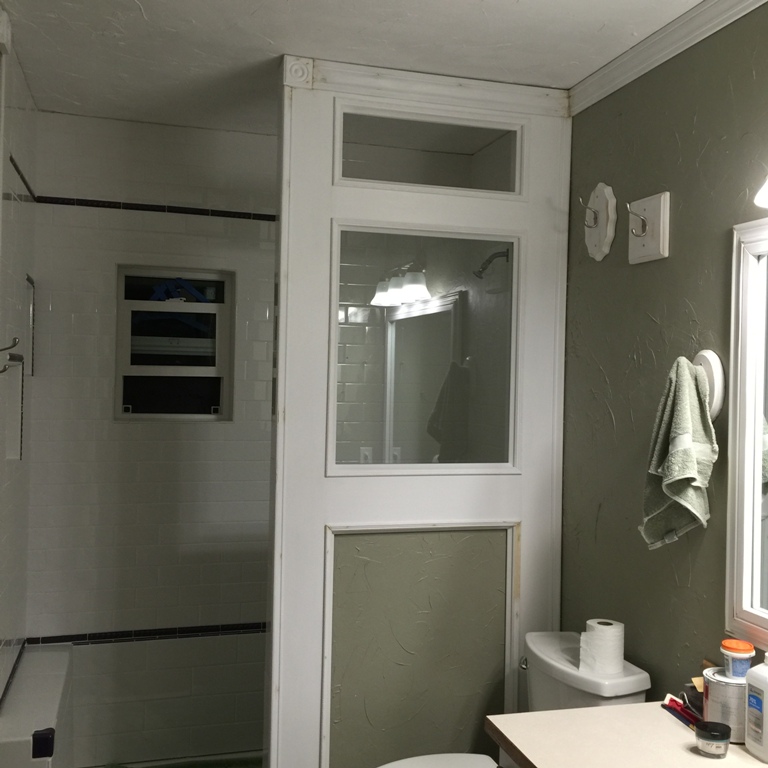
One of the most dramatic finishing touches was to the new wall in the bathroom. The first step was to texture the drywall inset and then paint it green to match the walls in the bathroom.

Textured inset 
Painted inset
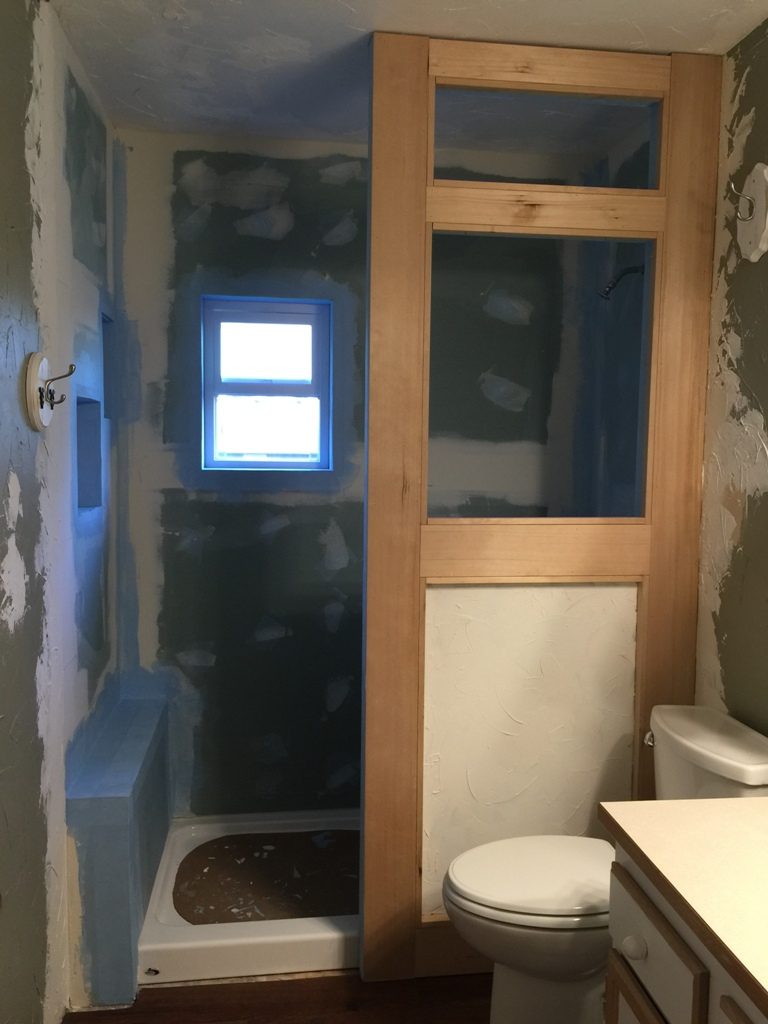
Next up, painting the wood on the new wall. I did LOVE the look of the wood but really thought it would be better to paint it in order to protect it from water and steam from the shower. I chose to paint it white like the rest of the patinted woodwork in the bathroom. Two coats of Behr interior paint was applied using both a 1″ angled brush and a painting pad. I find that painting pads do not leave brush strokes and they are my go-to for almost all my painting projects.

First coat 
Second coat
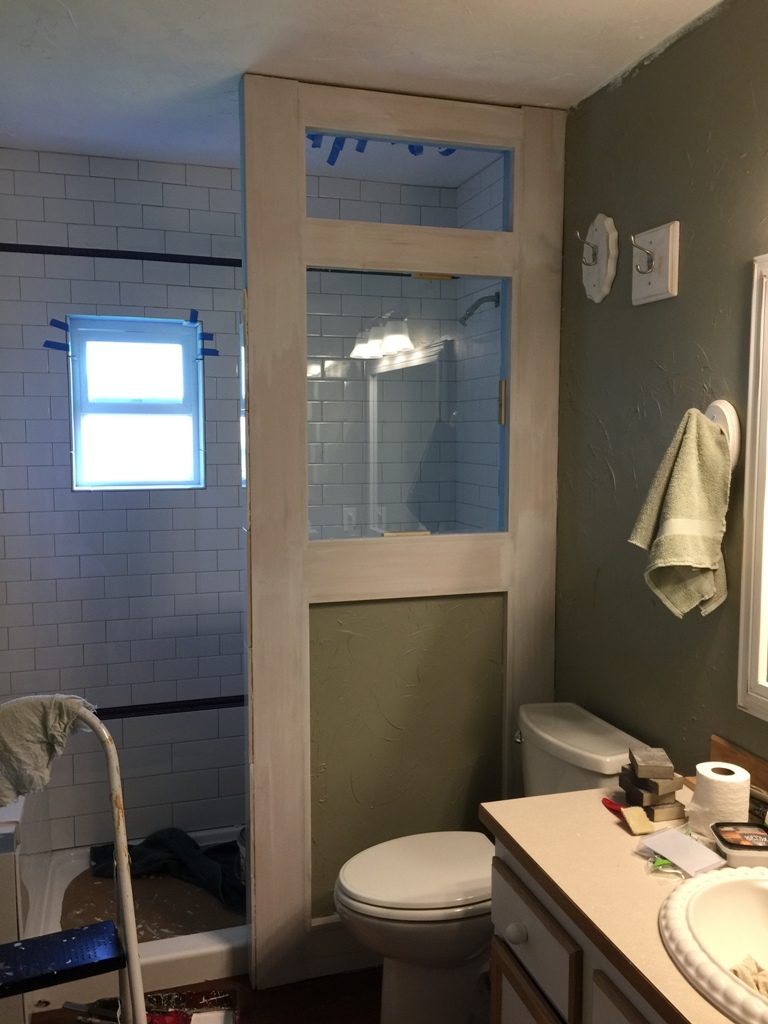
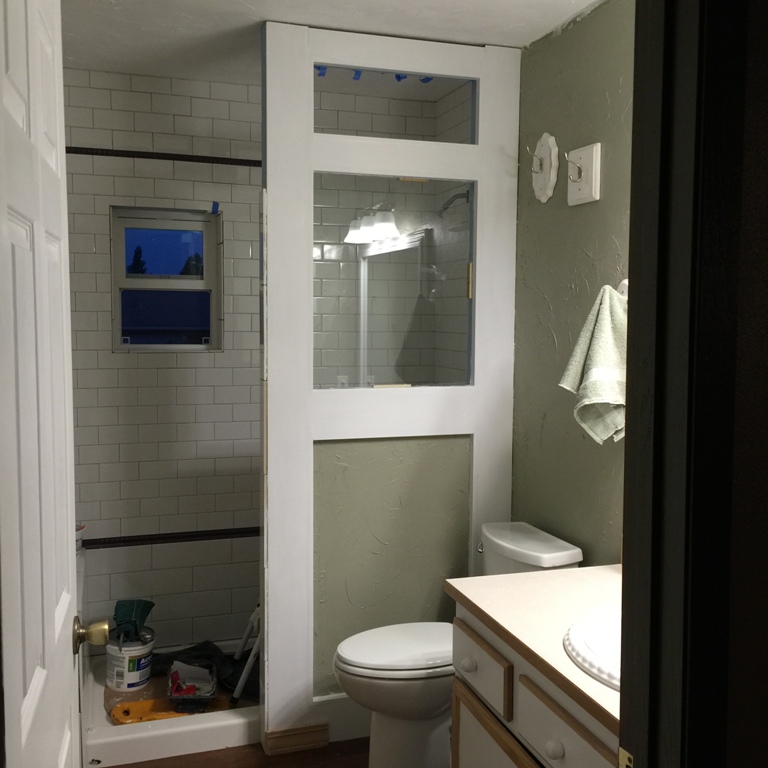
Once the paint was dry, it was time to give the wall a finished look by adding trim to the openings: the vent at the top, and edges around the glass inset and the drywall. For this part of the project, I used two different styles of trim to create a unique look. Since the trim was fairly lightweight, I only needed to use a little Elmer’s wood glue to install it. Painters tape was enough to hold the trim in place while the glue dried. After all the trim was installed, I used wood putty to fill any gaps and followed up with a light sanding. Two coats of white paint finished the project.

First layer of trim 
Second layer of trim 
Trim installed 
Wood putty added 
Trim installed and puttied 
Closeup view of the 2 trim styles 
Top of wall
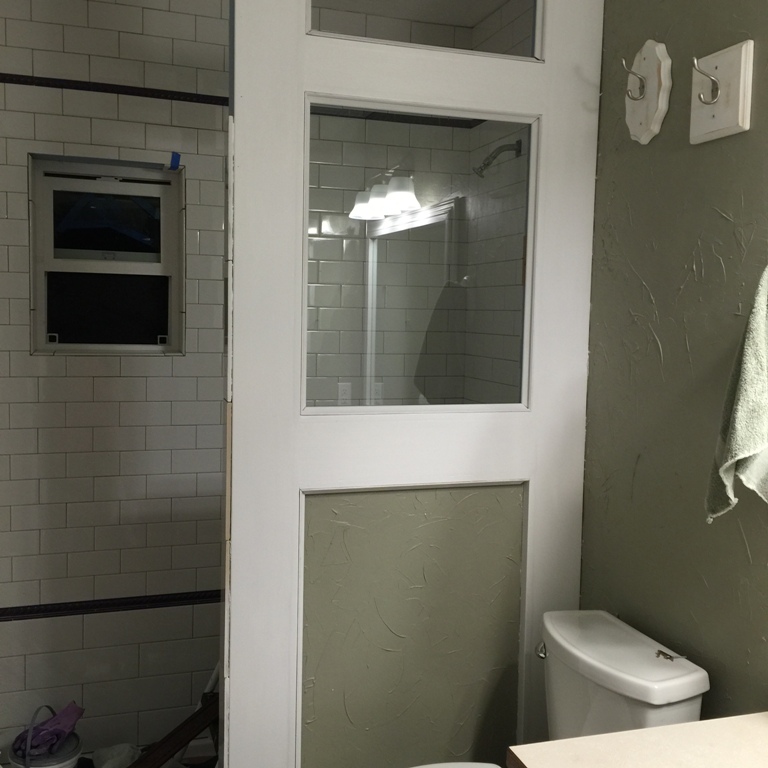

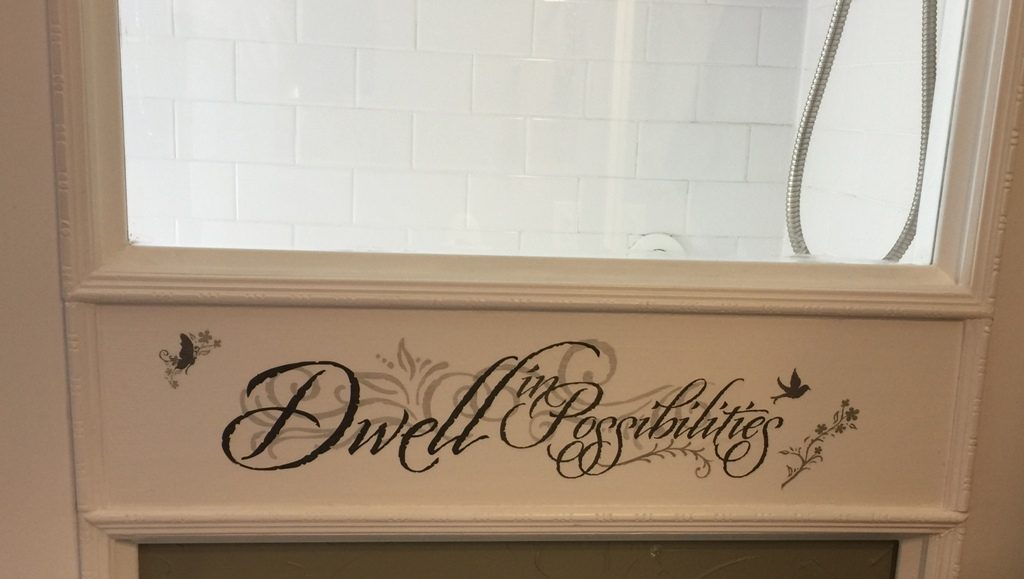
Added a little inspirational window cling to the wall
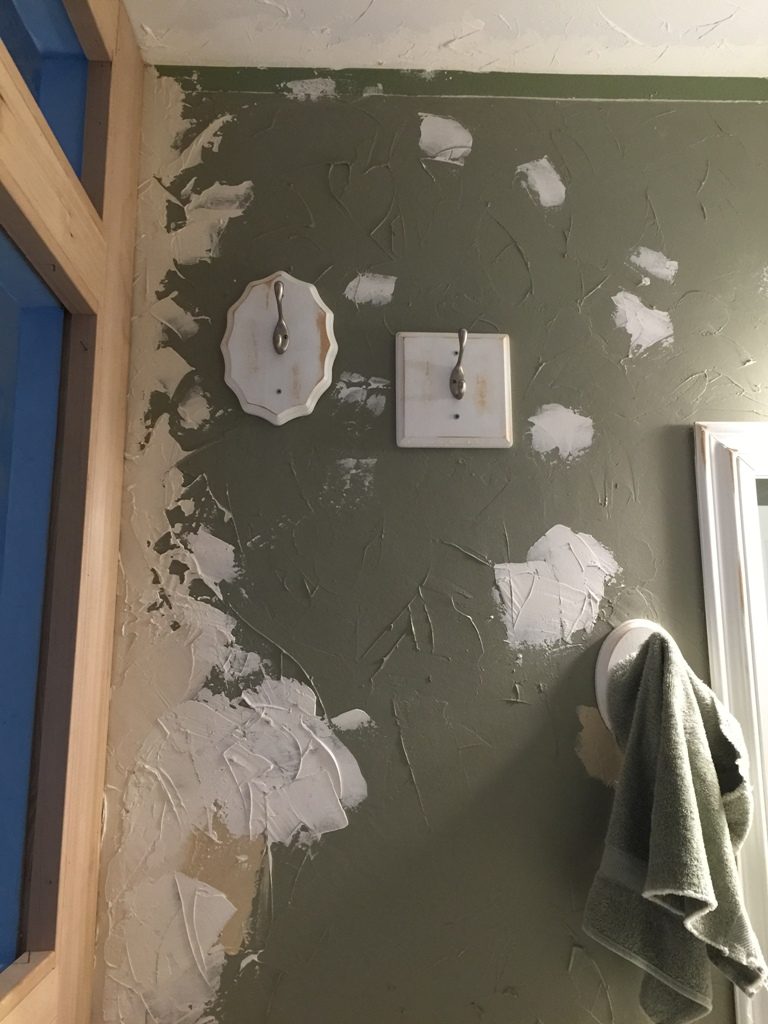
My Contractor, James, had repaired the texture that was damaged from the removal of the old bathtub and the building of the new wall. His application of texture is a bit different than mine. While I could have sanded his texturing down before working to blend it with my style, I didn’t want the mess so I took some new texture and blended his style with mine. This step didn’t take a lot of time but helped to make it look like it hadn’t needed repairing.

Repairing texture 
New texture painted

This Master Bath Renovation took a few weeks to complete. Since I work full time, a lot of the tile work and finishing touches were done in the evening and on the weekends. With the wet saw
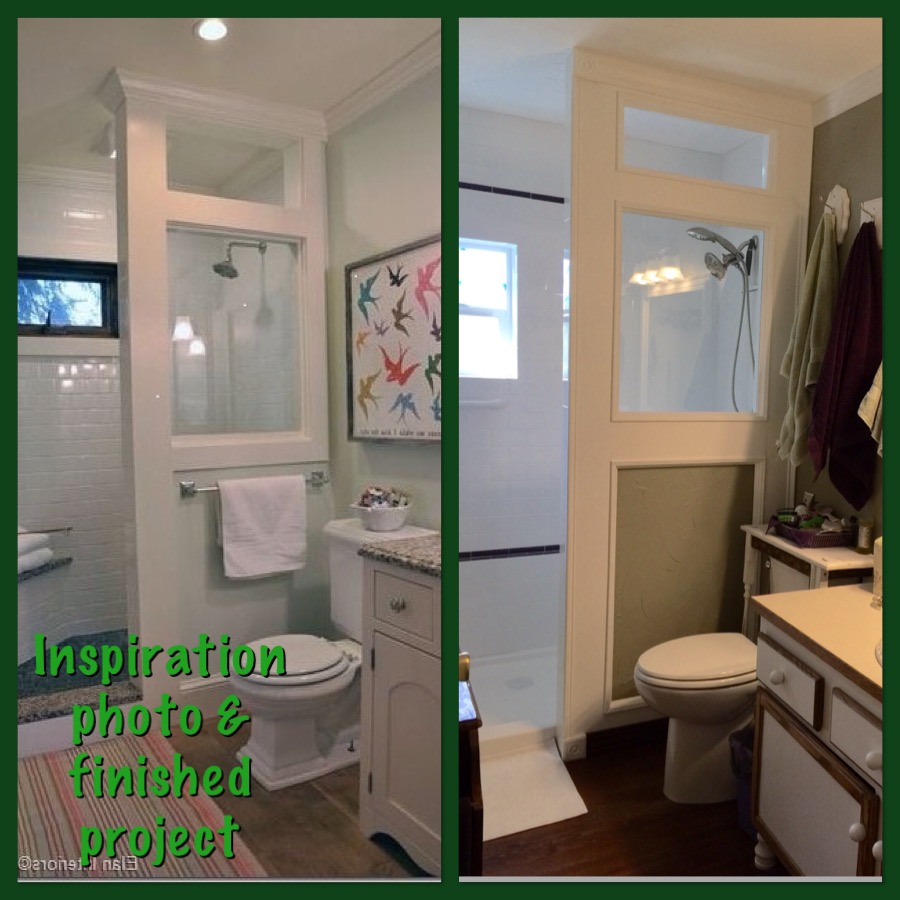
Big thanks to Charity for the inspiration for this renovation!
If you enjoyed reading about this renovation, I would love it so much if you’d share it with your peeps on your social media!


4 Comments
Loft Boarding
Hi there,
This is a great post on adding finishing touches to DIY projects! I especially like the way you’ve included both indoor and outdoor projects, as well as tips on painting, staining, and repairing different materials.
One question I have is about the section on creating a mudroom. Could you elaborate on some of the must-have items for a functional mudroom?
I’m also curious to know what your favorite finishing touch is for a DIY project.
Thanks for the inspiration!
Jeanne
Thank you! I feel that must-have items for a functional mudroom are places to hang things – coats, hats, backpacks, scarves. That can be as simple as hooks on the wall or more involved with a cabinet. Our mud room has both a cabinet to hang jackets and hooks for other items. Another item you’ll want to have is a place to sit down while you either put on or take off shoes/boots. I also like to have baskets to hold gloves and scarves.
As far as my favorite finishing touch to an indoor DIY project, it would be trim. It is the perfect finishing touch!
Thanks for asking 🙂
Sandy
Wow! You did an amazing job. I’m really impressed that you would do that tile all by your onesies, lol. My husband and I are a team for all of our never ending projects and I don’t think I would go it alone for really big jobs (like tiling a shower 🙂 He and I are doing a similar project right now and were also inspired by the same inspiration picture you used, so it was a bonus to come across your page to see your process. We were hoping you might share what size shower pan you used in your project. Additionally, I was wondering if you find it gets cold when showering without a shower door or curtain. Thank you for any response you have time for. Again, Kudos on an amazing job!
Jeanne
Thanks! It was an intense project for sure, but we love it so much! It is cooler in the shower than it was with a double shower curtain, but not cold.
I stayed with the footprint of the bathtub so the shower pan is 30″ x 60″. I would have loved a wider one but we couldn’t enlarge the width due to how close the toilet sits.
Good luck with your project!