

Let’s Add a Soffit!
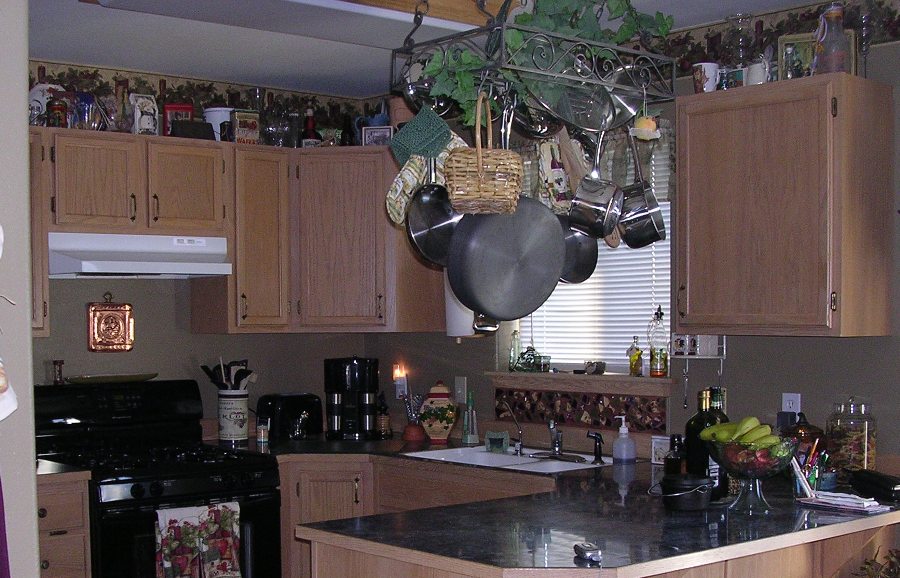
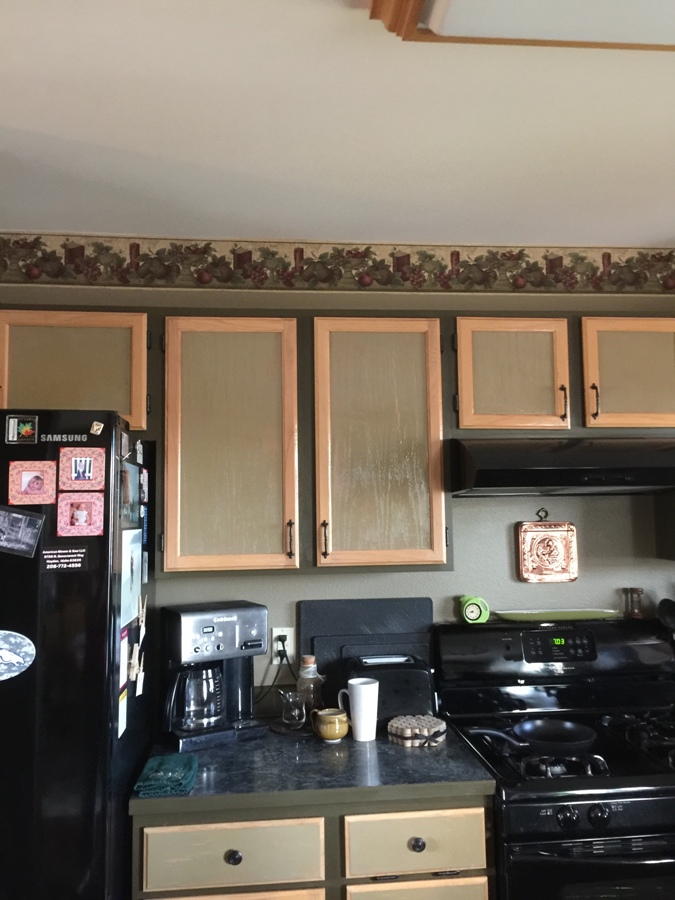
If you’ve read my post about painting the kitchen cabinets, you won’t be surprised to hear that I found a new project for the kitchen. As you can see in that post, the kitchen cabinets did not go all the way to the ceiling, nor was there a drywall soffit above them. I used that space on top of the cabinets to display all sorts of goodies, or tchotchkes, if you wish. Even though I enjoyed looking at them, I always dreaded having to clean all these trinkets . The process to clean them was tedious – climb onto the countertop, take a few items one at a time, place them on the countertop, step off the countertop to the floor, wash & dry each piece, climb back onto the countertop and clean the top of the cabinet before placing each item back in it’s resting place. Since there were many items, this took quite a bit of time and therefore, I procrastinated until the glass pieces looked opaque with dust and grime.
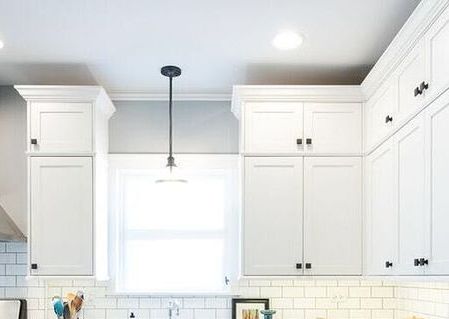
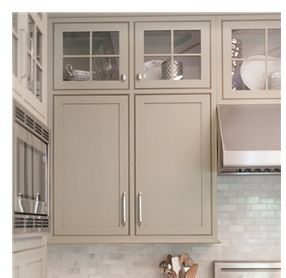
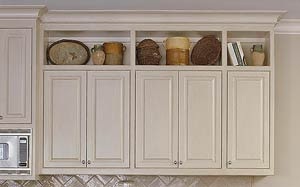
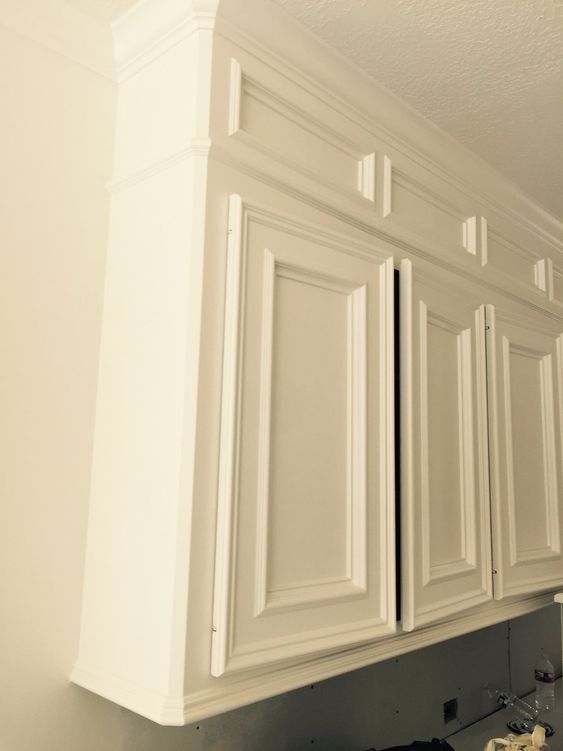
When it was time to, yet again, start the process of cleaning, I decided it was also time for a change. I’m not a minimalist, (although I plan to start reducing the amount of stuff in the house) so removing all these goodies and just leaving the space above the cabinet ‘goodie-free’ was not an option for me. I began doing some research to see what I might be able to do with the space. Surprisingly, there were many great ideas! I found some tutorials through Pinterest and they all involved closing in the area in some fashion. I liked several of the ideas: open cubbies, cubbies with glass doors, adding additional cabinets, framing in the area and building a facia/soffit with wood. Below are pictures of some of the options for closing in this space courtesy of Pinterest.

Building additional cabinets 
Adding glass doors 
Adding cubbie space 
Building a wood soffit
After reviewing the options, I felt that building additional cabinets or adding glass doors was much more involved that I wanted both physically and financially and besides, they were beyond my current skill level. Also,
building cubbies would lead me to keep all the goodies up there and only slightly reduce the need to clean them as often. I decided on building a faux soffit with wood. (Tutorial is below this post)
Supplies Used
- Nail gun or hammer & finishing nails
- Miter saw
- Sanding block or sandpaper
- Paintable Caulk
- Painters tape
- Paint or stain & polyurethane
- Paint brush
- Plywood or 1″ x 12″ boards
- Decorative trim
- Ladder
Preparing the space
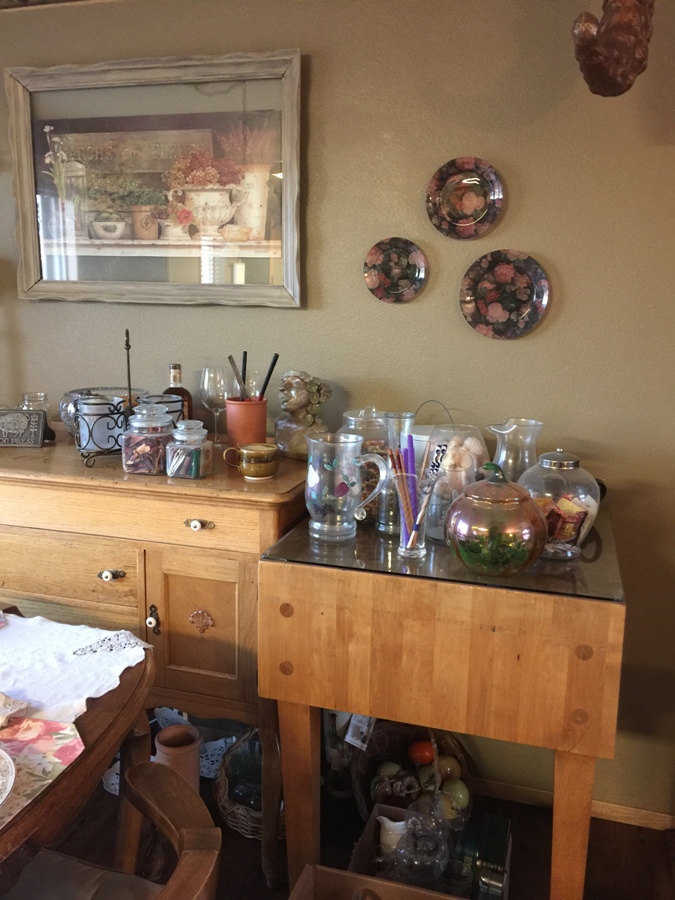
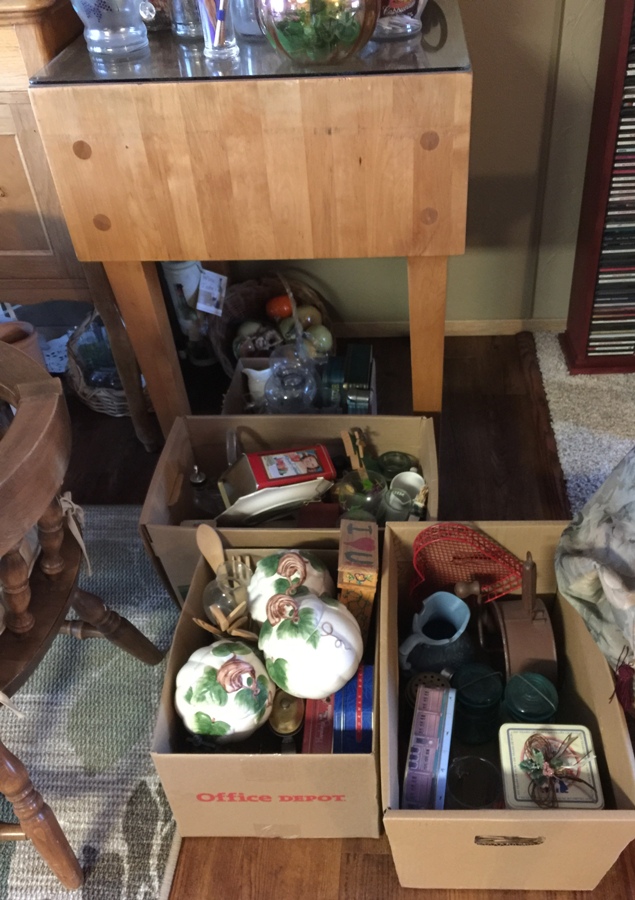
Once that decision had been made, it was time to remove all the tchotchkes and decide what to do with them. I did manage to move several of them out of the house and into the thrift shop where someone else can buy them for their own pleasure. A few of the goodies were moved to other locations in the house and the remaining ones were stored until I decide if I am ready to also move those along to a new home. Below are the goodies before their new locations were chosen.

Tchotchkes 
Tchotchkes
Cabinets with tchotchkes
After removing all the tchotchkes, the next step in the project was to decide what materials would be needed to create the faux soffit. I headed to Home Depot to review the choices. Since the new structure would be for ‘looks only’ and not load bearing in any way, I decided that 1/4″ plywood and some decorative trim would work well. The space between the top of these cabinets and the ceiling measures 12″. Before heading to Home Depot, I took the measurements for the length of the main set of cabinets as well as the single cabinet to the right of the sink. Home Depot has been a great resource for me in cutting trim but I wasn’t sure they would cut the 4′ by 8′ sheet of plywood. Much to my surprise and delight, they did just that!! I ended up with 7 pieces of 11 3/4″ pieces in the lengths I needed! There was just one piece where I had to sheer off just a tad using my miter saw when I got home. The rest of the plywood pieces were a perfect fit!

Tchotchkes removed
Tchotchkes removed
Tchotchkes removed
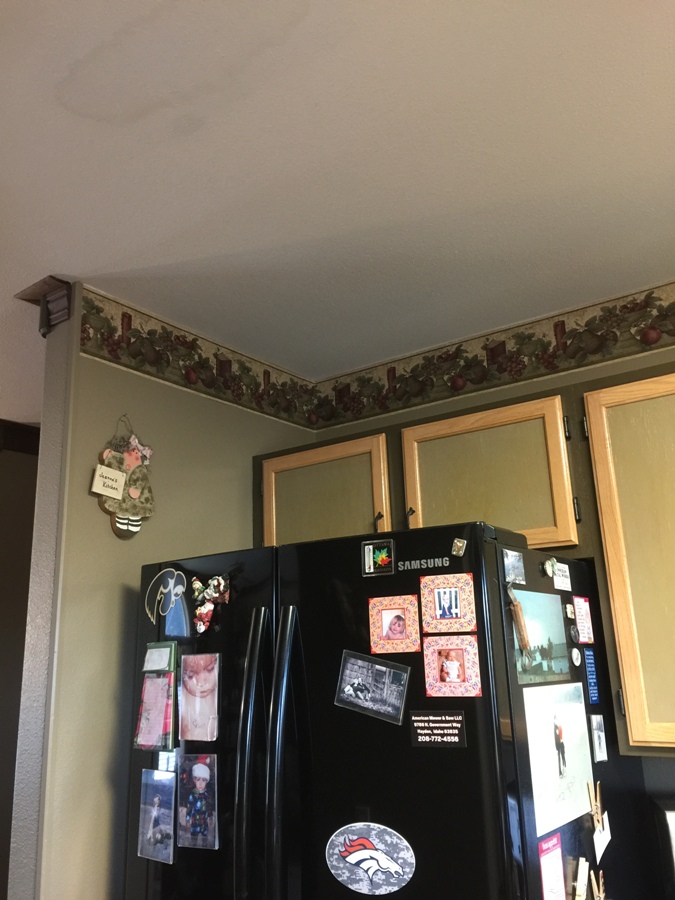
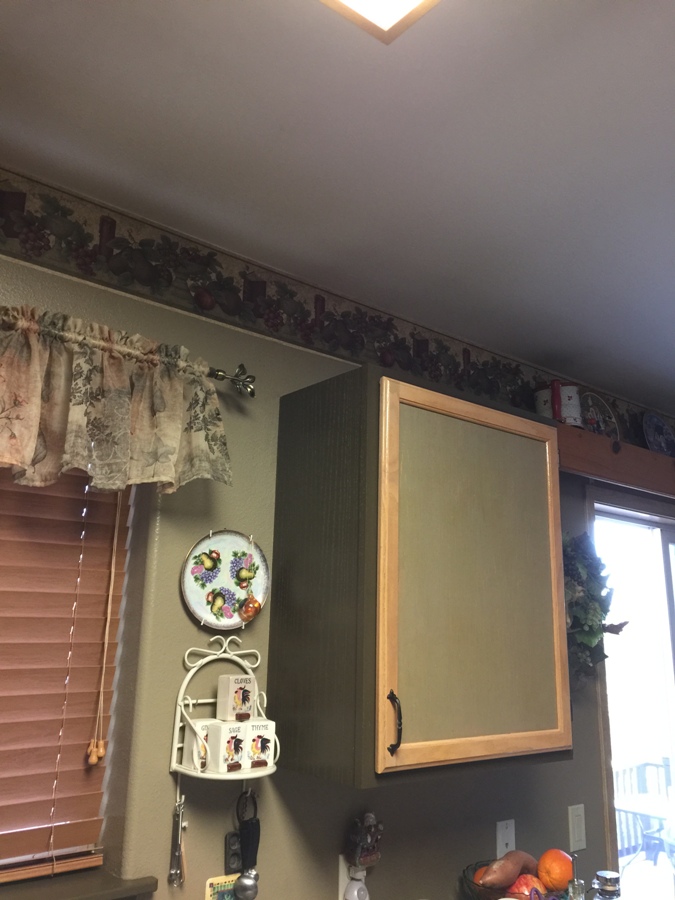
In addition to the plywood, I bought decorative trim to help the new soffit blend with the top of the cabinets and to add designer feel to the new structure. I cut all pieces to size using my compound miter saw and then painted all the pieces prior to the installation process. Once the trim was installed, I did some touch up painting as needed. I decided not to remove the wallpaper border. The way the soffit was constructed, it can be easily removed in the future, if I want, and the border will still be intact.
Installation
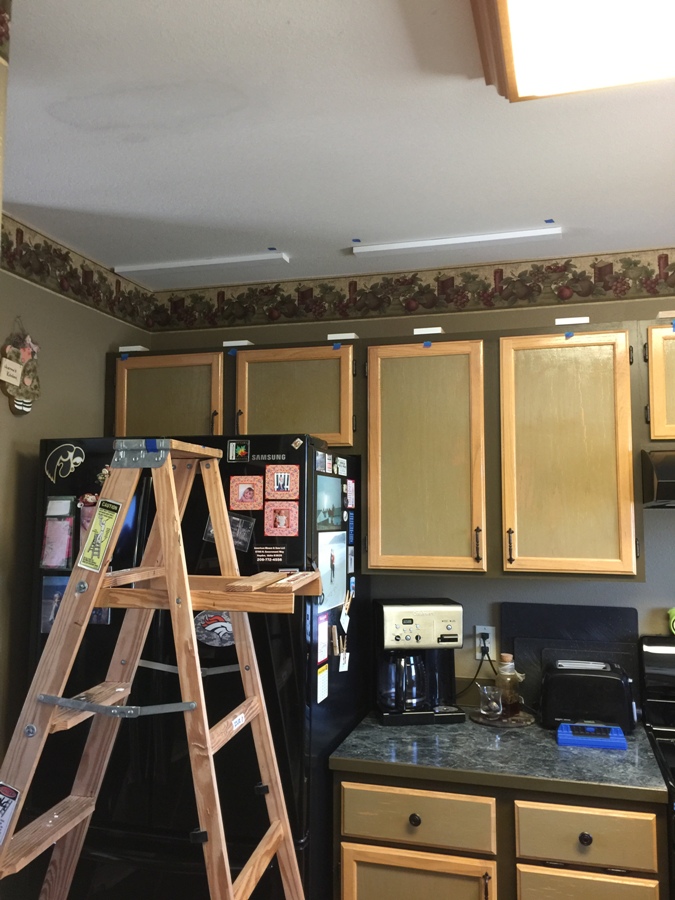
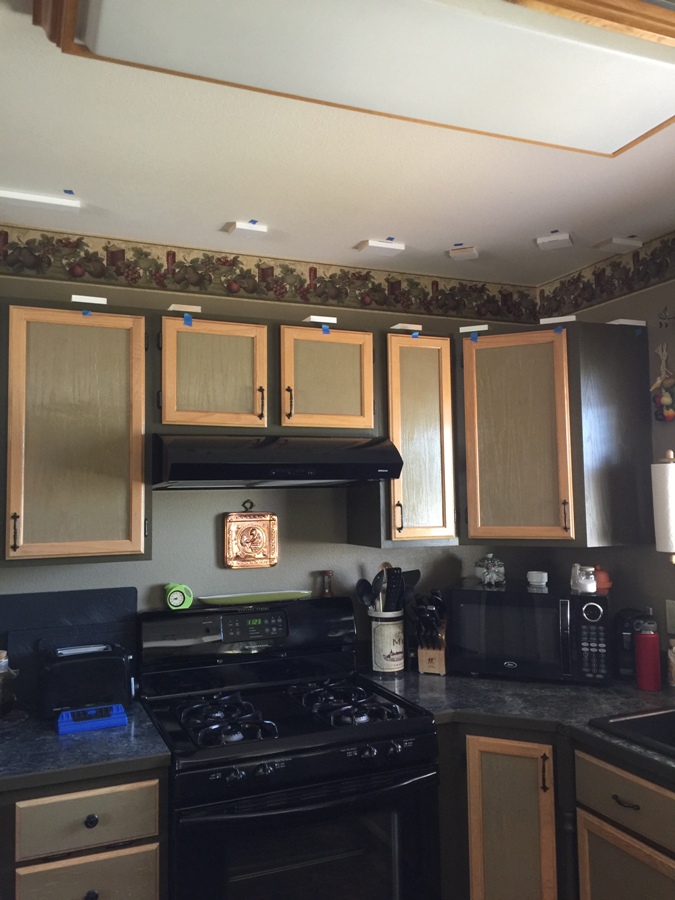
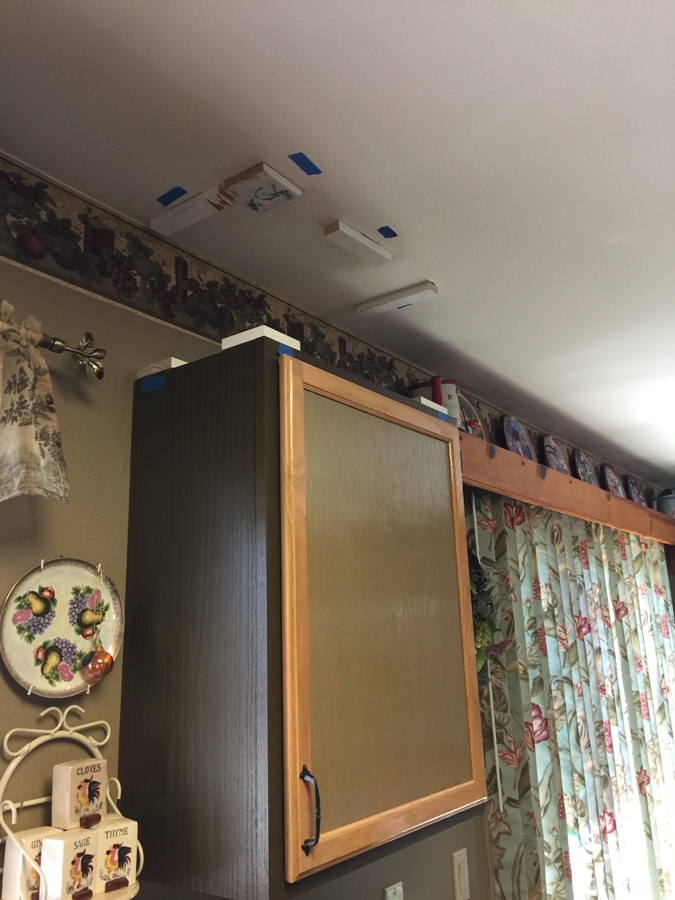
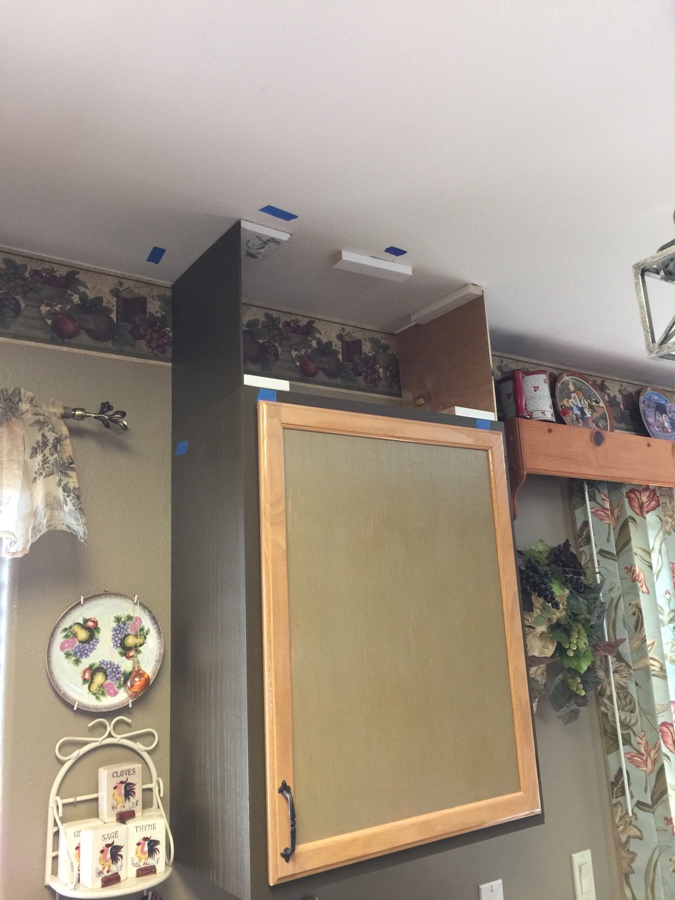
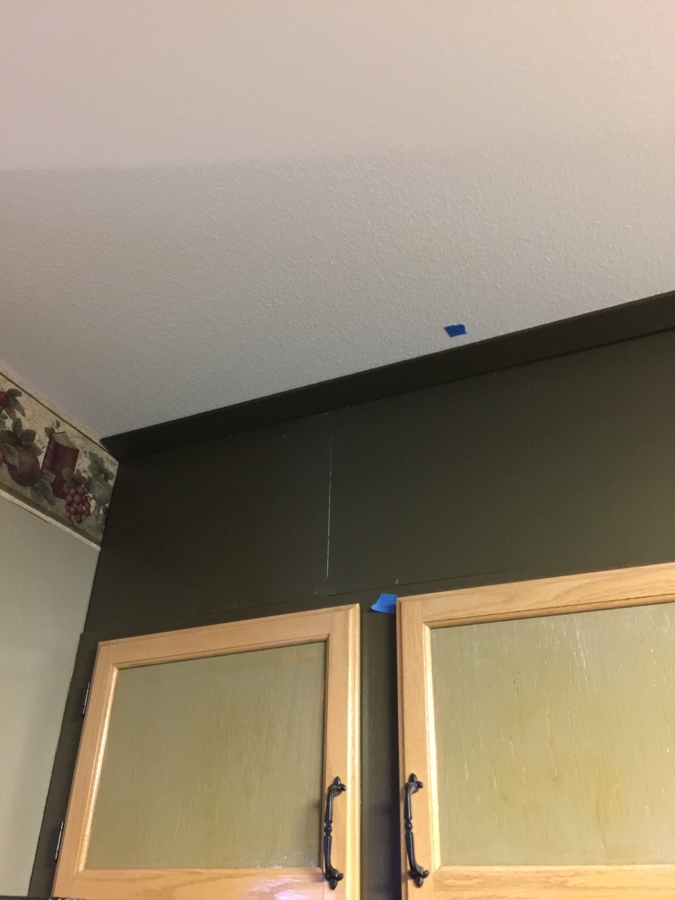
Installing the soffit was so much easier than expected! Before beginning the project, I had reviewed a few tutorials via Pinterest and You Tube to see how other people had installed their soffit wood. To secure the plywood at the top of the cabinets, I used my stud finder to locate studs in the ceiling then my nail gun to attach 1″ x 4″ blocks of wood in various lengths that I had left over from other projects. Since these blocks would be covered, it didn’t matter that they had left over paint or holes in them. As you can see in the pictures, I also attached the blocks to the top of the cabinets. Having a top and bottom block provide a framework to be used when nailing the plywood to the blocks. Prior to installing the plywood, I used painters tape to mark the location of each of the blocks, making it easy to find them when securing the plywood with the nail gun.

Frame work installed 
Framework installed 
Ceiling view of framework
Now that the blocks were installed, it was time to attach the plywood. The plywood sheets are very light and easy to handle. I did sand the edges to prevent getting any splinters while handling the wood. I started with the single cabinet since those pieces were small and I could get a feel for just how the attachment process would go. I set the first piece in place, used the nail gun and, voila!, success! Simple and quick! Once the three pieces of plywood were installed on the single cabinet, I moved onto adding the trim for the same reason – to gauge how that part of the project would go.
I was delighted with how easy it was to install the plywood and quickly moved on to installing the rest of the plywood. The main section of the cabinets exceeds the 8′ length of the plywood so I had about a foot and a 1/2 where I needed to use a separate piece.

Installing the plywood 
Plywood installed small cabinet 
Adding the trim took longer than installing the plywood because there are more measurements and cuts involved. I started with the trim that was going to cover the transition between the top of the cabinet and the new soffit. I had chosen a 1 1/4″ piece to use for this space. Leaving the painters tape in place made it easy for me to locate the wood blocks that were nailed to the top of the cabinets; I nailed the trim to those. I then moved onto the ceiling and installed that piece of trim. I used a 2″ piece of baseboard molding on the ceiling. Once that was installed, I added trim to the top of the plywood, using 3 1/2″ baseboard in hemlock. It is the same trim that I’ve used in the rest of the house. I also attached 4″ x 4″ decorative blocks where the cabinets meet the walls – also to match the style in other areas of our house. To finish the trim work, I used corner molding that I simply glued in place with Elmers Wood Glue and securing it with painters tape while the glue dried. To cover the raw edge of the plywood where it met the wall, I used quarter round molding.
Finishing touches
After all the trim was installed and the glue was dry, I used caulk to fill in any gaps. When that was dry, I touched up the paint.

Caulked gaps 
Caulked gaps 
1 1/2′ section added 
Caulked gap 
Caulked gap

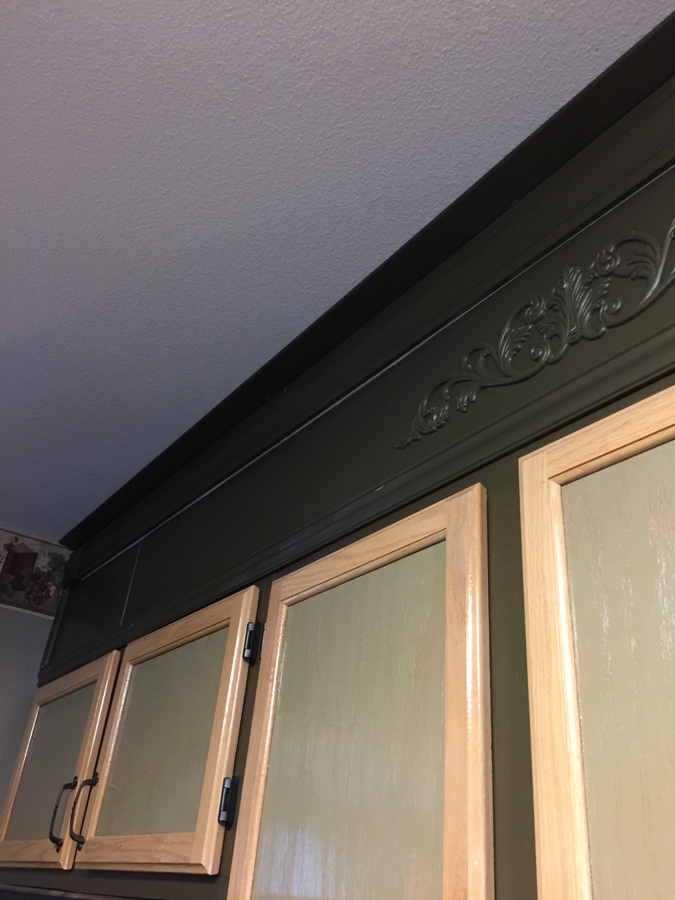
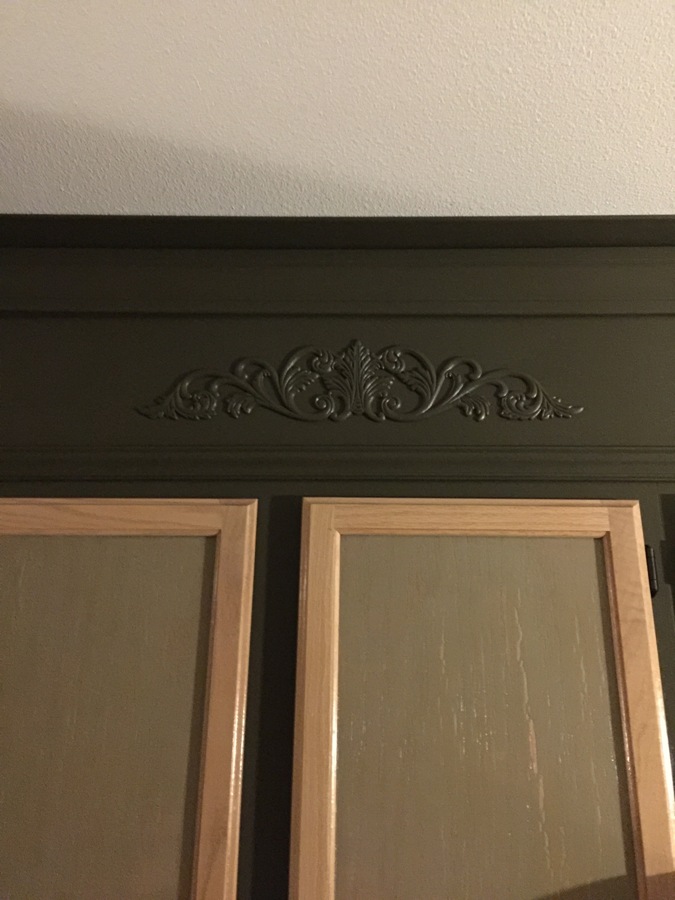
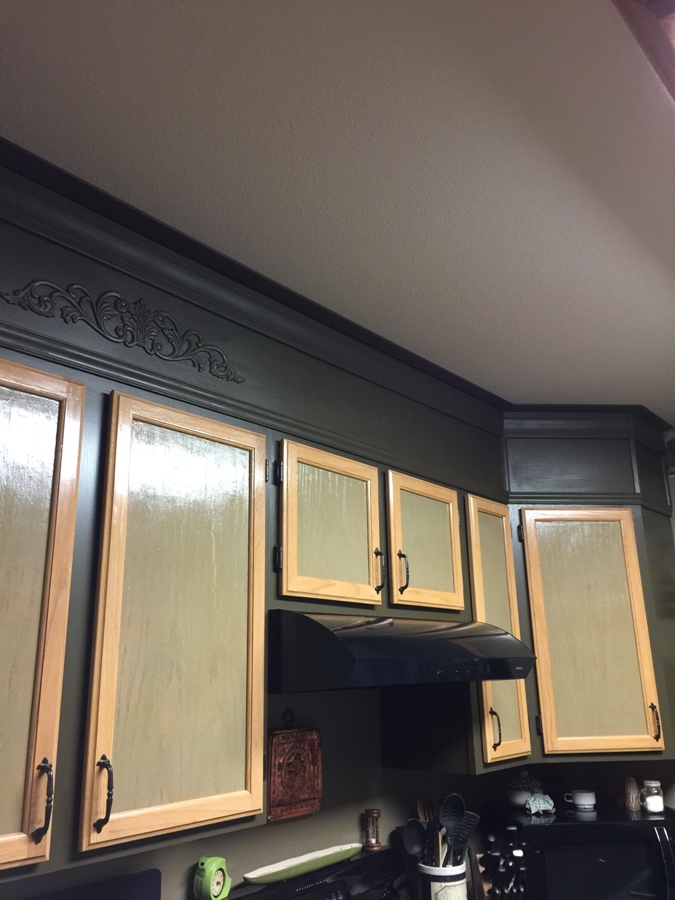
To hide the seam between the long and short pieces of plywood above the main section of the cabinets, I used a flat piece of trim and added a 2nd one 1 1/2 foot from the opposite side of the main cabinets to make it look like it was a planned décor decision. When the soffit was complete and I stood back to view the results, it looked a bit plain to me. I went back to Home Depot and purchased two wood decals. When I got home, I painted them and once dry, glued one in the center the main cabinet soffit and a smaller one on the single cabinet. I am thrilled with the look!
If you love this project or plan to do it in your kitchen, please scroll down to leave a Comment 🙂

Stencil added 
Stencil added 
Before stencil

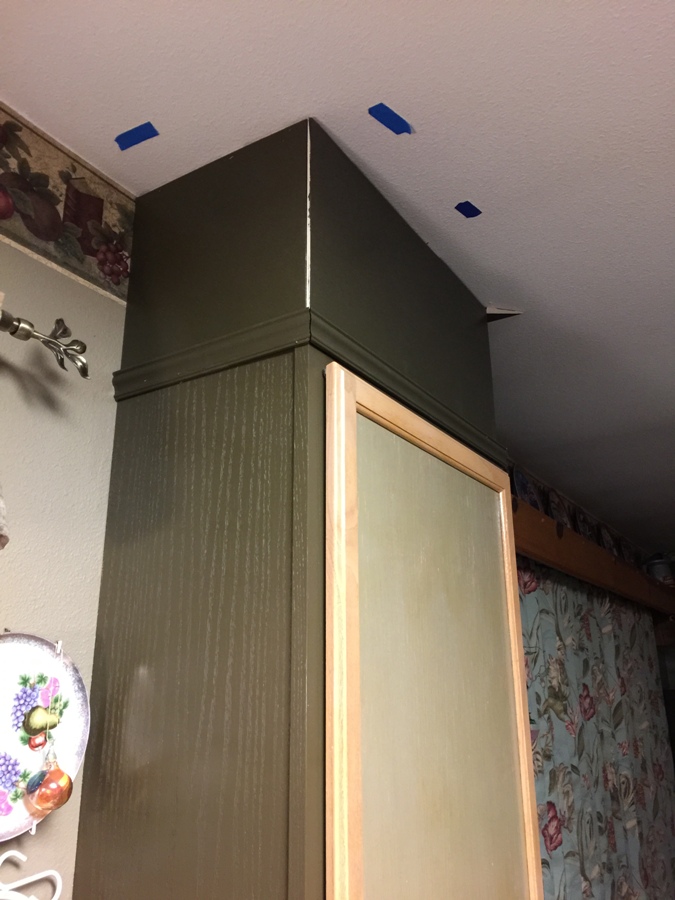
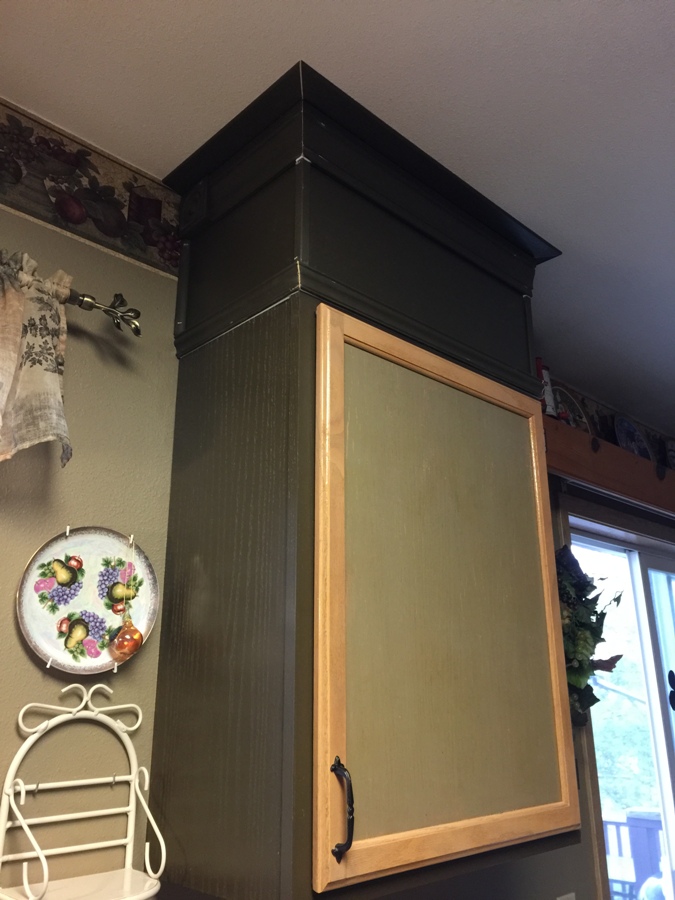
Finished Soffit

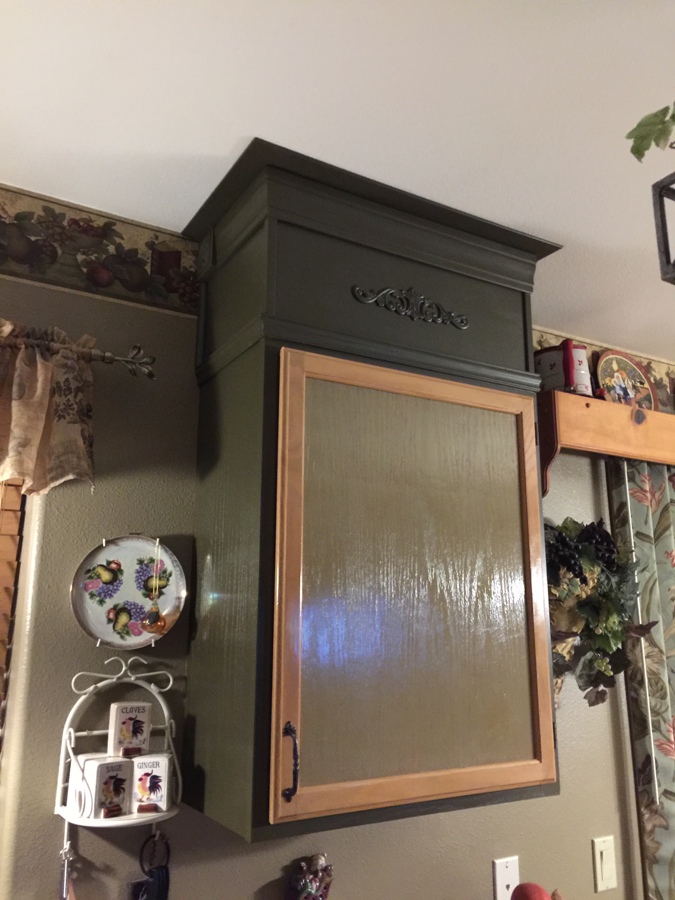
Single cabinet soffit 
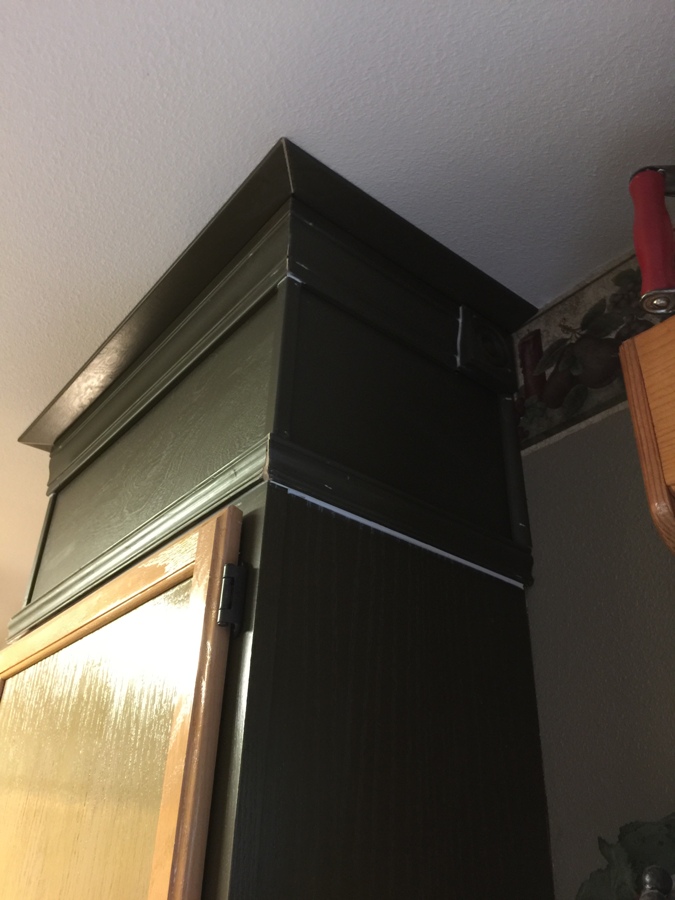
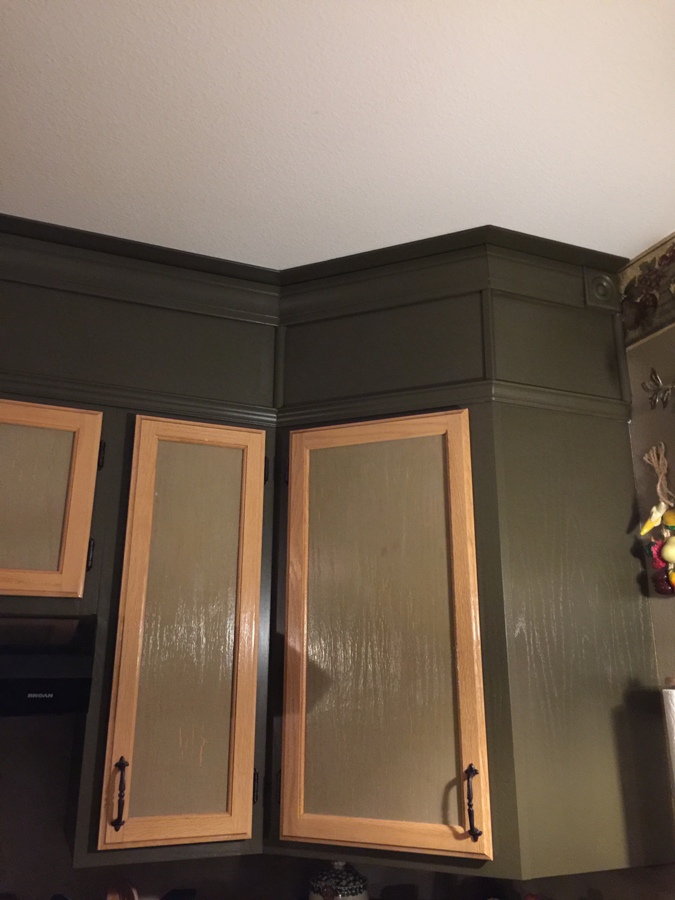
Corner cabinet soffit 
Main soffitt
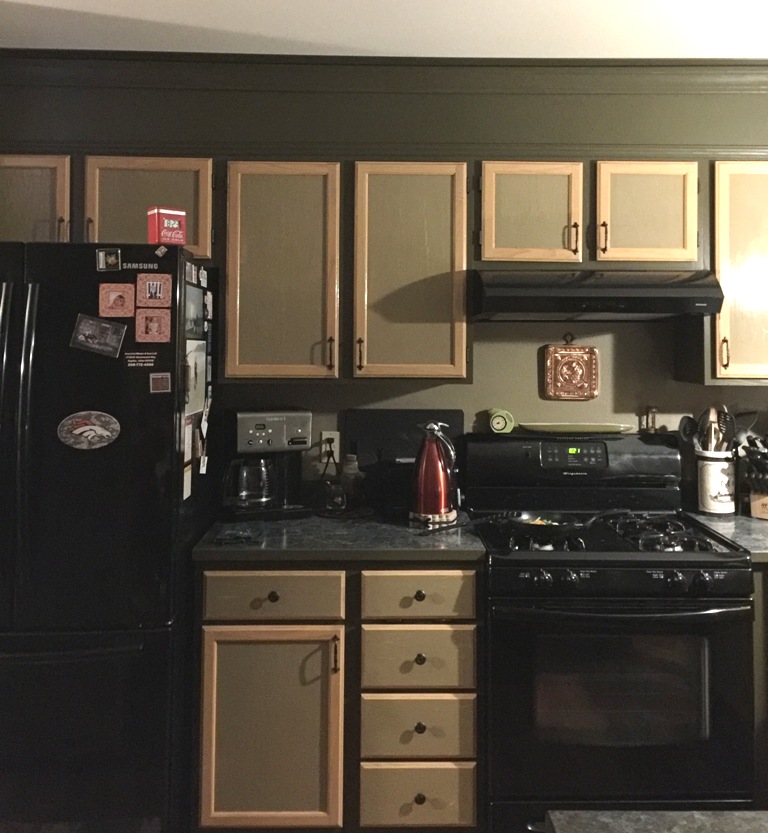
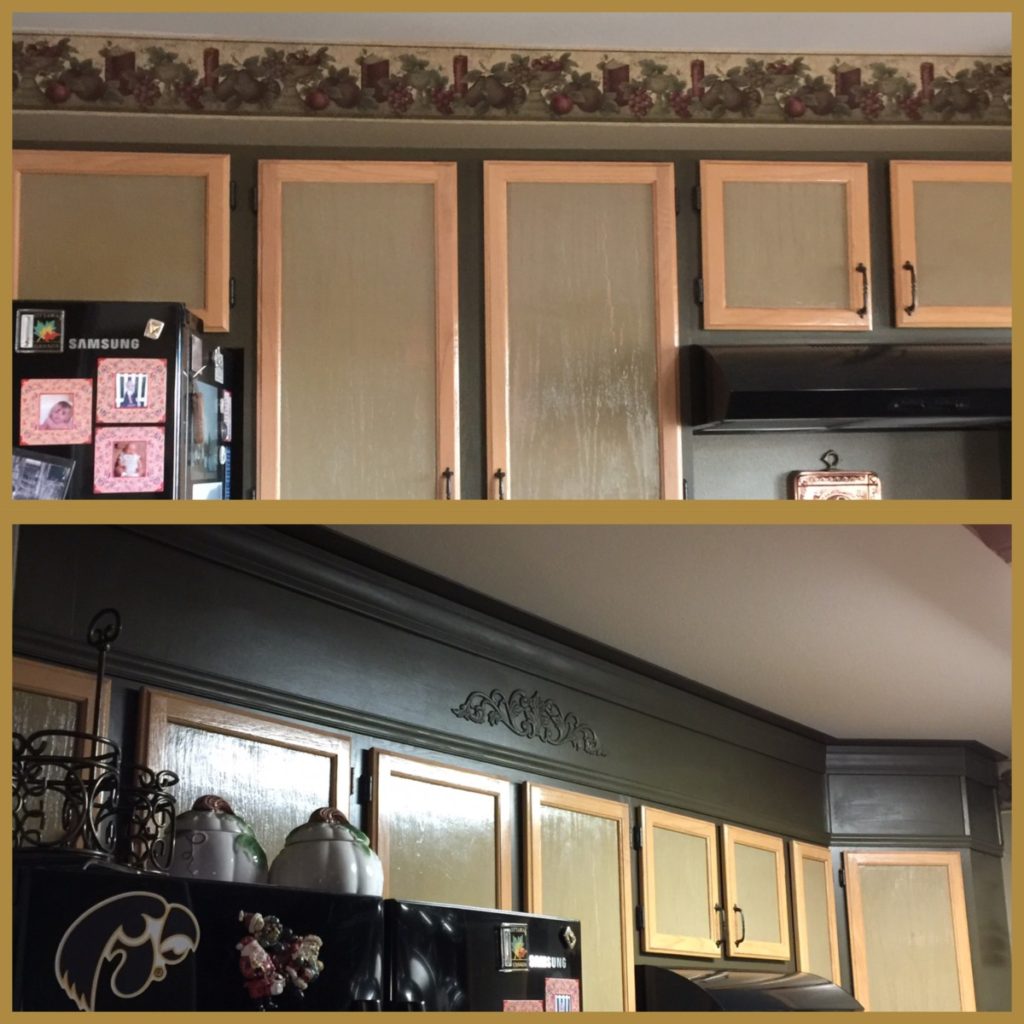
Before and After
Soffit Tutorial
- Paint or stain & finish all wood pieces, allow to dry
- Remove any items sitting on the top of the cabinets
- Clean top of cabinets
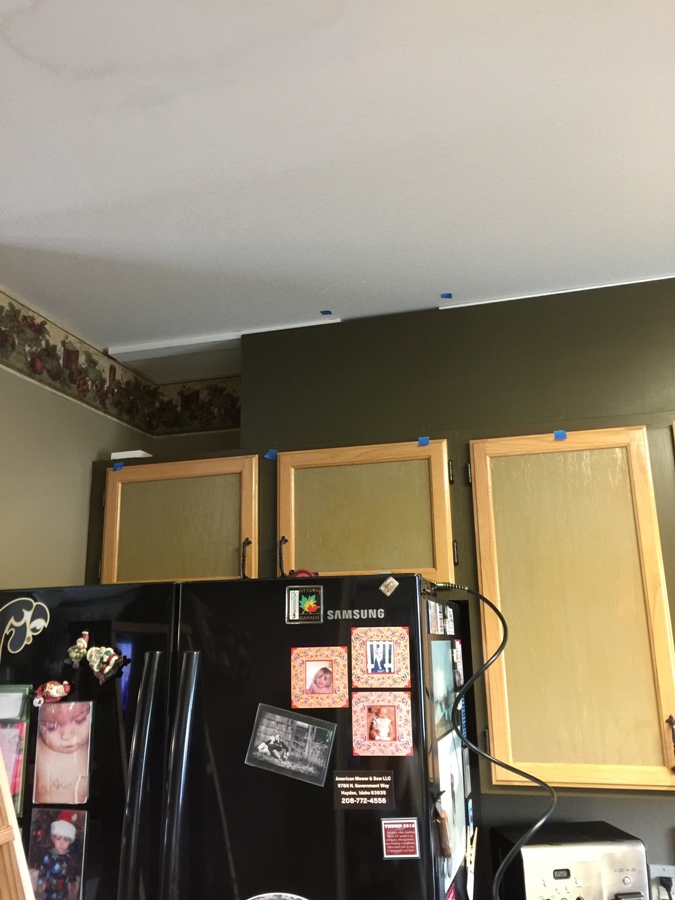
- Using a stud finder, locate ceiling studs and mark with painters tape
- Attach wood blocks to the ceiling where the studs were located and a corresponding blocks to the top of the cabinets with nail gun or hammer & finishing nails
- Using painters tape, mark front of cabinets and ceiling where the blocks are positioned
- Attach plywood sheet or board to the blocks with nail gun or hammer & finishing nails
- Cut decorative trim to fit and attach to top of cabinets, at the top of the plywood or board along the ceiling and along the edge by the wall using nail gun or hammer & finishing nails. Small pieces can be glued with Elmer’s Wood Glue
- Caulk gaps along the trim
- Touch up any needed places with paint or stain
- Congratulations! Enjoy your new cabinets!


This post contains Amazon affiliate links. If you choose to order through these links, it will be at no extra cost to you
I’m excited to share more projects with you as well as tips/tricks/freebies! Just enter your email below to become one of my Blog Peeps!


2 Comments
Rose M Huey
Thank you for all of your help.
Jeanne
You’re welcome!