

Let’s Paint the Inside of the Storage Shed!
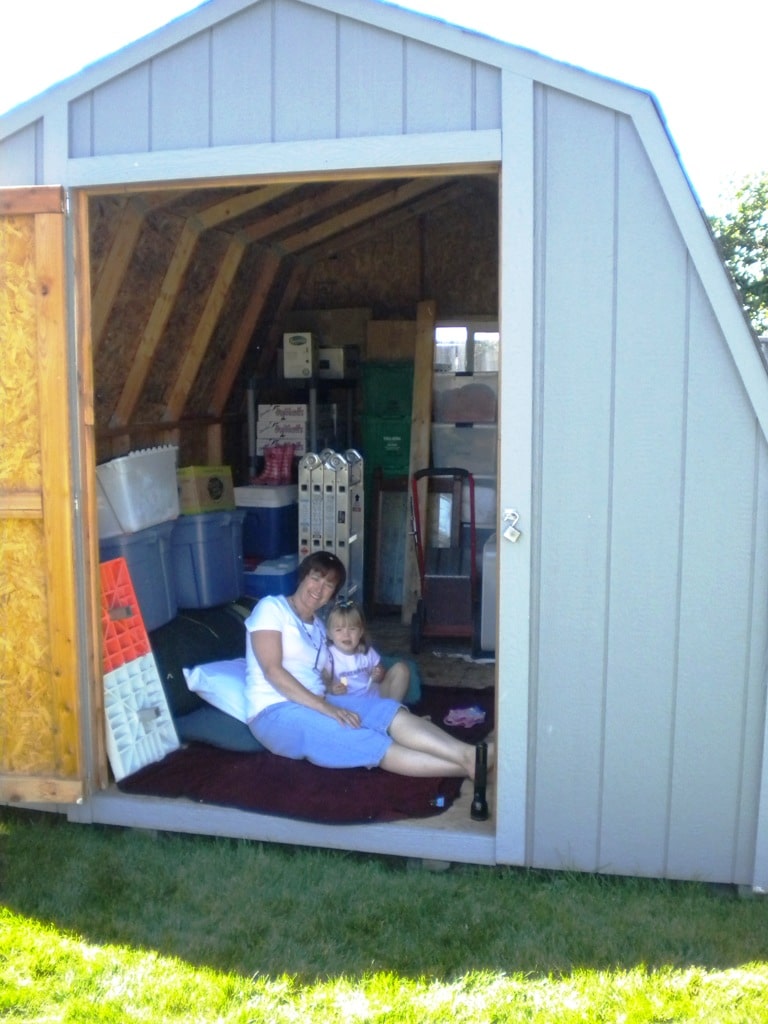
We have a 10 x 12′ storage shed in our backyard. We had it built several years ago and use it to store supplies from when hubby ran softball tournaments, Christmas decorations, outdoor decor, and some misc items. Over the years, I’ve done a little organizing but this year, I decided we needed to completely empty it and get rid of things we no longer need. While we had it empty, I thought it might be fun to paint the inside white! I had just painted the only dry-walled wall in our garage white, so I was in the mood to do more painting.
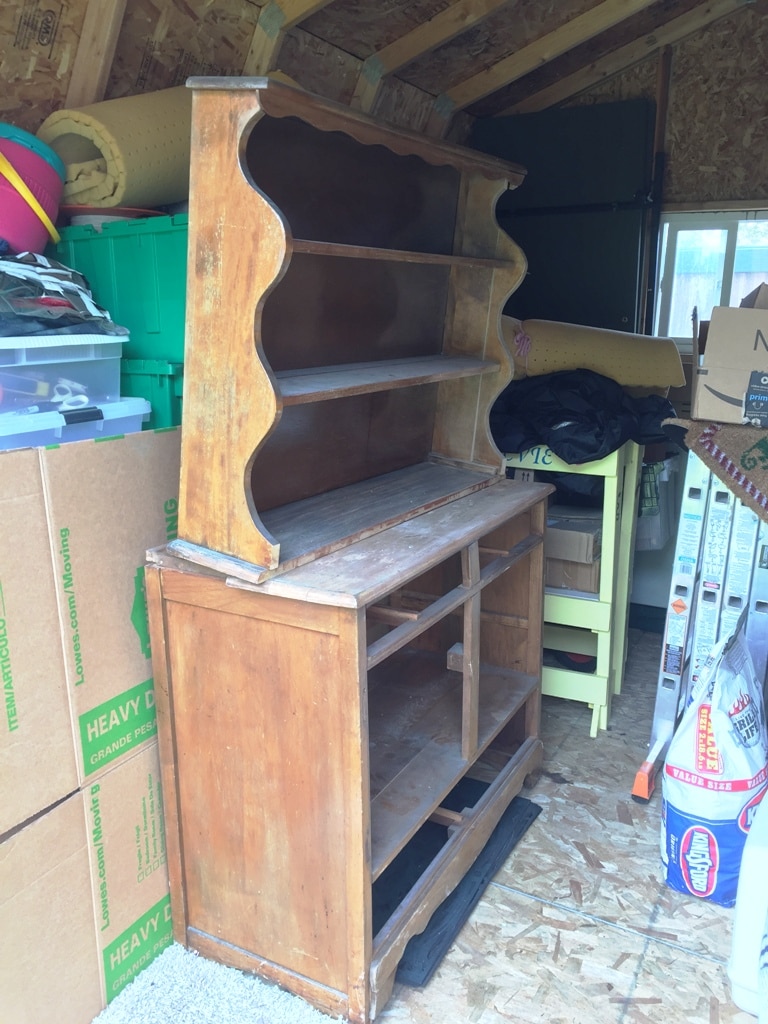
So much stuff!


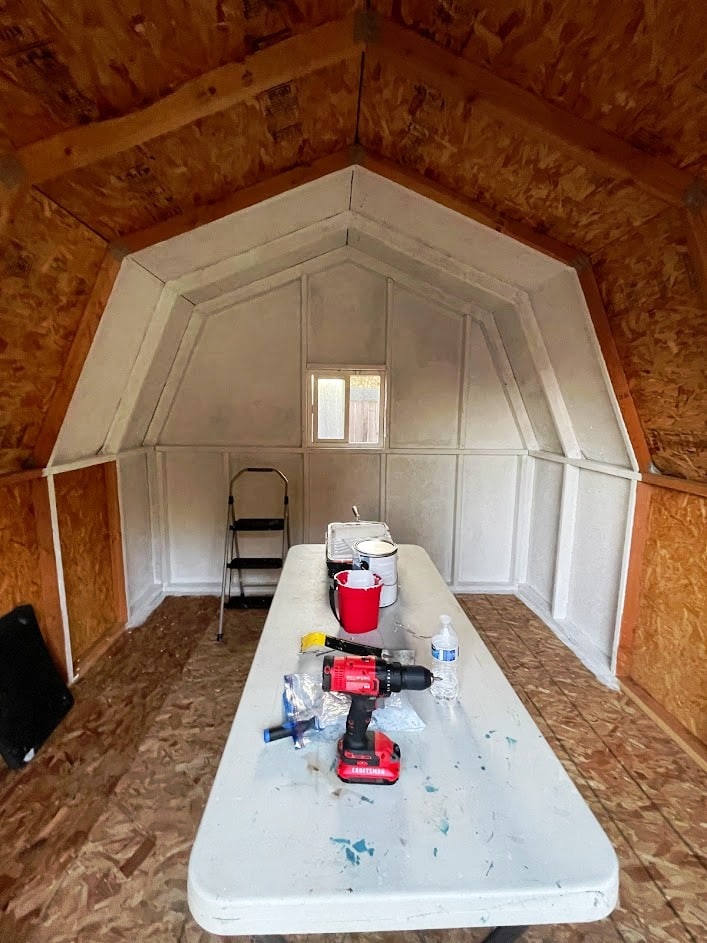
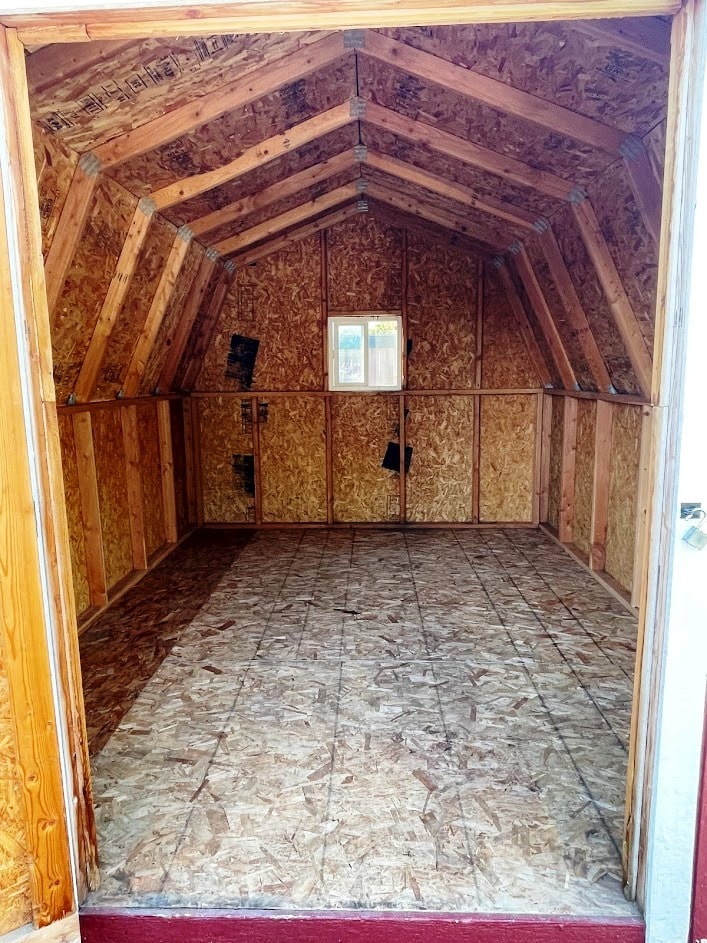
Shed before
This is not the first time I have painted the shed but it is the first time I thought about painting the interior. With all of our stuff out on the grass and the shed empty, it was the perfect time to add some paint. I thought the white paint would help brighten it as well as add protection to the wood, although I was surprised at how well the plywood had held up all these years anyway! The wood walls and ceiling looked NEW! The floor was a bit worn.


Supplies Used
- 3 gallons of white semi-gloss water-based interior/exterior paint
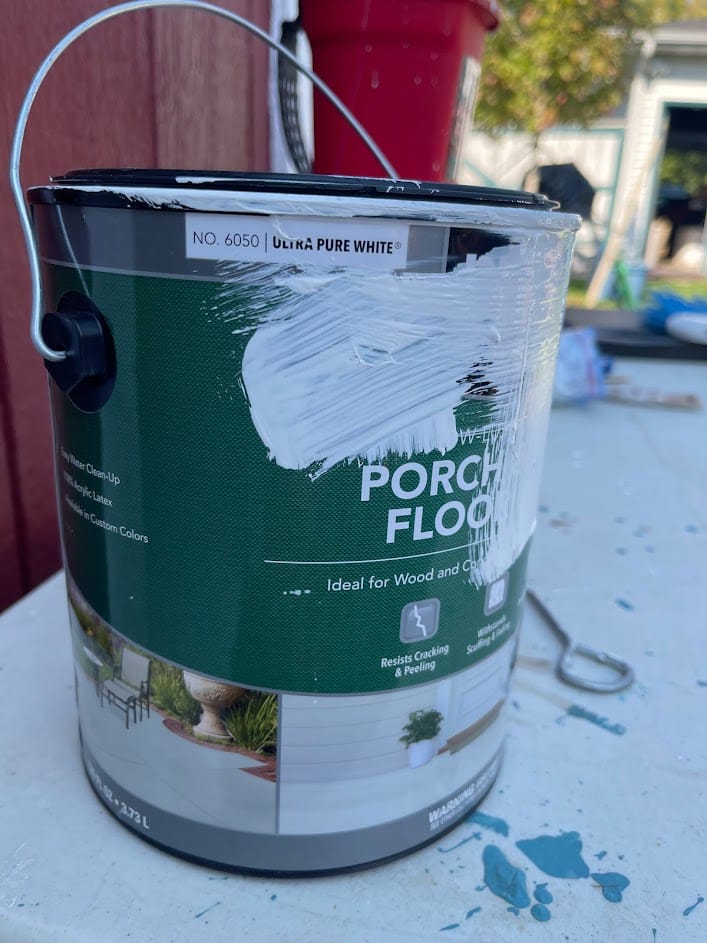
- 1 gallon Behr Floor and Porch white paint
- 2” angled paintbrush
- 4″ foam roller
- Paint roller for rough surfaces
- Paint pan
- Long handle for paint roller
- 6′ ladder
- 4′ step ladder
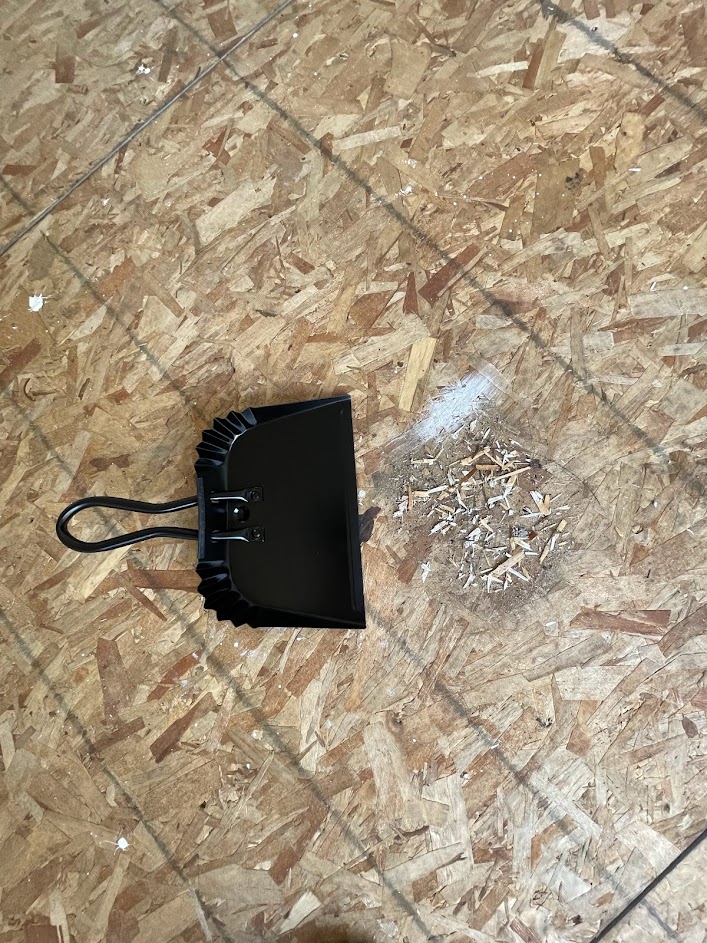
- Shop broom
- Kitchen broom
- Dustpan
Step 1 – 1st coat
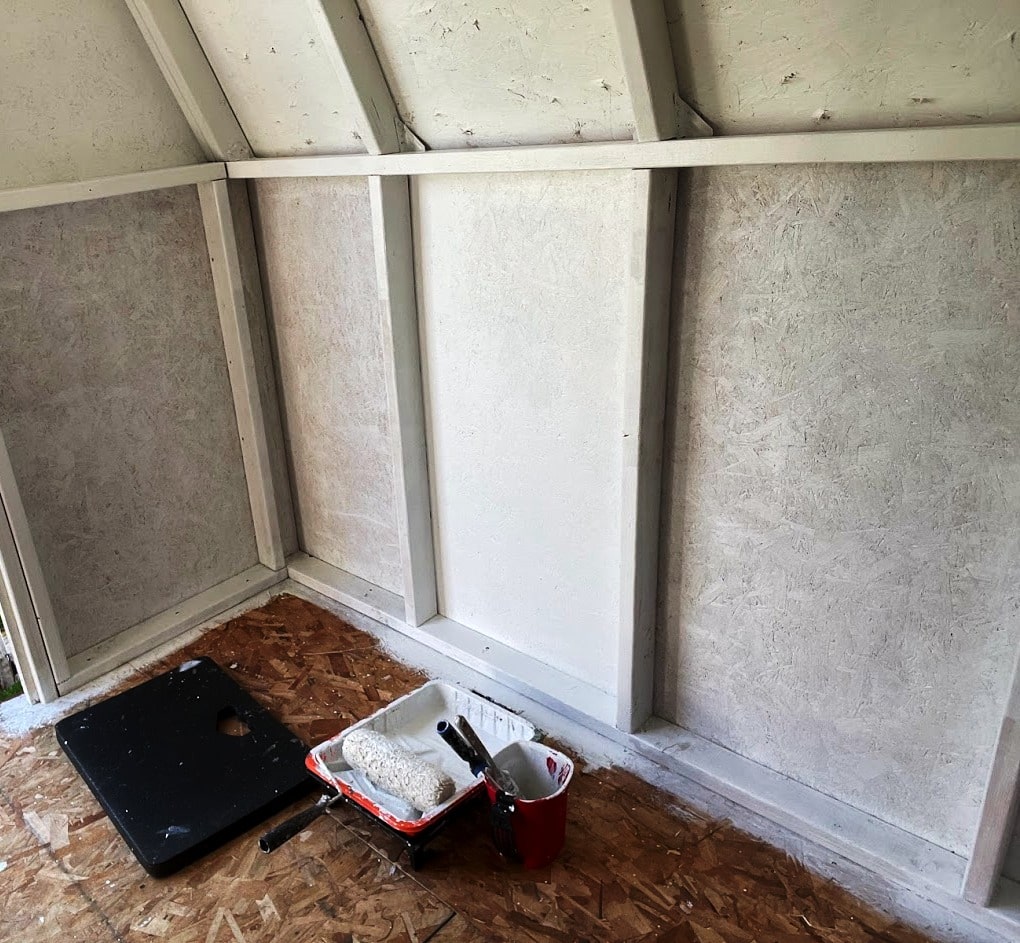
As I mentioned above, I had been using a white semi-gloss paint in the garage; I had about 1/4 of a gallon left so I applied it to the back wall of the shed to see how it would look. I liked it! I applied the paint with a standard roller and quickly figured out that I would need to buy a roller meant for rough surfaces. The regular roller wasn’t getting into all the little nooks of the plywood & the ceiling had roofing nails that I needed to paint around with a paintbrush. Since the semi-gloss paint looked good, I bought two more gallons of the same paint. I also bought a large, fluffy roller that is made for rough surfaces.


Even though the roller is designed for rough surfaces, I found that I needed to add additional weight to the handle in order to get the paint to soak into the plywood. Prior to rolling each section of the ceiling, I painted around all the nails with a paintbrush. After applying the paint with the rough surface roller, I went over each section with a 4″ foam roller to even out the amount of paint on the wood.
To paint the 2″ x 4″s, I used the angled paintbrush to apply the paint to the corners, then the 4″ foam roller for the flat surfaces. While I was painting the 2 x 4’s along the bottom of the walls, I also painted a 2″ strip on the floor. Since I planned to roll the floor, having the edges already painted would ensure the entire floor would be painted.
Step 2 – 2nd coat
The first coat of paint soaked into the plywood really well. While it looked ok for a shed, I thought it would look better with a 2nd coat. As usual, the 2nd coat went faster but only a little. With all the nails poking through the ceiling, it was still slow going. Painting around each nail was tedious! With all the nails poking through the ceiling, those sections were tedious. Even with it being tedious, the 2nd coat was worth the effort!

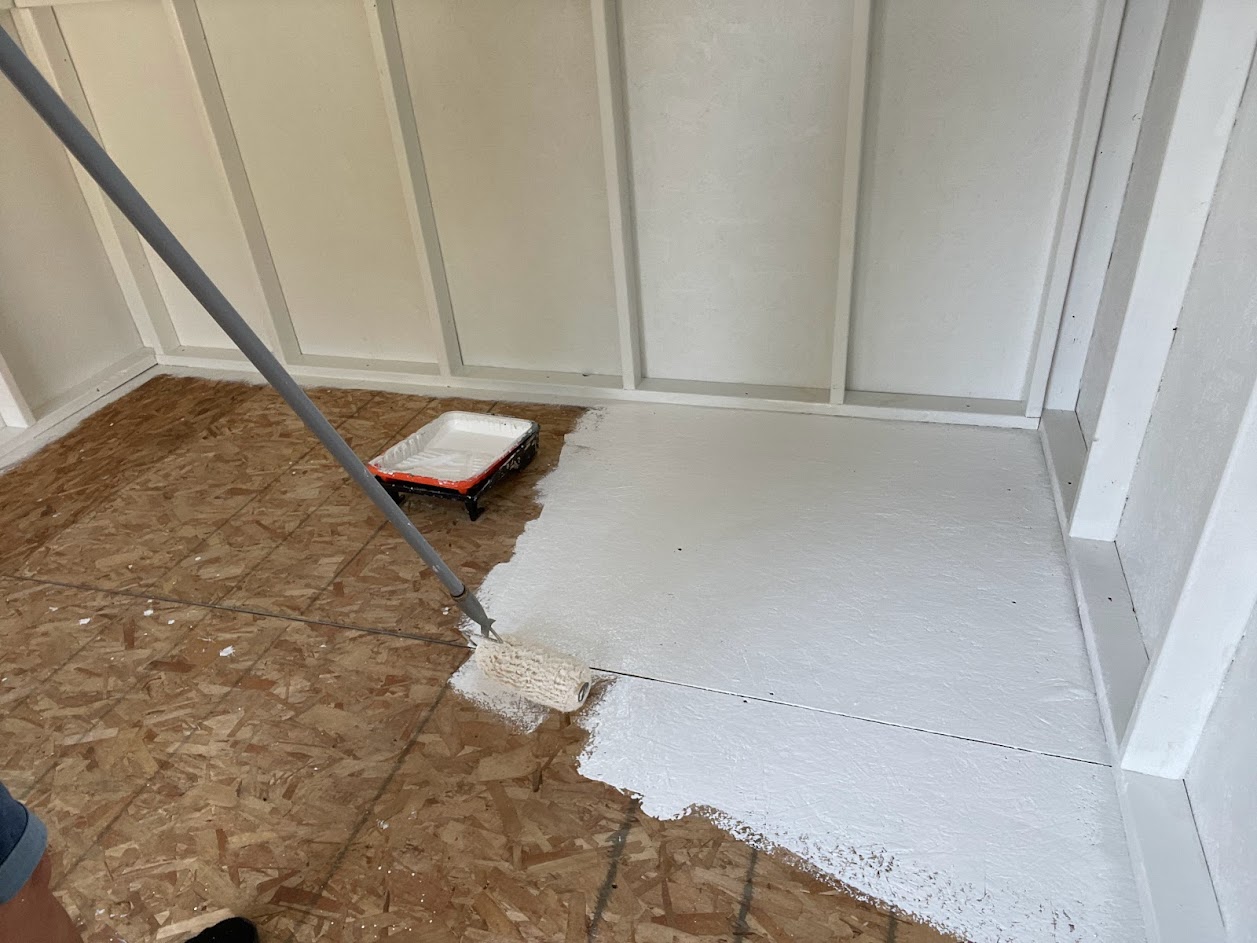
Step 3 – 1st coat on the floor
The paint I bought for the floor is formulated for floors and porches. I chose Behr Ultra Pure White in water-based semi-gloss. Before painting the floor, I swept it twice to remove all the dirt and pieces of plywood that came off as I was painting the ceiling. I attached the handle of my kitchen broom to the paint roller handle so I could paint the floor while standing. It was easier to get the paint into the plywood by putting pressure on the handle than it was when I was rolling the paint on the walls & ceiling.
When I started painting, I noticed that the wall paint looks a bit grey which meant the paint I applied along the edge of the floor was also grey. After the first coat of floor paint was dry, I painted along the edges of the floor with the floor paint.
Step 4 – 2nd coat on the floor
Once again, I could have just left the floor with one coat of paint but I felt a second coat would protect it better. This time, the second coat went really fast! And, boy, does it look great!


YouTube Video of the process
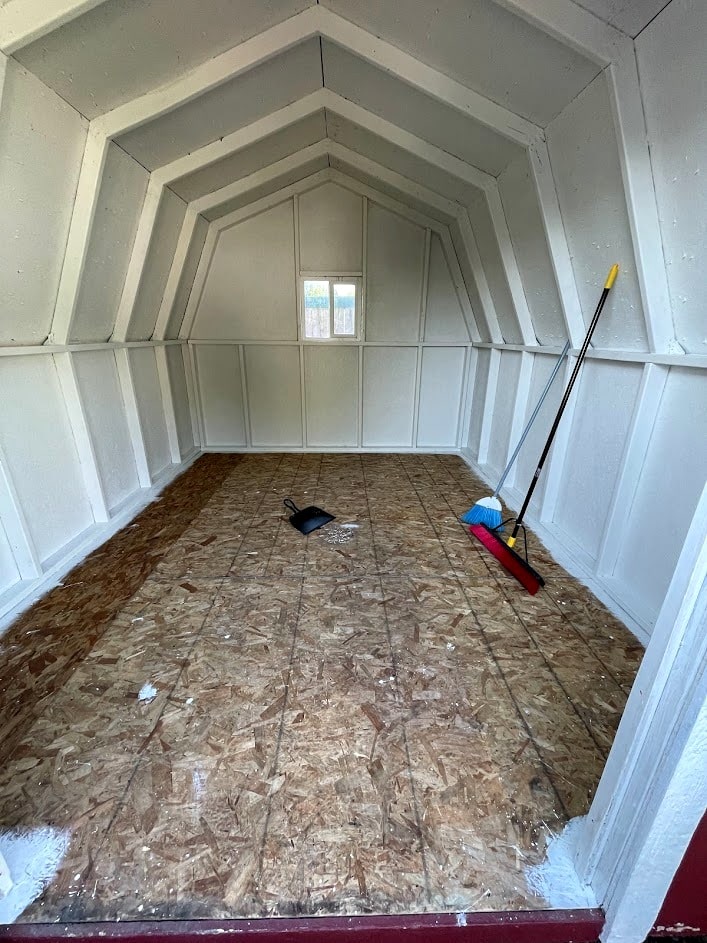
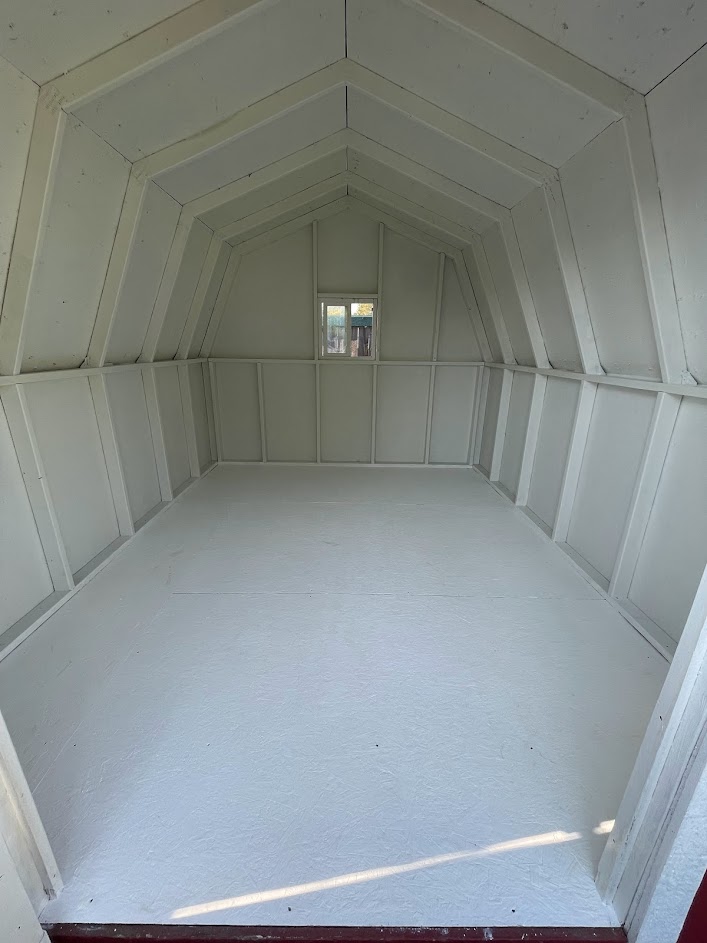
Finished storage shed
I cannot believe how much the white paint brightens the inside of the shed! I thought that painting it white might help brighten it but am surprised at how much it does. I’ve been in there at dusk and it’s so much easier to see things now that the inside is white.


Old pics
You can see how much darker the inside of the shed was prior to painting the wood white. These pics were taken in the daylight.
Before, During, After

Instructions
- Using a paintbrush, paint around any nails from the roof
- Apply 2 coats semi-gloss water-based paint to walls & ceiling using a rough surface roller
- Allow drying time between coats
- Apply 2 coats of semi-gloss water-based paint to studs using an angled paintbrush & 4″ foam roller
- Allow drying time between coats
- Sweep or vacuum floor
- Apply 2 coats of floor & porch paint to the floor using a rough surface roller
- Allow drying time between coats
For your convenience
This post contains Amazon affiliate links. If you choose to order through these links, it will be at no extra cost to you


Want more project ideas?

Let’s Stay in Touch!
I’m excited to share more projects with you as well as tips/tricks/freebies! Just enter your email below to be one of my Blog Peeps!


You May Also Like

Let’s Organize the Garage!

Let’s Decorate the Backyard!

