
Let’s Paint the Hoosier!
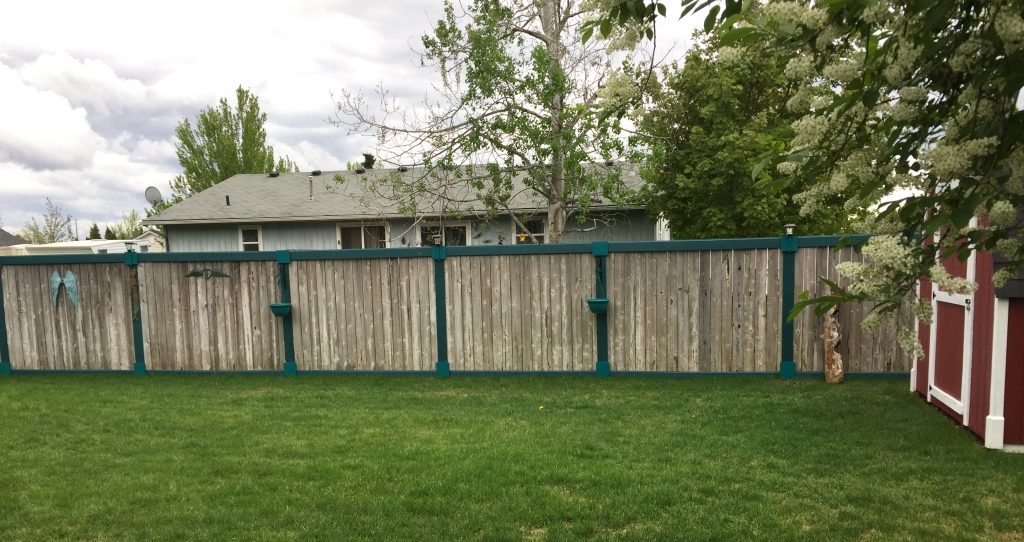
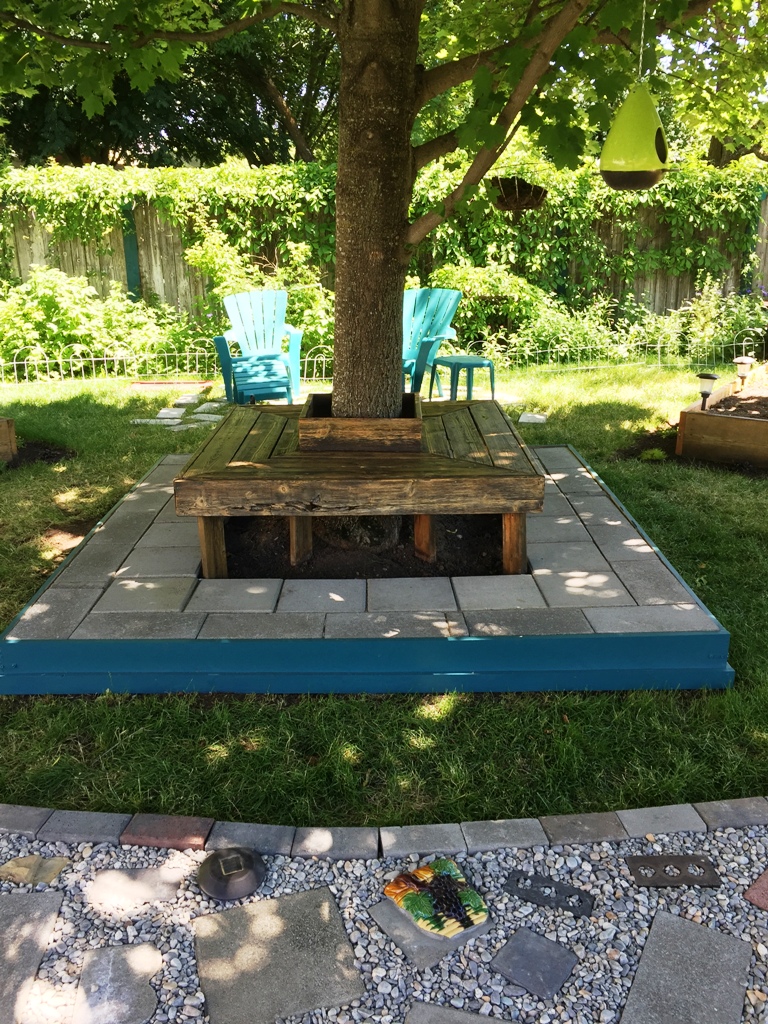
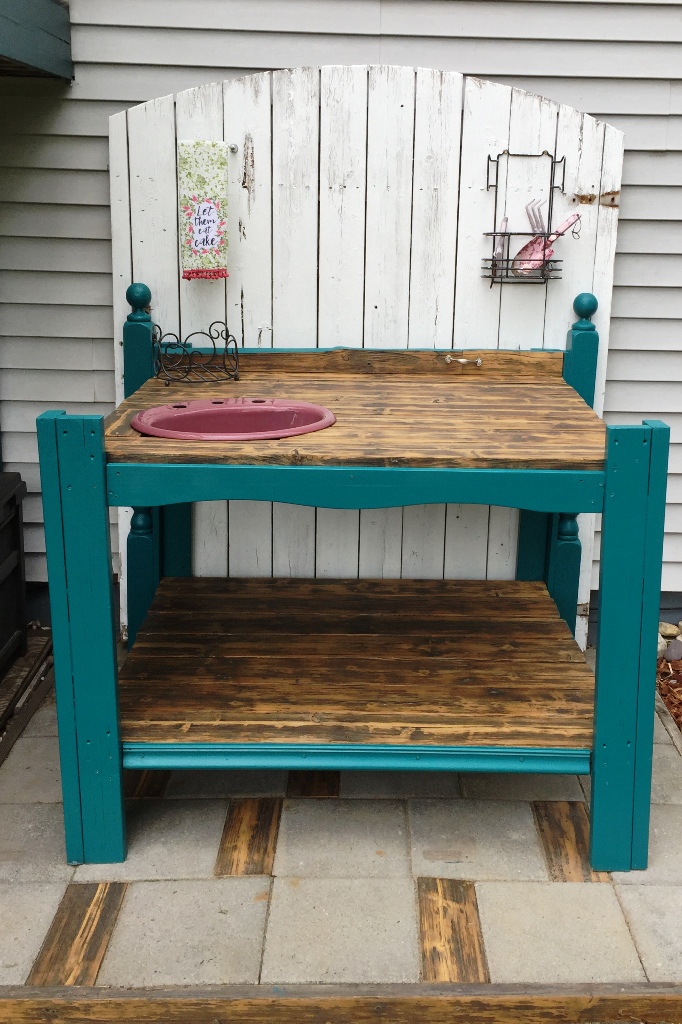
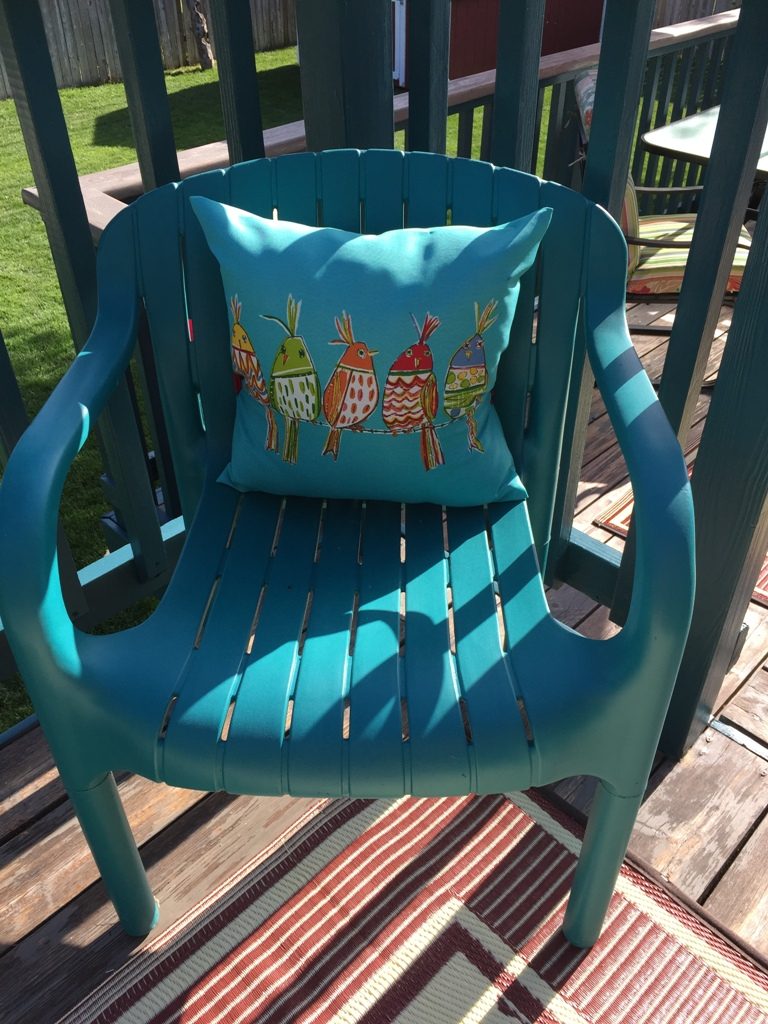
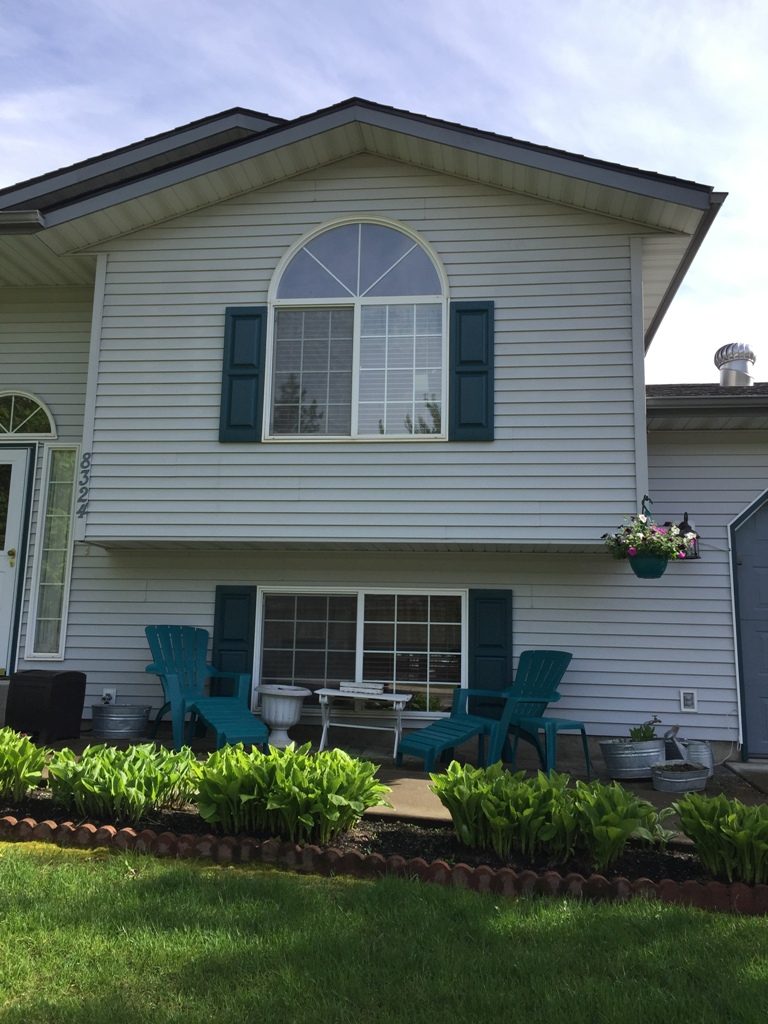
Have you ever fallen in love with a color? A couple of years ago, I started using teal as an accent color outside. Our house is grey and I prefer warmer colors so I wanted a color that would go well with the light grey of the house; that’s when I found teal! I used it on the deck railing, the fence, the frame on a patio, potting bench, deck furniture, and the shutters. You can read all about those projects by clicking on the pictures below.
Just so you know, this post may contain affiliate links. Meaning I may receive commissions for purchases made through those links, at no cost to you.
Newest teal color
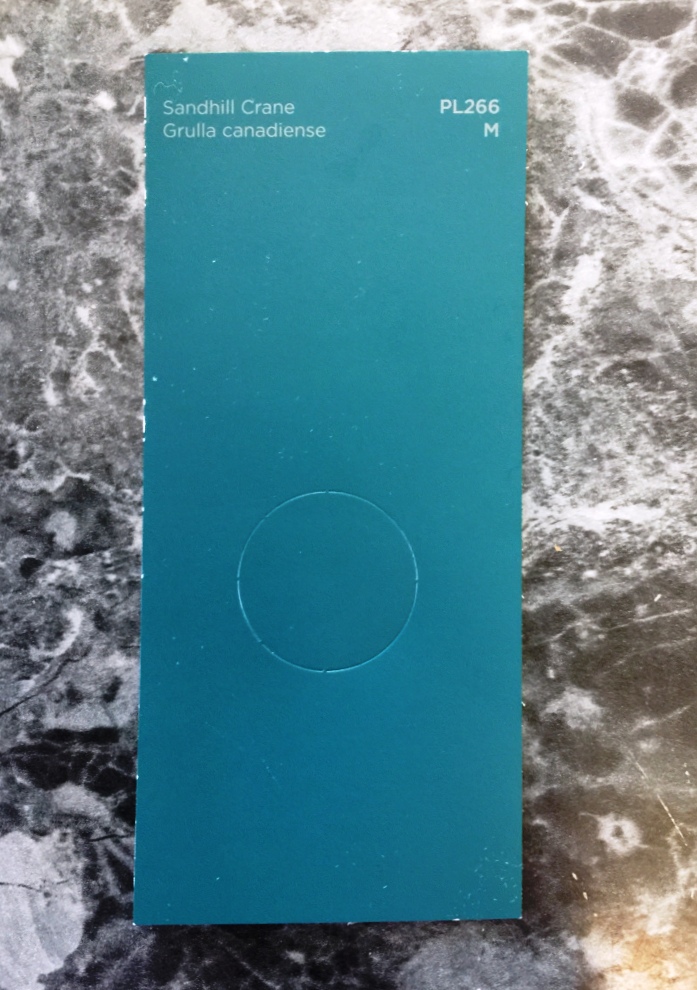
Recently, I found my new favorite color! It’s a nice, warm teal and I’m in love! It is very similar to the color on the deck but just a little warmer.
Hoosier History
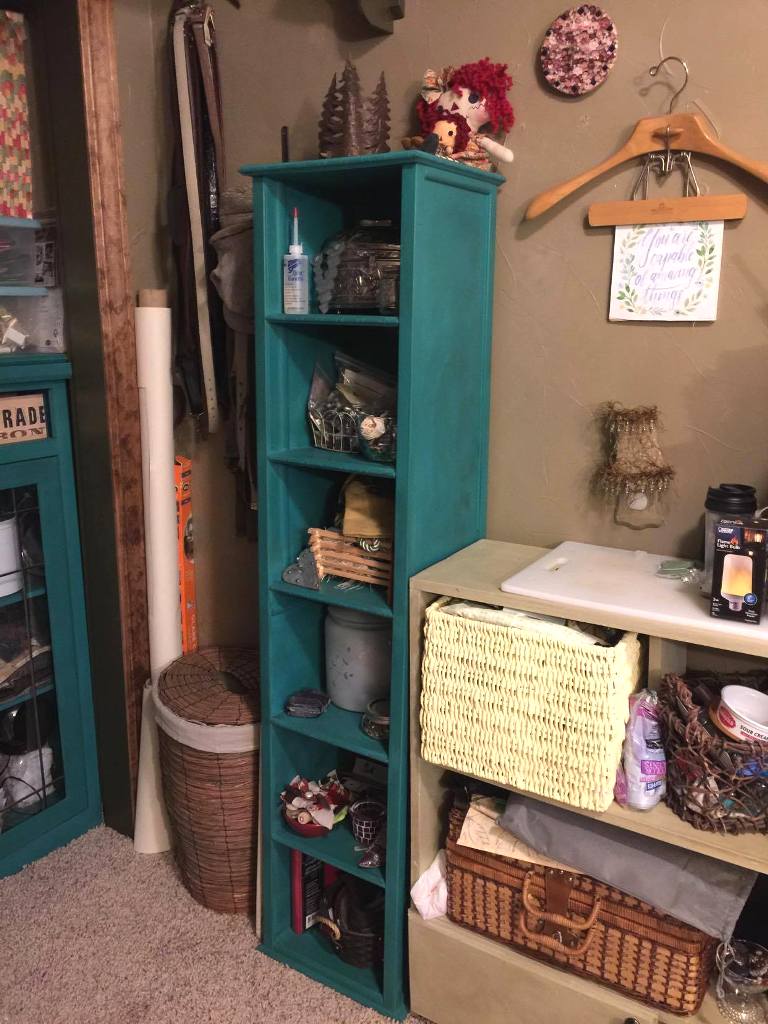
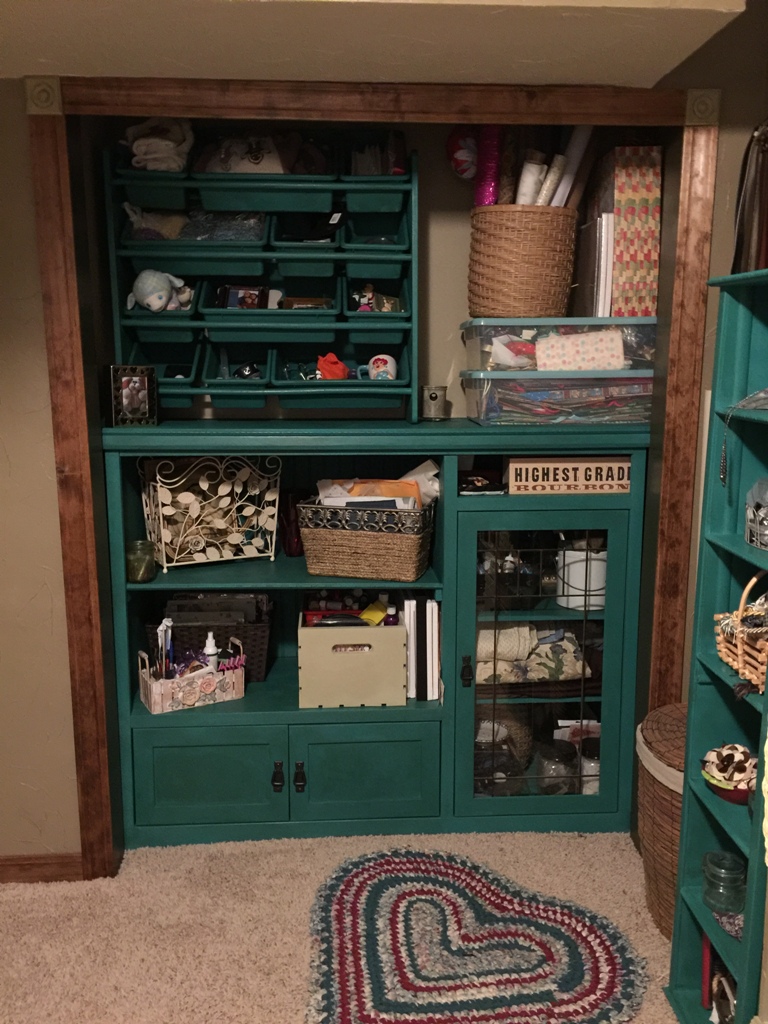
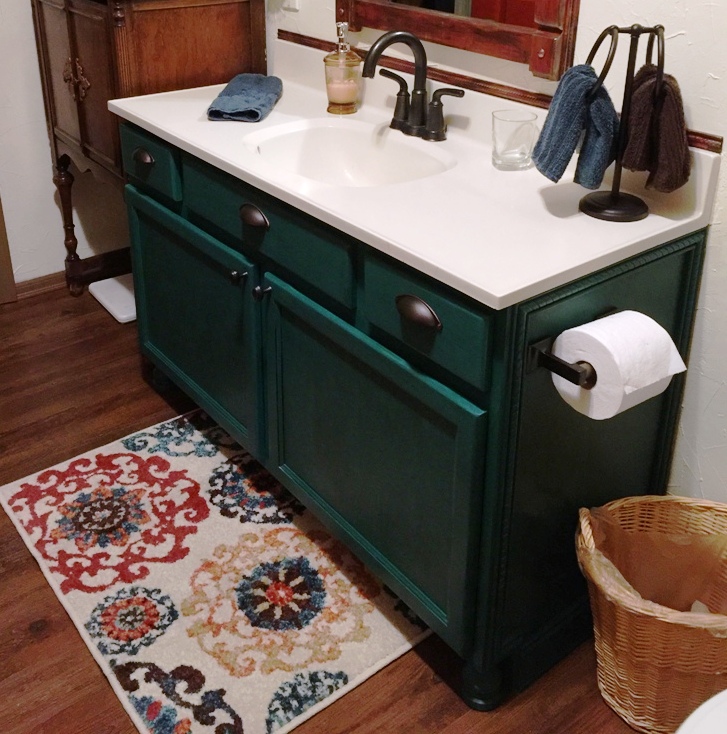
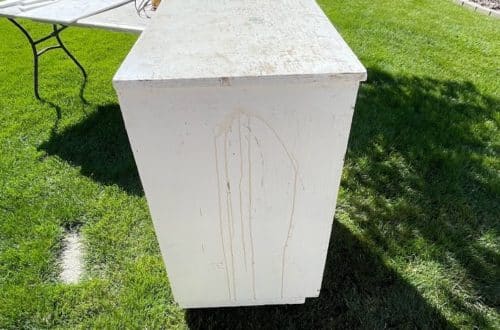
After finishing the teal accents outside, I decided to add a touch of teal to the inside of the house also. I painted a few pieces of furniture in my craft room, the downstairs vanity, and a small table. I’ll link those projects below. The most recent piece of furniture I painted is our antique hoosier. I know, I know, who would paint an antique??! Well, usually not me! I found the hoosier 30 years ago in an antique/junk shop. It was tucked in the back of a warehouse and had water damage along the bottom. The damage was so bad that it warped the veneer on both sides. To fix the issue, we glued down the sides and cut a 1″ x 12″ board to cover the area. Since the wood was so damaged, I chose to paint the cabinet but left the doors & drawers wood. Unfortunately, I don’t have a picture of the cabinet before painting it.
The first paint color
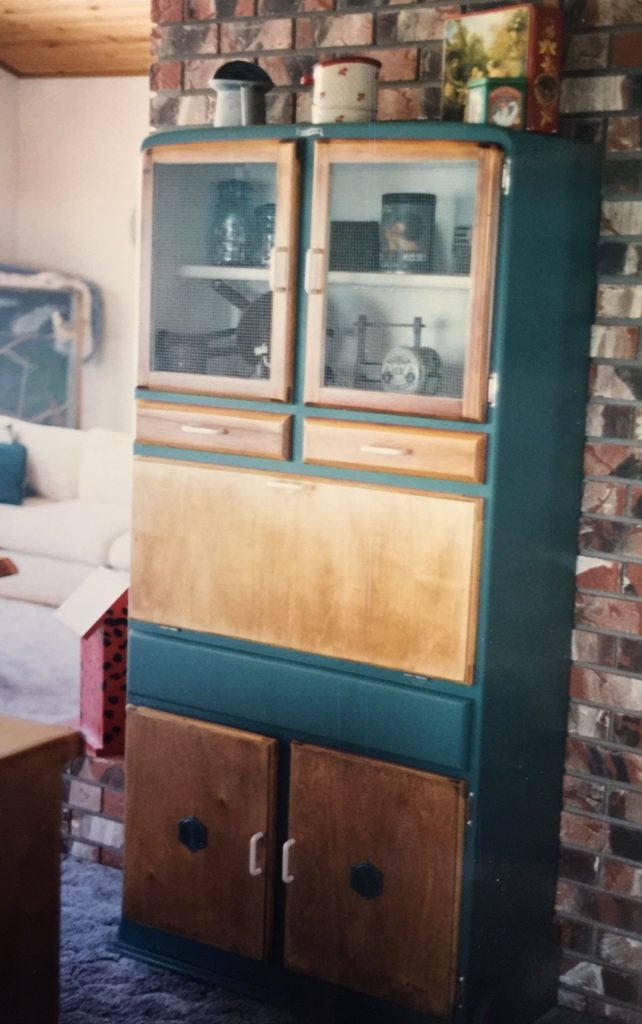
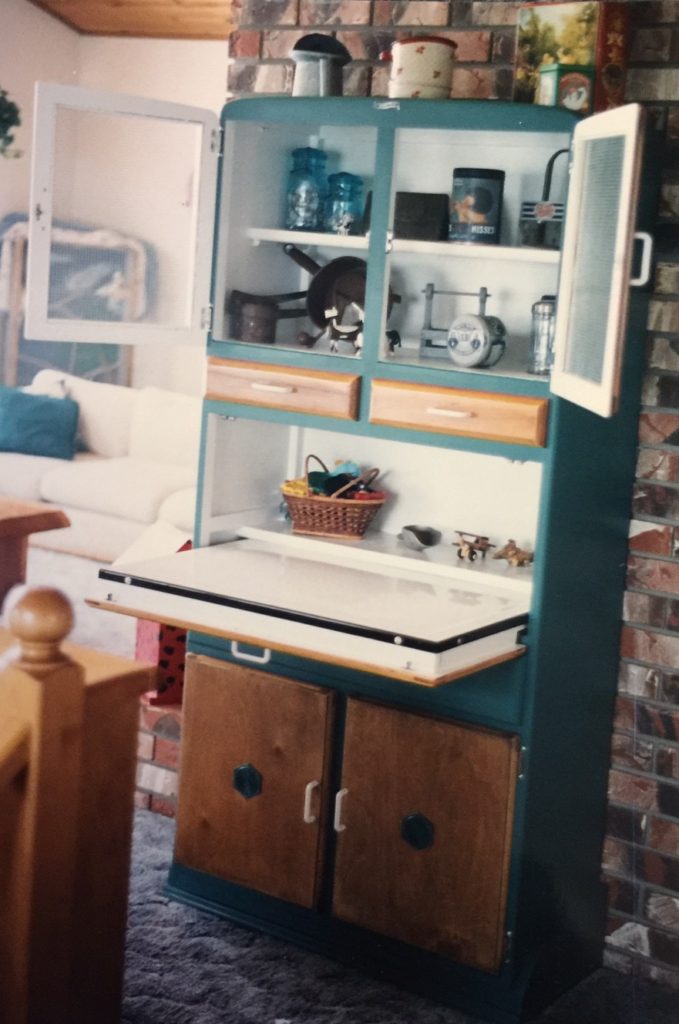
The first paint color I used on the cabinet was a soft jade green. The stain color was golden oak. There were no handles on the cabinet when we got it so I bought some inexpensive cream plastic ones. Sorry for the picture quality – it is a picture of a picture
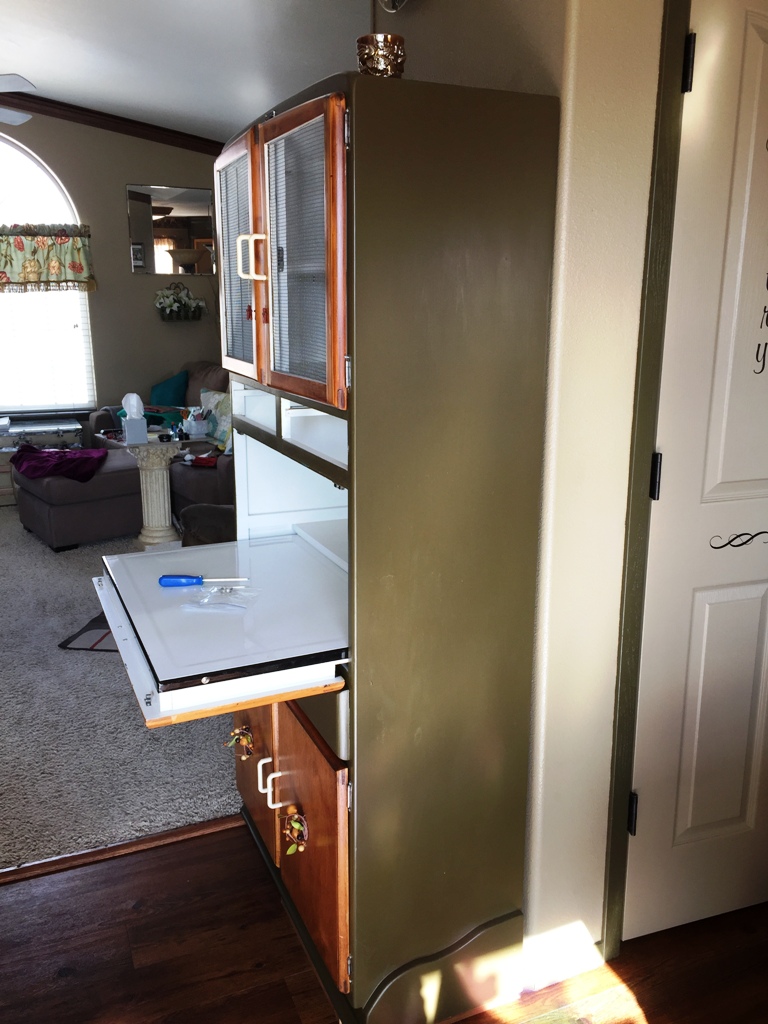
Several years ago, I painted the cabinet again. This time, I used a dark olive paint that I used when painting the kitchen cabinets. When I painted it that time, I was not changing the stain so I didn’t remove the doors.
Removing the doors
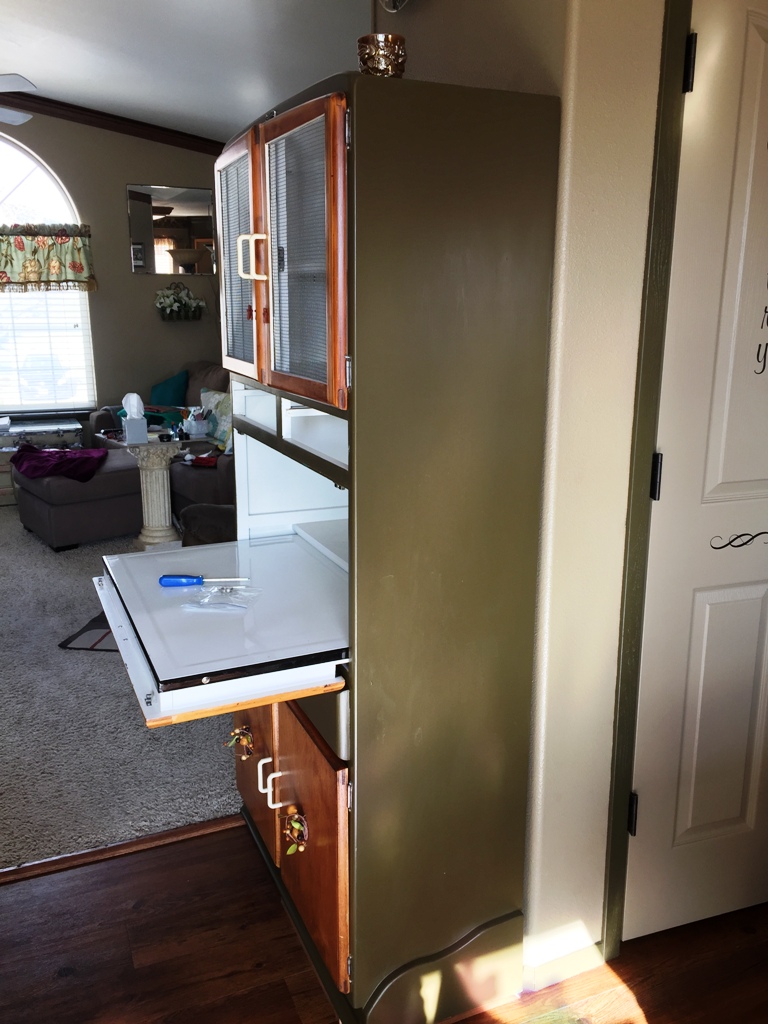
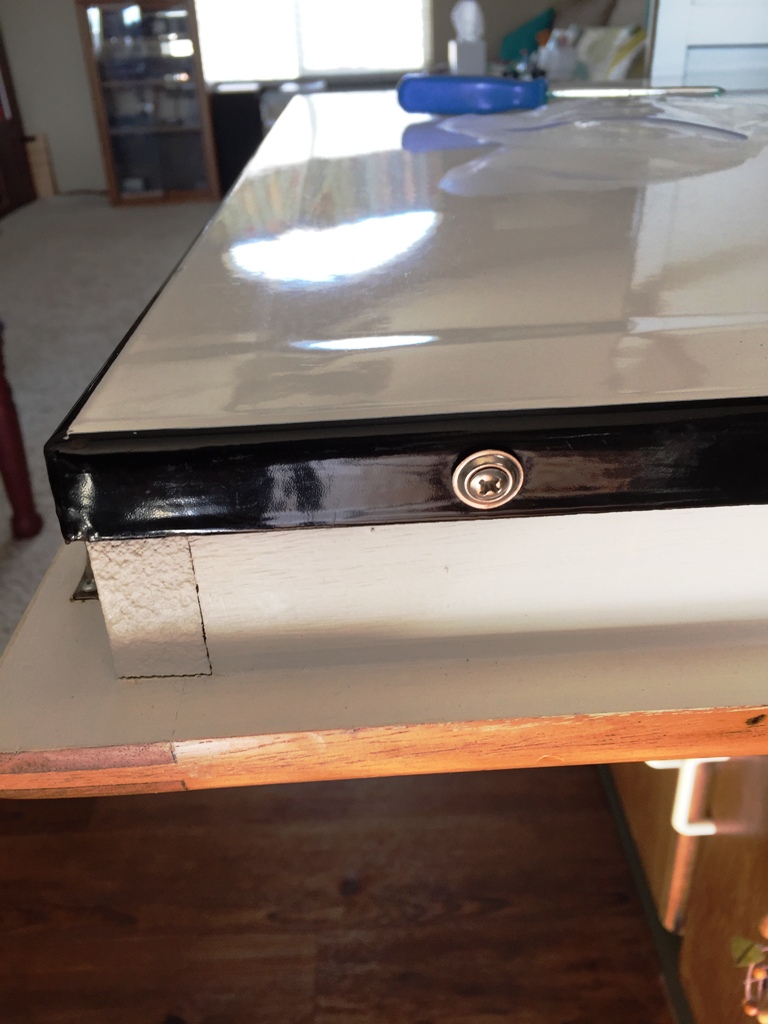
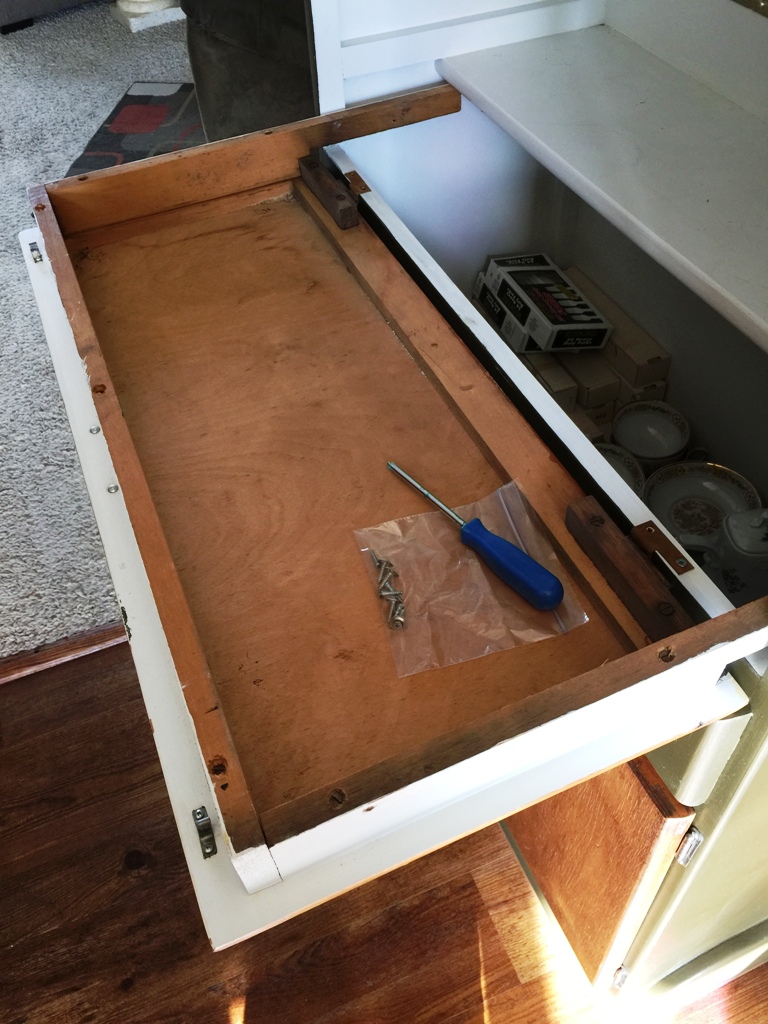
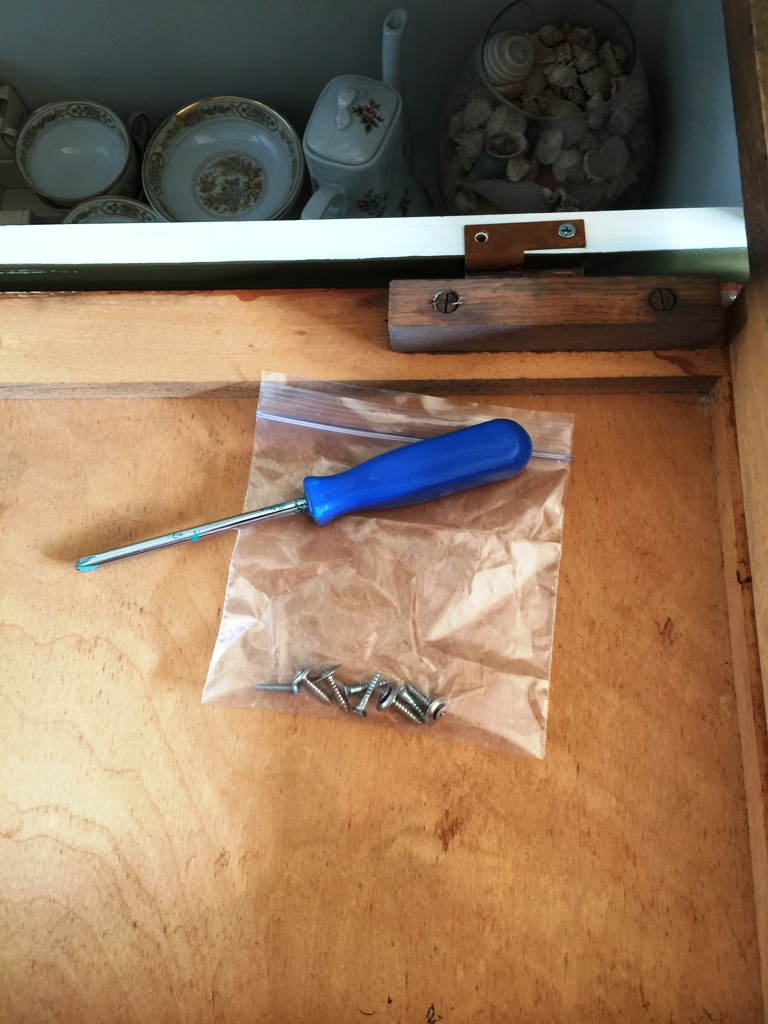
Before moving the cabinet, I removed the doors, hinges, handles, and drawers. The enameled metal surface on the large door is attached with screws, once I removed those, it was easy to remove the metal piece. The platform that holds the enameled metal was attached to the cabinet with a couple of hinges, I removed those too.
Prepping to paint
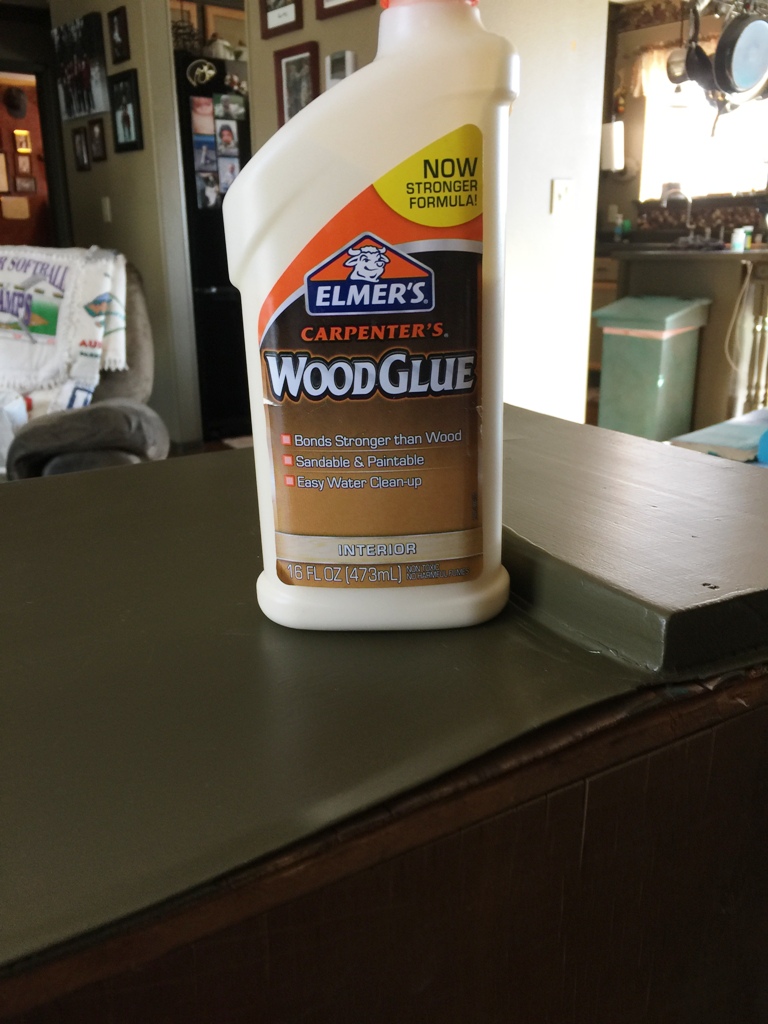
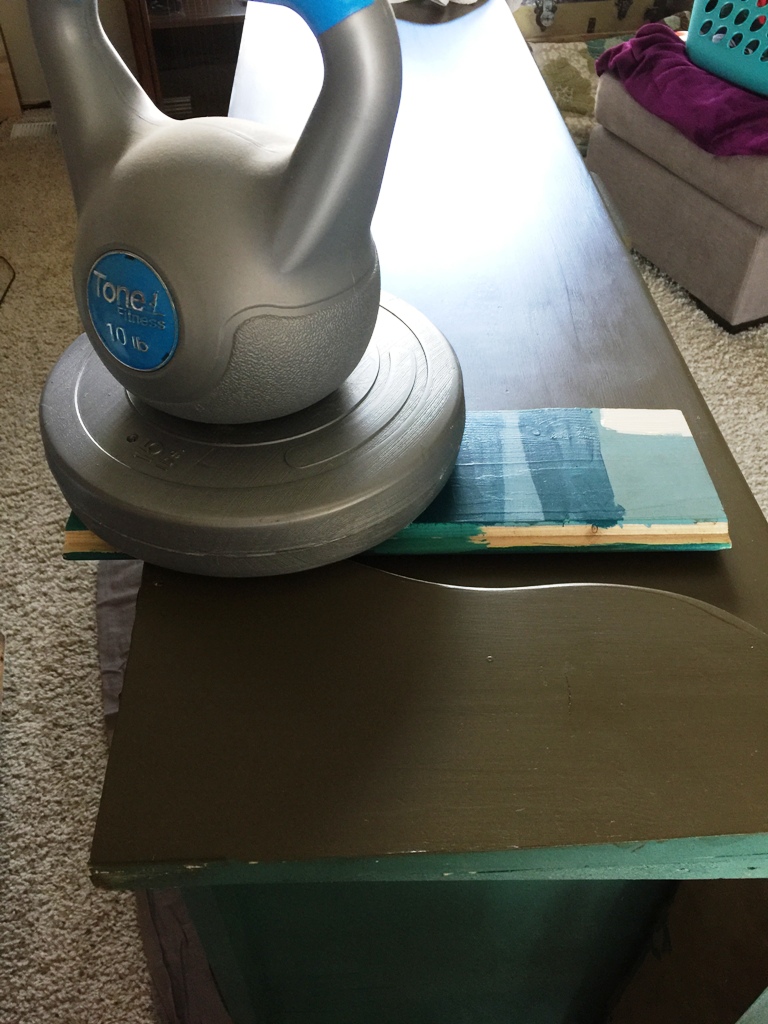
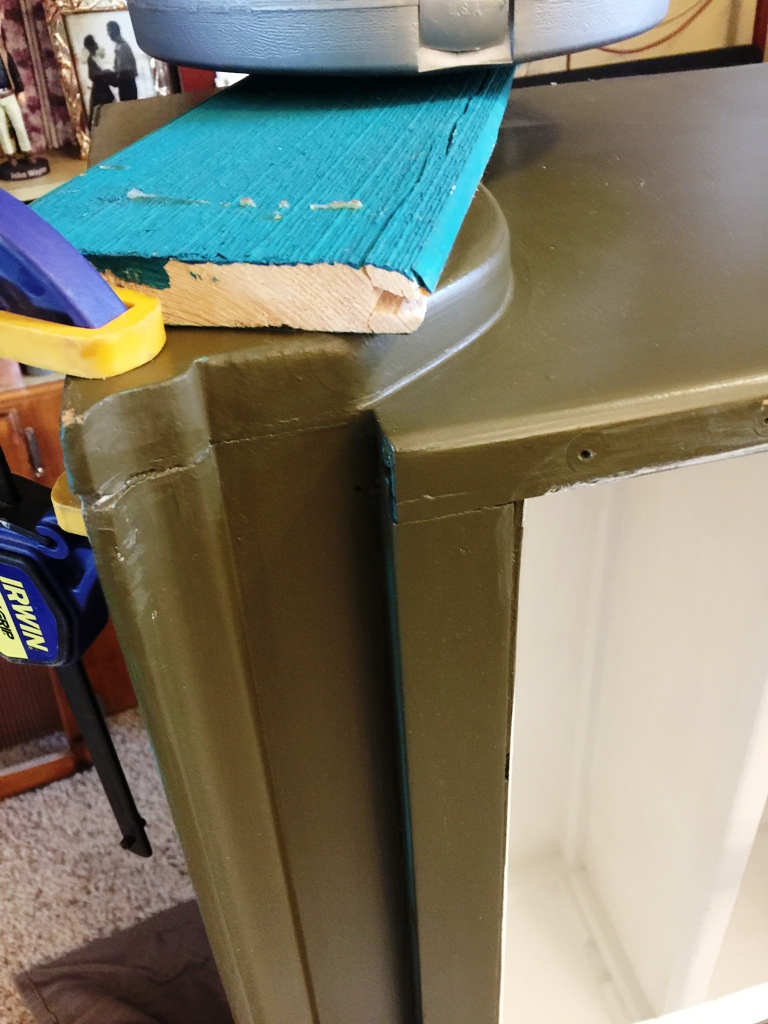
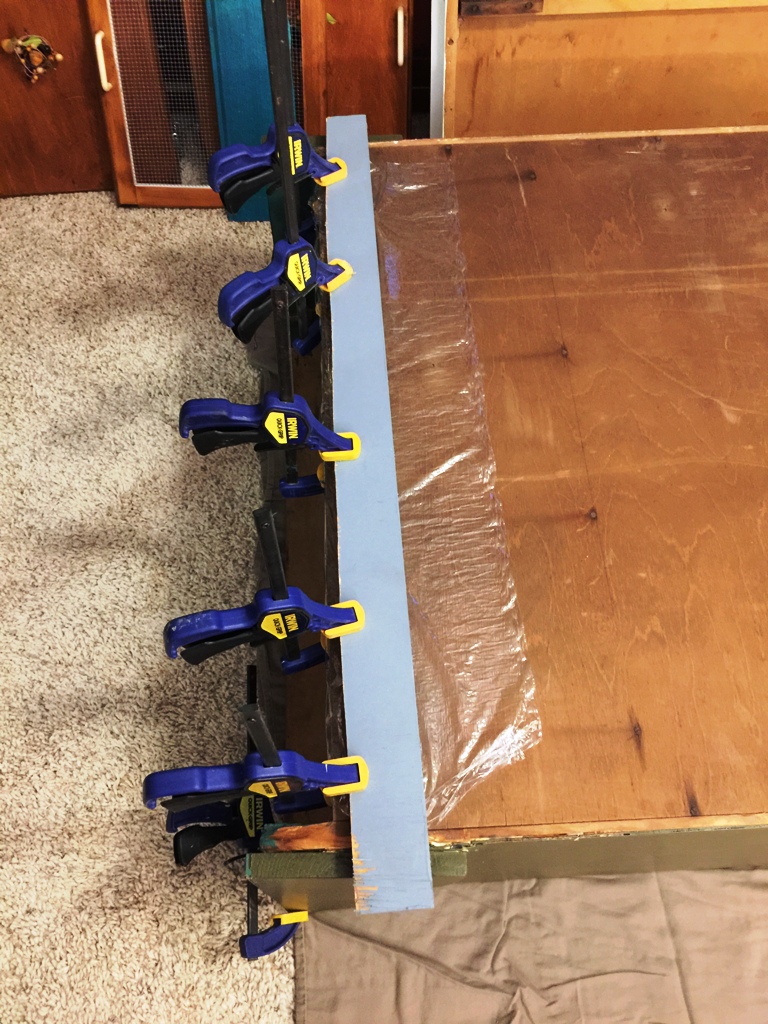
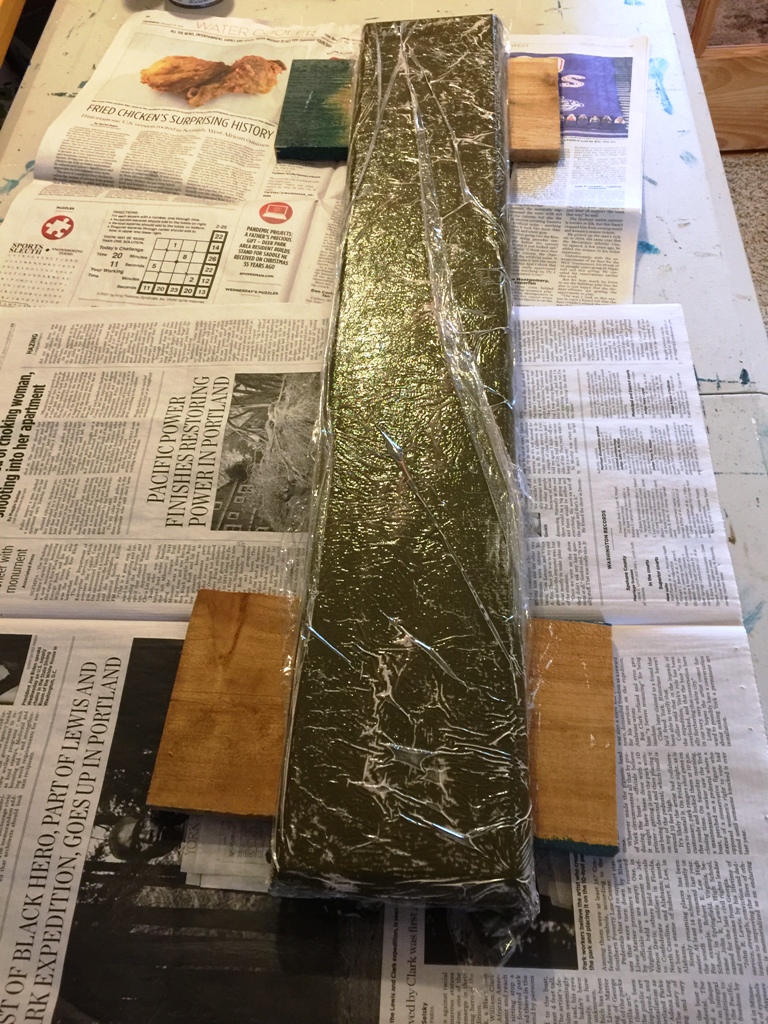
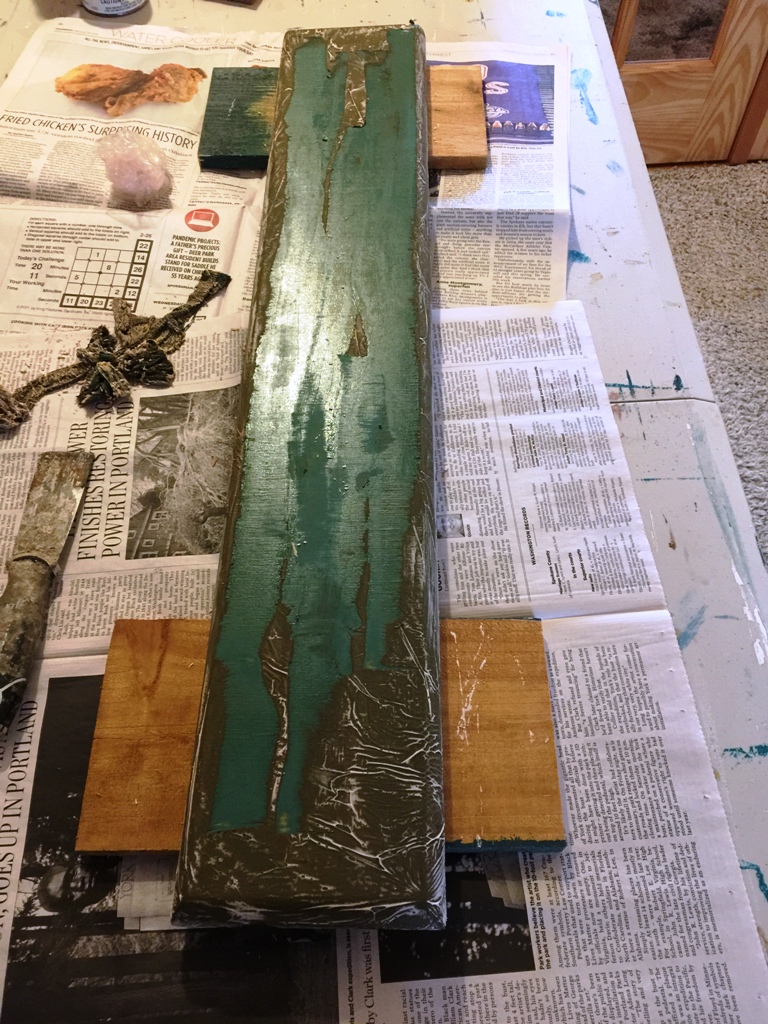
With the doors & drawers removed, I moved the hoosier to the living room to paint. I noticed that the veneer had started to warm again on one of the sides. I also saw that some of the veneer on the back was also warped. So, before painting, I grabbed the Elmer’s wood glue and got to work fixing it. After squeezing the glue between the cabinet and warped wood on the side of the cabinet, I set weight on top of the area and also used a clamp to hold the pieces together. For the warped veneer on the back, I used a piece of wood and several clamps.
There were two spots on the back veneer where the wood glue just didn’t work, so I ended up using some small screws to hold the veneer down.
Painting the interior

Once all the veneer was fixed, it was time to paint! As I looked at the inside of the cabinet, I saw that the paint was worn and could use a fresh coat. While the white looked good from a distance, once I had it empty and wiped down, it was obvious that there was wear and tear. I had some white satin interior paint on hand. I applied two coats using both a 1 1/2″ angled paintbrush and paint pads.
Stripping the doors & drawer fronts
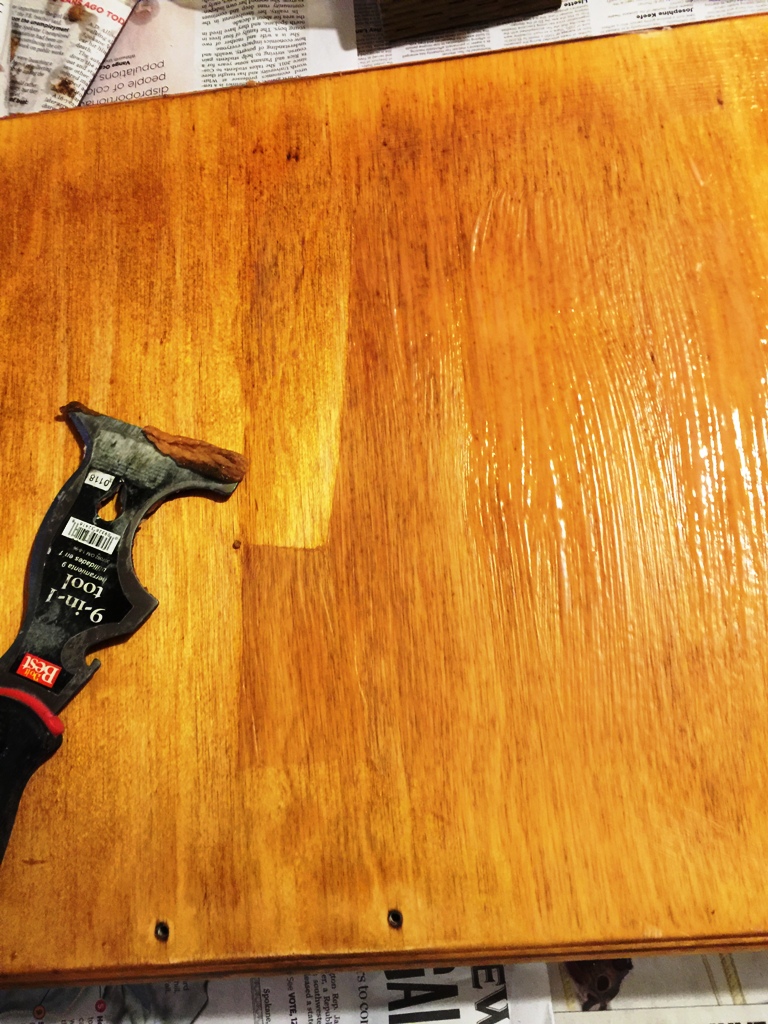
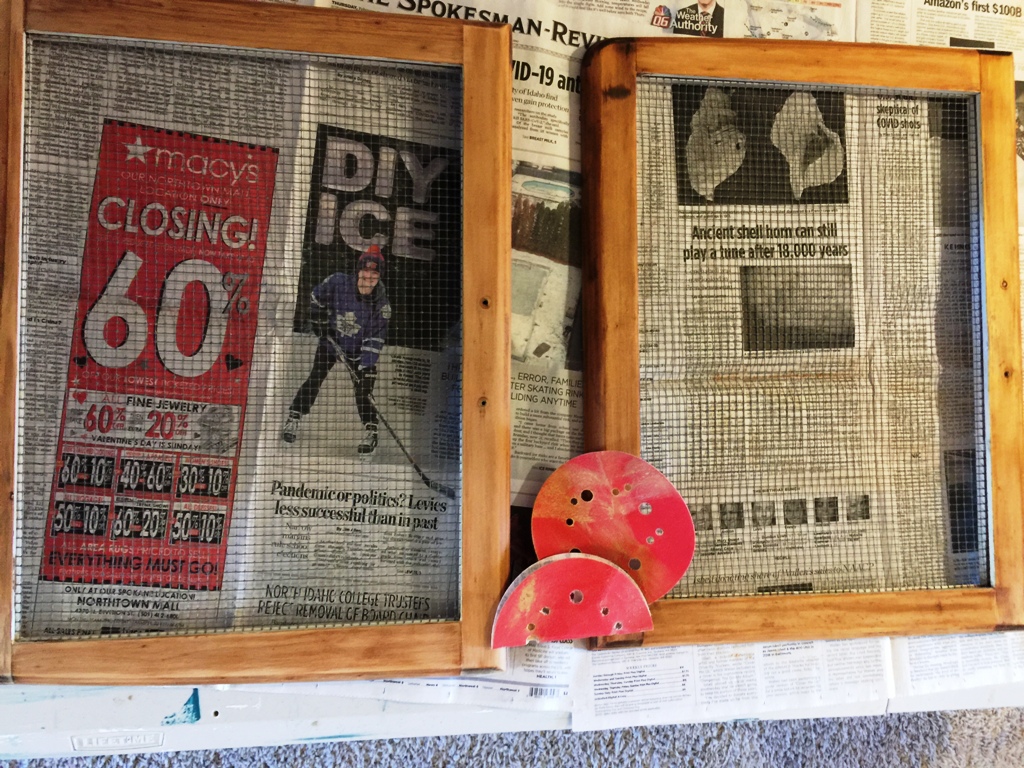
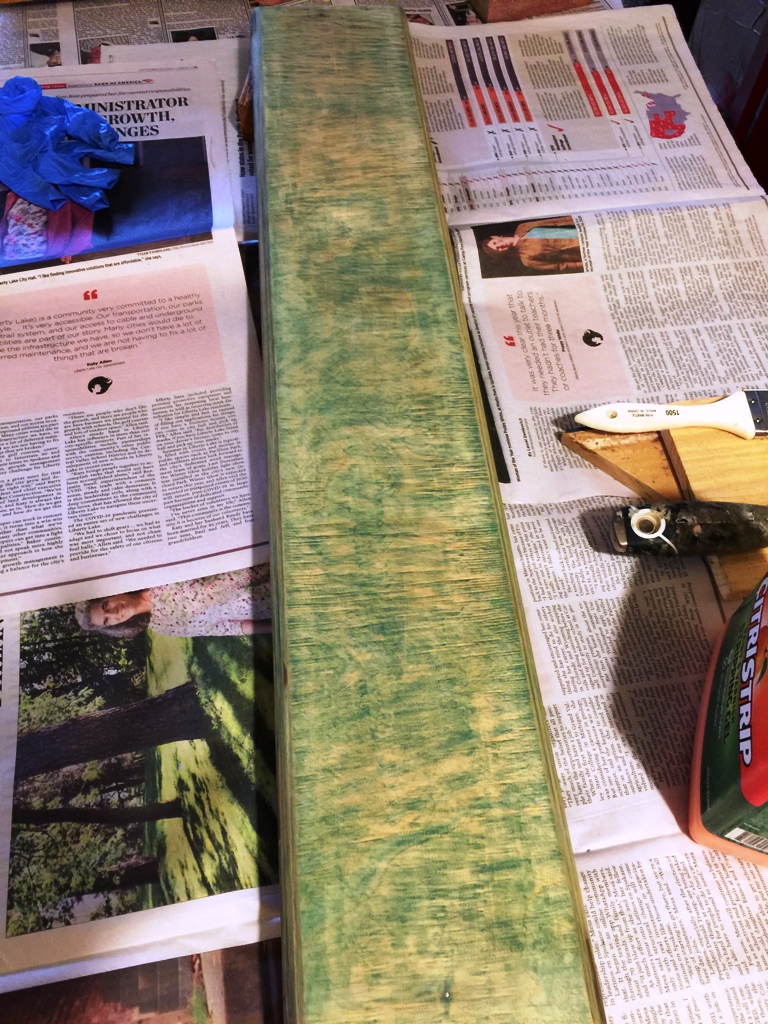
Now that I was painting the cabinet teal, I decided to darken the stain. Using CitriStrip, I removed the sealer from the doors & drawers. This time, I also removed the faux drawer front that is above the bottom doors and stripped it. I didn’t realize it was removable the first two times I painted the cabinet. This time, discovered that the was screwed in. It also had a big, rusty nail holding it in place but after the use of some force, I was able to get it off the cabinet. As I started stripping the piece, I found that the coat of paint I had used 30 years ago really soaked into the wood. I used 3 coats stripper and then sanded it well but I could not remove all of the green paint. Luckily, the Provincial stain was dark enough to cover the leftover green.
Staining & sealing the wood
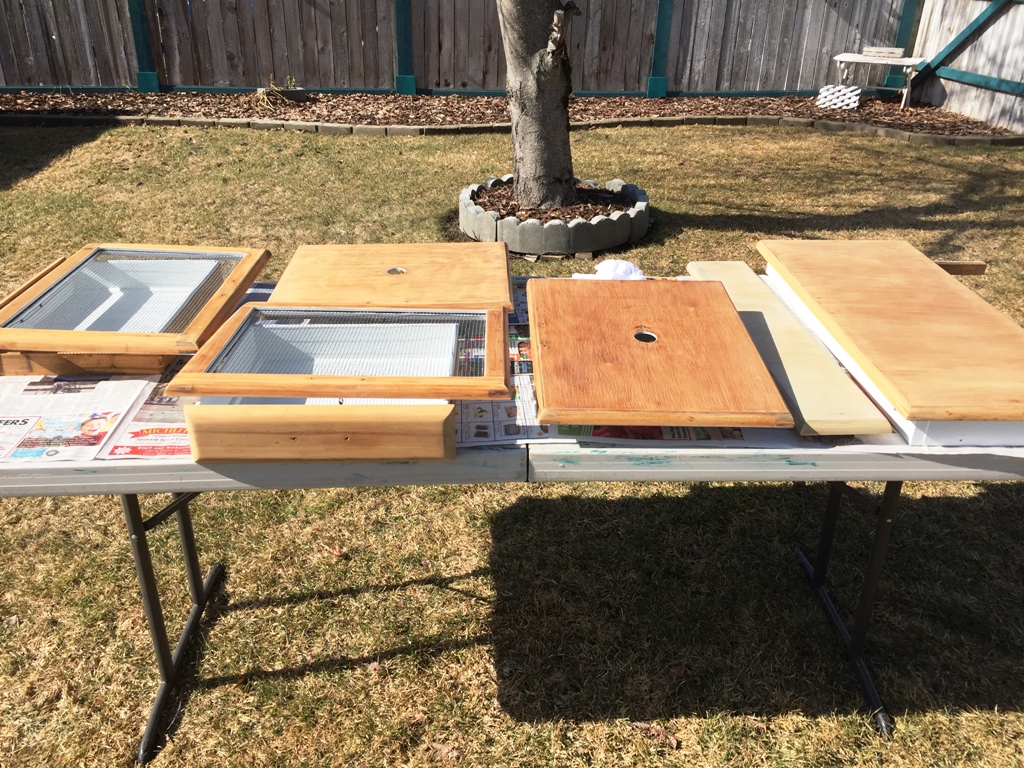
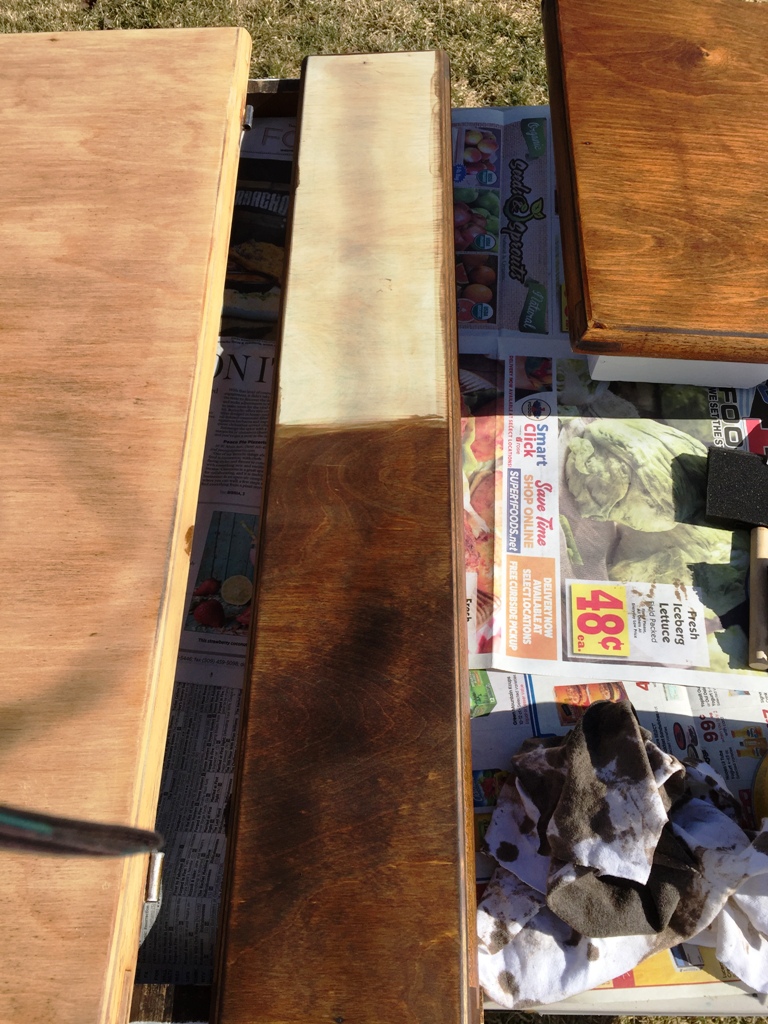
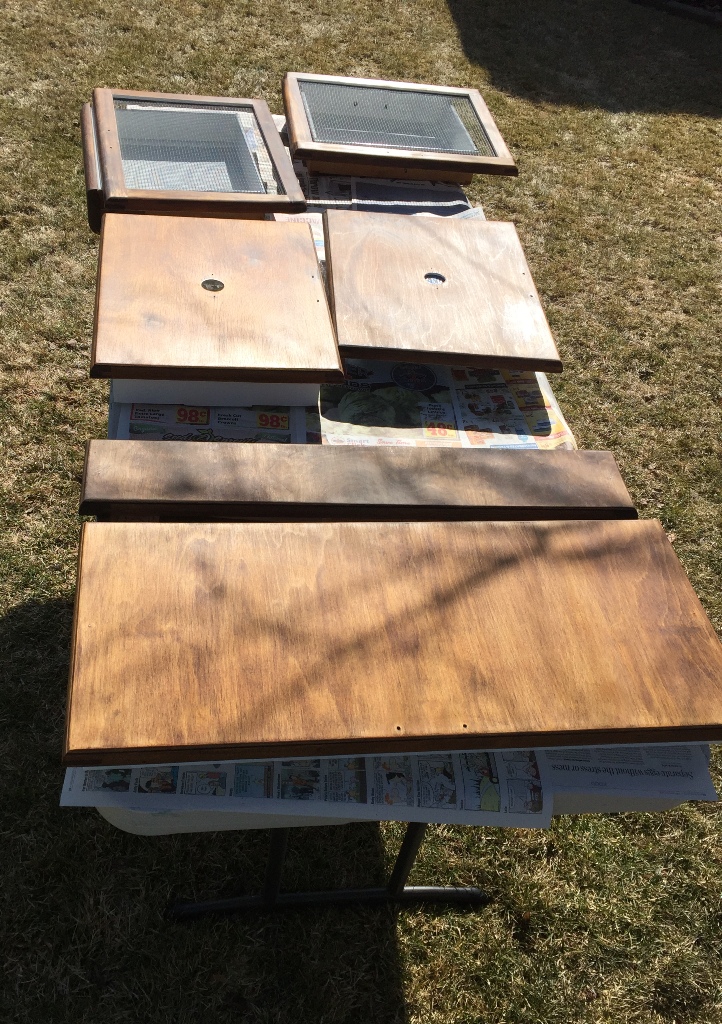
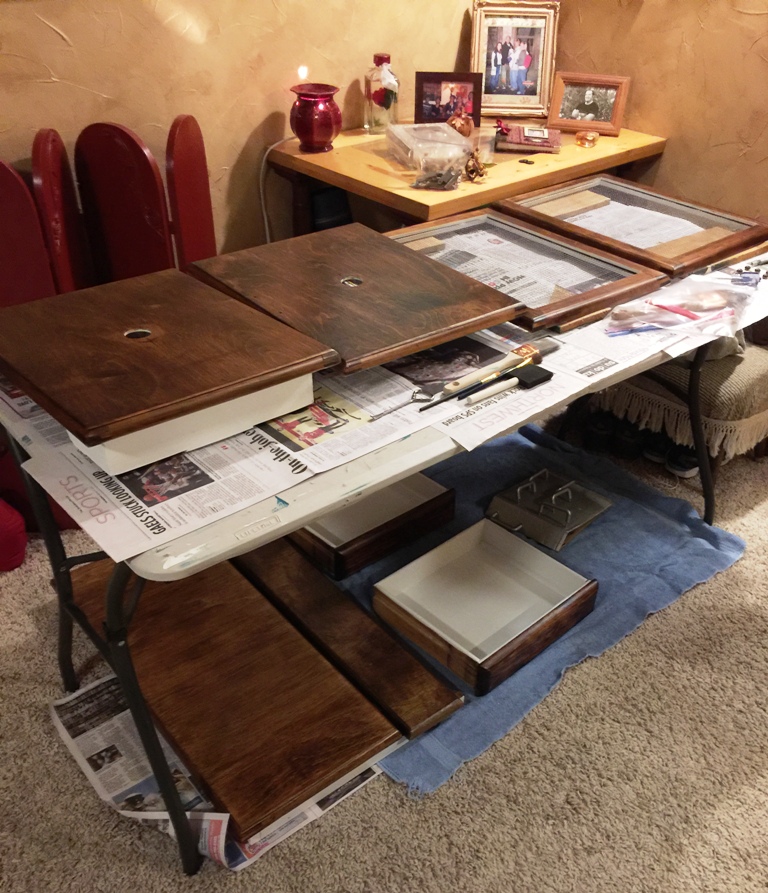
Since the weather was nice, I took all the wood pieces outside to use oil-based stain. With a soft rag, I applied one coat of stain and let it dry outside. I brought all the pieces in at night and applied two coats of Minwax polyurethane using a paintbrush.
Painting the cabinet
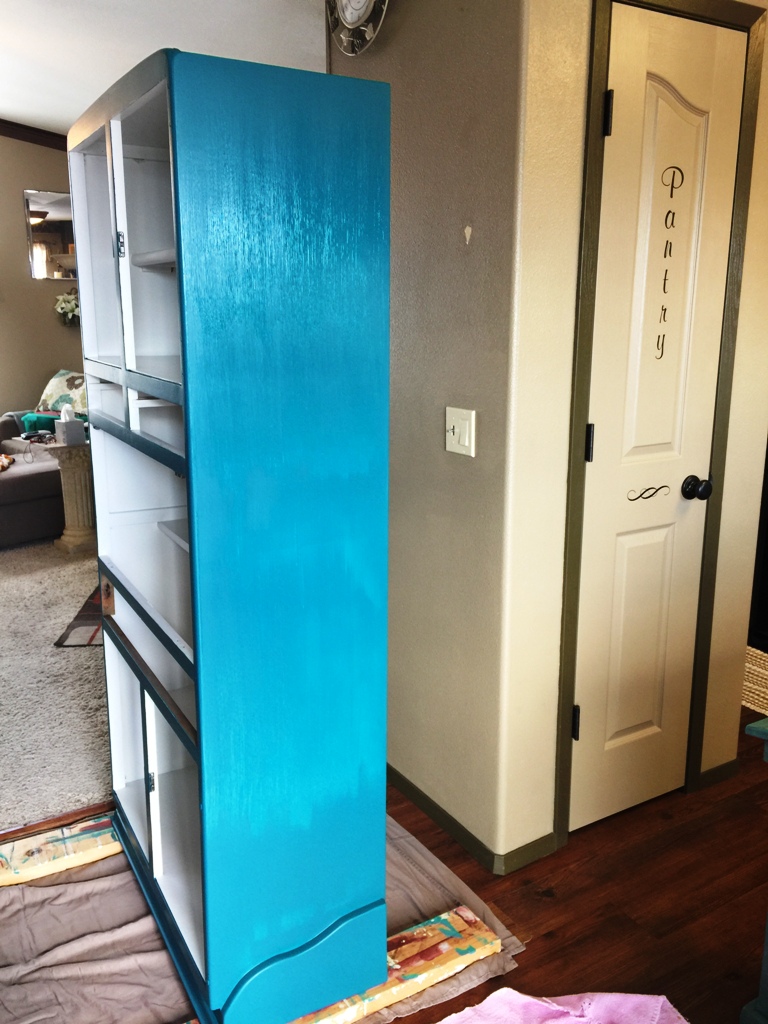
As the stain was drying, I worked on the cabinet. Using a sanding block in 150 grit, I lightly sanded the paint on the cabinet. After wiping it down with a damp cloth, it was time to paint. Using a small & large painting pad and small paintbrush, I applied two coats of Pratt & Lambert’s Sandhill Crane. I applied the first coat while it was in the living room and then the second coat once it was upright.
Finished project
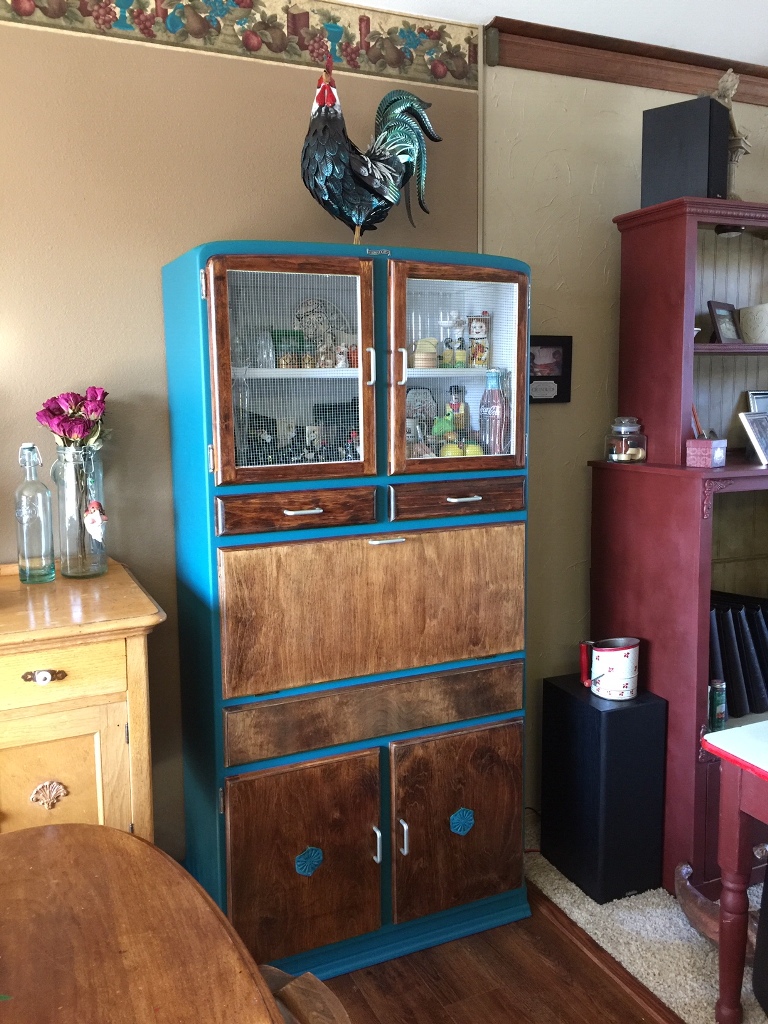
When the paint on the cabinet was dry and the polyurethane on the wood was dry, I reattached the doors. Instead of buying new hardware, I spray-painted the handles silver to match the hinges.
Before, During & After
Another teal projects
Next paint project – Kitchen Cabinets!
It’s been close to 9 years since I painted the kithen cabinets and the paint has held up so well! However, I’m ready for a change and this hoosier is the inpiration for that change.
If you need supplies
This post contains Amazon affiliate links. If you choose to order through these links, it will be at no extra cost to you
Sign up for future projects















One Comment
Pingback: