

Let’s Make Toddler Sheets!
This post may contain Amazon affiliate links
I received a request from my daughter a few weeks ago asking if I could make a top sheet for my grandbabe’s toddler bed. Hmmm, probably. I hadn’t made a top sheet before. When my youngest grandbabe was on his way, I made a lot of baby things for his arrival:
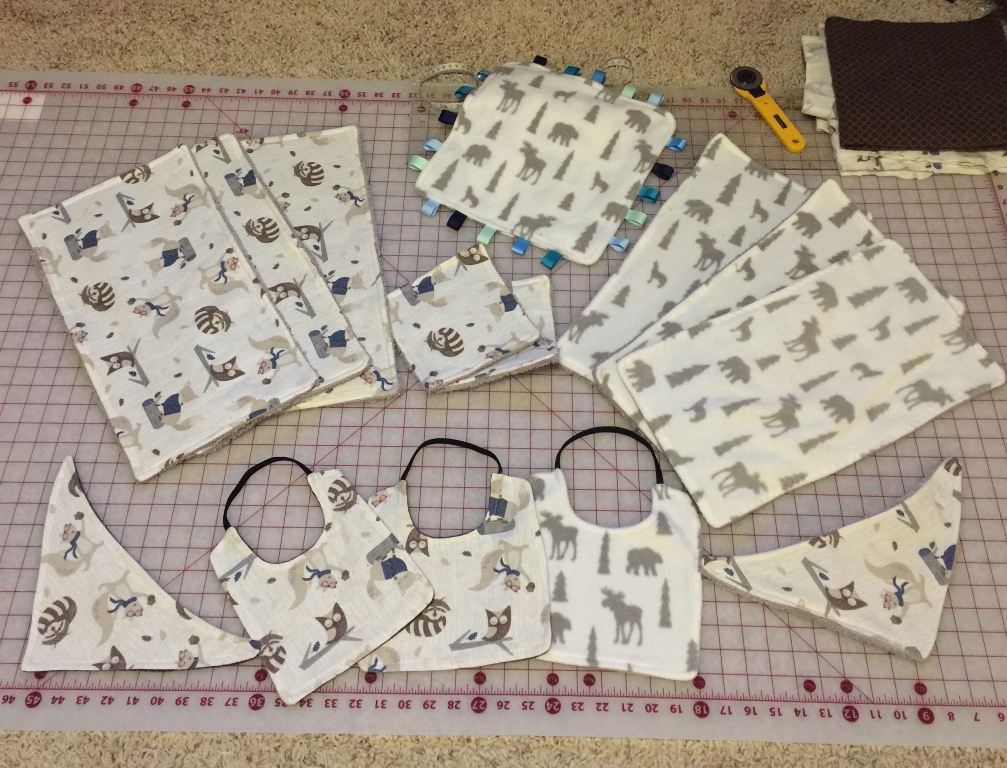
- Bibs
- Washcloths
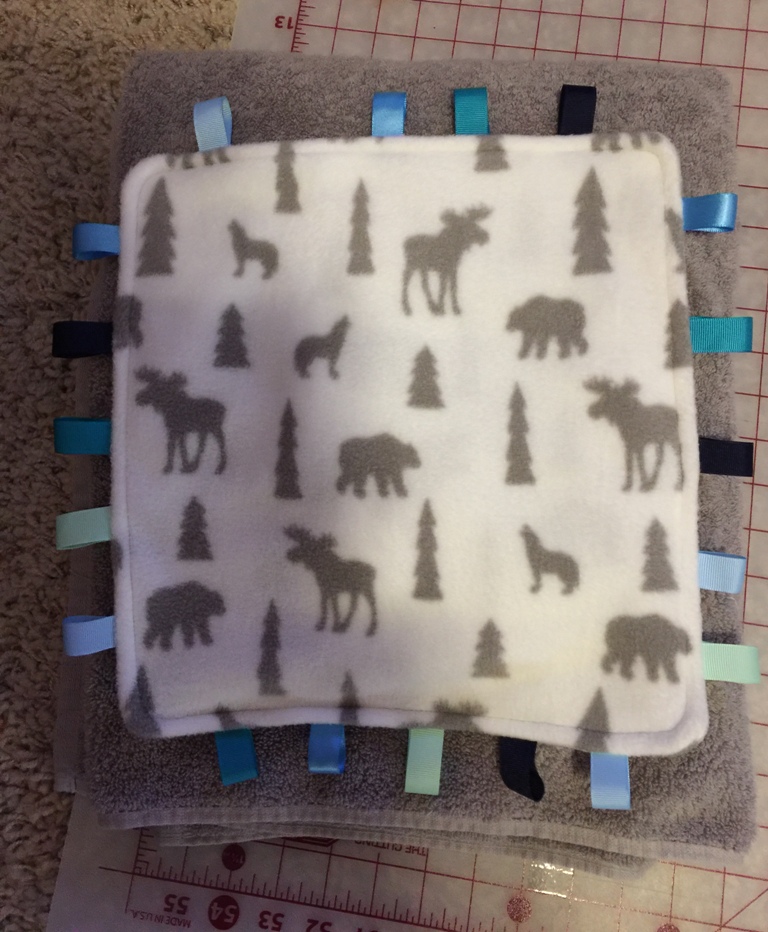
- Lovey with ribbon tags
- Burp cloths
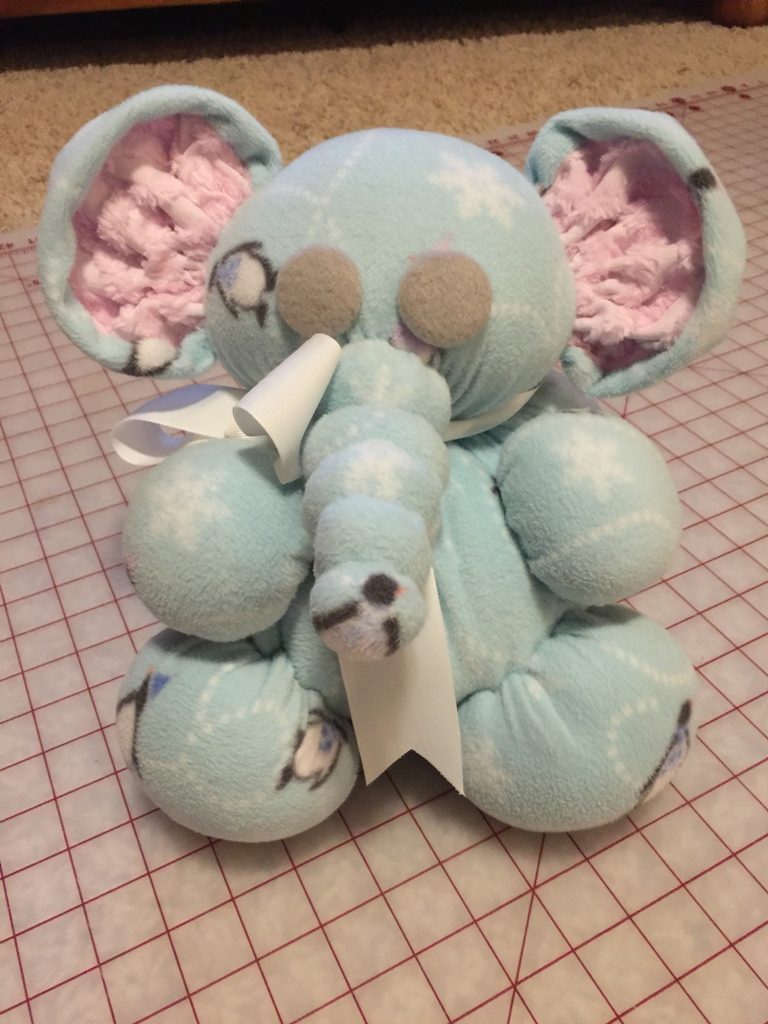
- A stuffed elephant
- Fitted crib sheets – flannel & polar fleece
- Changing pad sheet
- Sun cover for the car seat
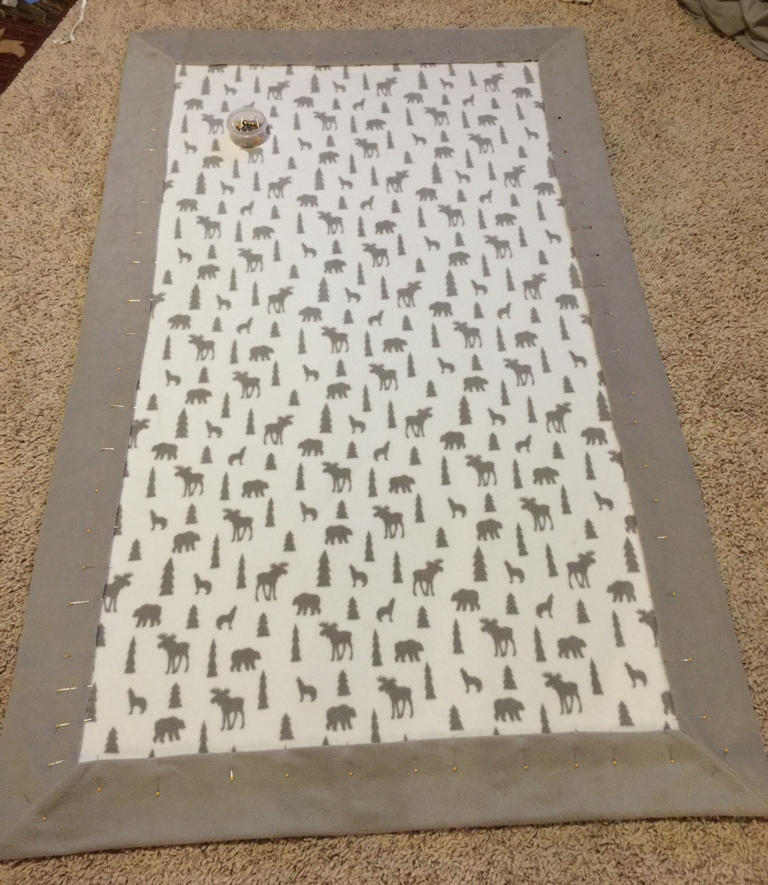
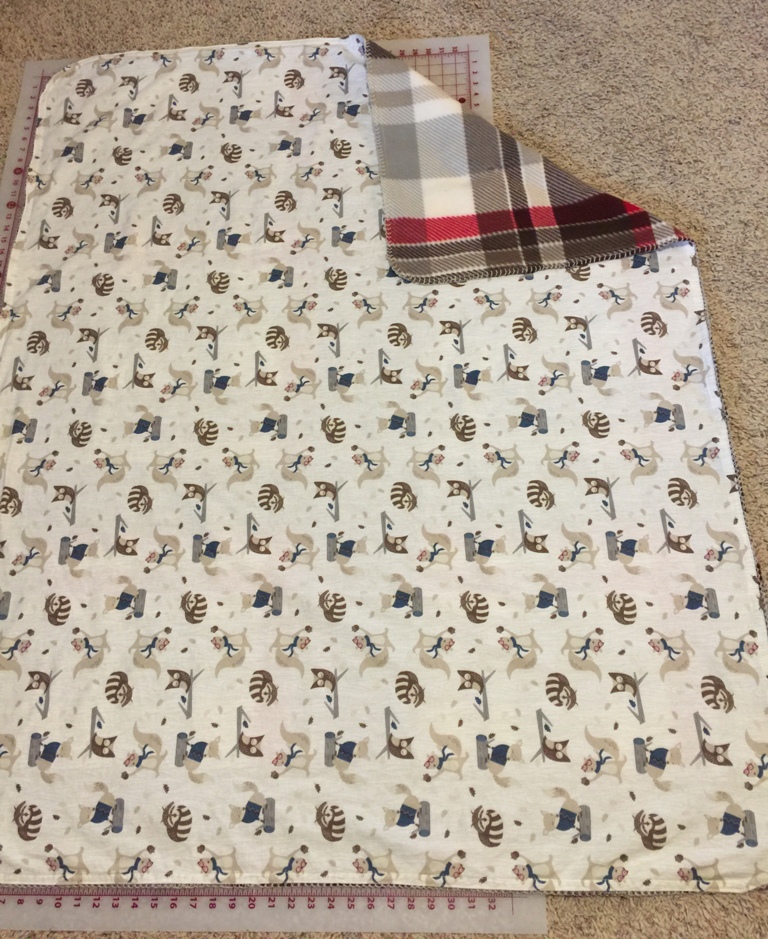
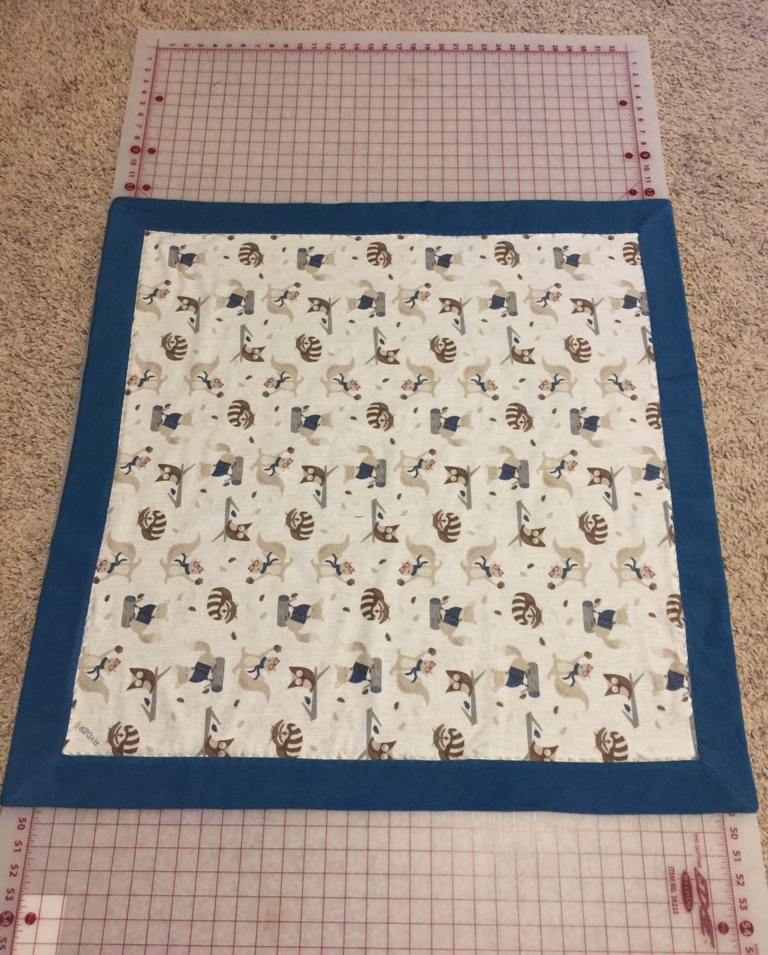
- Flannel blankets
- Polar fleece blanket
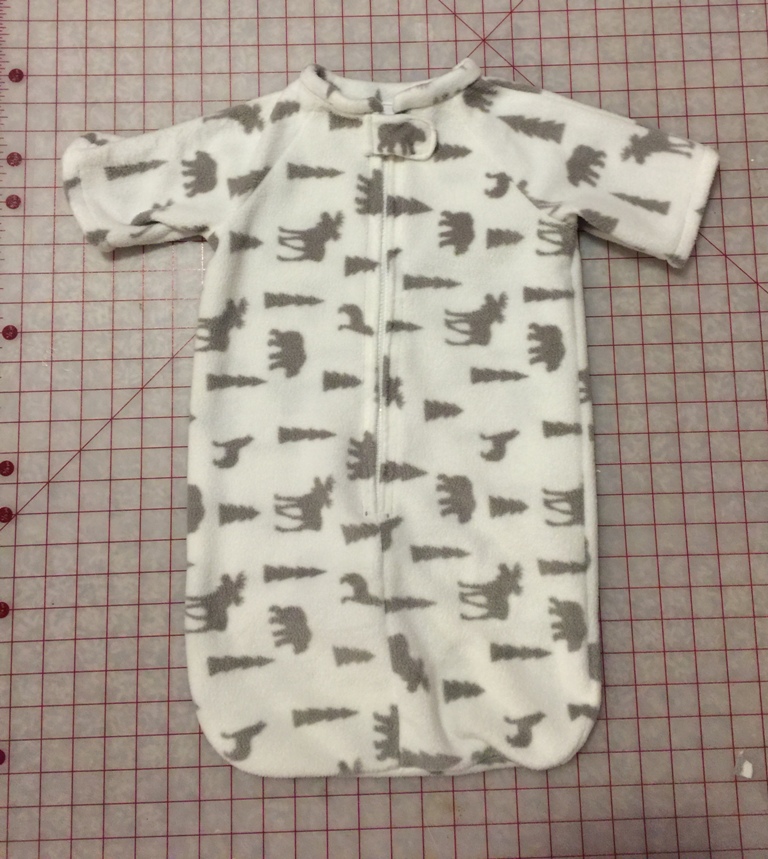
- Bunting

Polar fleece blanket 
Flannel blanket 
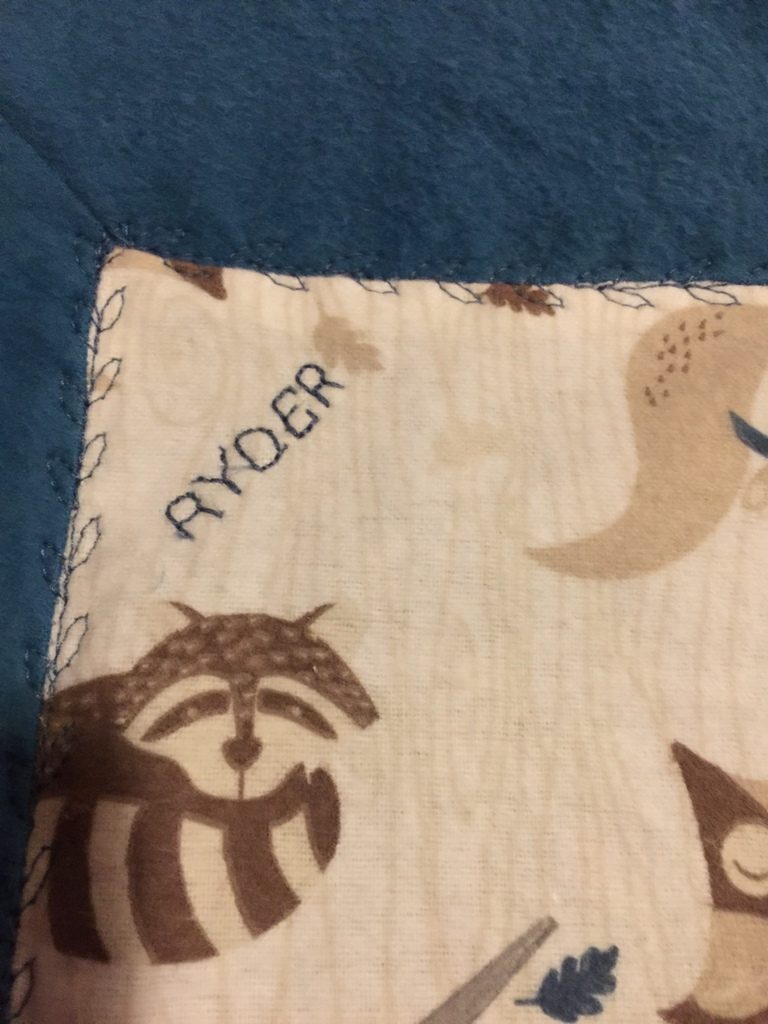
Flannel blanket Personalized Flannel Crib sheet Carseat cover 
Changing pad sheet 
Bunting 
Lovey 
Bibs, burp cloths, wash cloths Stuffed elephant
Grandbabe is 2 1/2 now and his crib has been converted to a toddler bed. Since I had already made the crib sheets, he just needed top sheets but I thought I’d make a couple of sets so that they would be matched pairs. When I made the crib sheets, I bought twin sheets and then used that material and elastic to make them. I decided to do the same thing this time. I bought a set of sheets and washed them up. The dimensions of a crib mattress are 28″ x 52″ x 5″ (sizes vary a little but that’s the average size) so the measurements for the sheets needed to be about 45″ wide and at least 65″ long. Many of the top sheet patterns I looked at use 69″ for the length.
I measured the twin top sheet and found the if I cut it into two pieces horizontally, I would have enough material to make two toddler top sheets! I made the cut and then, for some unknown reason, cut the two pieces again! Now I had 4 pieces and all of them too small to use! Ok, well then, I’ll just move on and cut what I need from the bottom sheet to make a bottom sheet for the crib mattress. I measured the length at 69″ and made my cuts. Then, I measured the width at 45″ and cut the first side. So far, so good. Then I started my cut along the last side and to save time, decided I’d tear the fabric – if you’ve sewn, you know that you can do this with cotton fabric and it usually tears in a straight line…..this fabric did not and I ended up with an uneven tear which made the piece too narrow to use for either the top or the bottom sheets! Seriously!?! I have been sewing for many years and have not made that type of mistake!!!
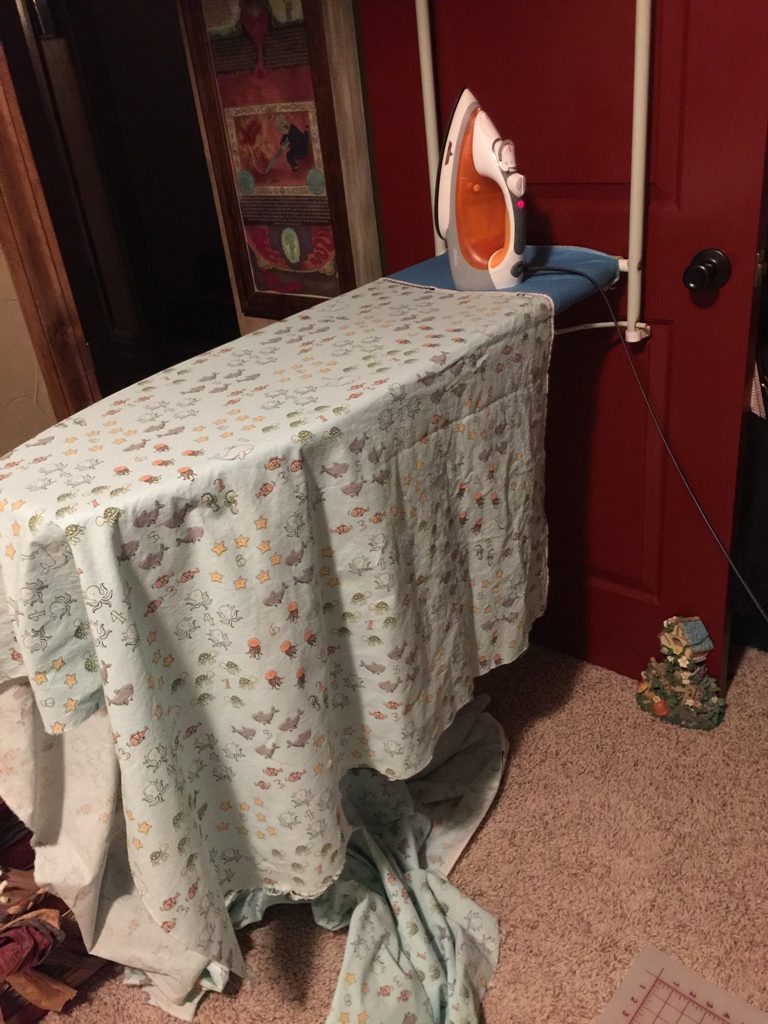
Since you don’t want seams in your sheets, I now I needed to decide what to do. Do I buy another set of sheets or buy fabric? Since the width of the sheets was going to be 45″, I decided to go to JoAnn’s Fabrics and buy some cotton material. **Next time, I’ll pay more attention to the softness of the fabric as the material with the ocean creatures on it is a little bit rough** I found two patterns I liked and was going to buy 2 yards of each. Both of the fabrics I chose were the end pieces on the bolts so I just bought what was left of each. I had just enough to make a pillow case if I combined the materials.
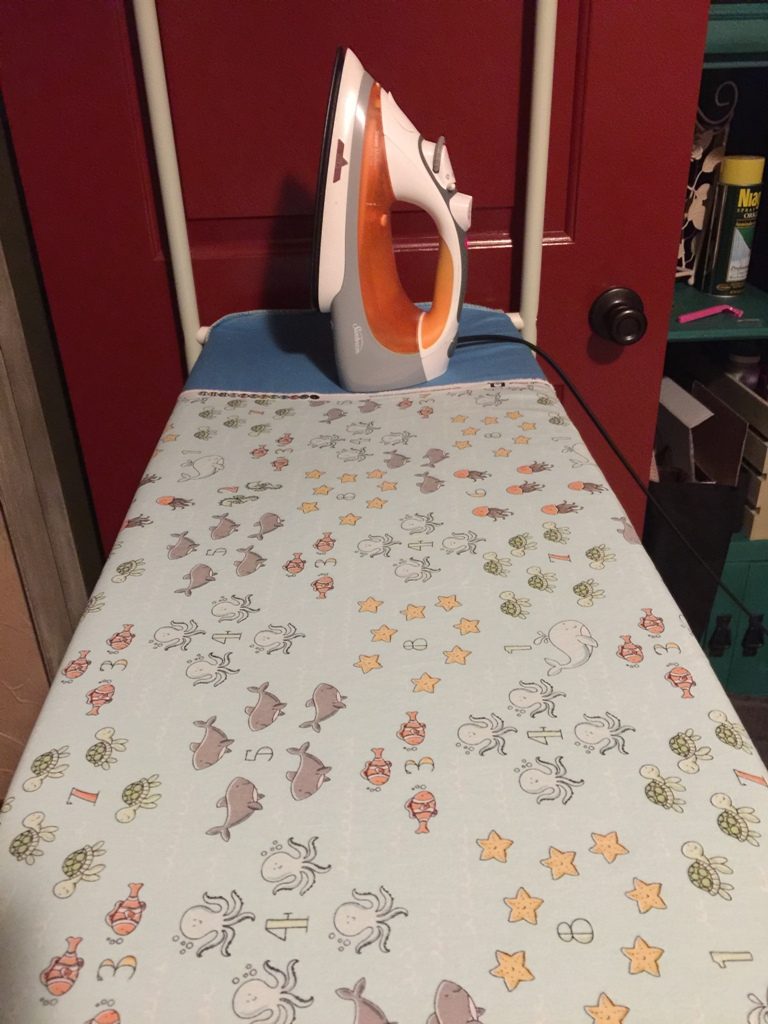
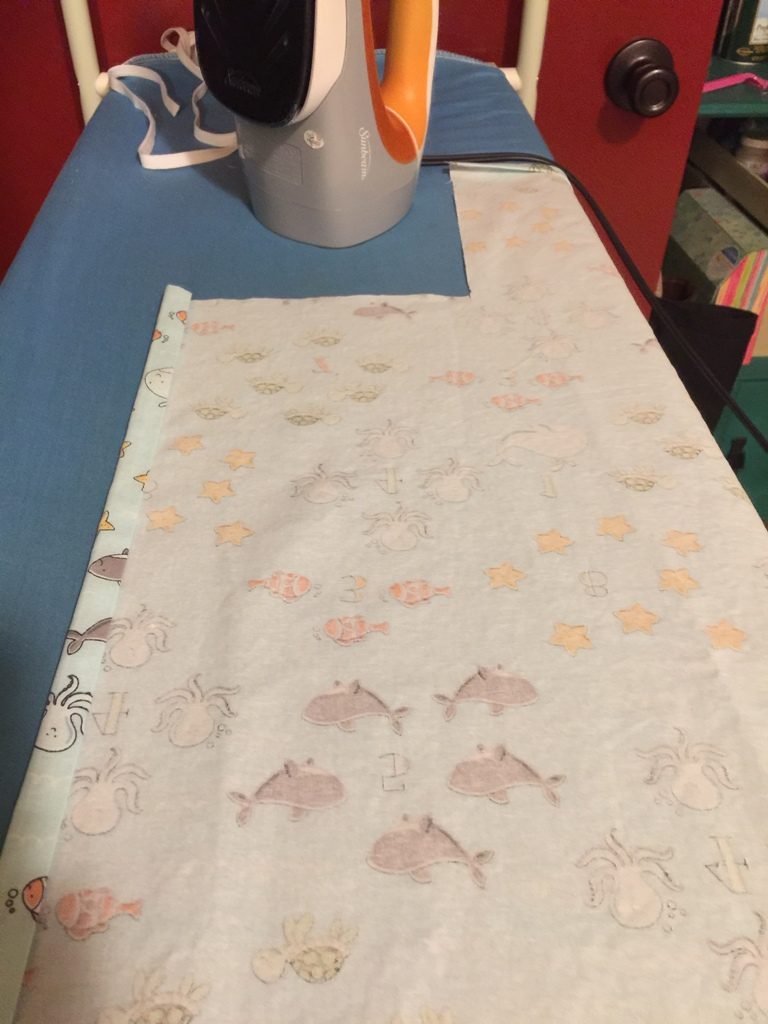
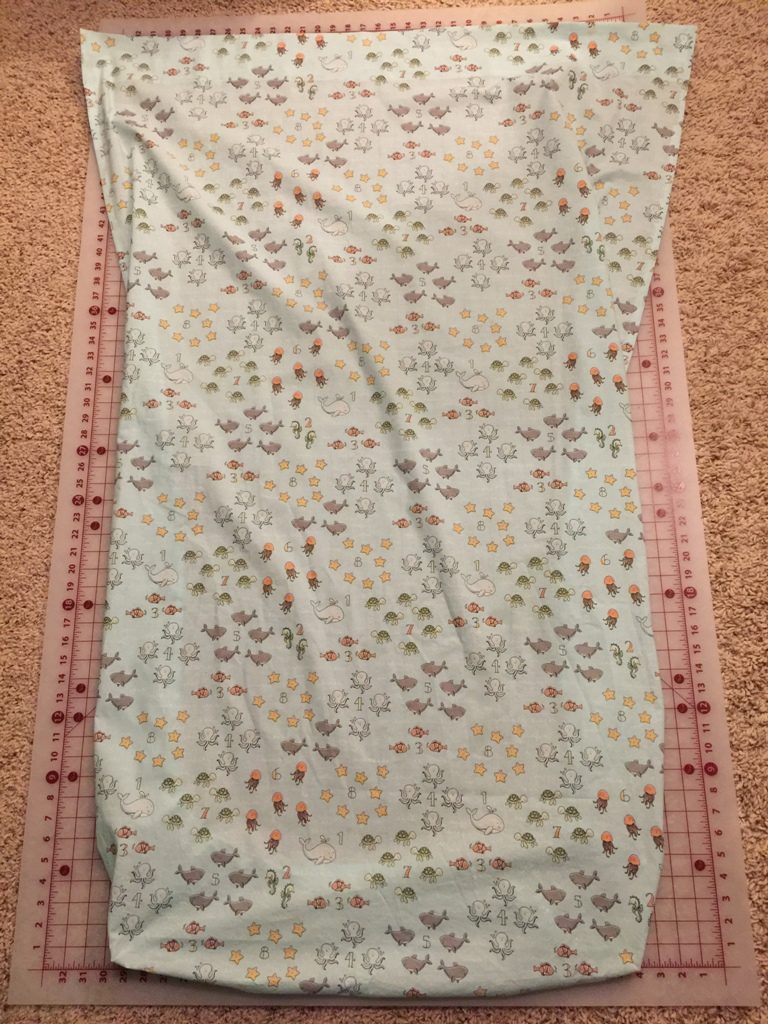
Ironing the cotton fabric Ironed, ready to be cut
After the fabric was washed and ironed, I cut out the sheets. I started with the fitted sheets. With the width already the correct size, all I needed to do was cut the length and then cut an 8″ square out of each of the 4 corners. It was super easy to measure the squares using my cutting mat – if you don’t have one, you can get one here. They are a great addition to your sewing tools! I also like to use a rotary cutter and clear craft ruler when cutting straight lines.
Using rotary cutter & mat for corners Corners cut
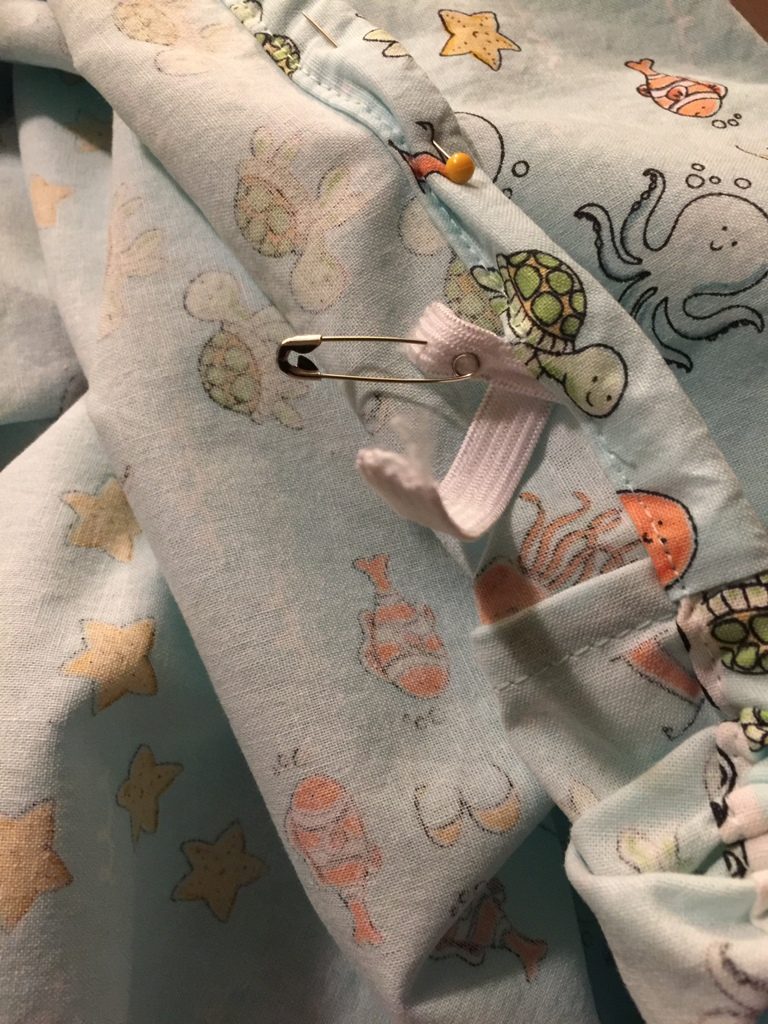
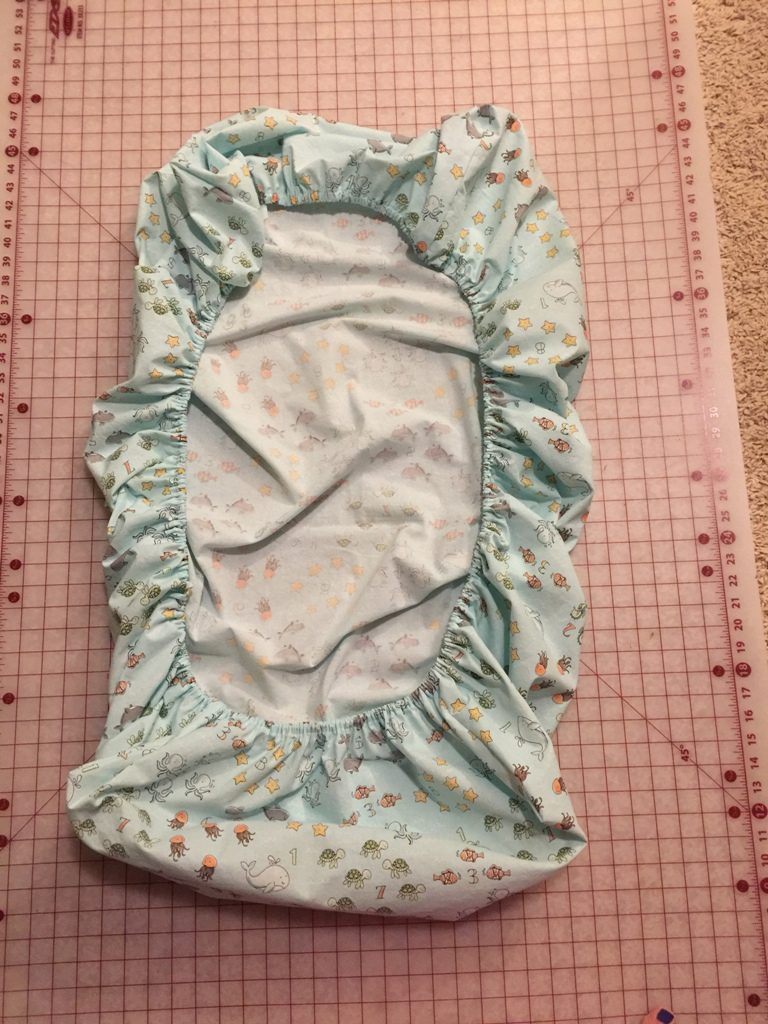
With the cuts complete, I turned under 1/4″ along all 4 sides, ironed it flat then turned under an additonal 3/8″ to form the casing for the elastic. I then stitched each of the corners with right sides together, to make the pockets. When that was done, I sewed close to the edge of the casing, leaving an opening of 1″ so I could thread the elastic. I cut 60″ of elastic for the bottom sheet. Using a large safety pin that I had attached to the end of the elastic, I threaded the elastic through the casing. This takes a bit of time to do as you need to move the fabric along the elastic to even it out as you are threading it through the casing. When I reached the end of the casing, I sewed the two ends of elastic together then sewed the casing opening closed. That’s all it takes to make a fitted sheet!
Ironing the casing Casing sewn Elastic threaded in casing Elastic ends sewn together Casing sewn shut Finished fitted sheet
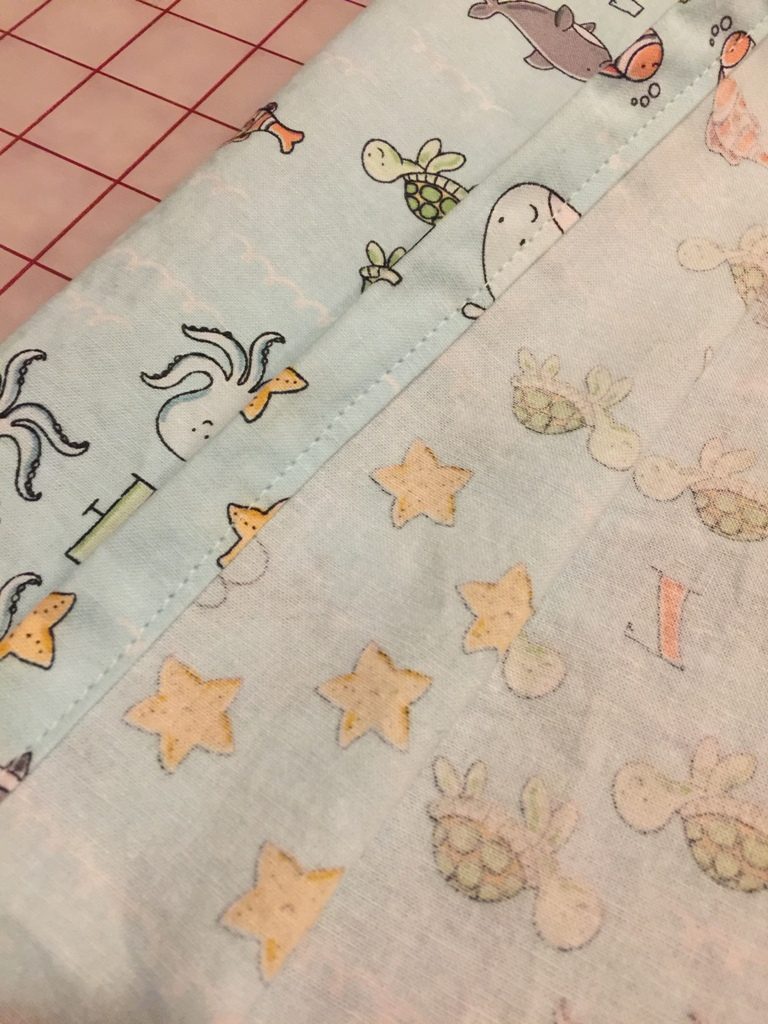
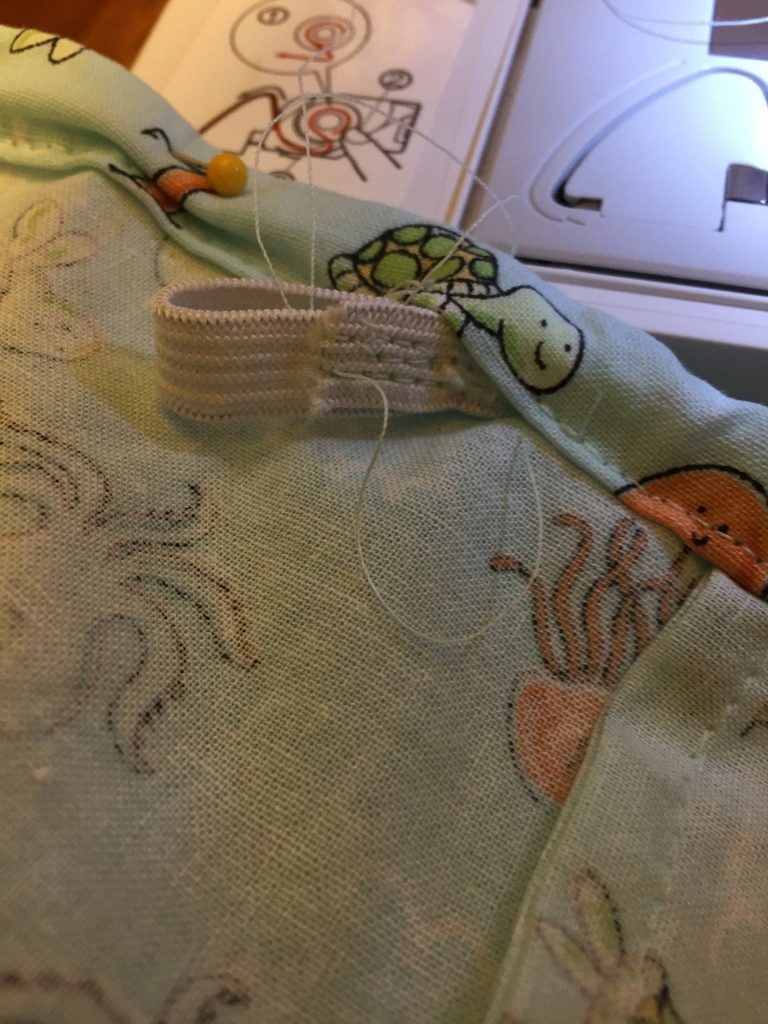
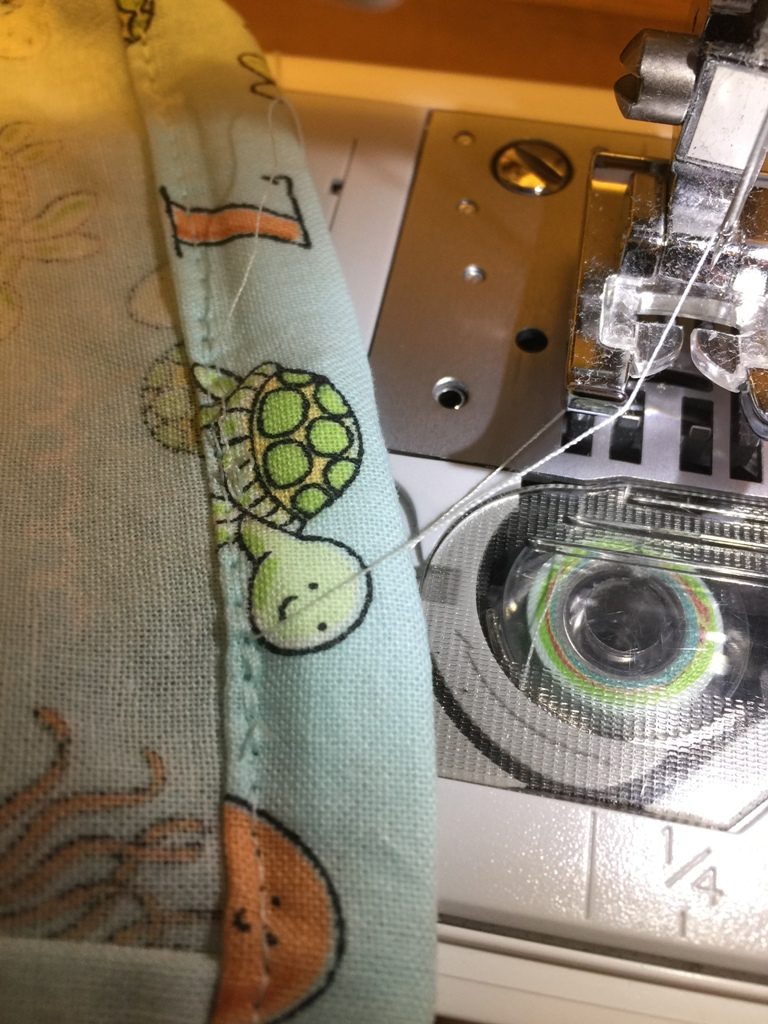
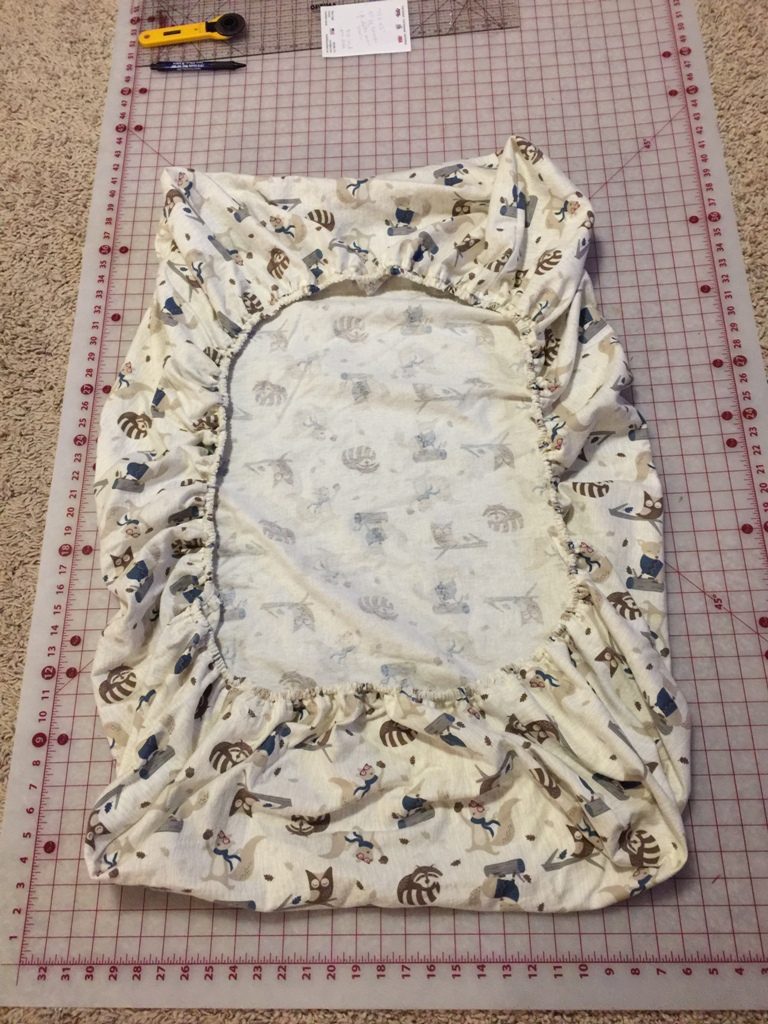
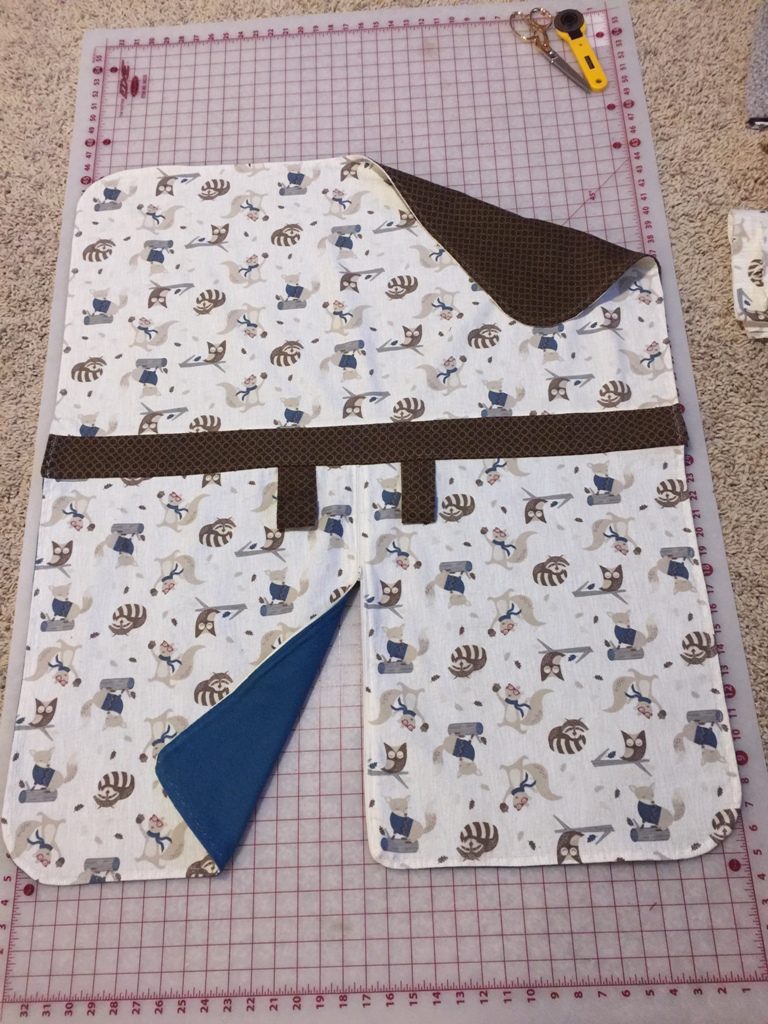
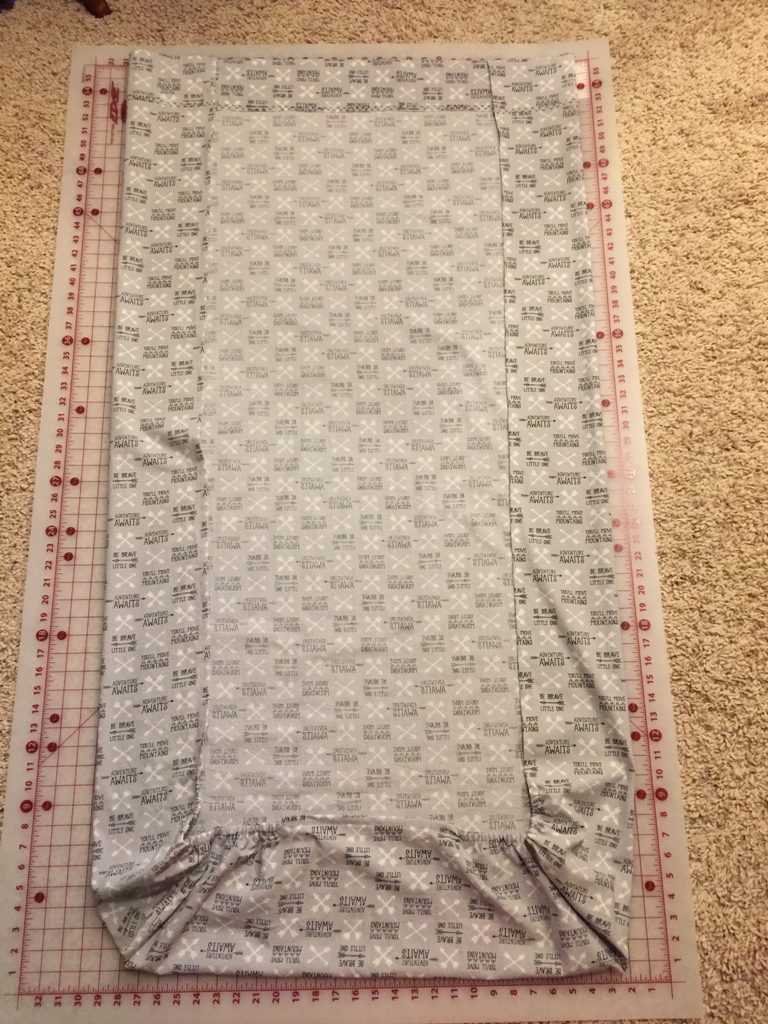
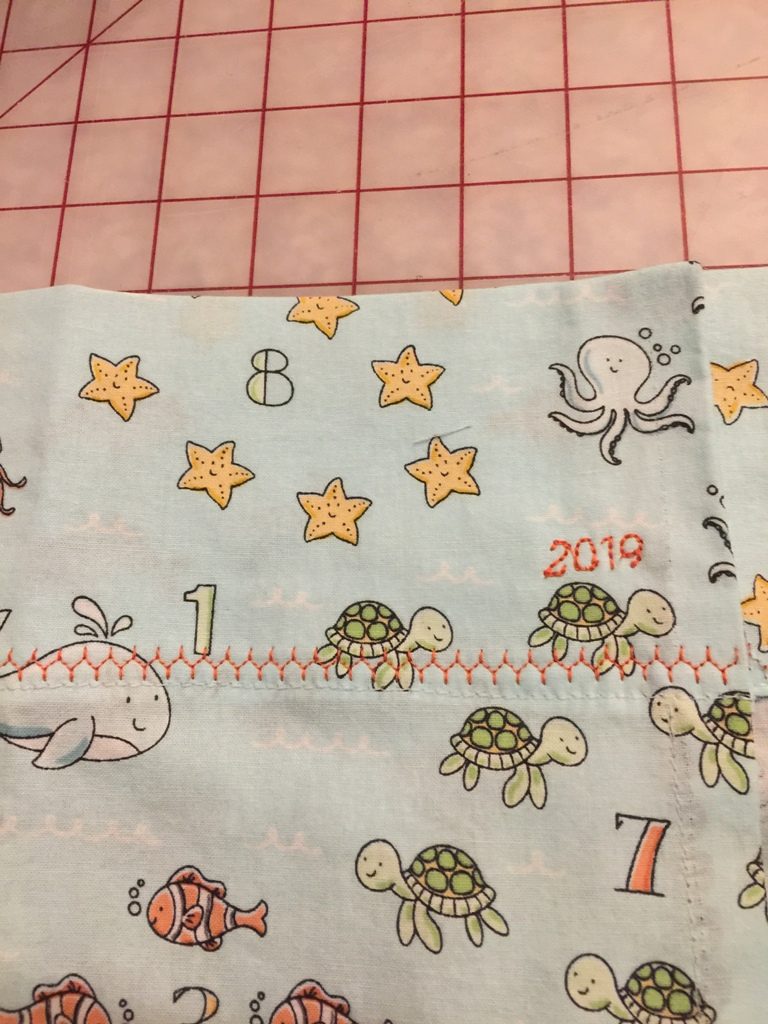
For the top sheet, I decided to make two corner pockets at the bottom of the sheet. This would keep the top sheet in place, preventing it from coming undone during the night and getting tangled up around grandbabe. I started with 67″ for the length because I thought 69″ would make it too long for the mattress and then cut a 8″ square from the bottom two corners. Since both pieces of my fabric were printed with a one-way design, I had to make sure I was making my cuts at what would be the bottom of the mattress. Once the corners were cut, I followed the same process used for the fitted sheet to form the corner pockets and make the casing but for this sheet, the casing is sewn about 12″ on either side of the two pockets. I ironed 1/4″ along all sides of the sheet. I then created a hem along the two long sides and the bottom where the pockets were and stitched it down, leaving an opening on either side of each pocket where the casing would be for the elastic. I cut two pieces of elastic approximately 15″ each to use for these pockets & threaded them into the casing. When the elastic was threaded, I stitched the elastic in place through the material and then sewed each casing shut. I created the finished edge at the top of the sheet by folding it over 4″, ironing it and then stitching it down. For the finishing touches, I added a decorative stitch and then the year.
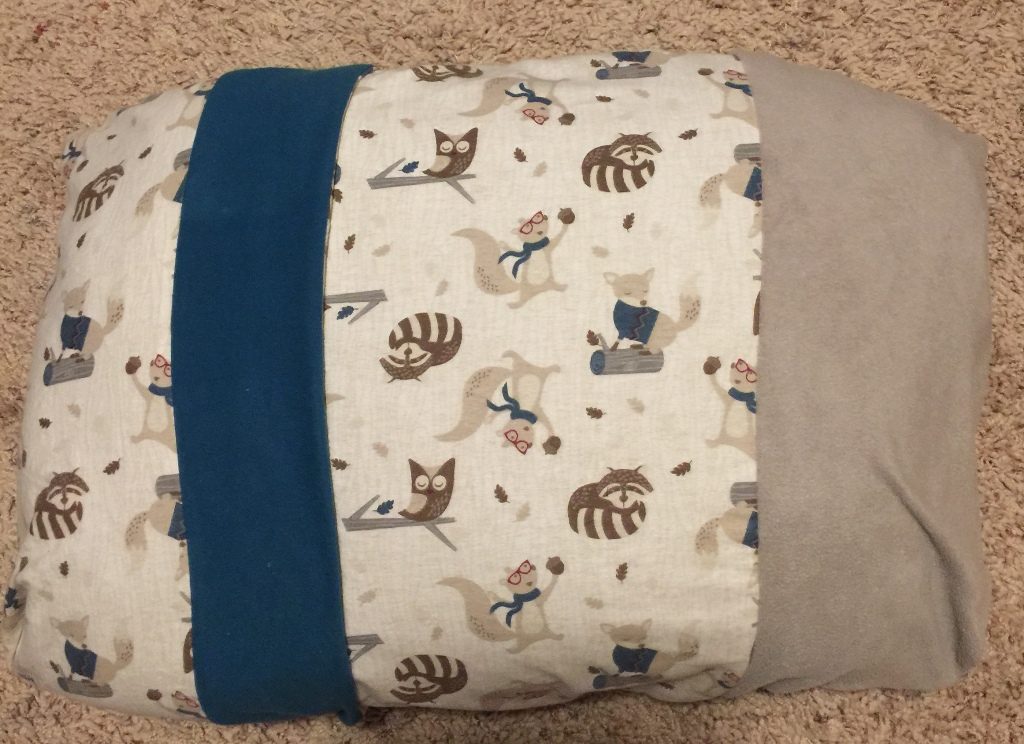
Inside of top sheet Outside of top sheet 2nd top sheet Decorative stitch & year added

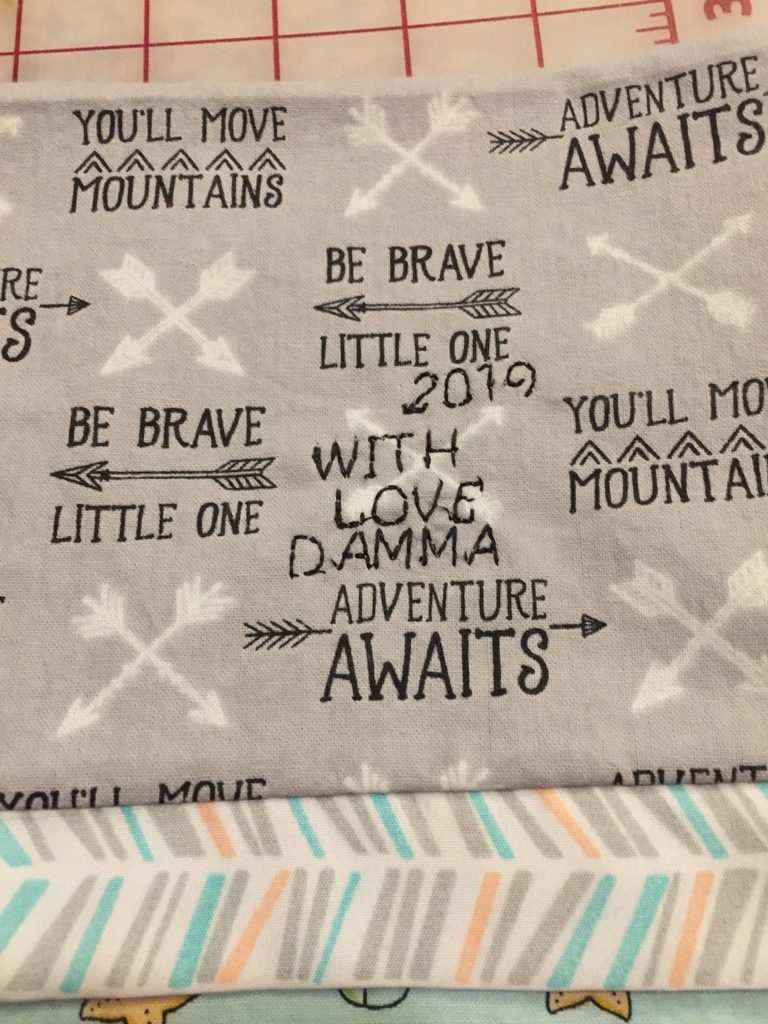
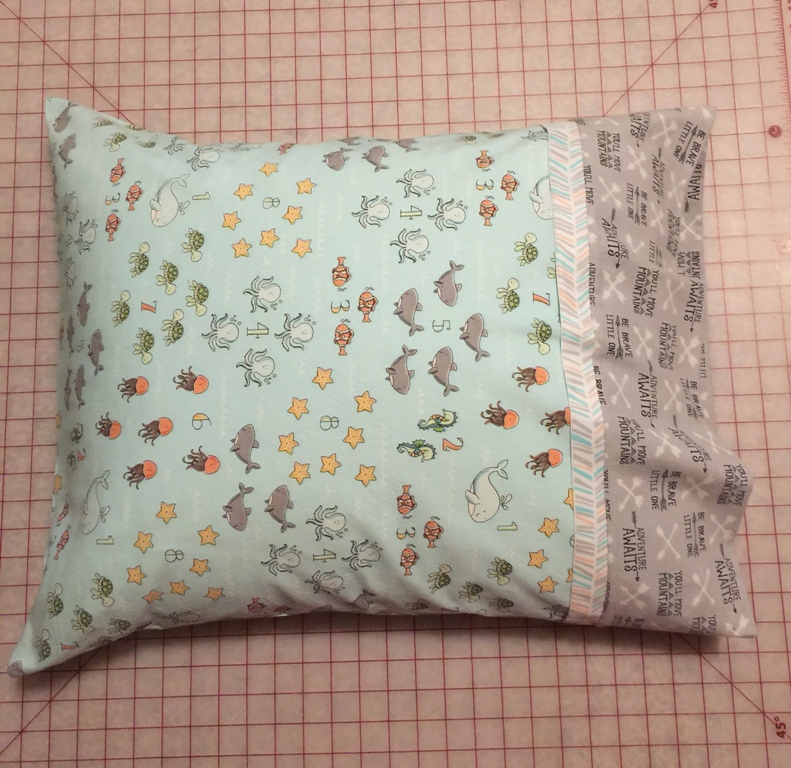
With the leftover fabric, I created a pillow case & personalized it. Grandbabe calls me Damma 🙂 The chevron print is from the twin sheet set. Not sure what I’ll do with that fabric, but I’ll find something to make.
Personalized 
Pillow case 
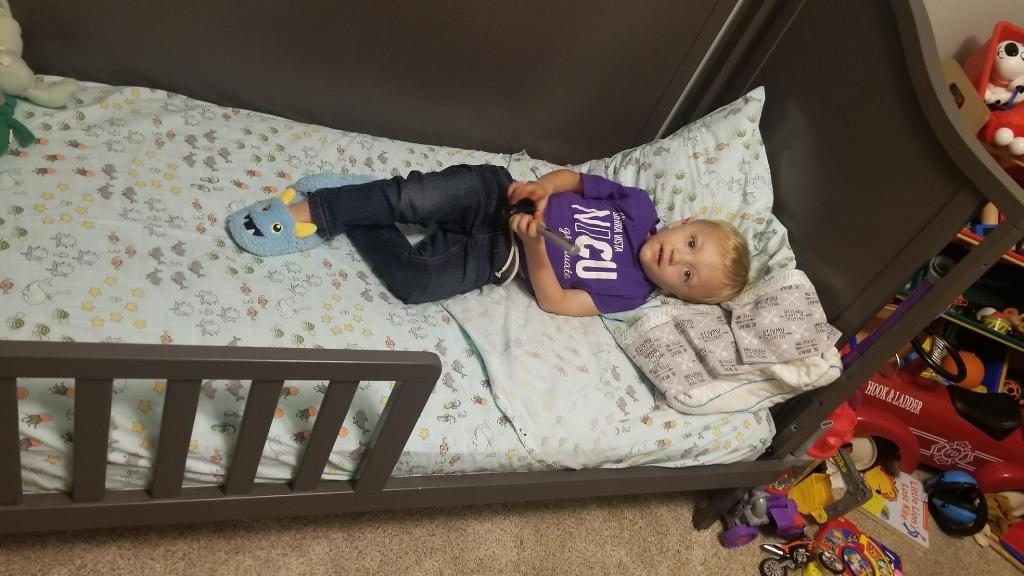
Grandbabe loves his new sheets!
Supplies
- 4 yards of 45″ wide cotton fabric
- 4 yards 1/4″ elastic
- Thread
- Iron & ironing board
- Sewing machine
- Scissors (my favs are available here) or rotary cutter & ruler


Instructions – Fitted sheet
- Wash fabric and iron (if needed)
- Cut fabric length at 69″
- From each corner, cut out an 8″ square
- Turn under 1/4″ on all 4 sides and iron
- For elastic casing, turn under an additional 3/8″ along all 4 sides and iron
- Pin each corner with right sides together – sew with 1/4″ seam. This will create a pocket to slip over the edges of the mattress
- Stitch close to the edge of the casing, leaving an opening large enough to thread elastic
- Thread elastic through the casing and sew ends together
- Sew the opening closed
Instructions – Top sheet
- Wash fabric and iron (if needed)
- Cut fabric length at 67″
- From the two bottom corners, cut out an 8″ square
- Turn under 1/4″ on all 4 sides and iron
For elastic casing, turn under 3/8″ about 12″ on either side of the two pockets and iron - Pin each corner with right sides together – sew with 1/4″ seam
- Sticth close to the edge of the casing, leaving an opening large enough to thread elastic
- Thread elastic through each casing and sew ends together
- Sew the openings closed
- Turn under another 4-5″ along the top of the sheet and sew
I’m excited to share more projects with you as well as tips/tricks/freebies! Just enter your email below to be one of my Blog Peeps!

You May Also Like

Let’s Make Some Cleaning Cloths!
Let’s Make Wooden Nutcrackers Look Like Metal!
