

Let’s Create a Tree Patio!
This is the 3rd project that I did this summer using some bricks that were relocated from our bark beds! If you haven’t yet seen the other two projects, they can be found by clicking on the pictures below:
Extra bricks
As I worked on the bark bed update, I set the square and rectangle bricks I was replacing around the garden area to be used in future projects.
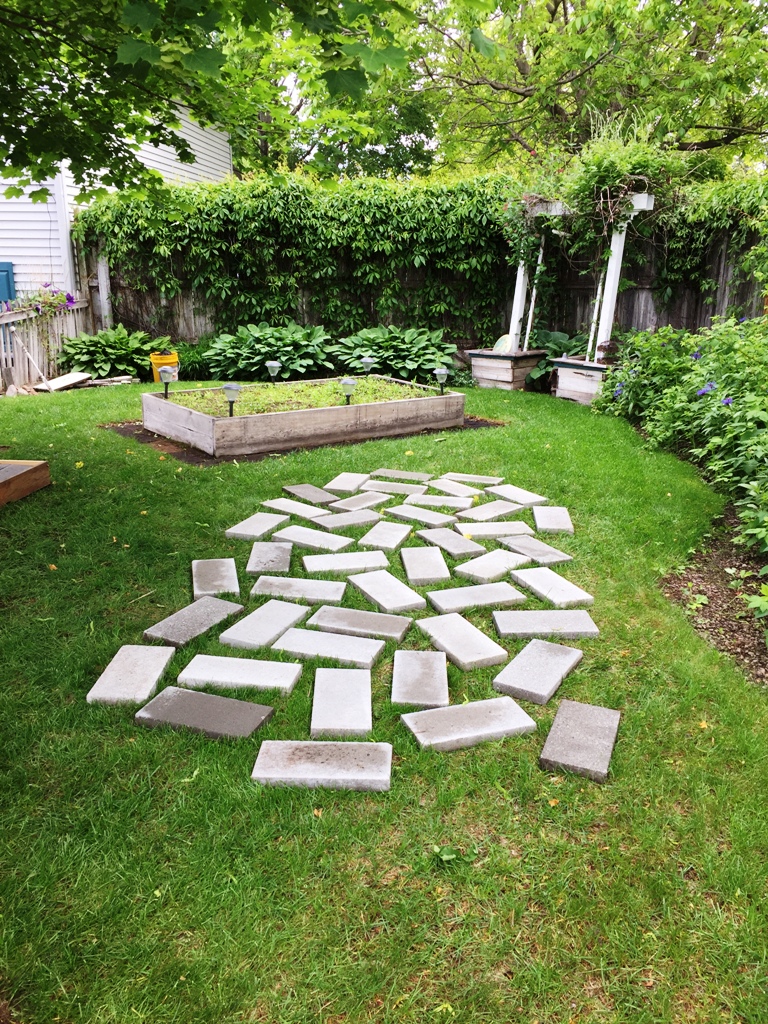
Once I finished the upgrade on the bark beds. I decided to use the 12″ x 12″ and some of the 8″ x 16″ bricks to make a platform/patio around the tree bench.
Starting the platform/patio

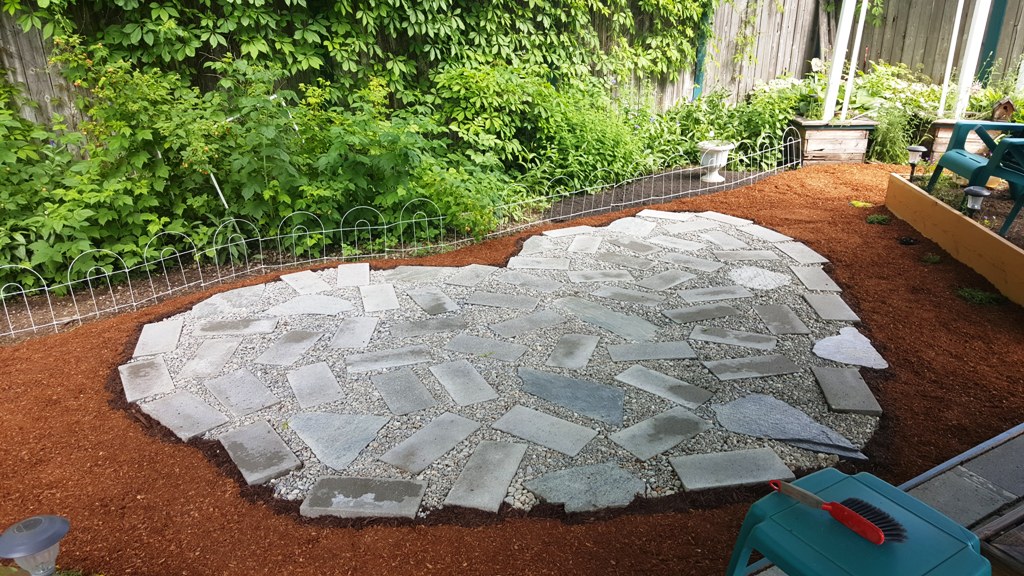
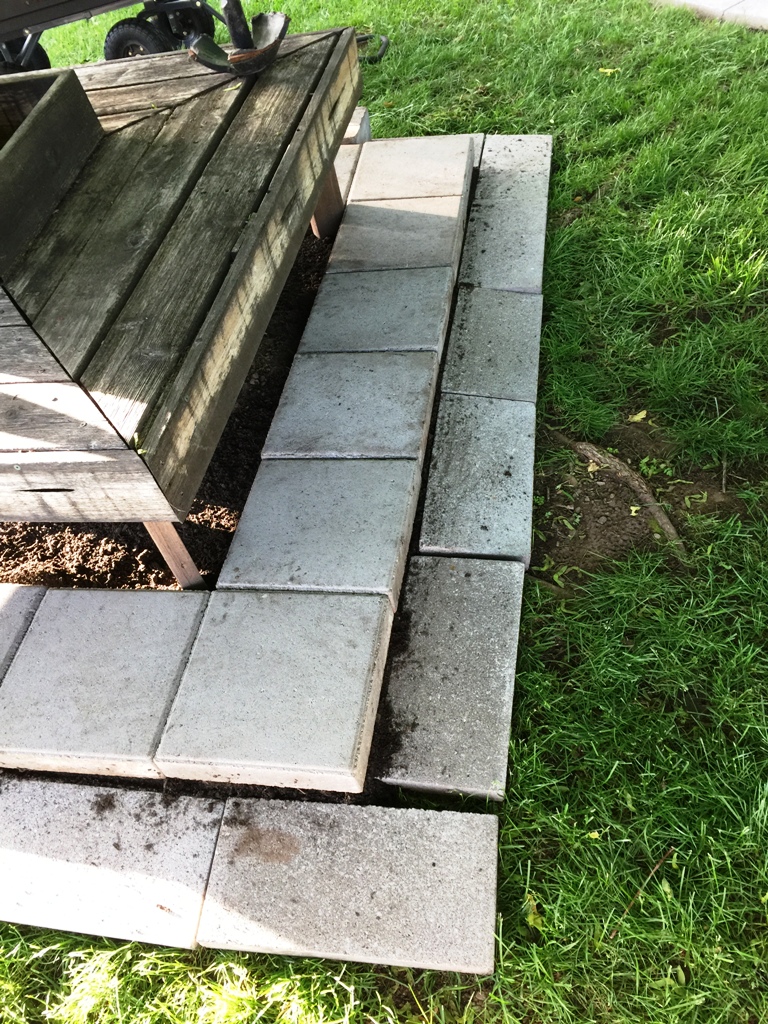
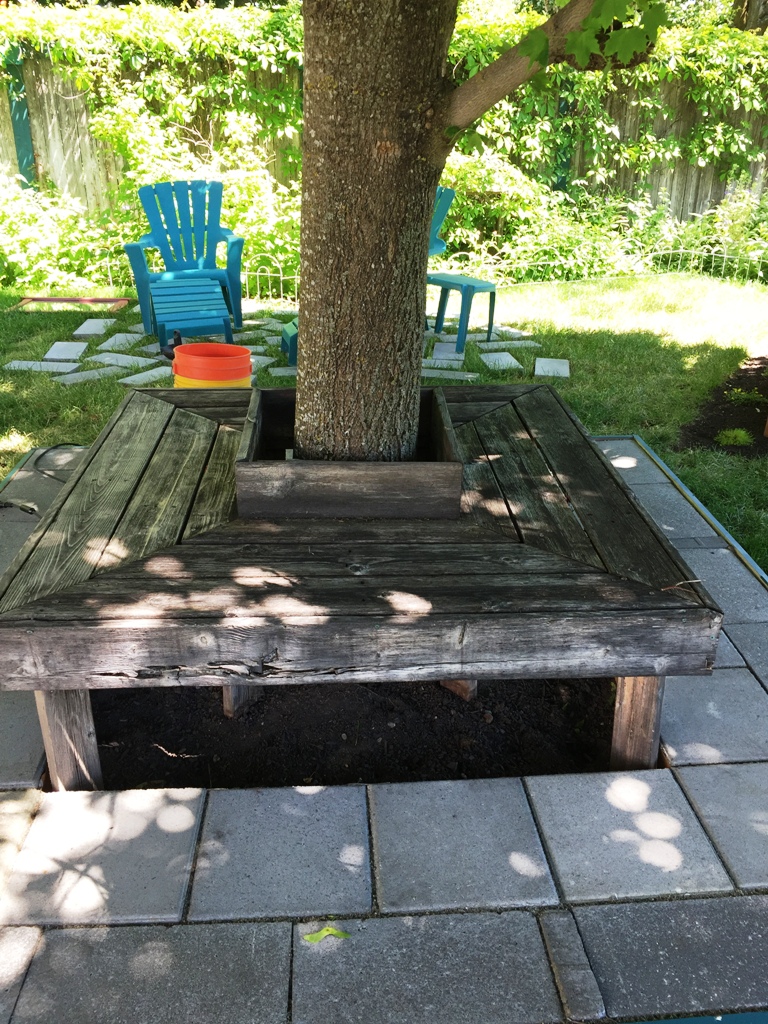
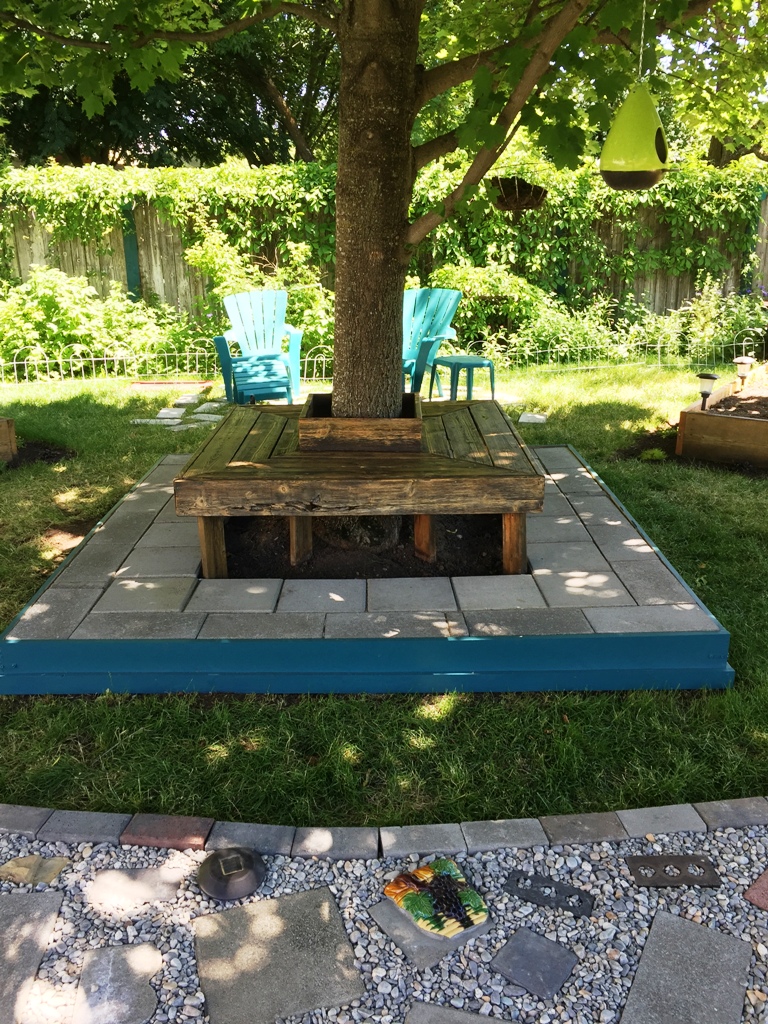
The ground around this tree is uneven due to the tree roots being close to the surface on two sides. I knew I would need to raise some of the bricks to compensate for the difference in height.
I decided to build a wooden box that would frame the bricks around the tree and then fill it with soil & sand to bring the bricks to an even level around the tree. I had a couple of 1″ x 6″ boards from another project and propped them up around the bricks so I could see if they would work as a frame. It looked like they would work well. Now that I had the perimeter, I saw that I’d need to add some regular bricks along the outer edge of the patio to fill in the gaps. I added one brick to each side of the patio.

While I was working on this project, my contractor was here repairing our deck. As I discussed my plan with him, he volunteered to cut the boards and build the frame! I usually prefer to do these things myself, but since he volunteered, I took him up on his offer.

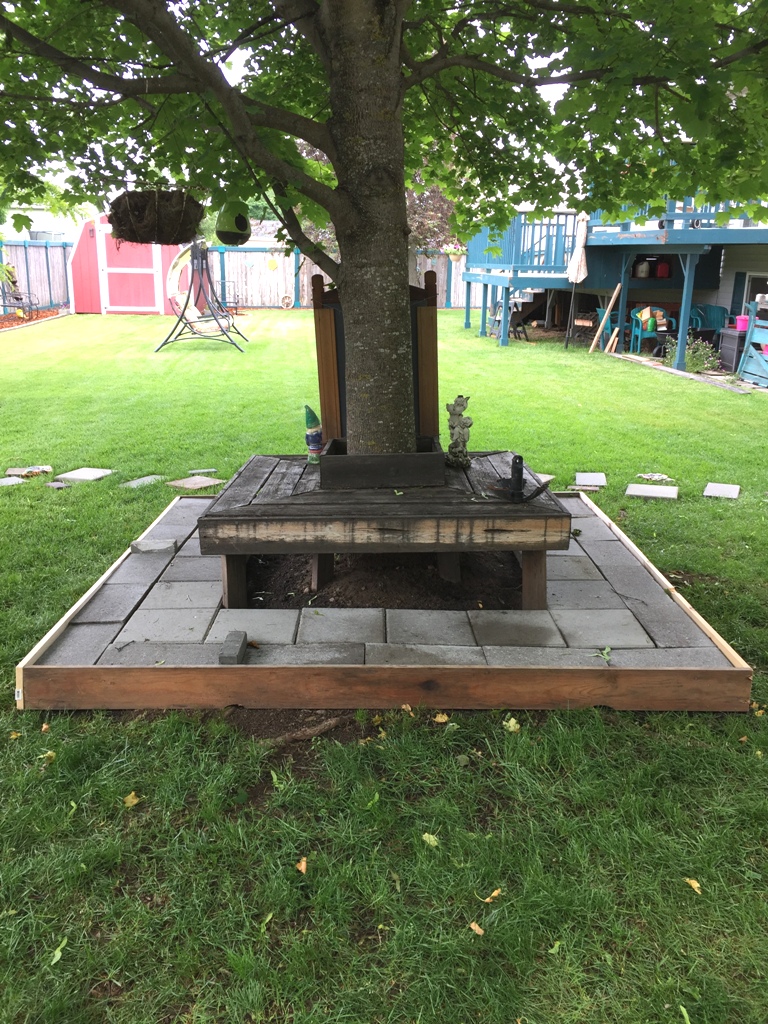
He used a skill saw to cut the boards to length & then a jigsaw to cut around the large tree root and the board fit perfectly! Once all the boards were cut to length, he attached them with screws. I later added an angle iron on each corner to give the frame added strength.
Leveling the bricks
The wooden frame worked well when it came to leveling the bricks. I didn’t take any photos of that process so I’ll explain it. All the bricks were already arranged in the frame. I started where the largest root was (see the first picture above) because those bricks just needed a bit of paver sand under them to be level with the top of the frame. I worked left then right of the tree root until the bricks on that side of the tree were level. I then moved onto sides 2, 3, 4. The process I took was to lift a couple of bricks, set them aside, add soil until I thought the bricks would be even with the top of the board, lay each brick back in place and when they were almost level, I added some paver sand to finish the leveling process. These were the steps that I used all around the tree. Talk about getting some strengthening exercise in!
After I had all the bricks level, I let them sit for a few days. Then, I walked on them to help the soil & sand settle. I added more sand as needed to bring the bricks back to level.

Once all the bricks were level again, I added paver sand between bricks. I figure I’ll need to level them again after winter comes and goes.

Painting the frame
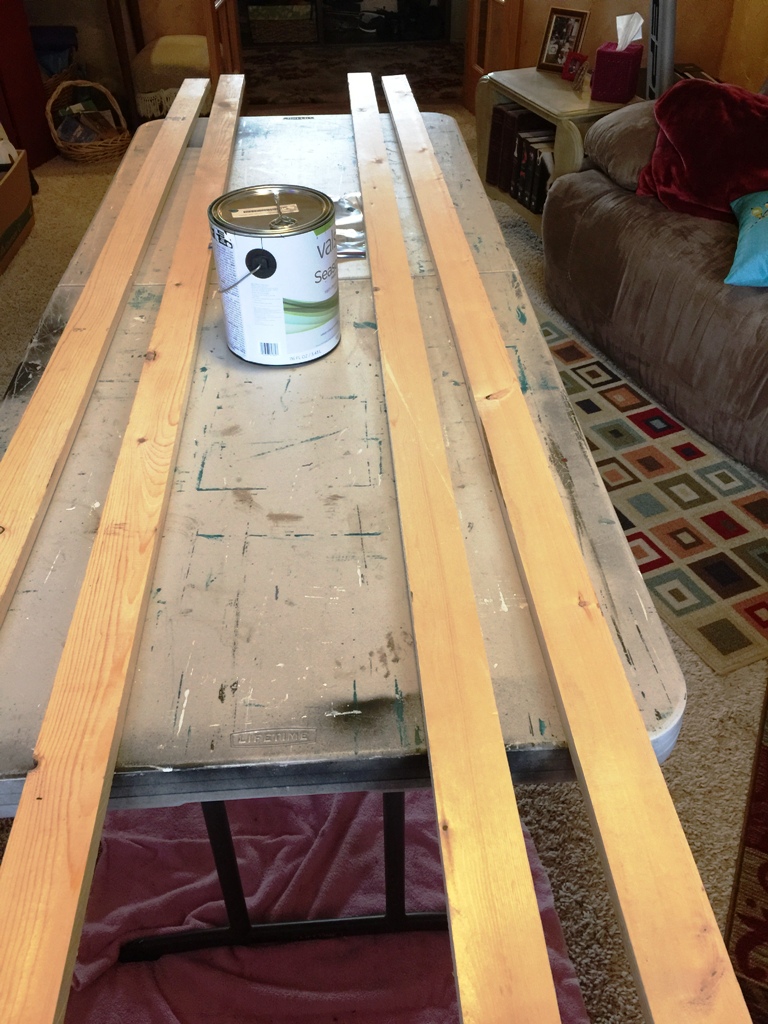
Now that the bricks were level, it was time to paint the wood. I was going to use the same paint that I had used on the deck railing a couple of years ago. Since my gallon from that project was almost empty, I needed to get more paint. When I went to buy the replacement gallon, I took in my almost empty can so they could mix a new gallon for me. Lowes informed me that they no longer carried Olympic Assure but they could mix the paint in their Valspar exterior paint. I said that would be fine; however, once I got the paint home and started painting, I thought ‘this is too blue’ but I also thought maybe it was because it was a different brand of paint and it would dry the right color, so I continued the job.

Adding trim pieces
Because the ground is uneven, there were a few places where there are gaps between the frame and the ground. Some of the sand was spilling through those gaps, so I decided to add a trim piece to the bottom of the box to prevent that from happening. I bought four 1″ x 3″ boards and cut them to size using my miter saw. Since the weather had turned cold and rainy, I painted them in the house. The paint was still looking too blue, but I continued.
Once both coats of paint were dry on the trim pieces, I took them outside to attach them to the frame. Using my drill & 2″ brass screws, I attached one board to each side.

I got caught in the rain again while doing this part of the project.
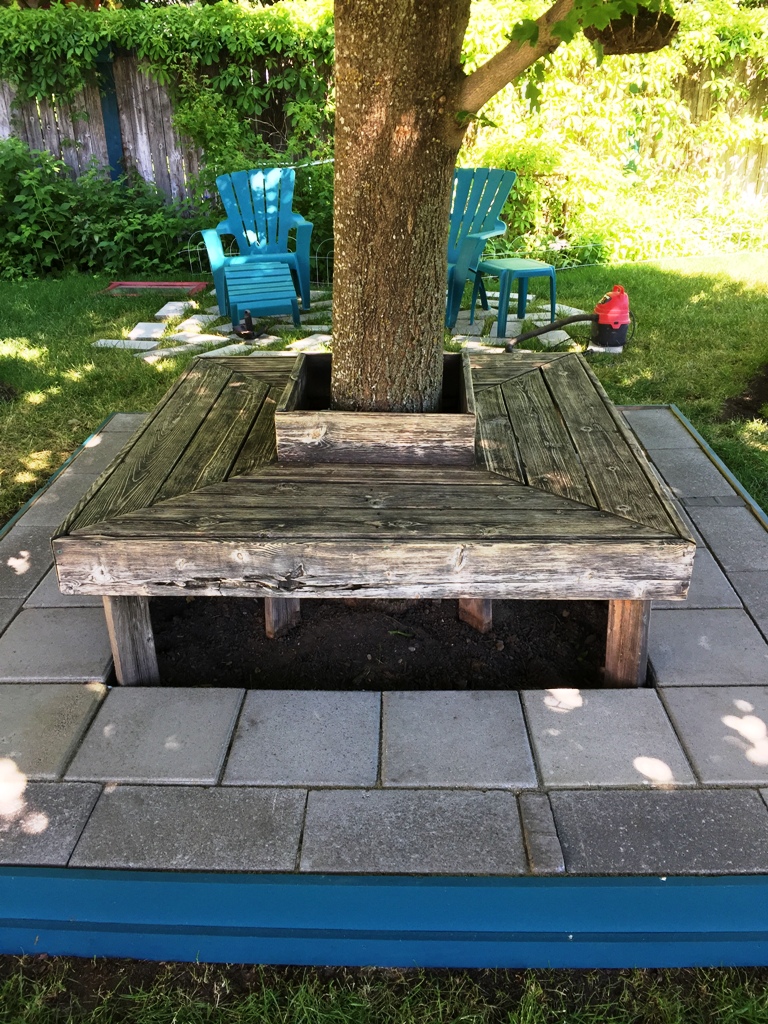
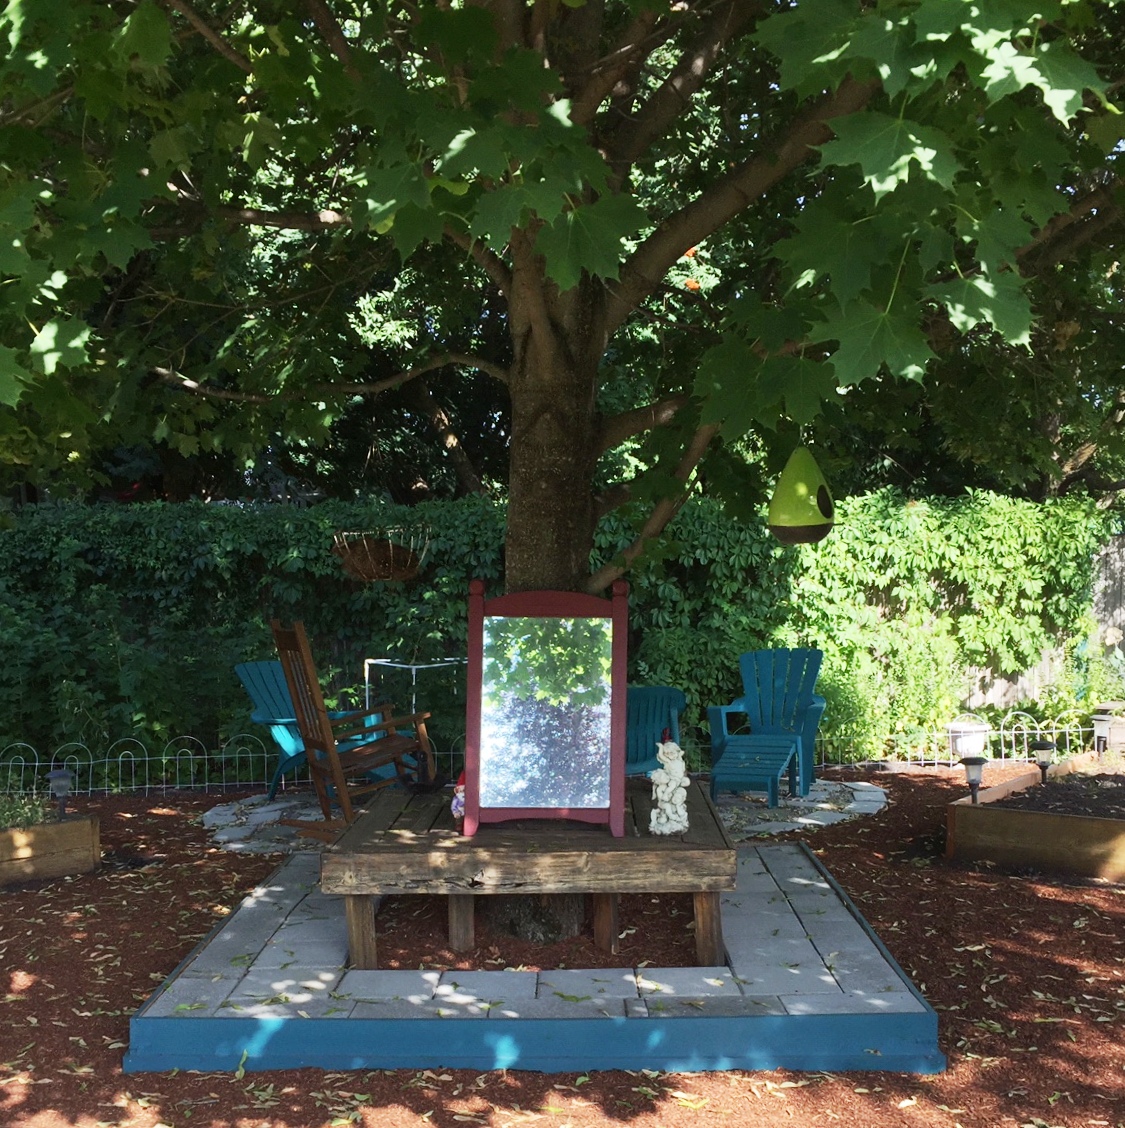
Now that I had the trim pieces in place, I stood back to look at the color. It was very blue! It was a nice color, but the original color was more teal. Knowing that I was going to be touching up the railing on the deck once my contractor finished the repairs, I also knew I needed to go back to Lowes and get the correct color. I no longer had the old can, but I did have a picture of the lid which showed the paint color formula printed on it. I went to the paint counter and explained that the new gallon was not the same color as the old and the formula on the lid was not the same as the original paint. The employee said ‘that’s odd, why didn’t they use the old formula’? So, she mixed a new can of paint for me, using the old formula and when she handed it to me, said there would be no charge! Yes! She also handed the blue gallon back to me and said, ‘I hope you can find a use for it’.


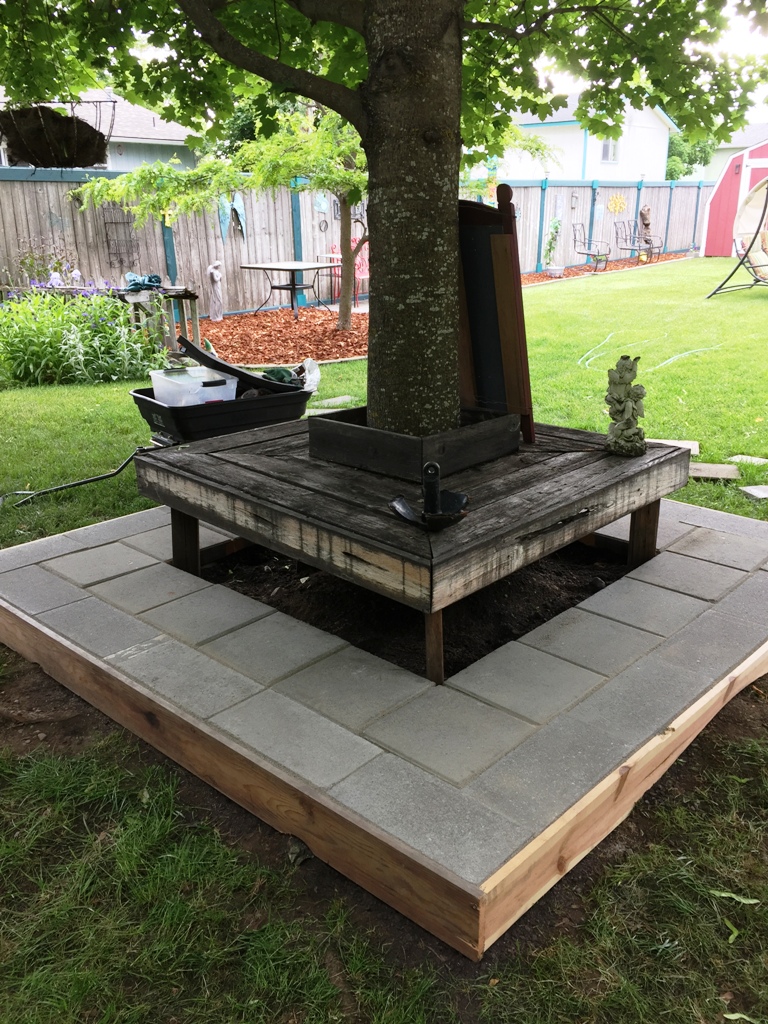
When I got home, I started repainting the frame around the tree patio. Wow! What a difference! I’m so glad I went back to get the correct color! I put two coats of the correct color on the frame to the patio.
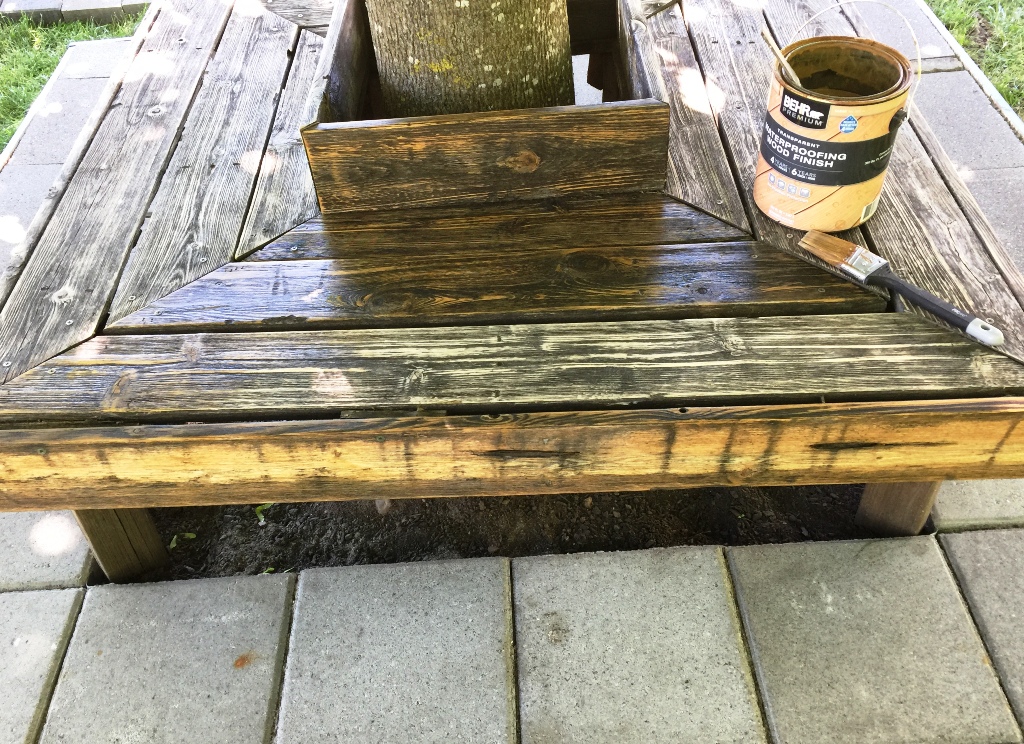
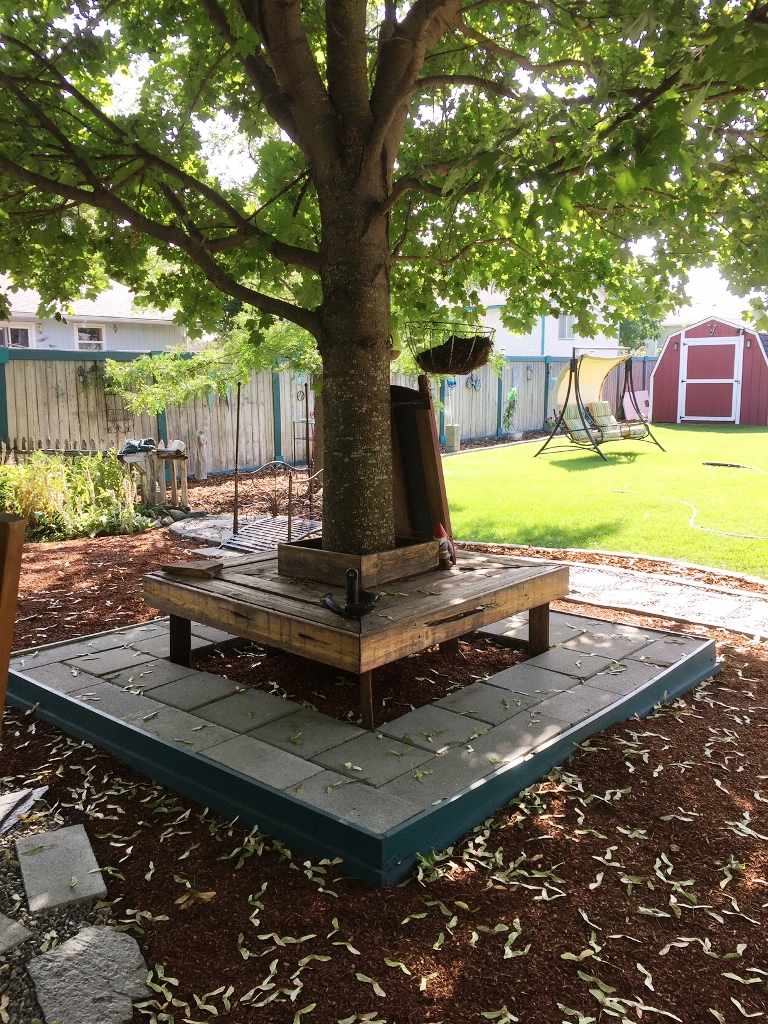
Sanding & staining the bench
When the patio was finished, I sanded the bench with my Makita 5″ orbital sander using 150 grit sandpaper. Once it was sanded, I applied a coat of Behr Wood Treatment to protect the wood. It has been a few years since I treated the wood on this bench so it really needed it.
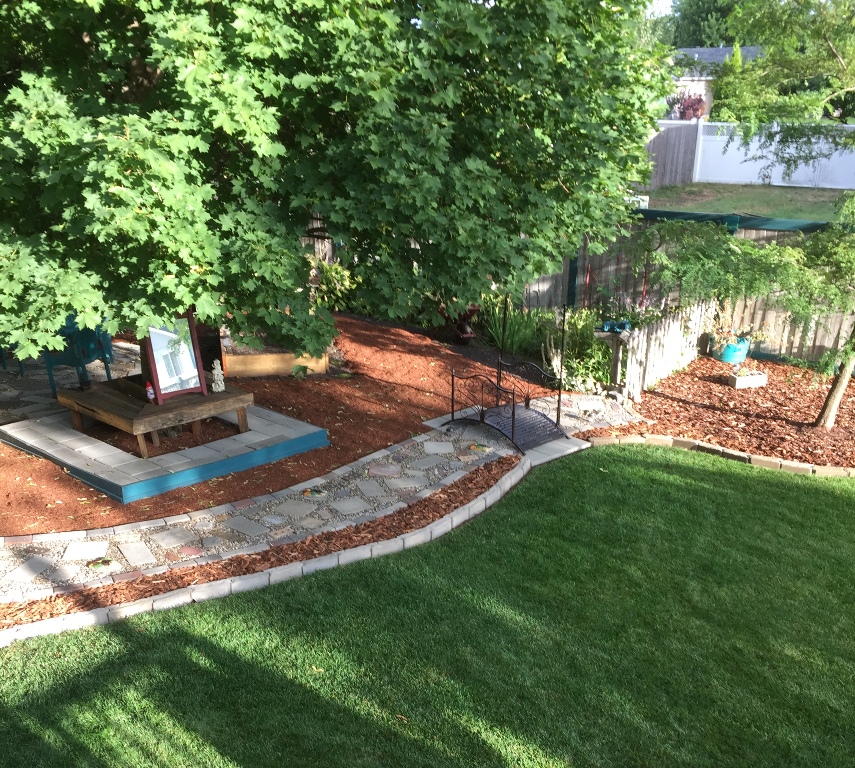
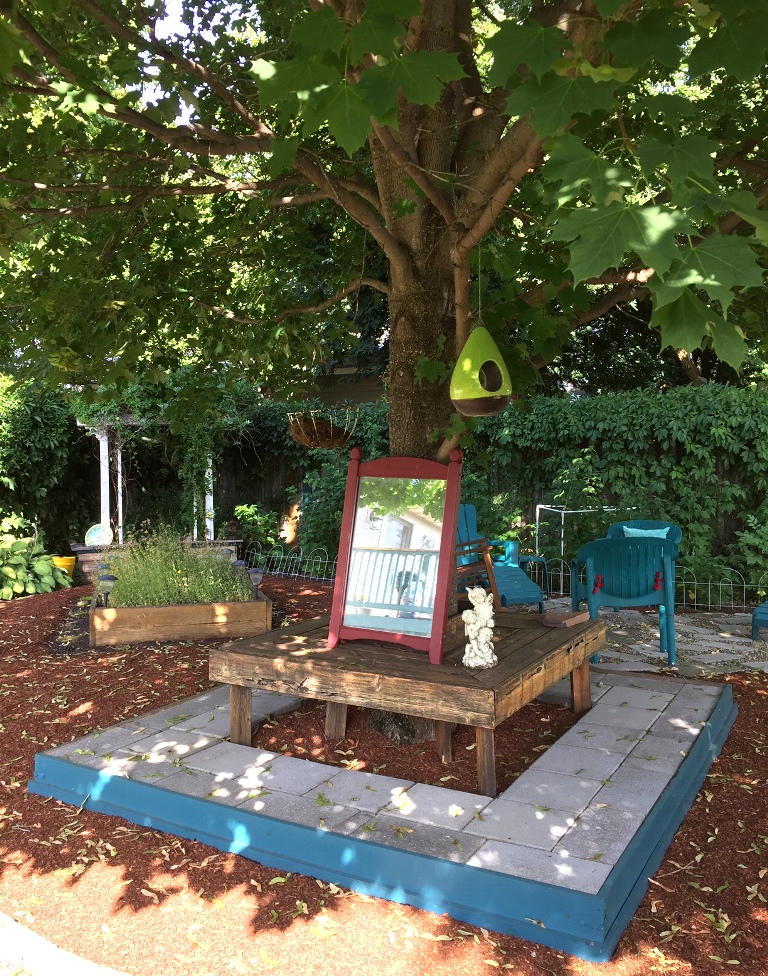
Finished tree patio
Not only am I happy I was able to repurpose some of the bricks from the bark beds, I’m even more thrilled that the patio now helps prevent tripping on the tree roots.
Supplies for the Frame & Patio
- Four 1″ x 6″ boards
- Four 1″ x 3″ boards
- 22 12″ x 12″ cement bricks
- 20 8″ x 16″ cement bricks
- Four 4″ x 8″ bricks
- 4 angle irons
- Three 1 cu ft bags topsoil
- One bag paver sand
- Paint & paintbrush
- Brass screws
- Saws: jigsaw, miter saw, skill saw
- Cordless drill
For your convenience if you need supplies


This post contains Amazon affiliate links. If you choose to order through these links, it will be at no extra cost to you
Instructions for Frame & Patio
- Cut 1″ x 6″ & 1″ x 3″ boards to the size of your patio
- Create the frame by attaching the boards with screws
- Attach an angle iron to each corner of the frame using screws
- Level bricks as needed using topsoil & paver sand
- If the ground is relatively level, use the only paver sand
- Apply two coats of paint using a roller or paintbrush


4 Comments
Pingback:
Pingback:
Pingback:
Pingback: