Let’s Build a Super Quick & Easy Brick Pool Patio!
Last year, I ‘installed’ a little pool in the backyard. When I say ‘install’, it makes it sound like it was a lot of work, but it wasn’t! If you were here, you know that I bought a poly stock tank to use as a pool. Have you seen where people are using stock tanks (livestock water tanks) as pools? I hadn’t heard of it until I was browsing Pinterest and saw some Pins from people who had created a pool from a stock tank. Very Interesting! After some research, I discovered that this was not a new trend. There were pins from 5 years ago! So, I was a little tardy to the party hearing about this fun idea! Once I saw the Pins, though, it was just a brief moment before I decided I just had to have one! If you weren’t here or didn’t have a chance to read about my little pool, click here for all the details.
This year, I decided to add a brick patio next to the pool. Before telling you about how easy the new patio was to install, I’ll give you a little background about the pool ‘install’. If you want to jump straight to the patio, just use the Table of Contents to go directly there.
A little background
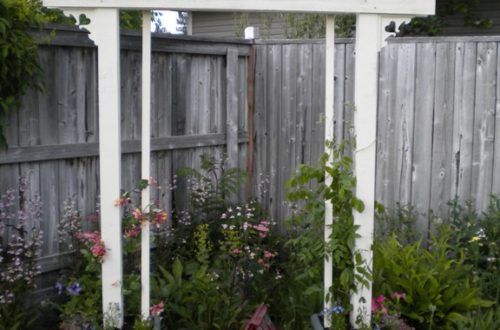
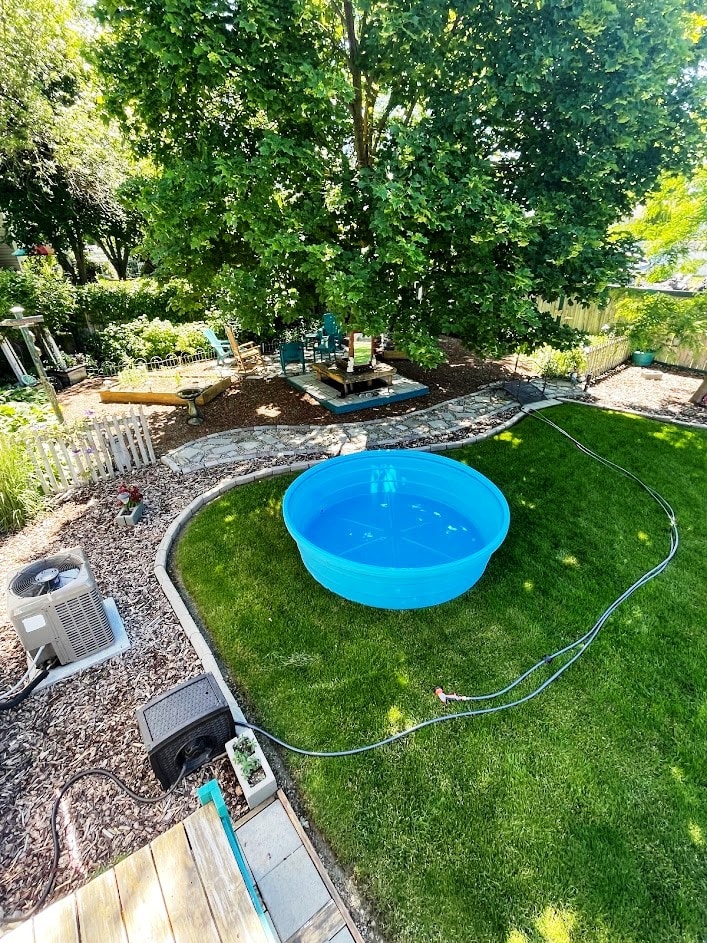
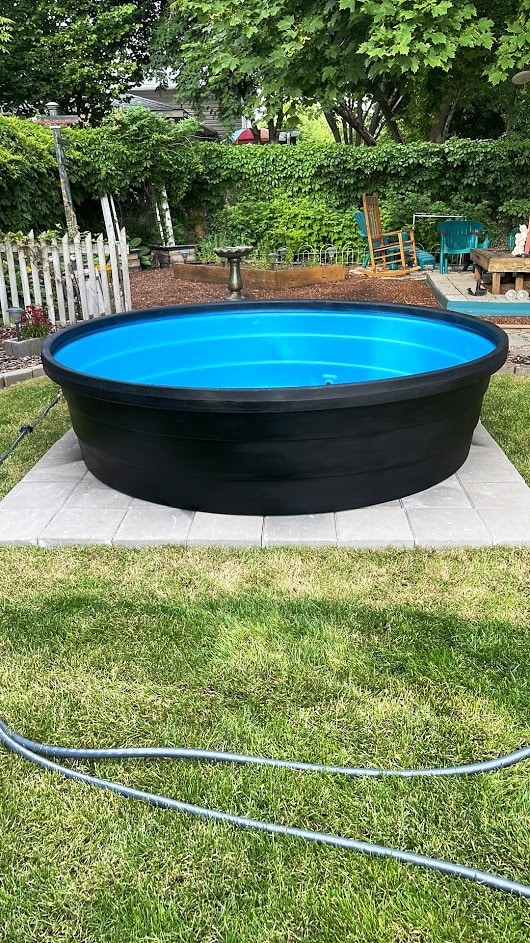
Before picking up the stock tank, I had selected an area in the backyard where I thought it should go. The space gets partial shade from a maple tree and is protected a bit from the wind by our deck. Using our garden hose, I outlined the area that would be the ‘pool’ space. When we got home with the tank, the son and I carried it to the backyard. It isn’t too heavy. When we got to the gate, we turned it on its side and rolled it. The tank/pool looks great in the section of the yard where I thought it would go.
Do I just leave it on the grass?
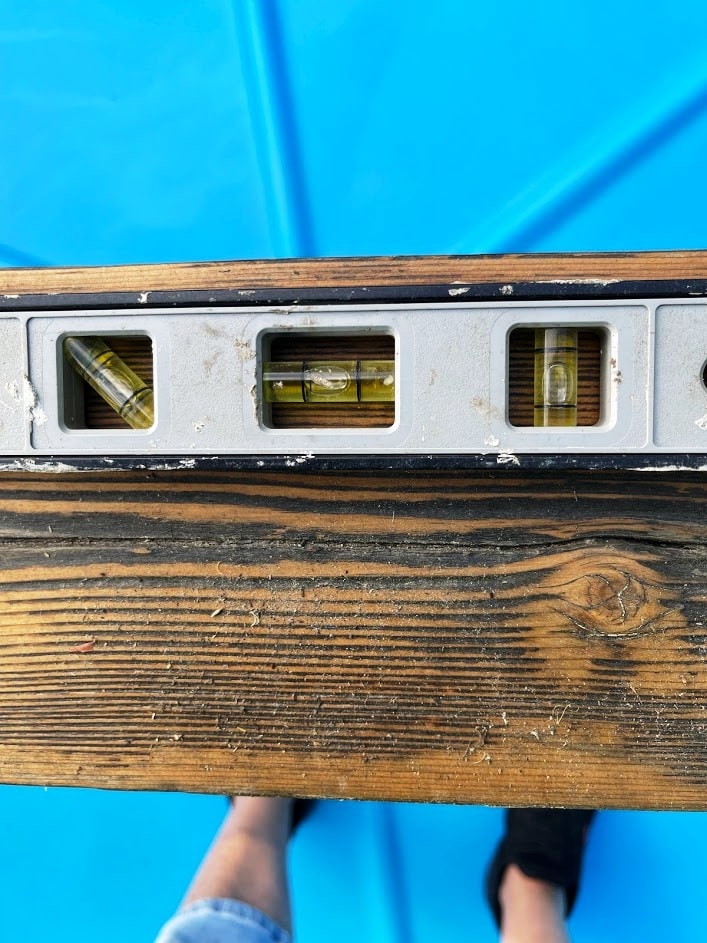
Once the tank was on the grass, I set a long board on top to see if it was level. It was almost perfectly level! To be honest, since the board was not flat, it was probably perfectly level.
There was really nothing else I needed to do except add water.
So, yes, I could have just left the new pool on the grass and begin to enjoy it immediately. But what fun would that be?! I began to envision a bigger picture to the pool area….bricks under the pool, remove the sod around the bricks, enlarge the bark area to encompass the pool…
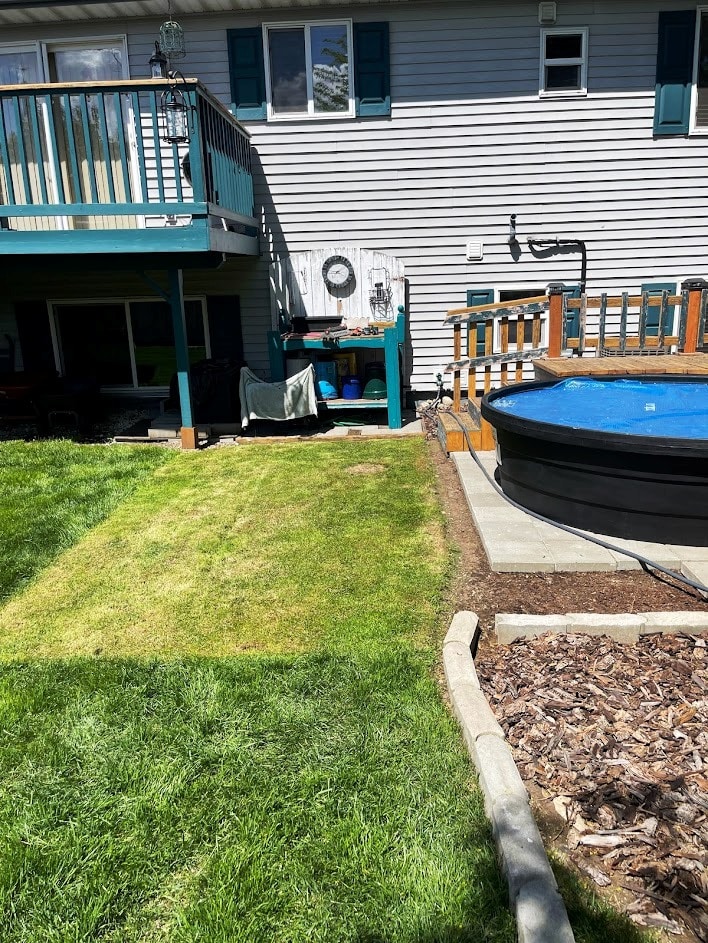
Original pool space
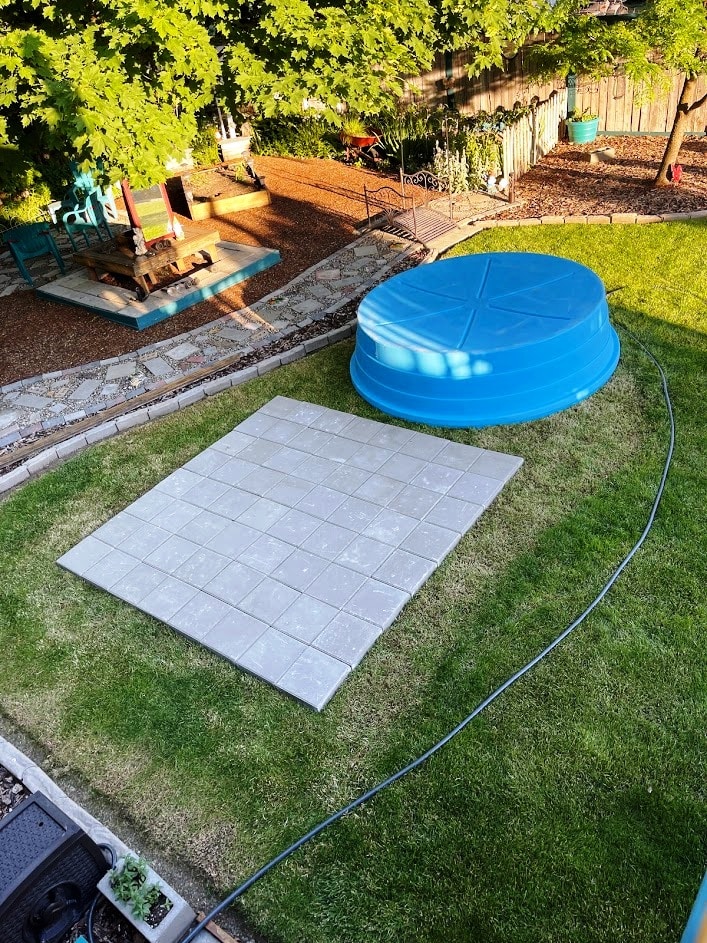
Once I had a master plan for the new pool space, I had to decide whether to set the pool on the grass or bring in gravel or brick to create a firmer base. I thought having a firmer base was a good idea and decided to use brick – less messy than gravel and easier to work with. After measuring the area, I bought 12 x 12 x 2 bricks. I laid them out on the grass in a square then set the pool on top. I checked the level of the bricks and then verified that the pool was still level once it was sitting on the bricks. After it was in place, I decided to paint the outside of the pool black. I did get a little overspray on the bricks but that has worn off over the last year.
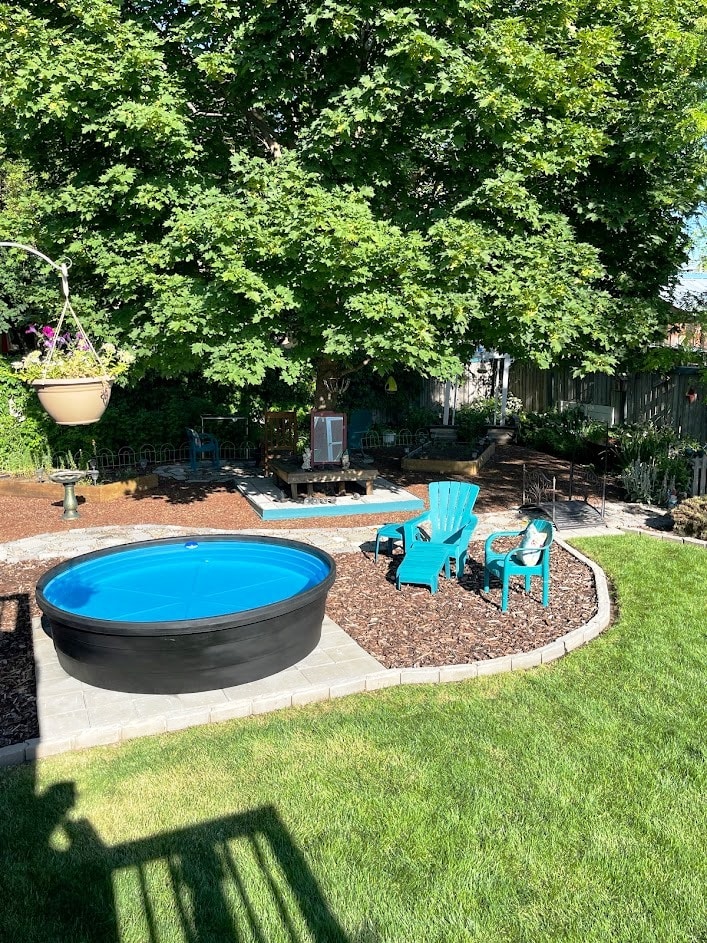
To complete the pool area, I removed the sod around the bricks and added bark. Then I created a sitting area by placing a couple of lawn chairs and a table in the bark. After that, I decided to build a small deck around a section of the pool. That project can be found here.

Enlarging the patio area
I was thrilled with the whole pool area last year and got lots of use out of it! When I cleaned out the pool and filled it with water this year, the thought occurred to me that it would be nice if there was a larger area of brick around the pool. The current brick space was fairly small to use when getting in or out of the pool.
I also thought it would be nice to have the chairs on brick as opposed to sitting in the bark. Since I had set the original brick on top of the sod, I could do the same with the new bricks which would make the project so much easier than if I had to remove the sod!
Supplied Used
- 12″ x 12″ x 2″ concrete bricks
- Newspaper
- Edging bricks
- Topsoil
- Garden hose for water
- Garden gloves
- Wagon
- Spade
- Small garden rake
- Kneeling pad
- Patio chairs
- Small table
- Umbrella
Instructions
- Mow lawn using lowest setting on lawnmower
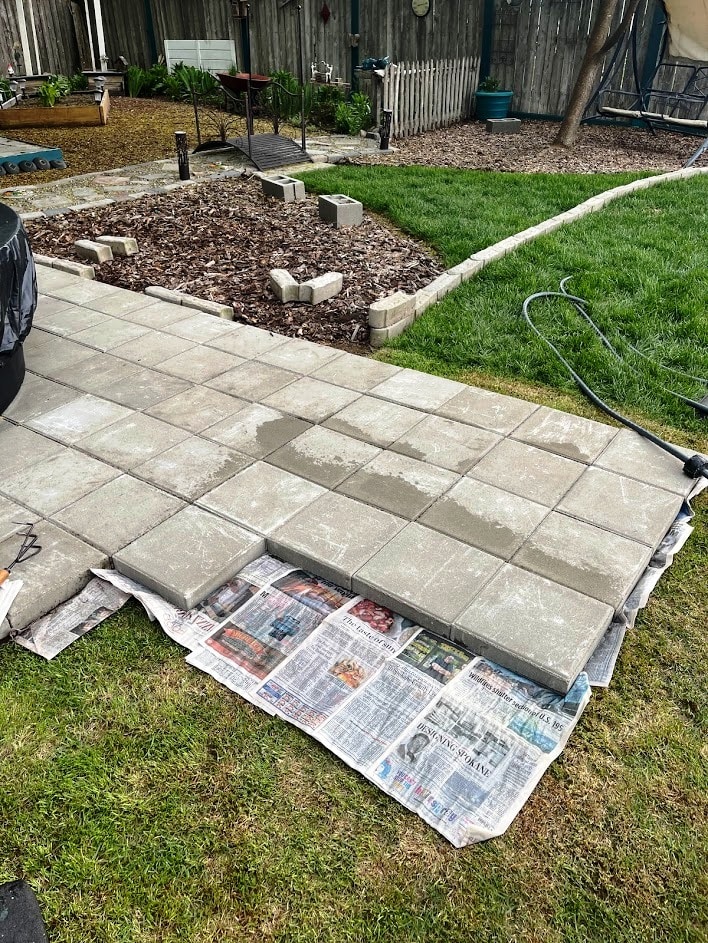
- Lay newspaper on sod for weed control
- Spray newspaper with water to prevent it from flying away in the wind while you work with it
- Lay bricks on top of the newspaper
- Level bricks with topsoil as needed
- Remove sod around patio
- Line patio area with edging bricks
- Add patio furniture and umbrella
Section 1 – Bark side
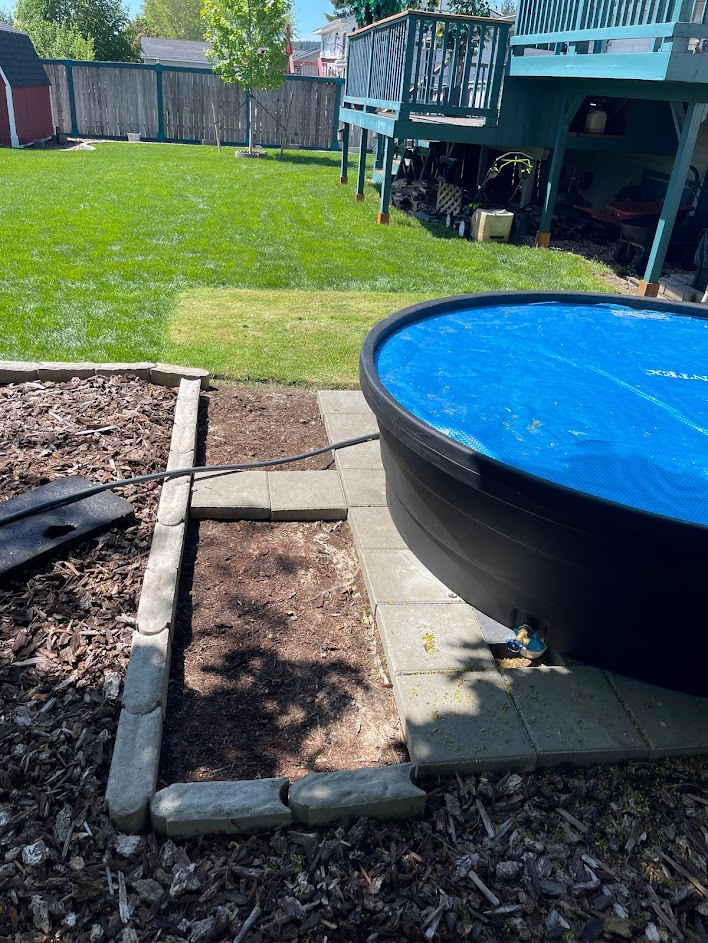
The first section I worked on was the one by the bark. I decided to add two rows of brick. I pulled the bark away from the existing bricks, added some topsoil to raise the section then laid down newspaper before setting each brick in place. The extra two feet of space is really nice!
Section 2 – Main area
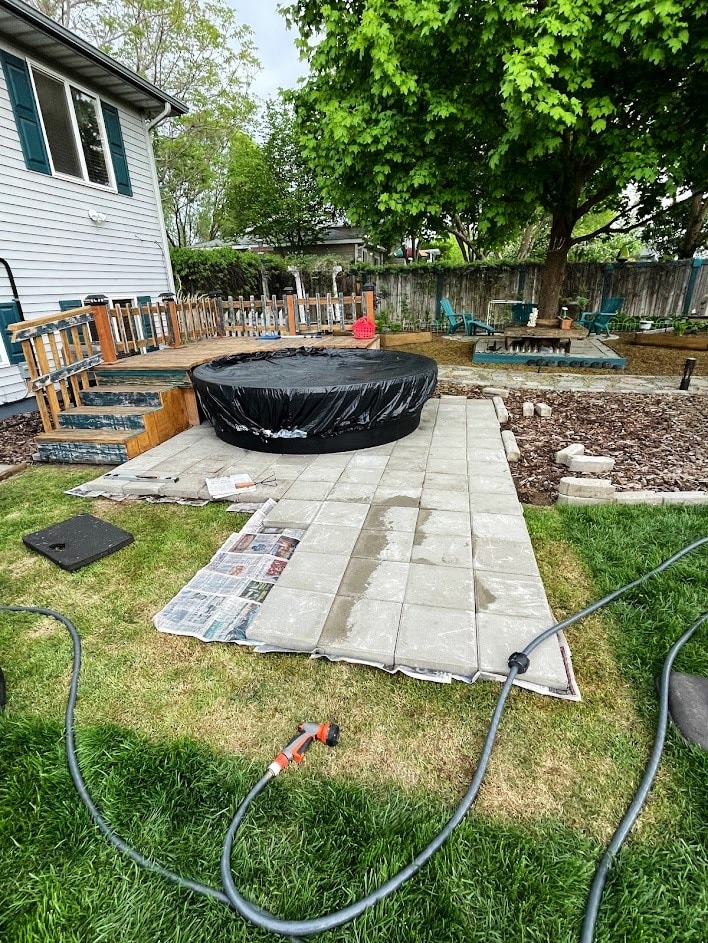
Since the main section of the patio was going to be installed on top of the grass, it was important to mow it down as low as possible. Using the lawn mower, I made several passes over the area, lowering the blade with each pass. Once the grass was as short as I could get it, it was time to lay the bricks. I removed the edging bricks along the original patio and filled the space with topsoil. I then laid newspaper down, a section at a time, wet it to keep it in place, then set bricks on top of the newspaper. If the brick was not sitting level, I added a bit of topsoil under it.
Section 3 – Deck step area
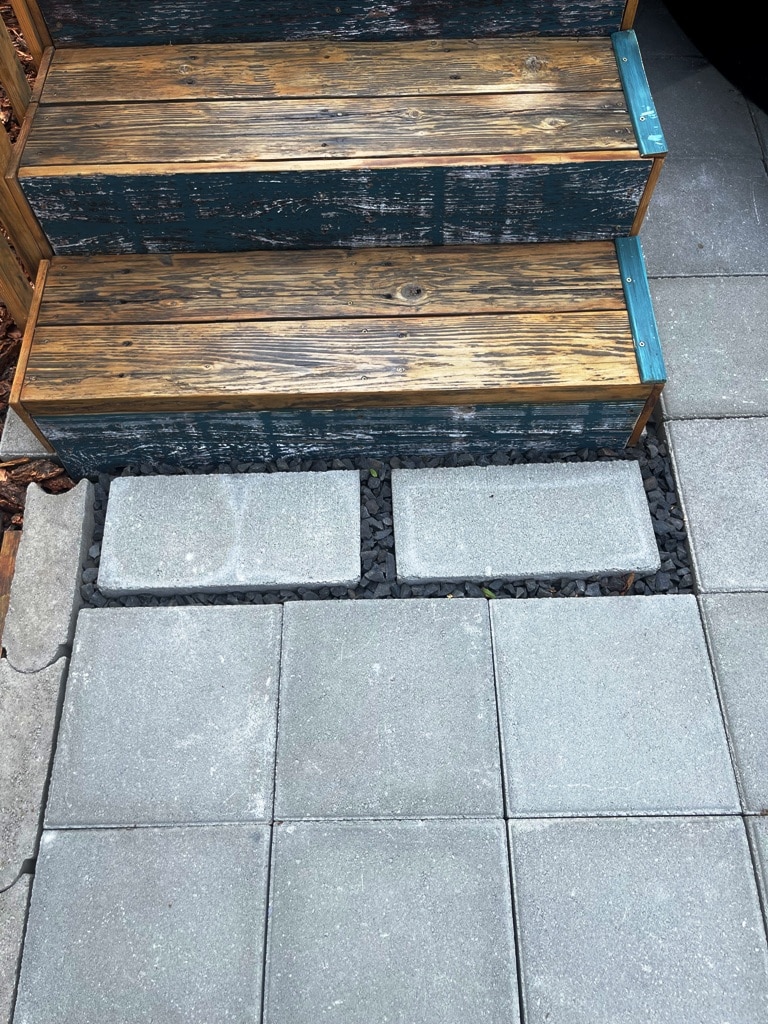
The original section of bricks did not line up exactly with the steps to the deck by a couple of inches so I needed to figure out what to put at the bottom of the stairs so the new patio would be square. Using two 8 x 16 bricks and some landscape rock worked really well!
Section 4 – Edging the patio
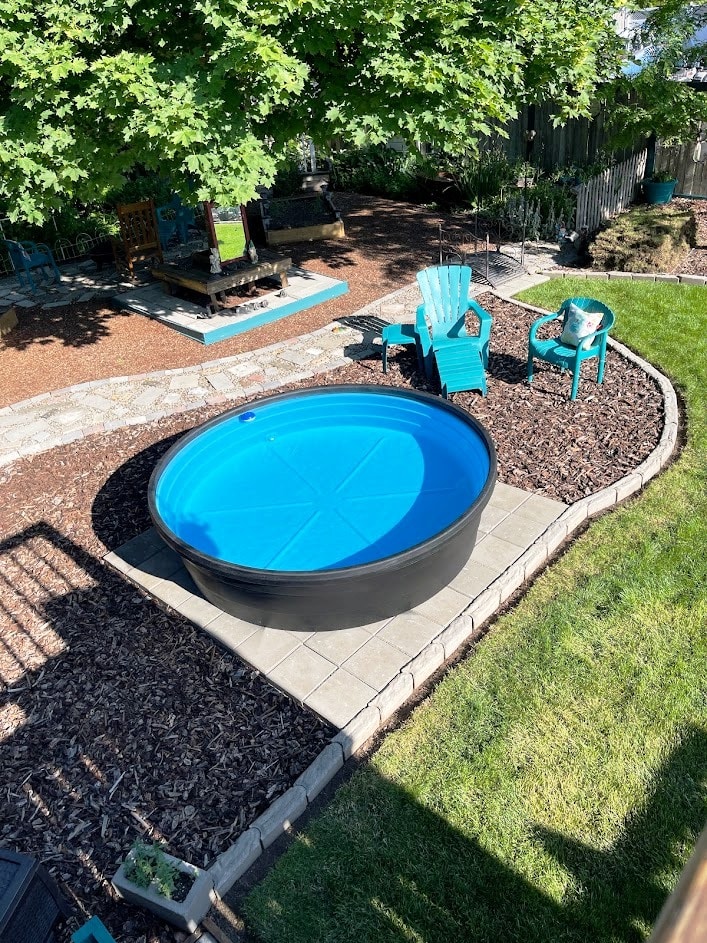
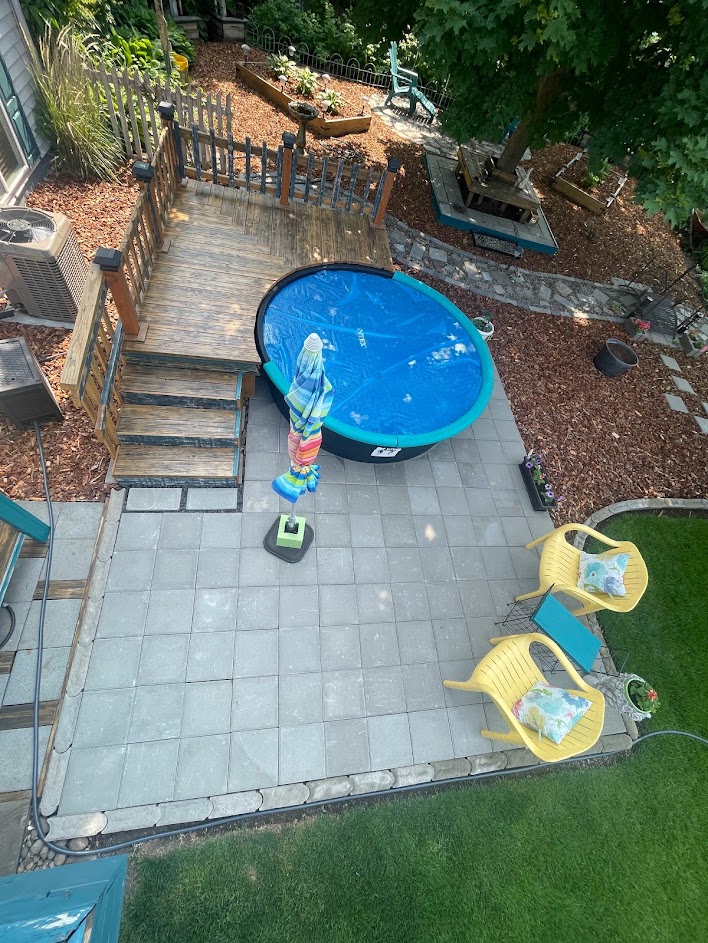
To create a line between the patio and grass, I used the bullet bricks that used to line the original patio along with some that I already had on hand. I wanted the edging bricks level with the patio; in order to accomplish that, I had to remove the sod closest to the new section. Once I had the sod removed and the bullet/edging bricks in place, it was time to create the seating area and enjoy the new space!
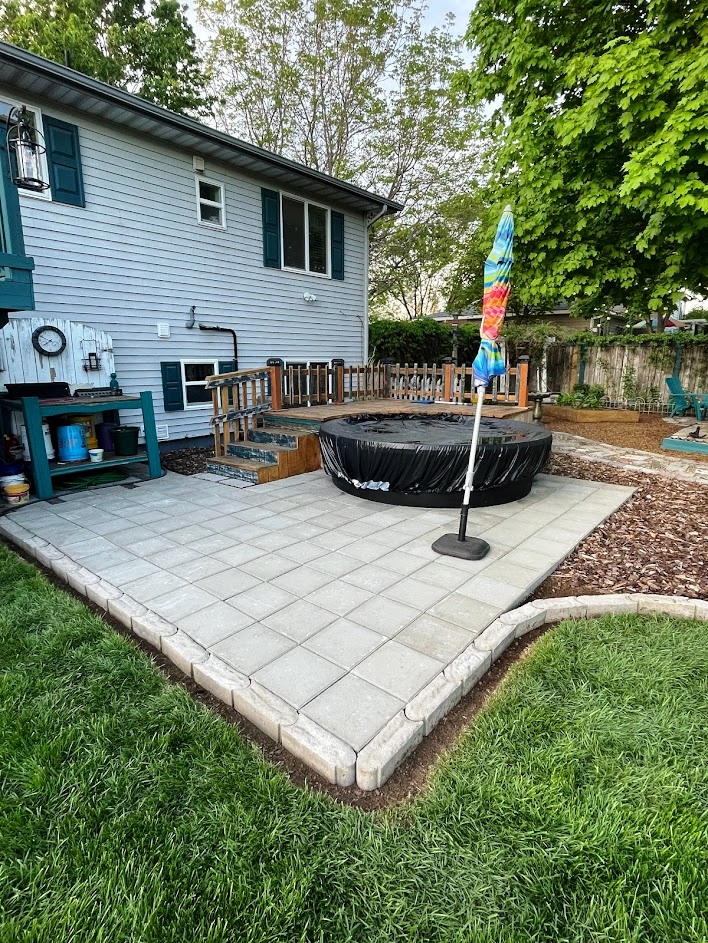
The finished size of the main patio section is 13′ x 6′ for a total of 78 sq ft. The section next to the bark is 2′ x 8′ for a total of 16 sq ft. This project added 94 sq ft of space around the pool!
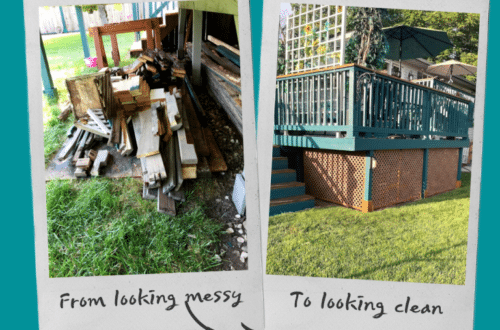
Before, During, After
Look at all that space!
For your convenience
This post contains Amazon affiliate links. If you choose to order through these links, it will be at no extra cost to you


Want more project ideas?

Let’s Stay in Touch!
I’m excited to share more projects with you as well as tips/tricks/freebies! Just enter your email below to be one of my Blog Peeps!


You May Also Like
Let’s Refinish the Tool Storage Cabinet!
Let’s Install Vinyl Lattice Under the Deck!